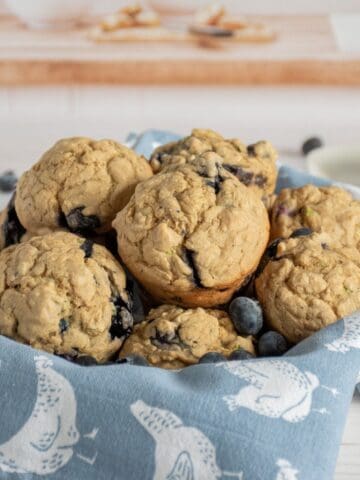
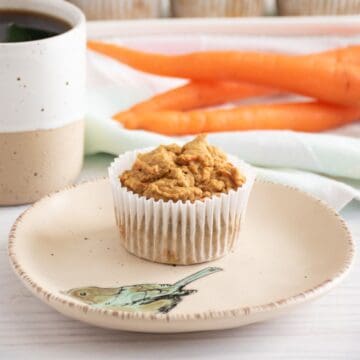
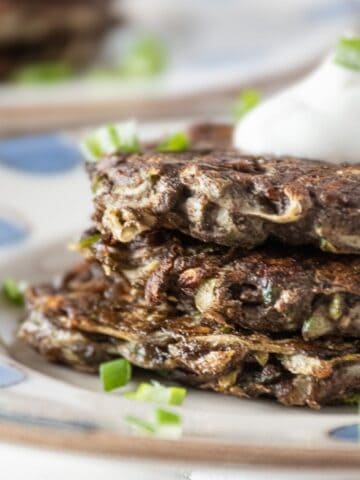
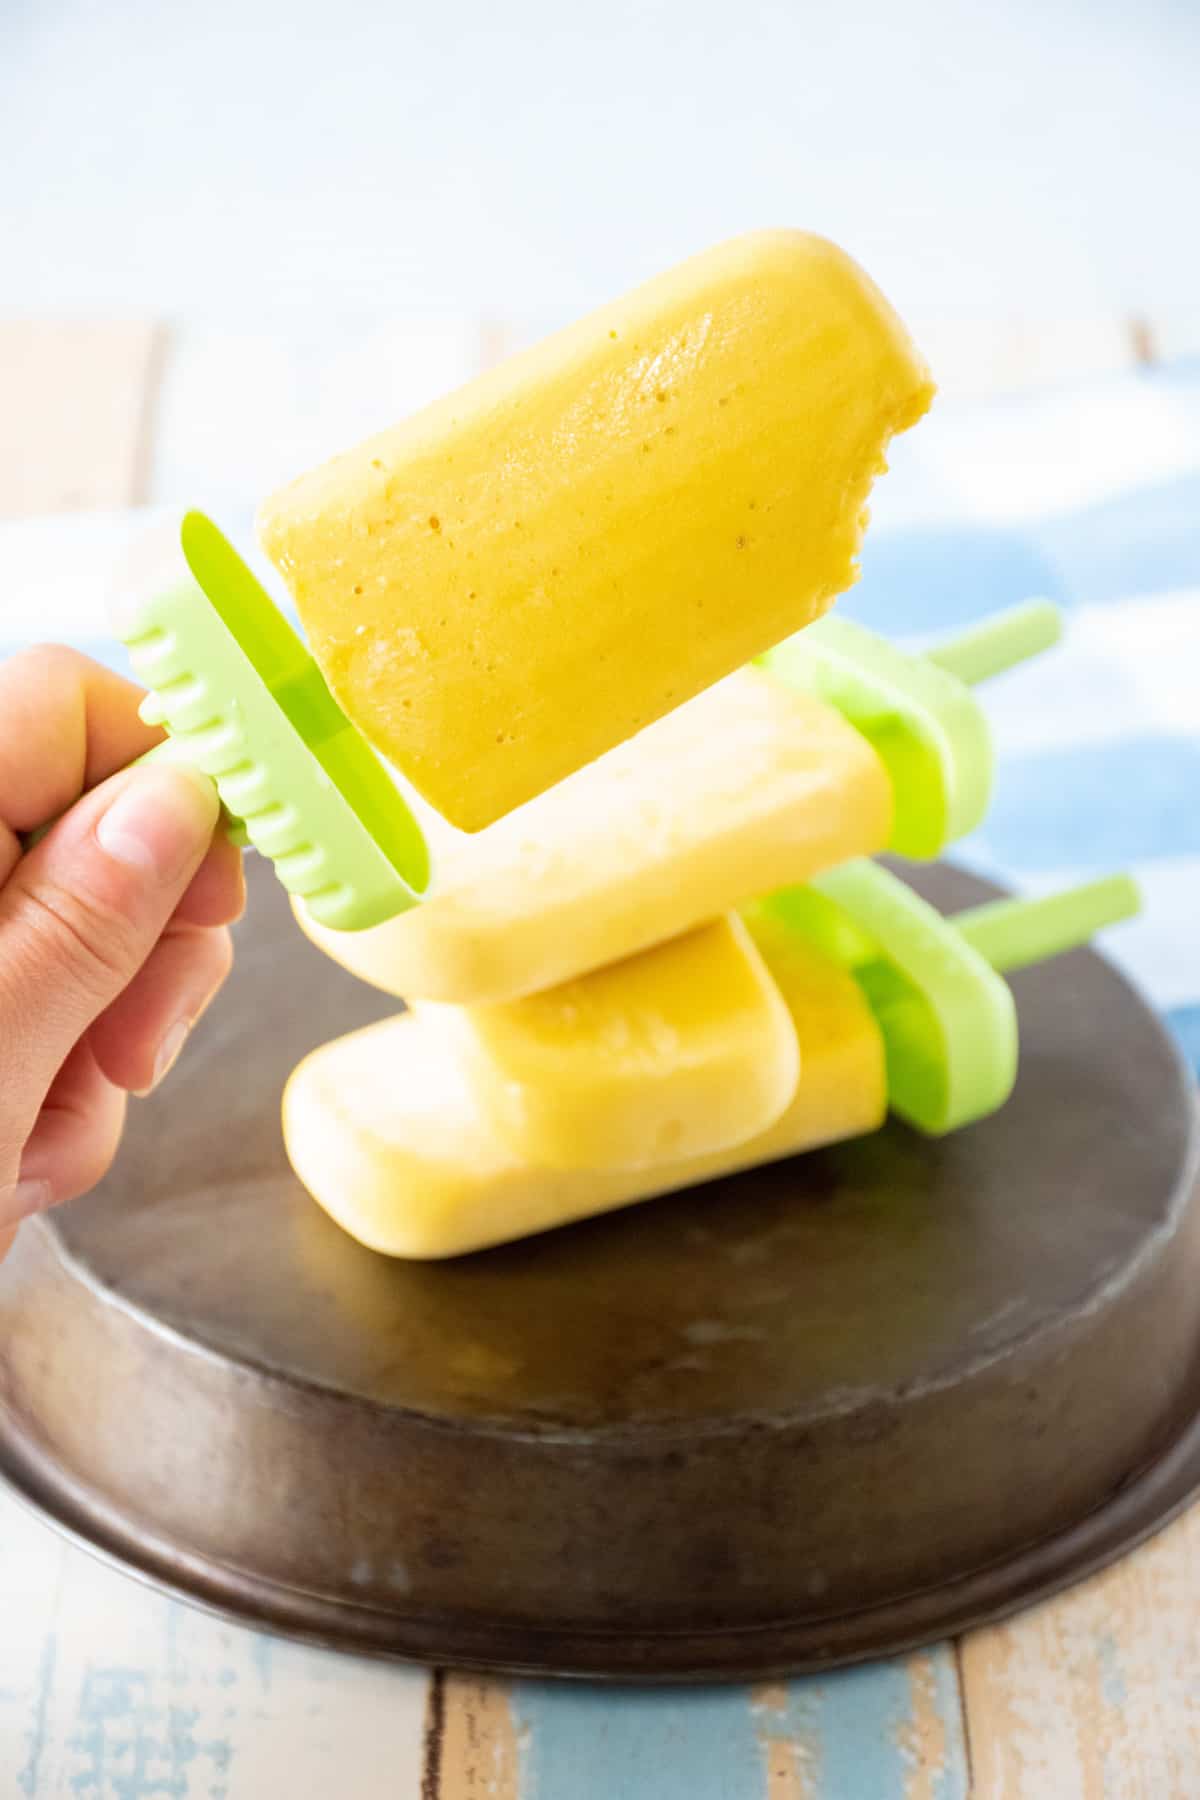
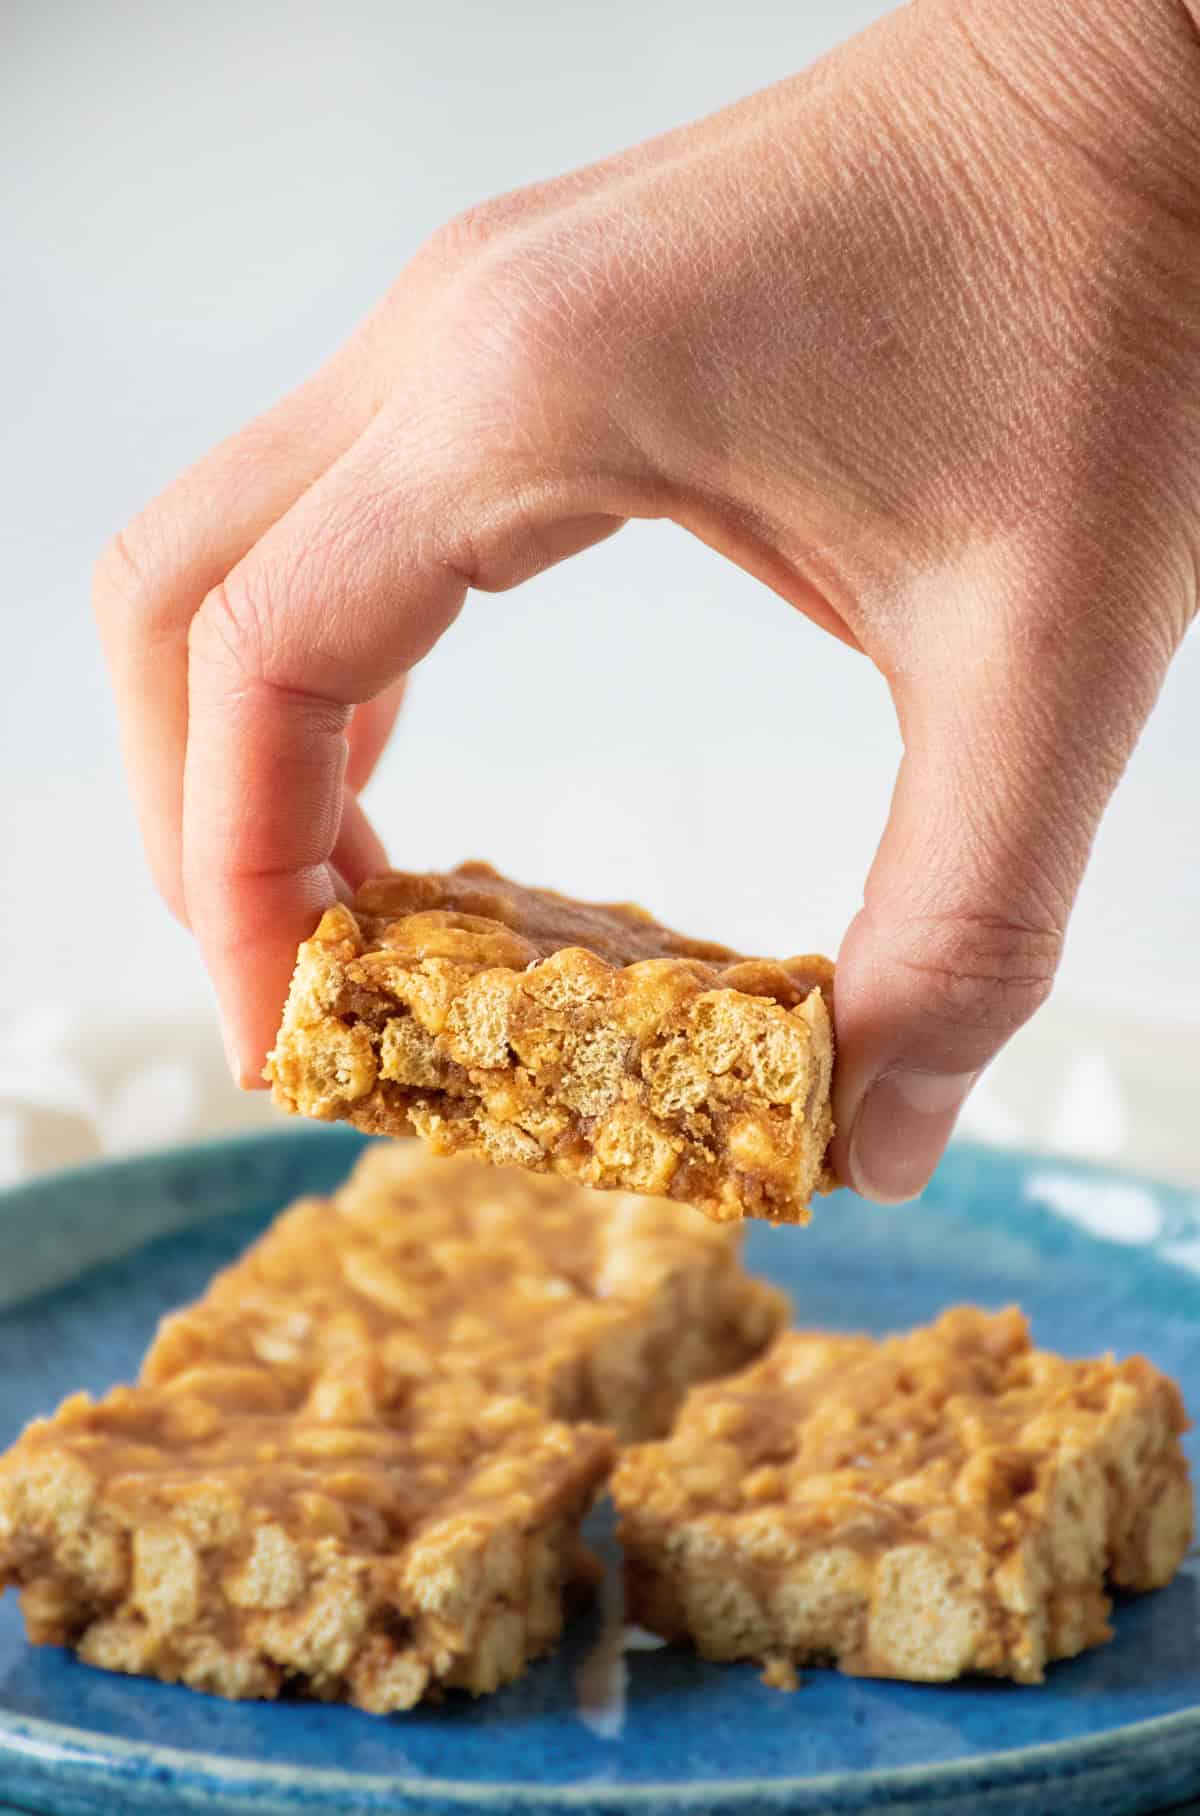
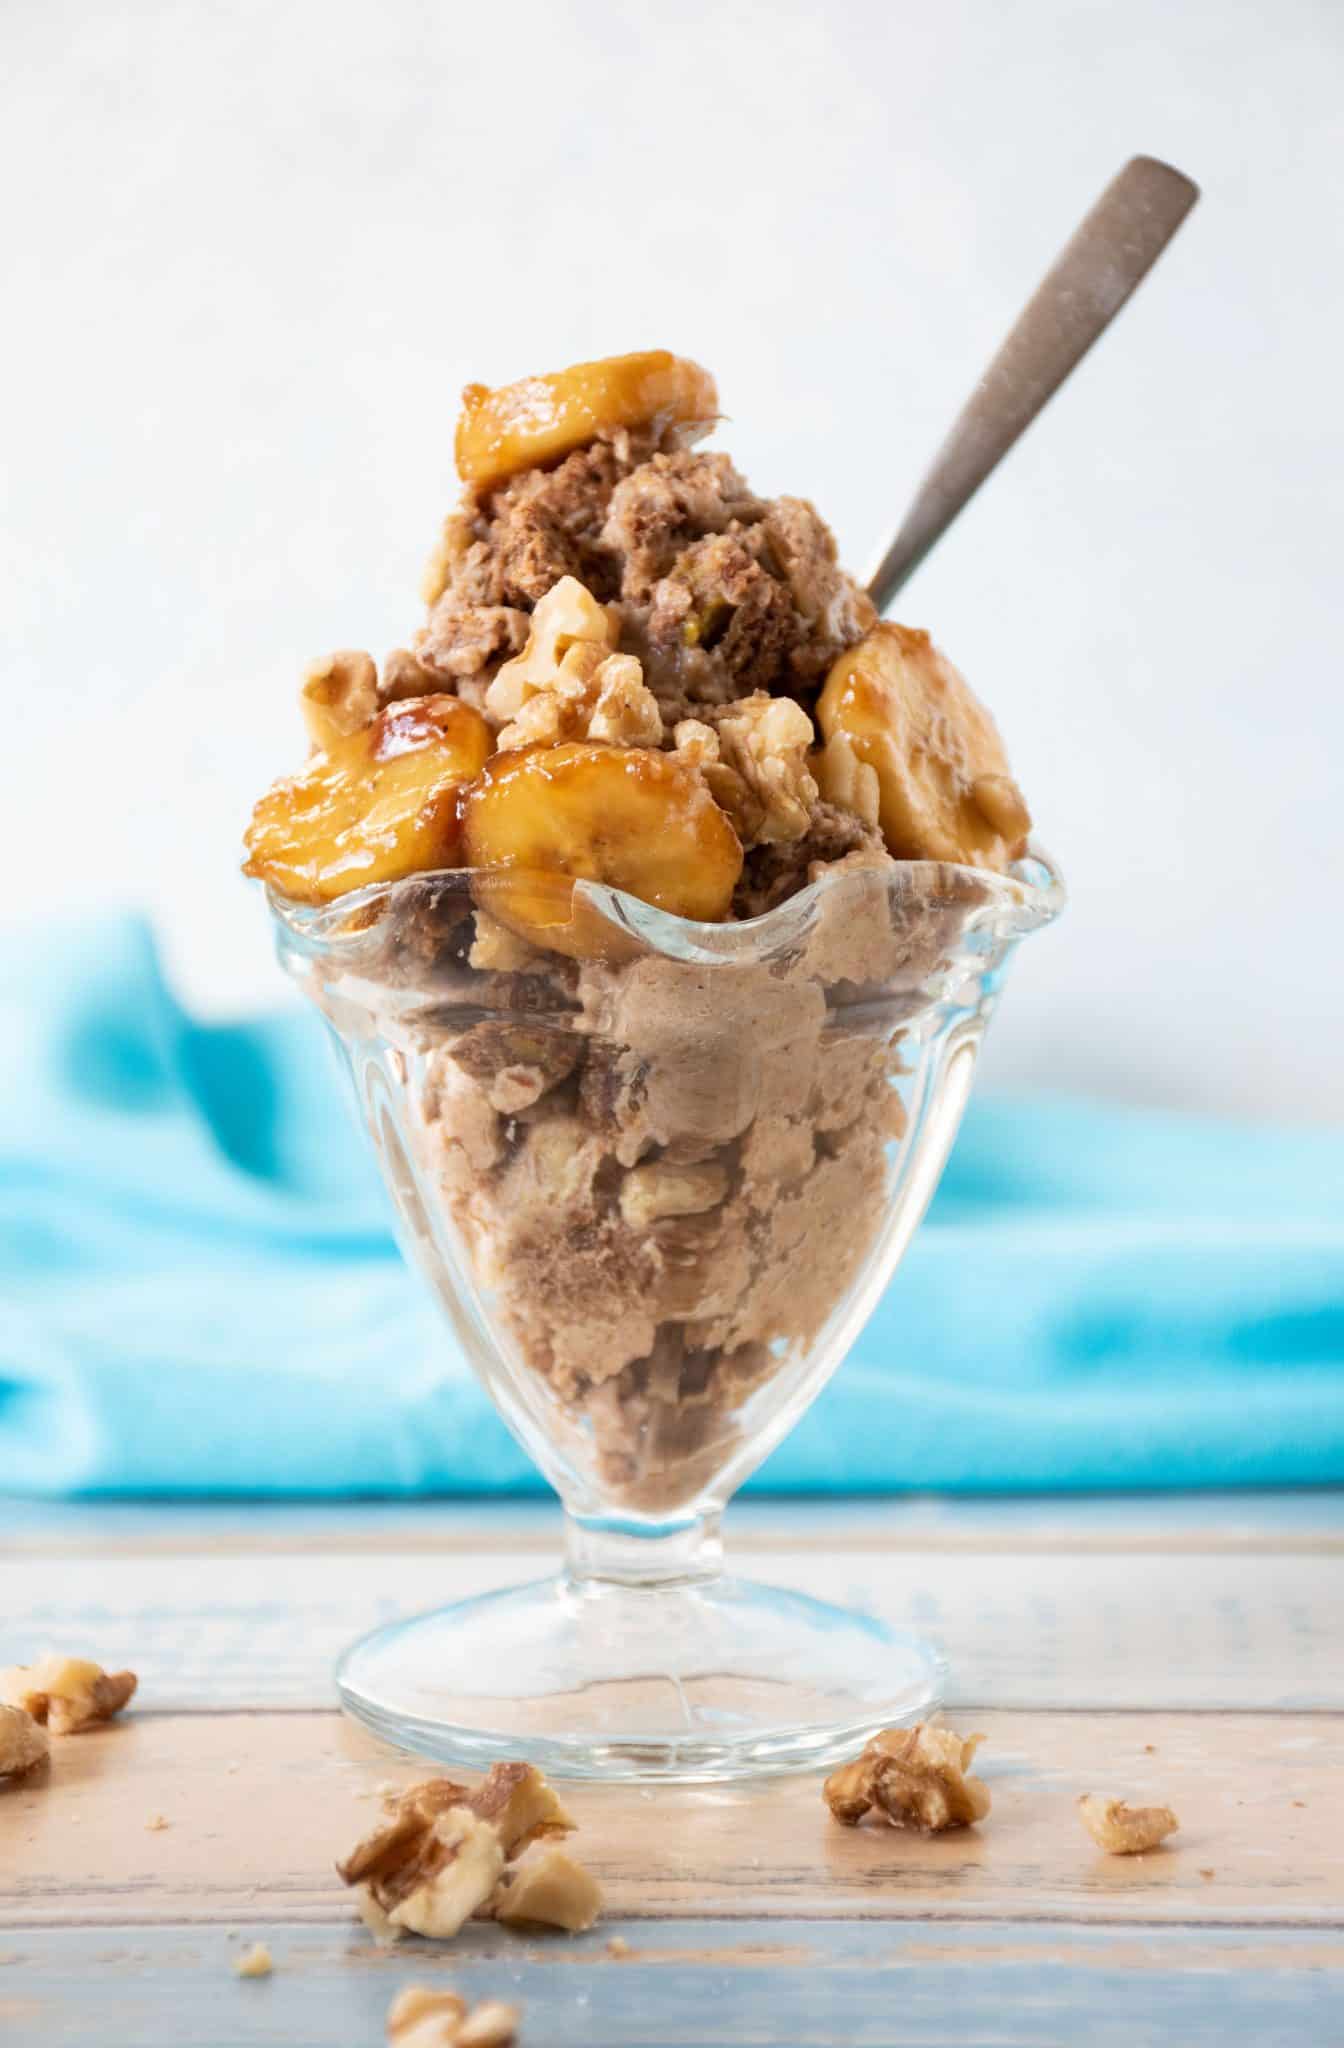
Everyone is out there making banana bread right now, but I'm completely hooked on this banana bread nice cream! It's so creamy, and sweet, and tastes JUST LIKE BANANA BREAD! It's not even difficult! Once you have your banana bread baked (which is also super easy to make), it's smooth sailing to frozen bliss.
I've created a way to make this frozen treat using no added sugar, no cream, and no eggs, but tons and tons of flavor. No one is ever going to believe you that this is healthy. It feels so decadent! We even make some crispy banana bread croutons to mix in (completely optional, but highly recommended!).

What is Nice Cream made of?
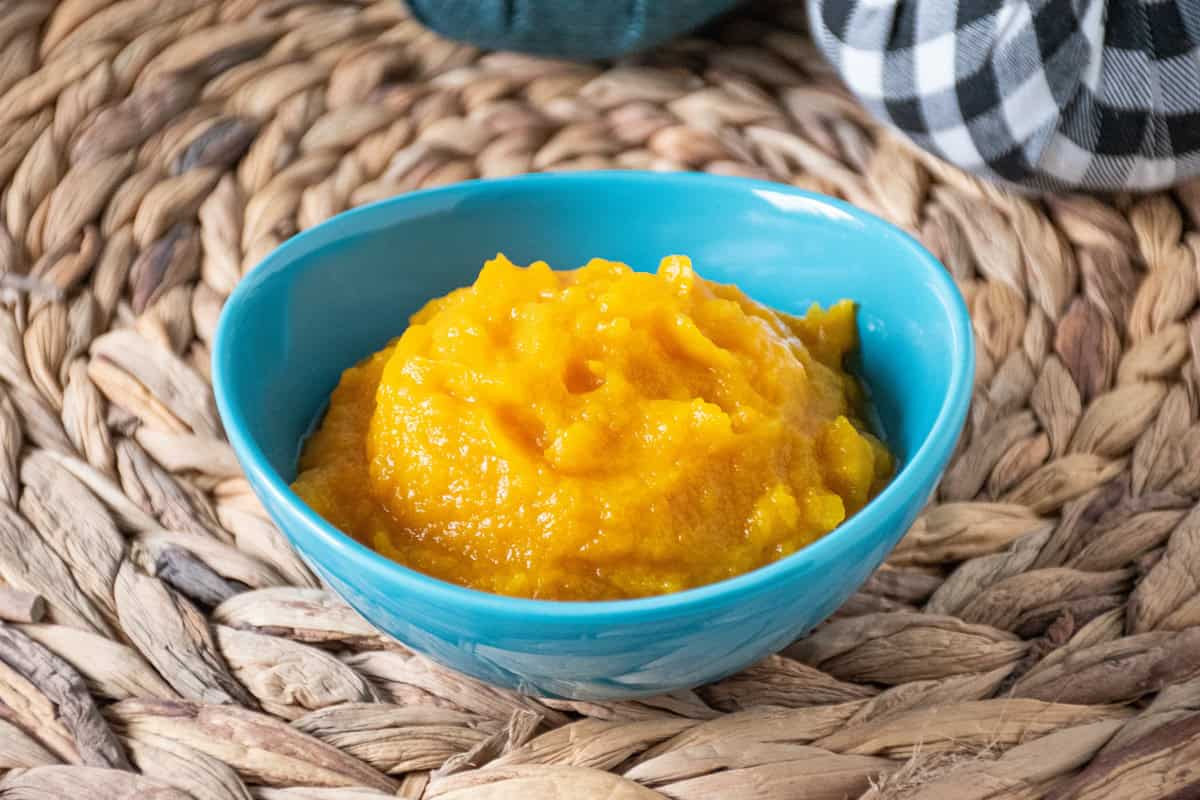
Nice cream is a frozen treat, with a similar consistency to soft serve ice cream, made from blending frozen bananas, and usually a bit of milk or non-dairy alternative, until they are smooth. There are many, many variations now, made by adding in any combination of additional fruit and/or flavorings. Using overripe bananas is preferred, since they are sweeter. Often, no additional sugar is needed.
Is Nice Cream healthier than ice cream?
Nice cream is a great alternative to ice cream for anyone looking for a healthier treat. Since nice cream can be made without added sugar, and uses bananas instead of heavy cream and other ingredients like thickeners, eggs, etc.
So, generally, yes, nice cream is healthier that ice cream, so long as there isn't lots of sugar or other high fat ingredients added.
How do you keep Nice cream soft?
It is true that, while Nice Cream is typically compared to soft serve ice cream, if it's left in the freezer for a day it becomes quite solid. To return it to its desirable soft serve consistency, simply pop it in the refrigerator about 30 minutes before you plan to serve it. In the winter, you can even leave it on the counter a bit.
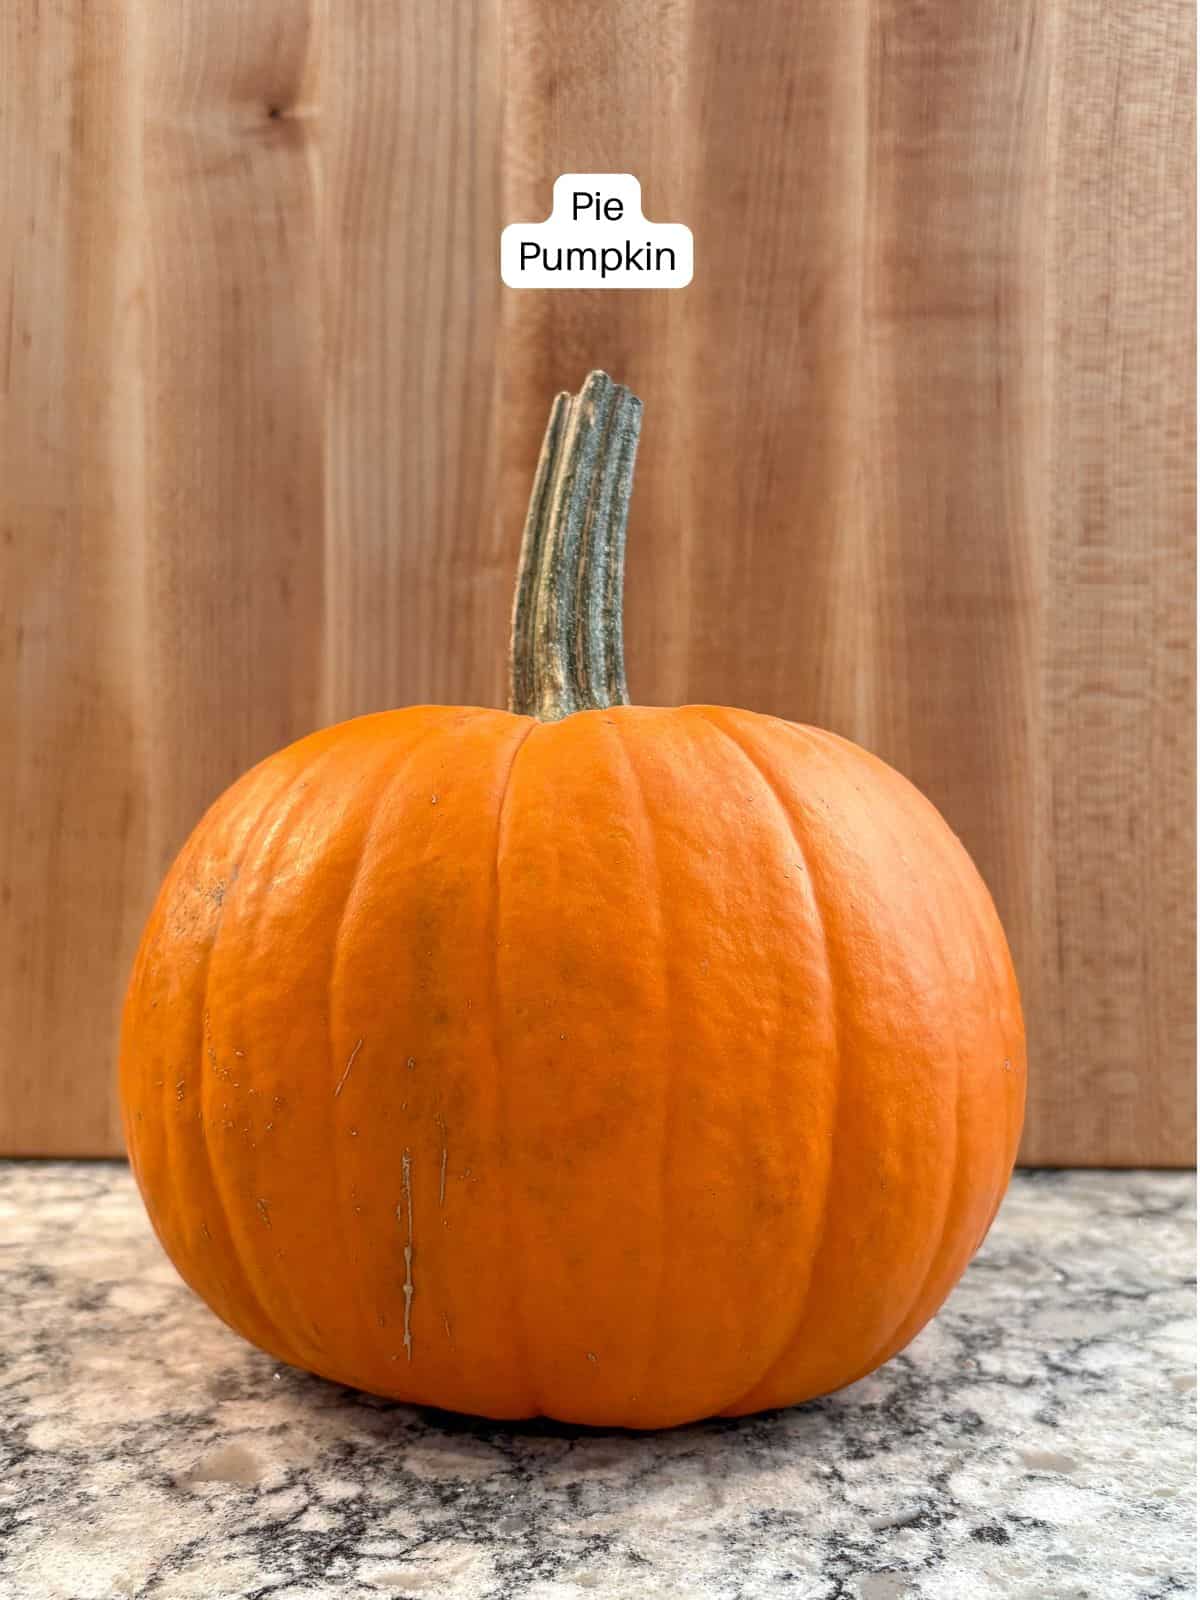
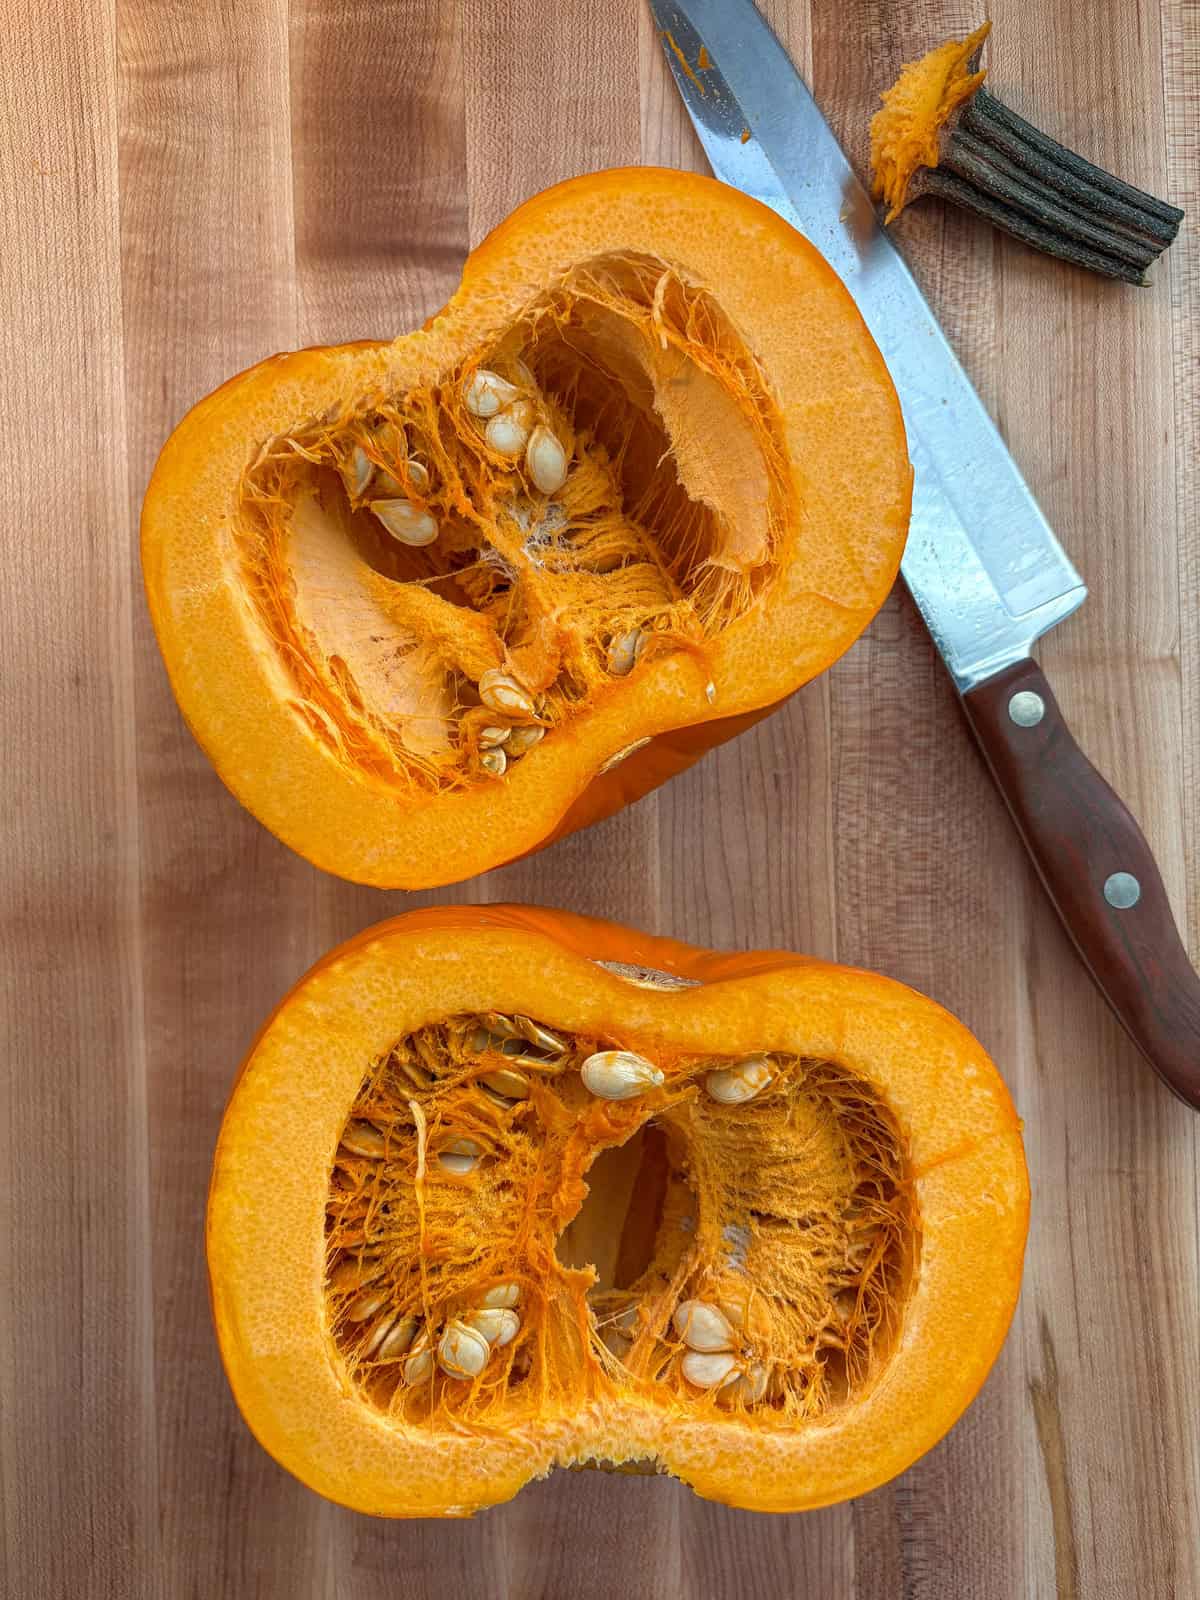
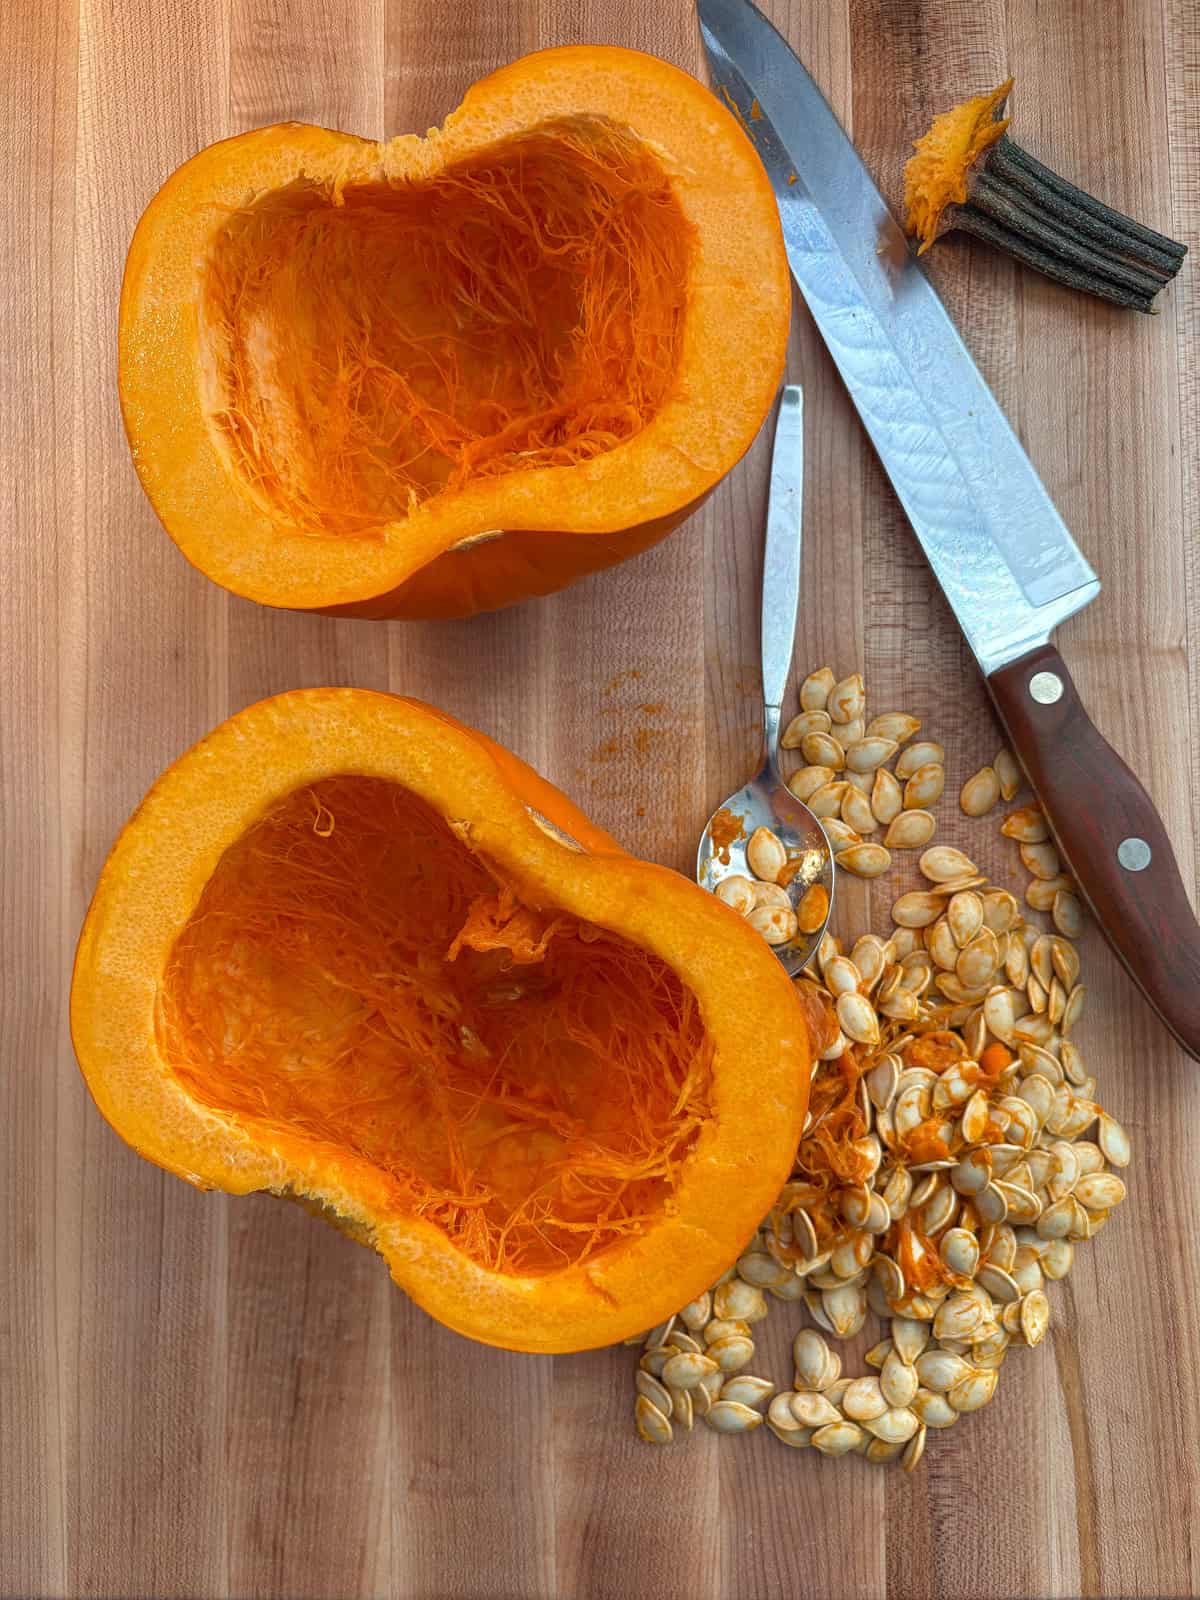
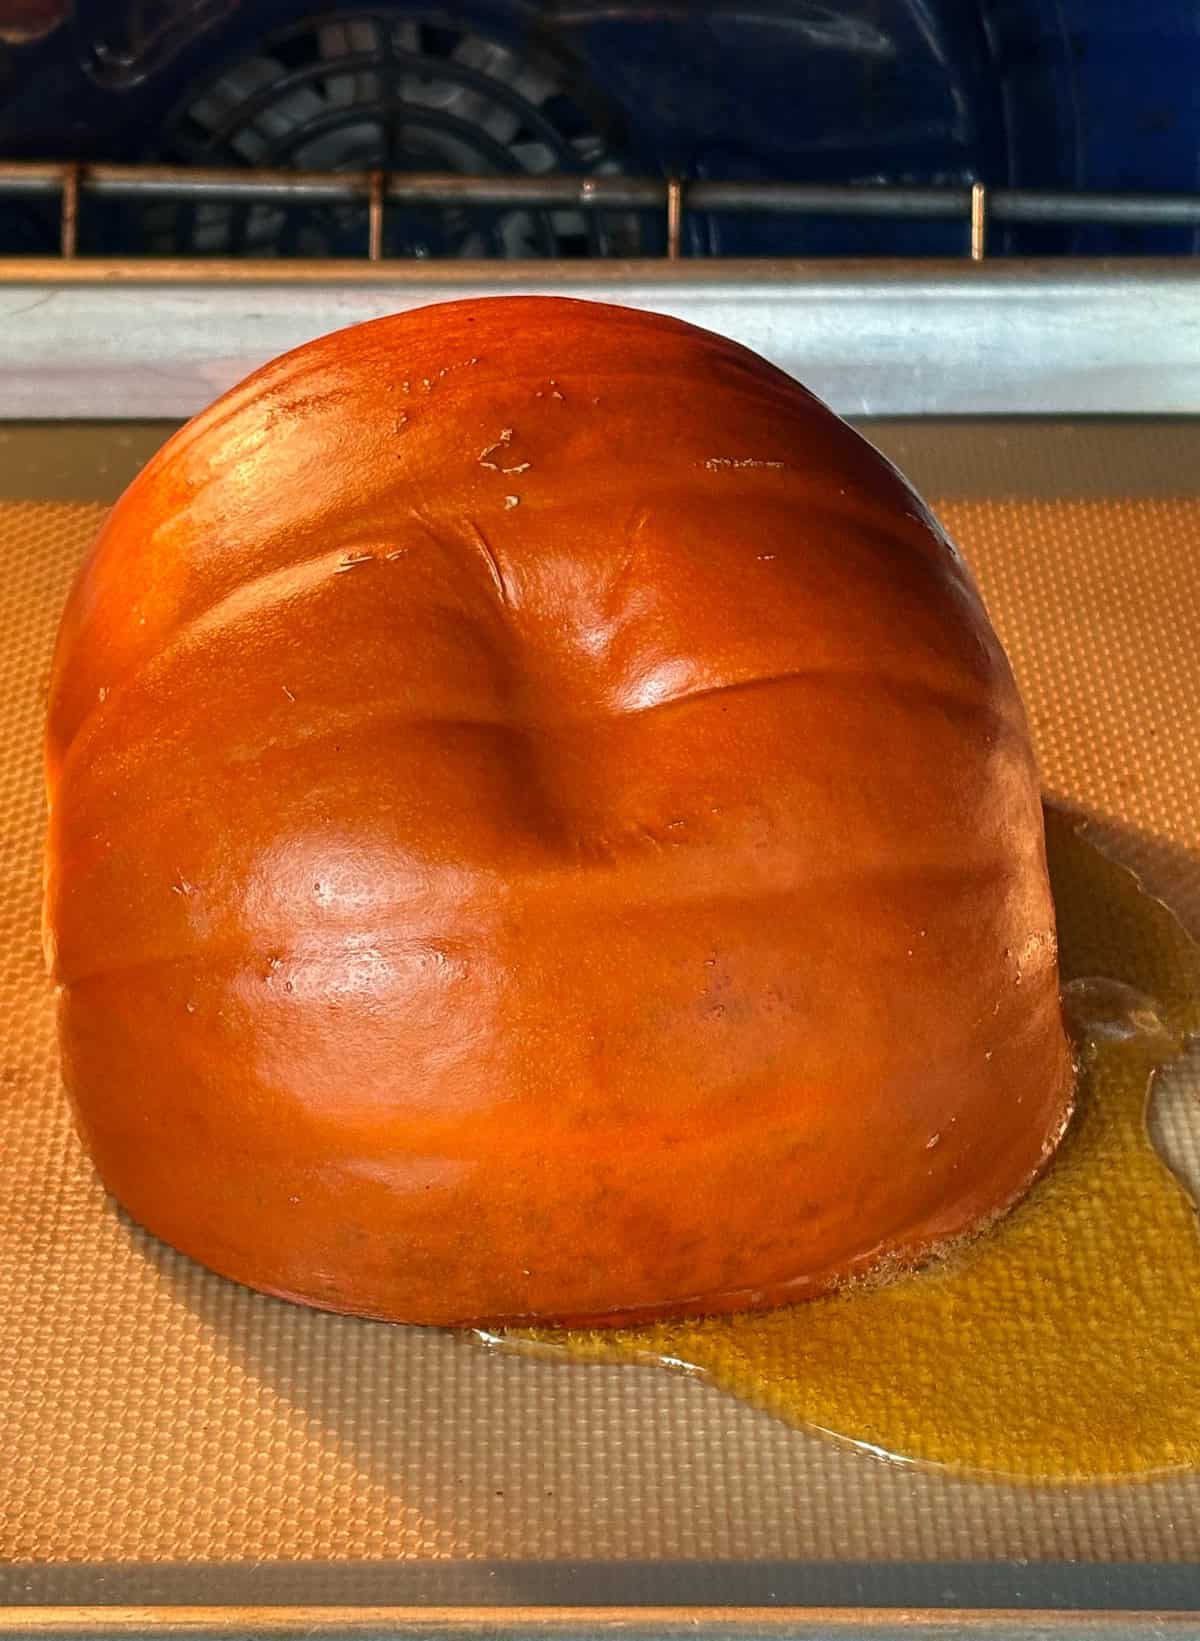
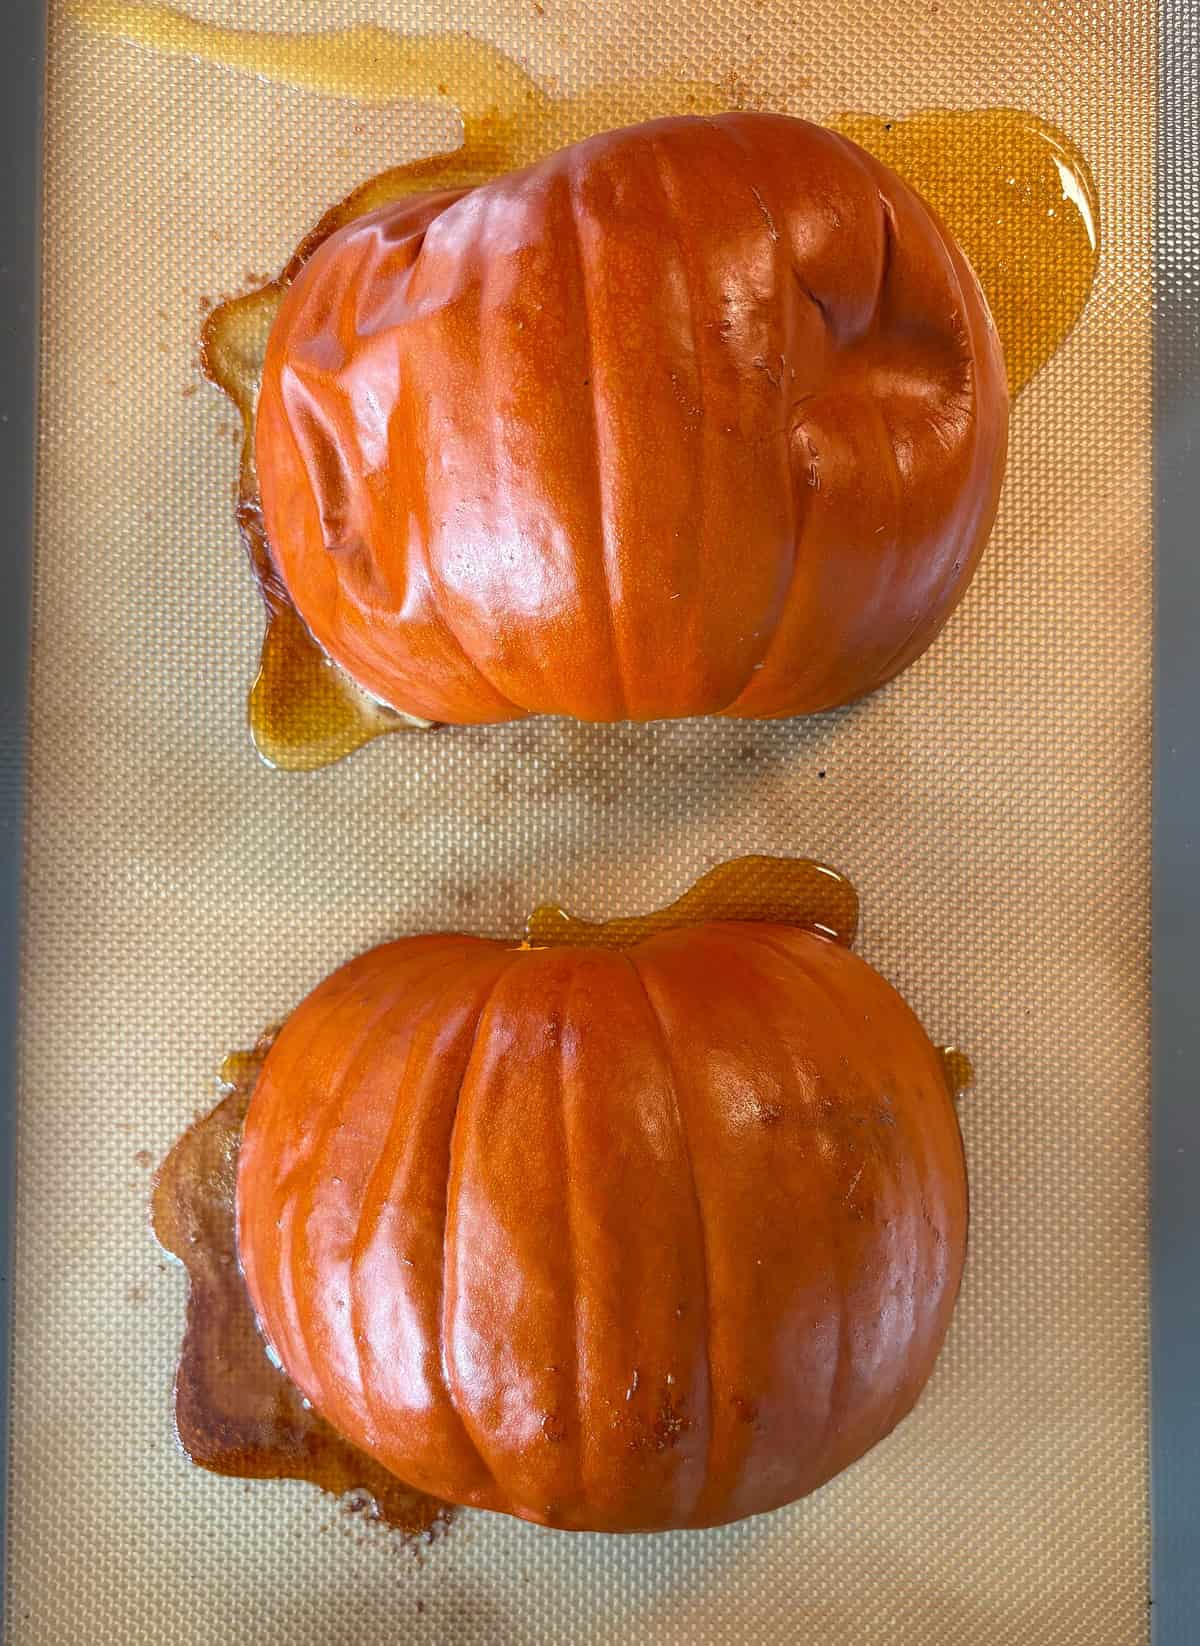
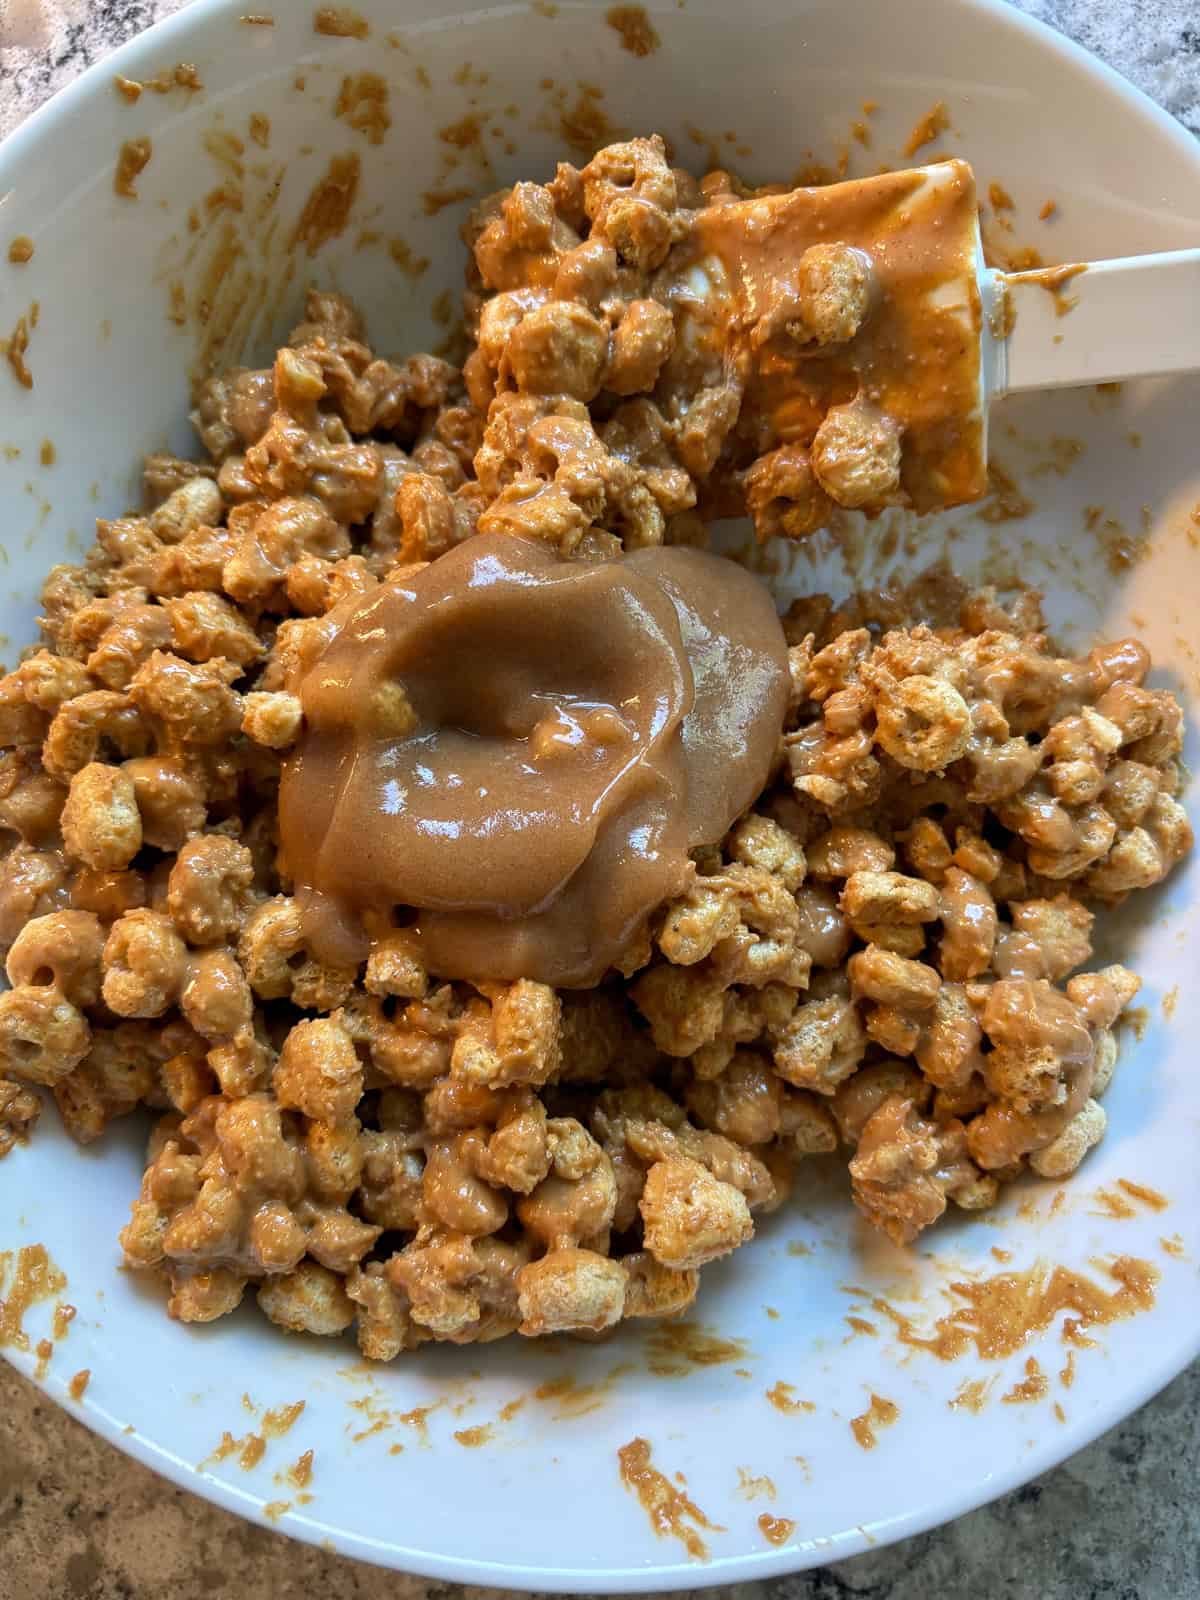
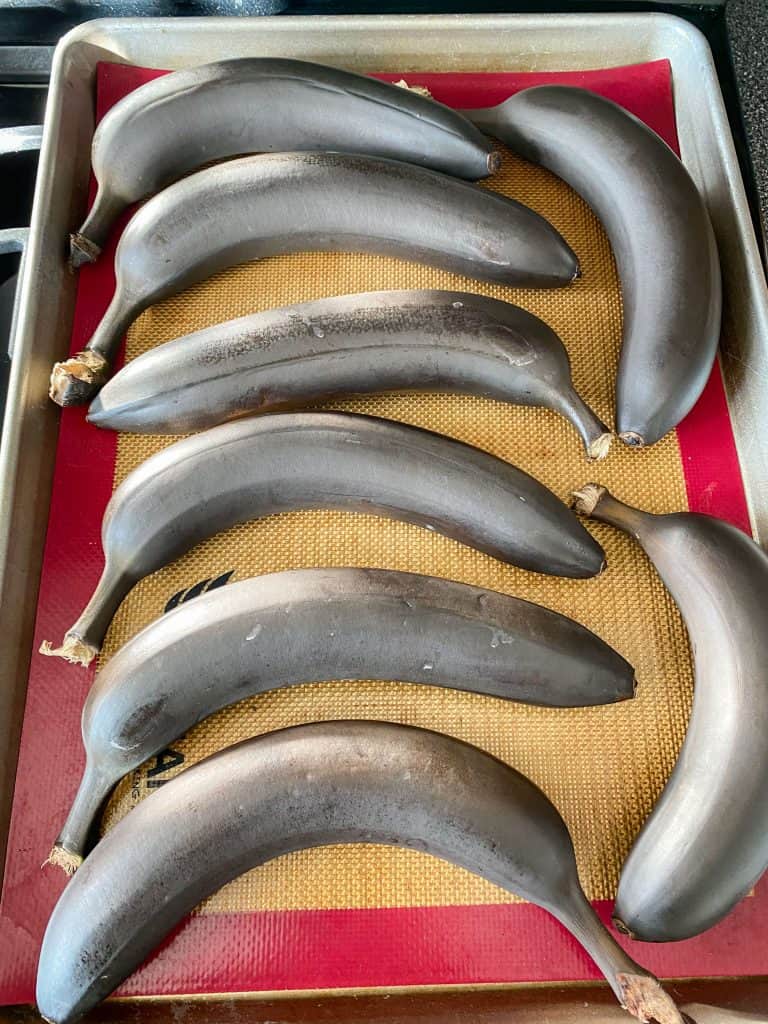
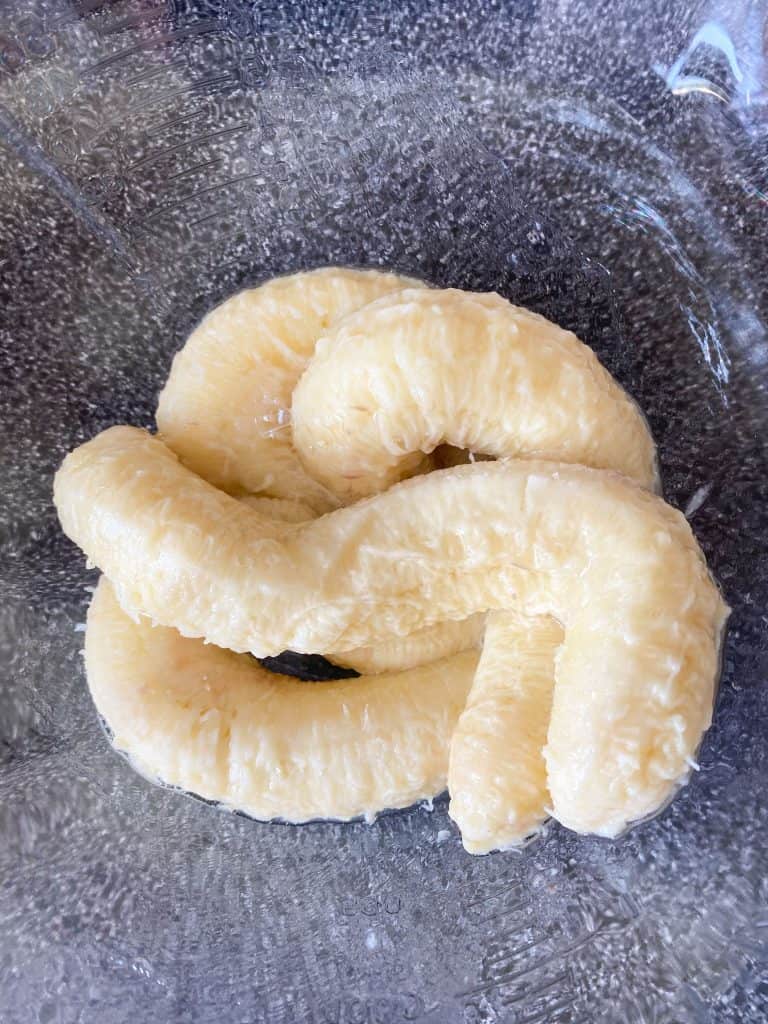
How to ripen bananas in the oven
This recipe calls for overripe bananas, and in fact, depends on using them to avoid the use of extra sugar. If your bananas aren't overripe, you can speed the process by using your oven! Simply preheat to 300 degrees F, and bake your bananas whole for about 30 minutes. They'll turn black, and look a bit gross on the outside, but they'll be perfect inside! Make sure to let them cool before you try to peel them. See the pictures below:

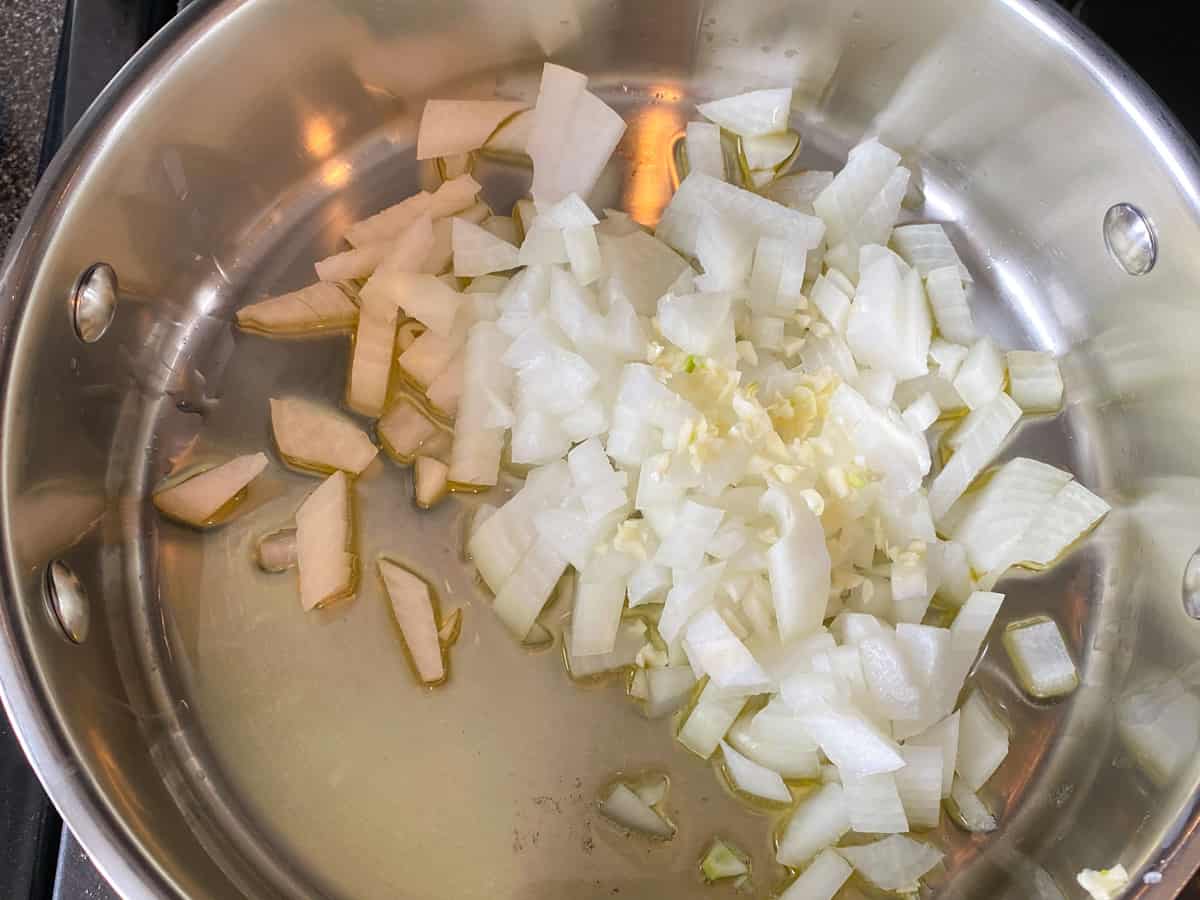
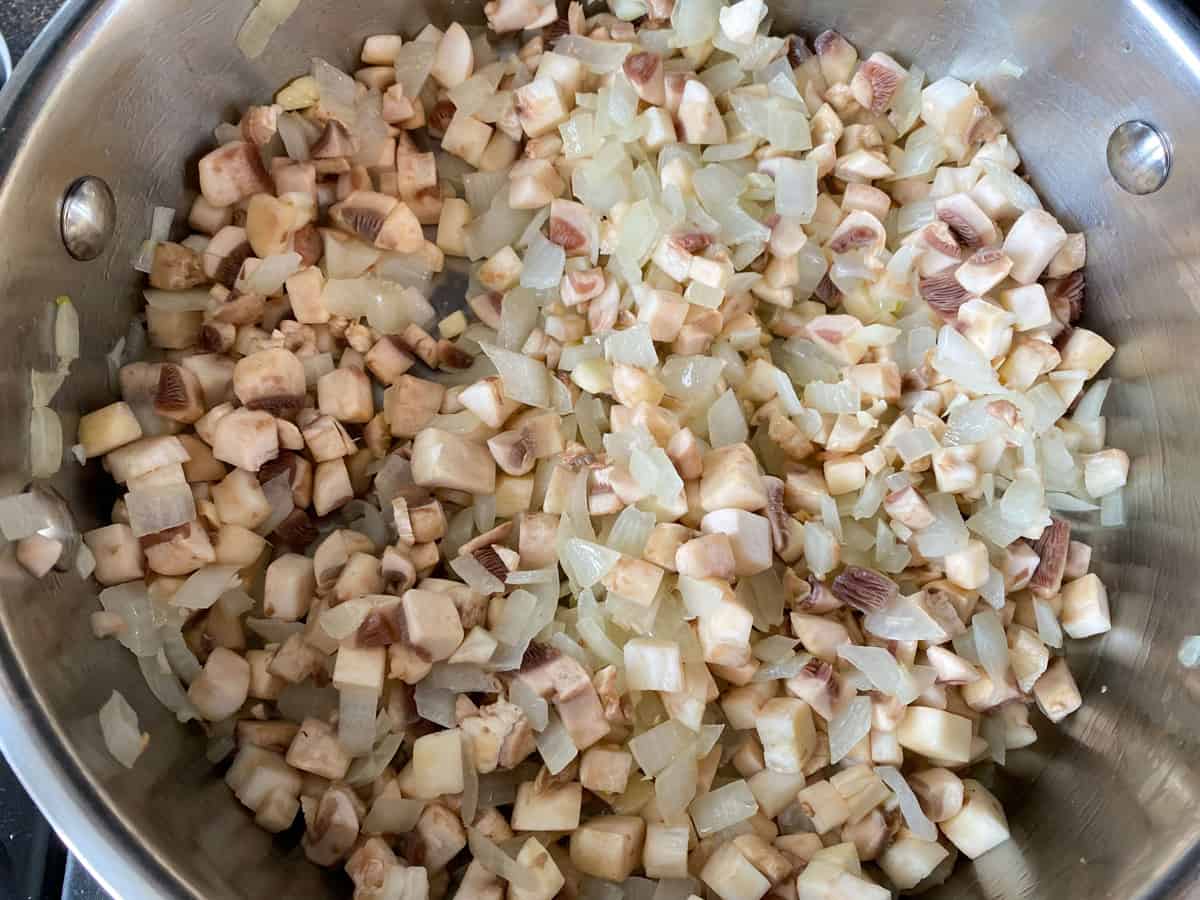
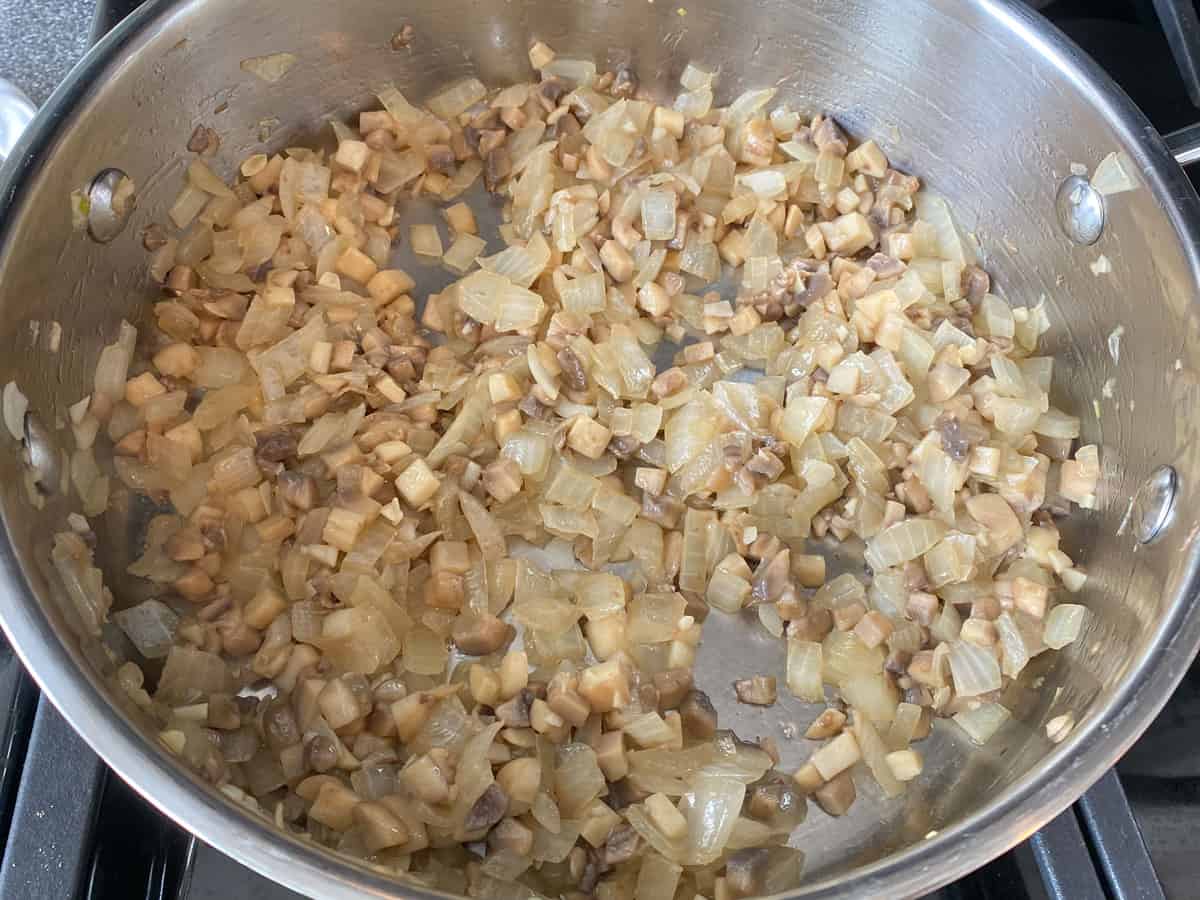
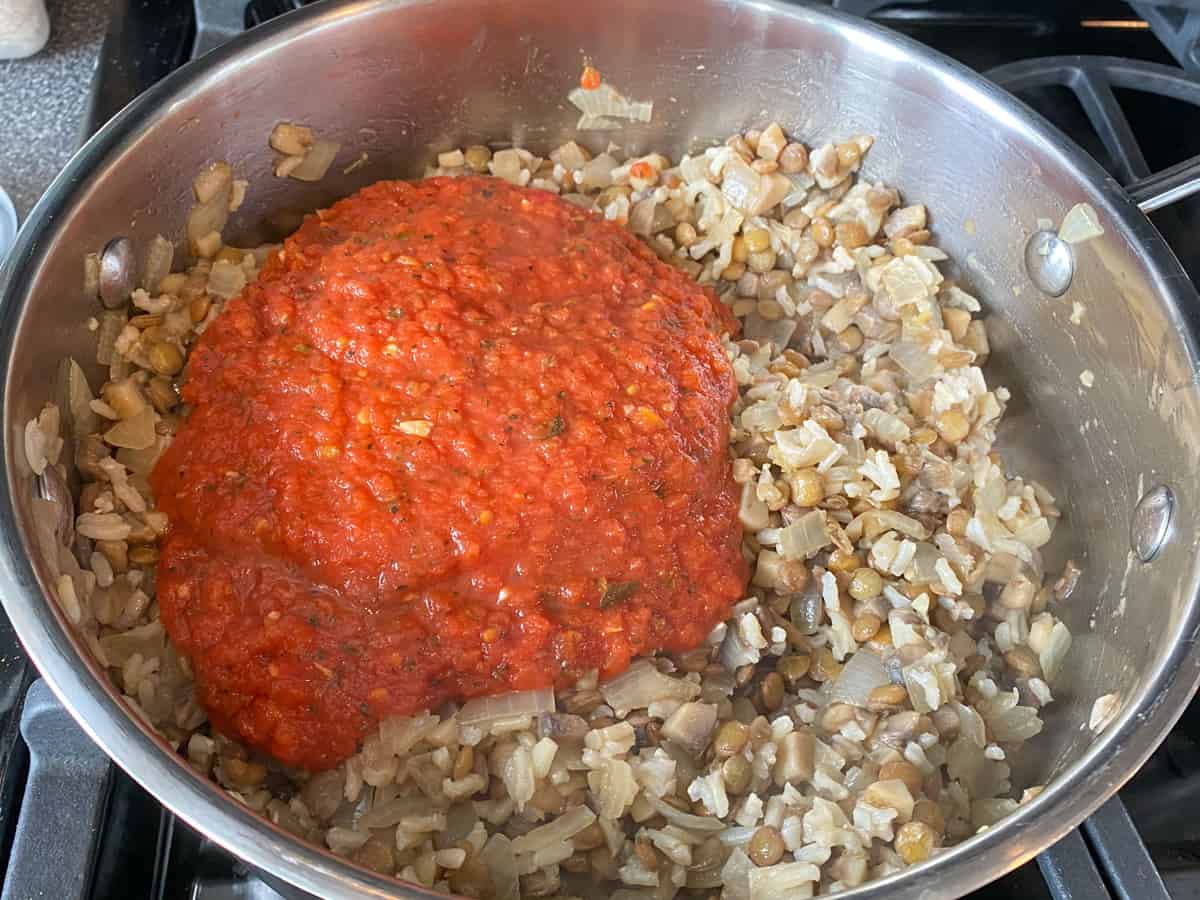
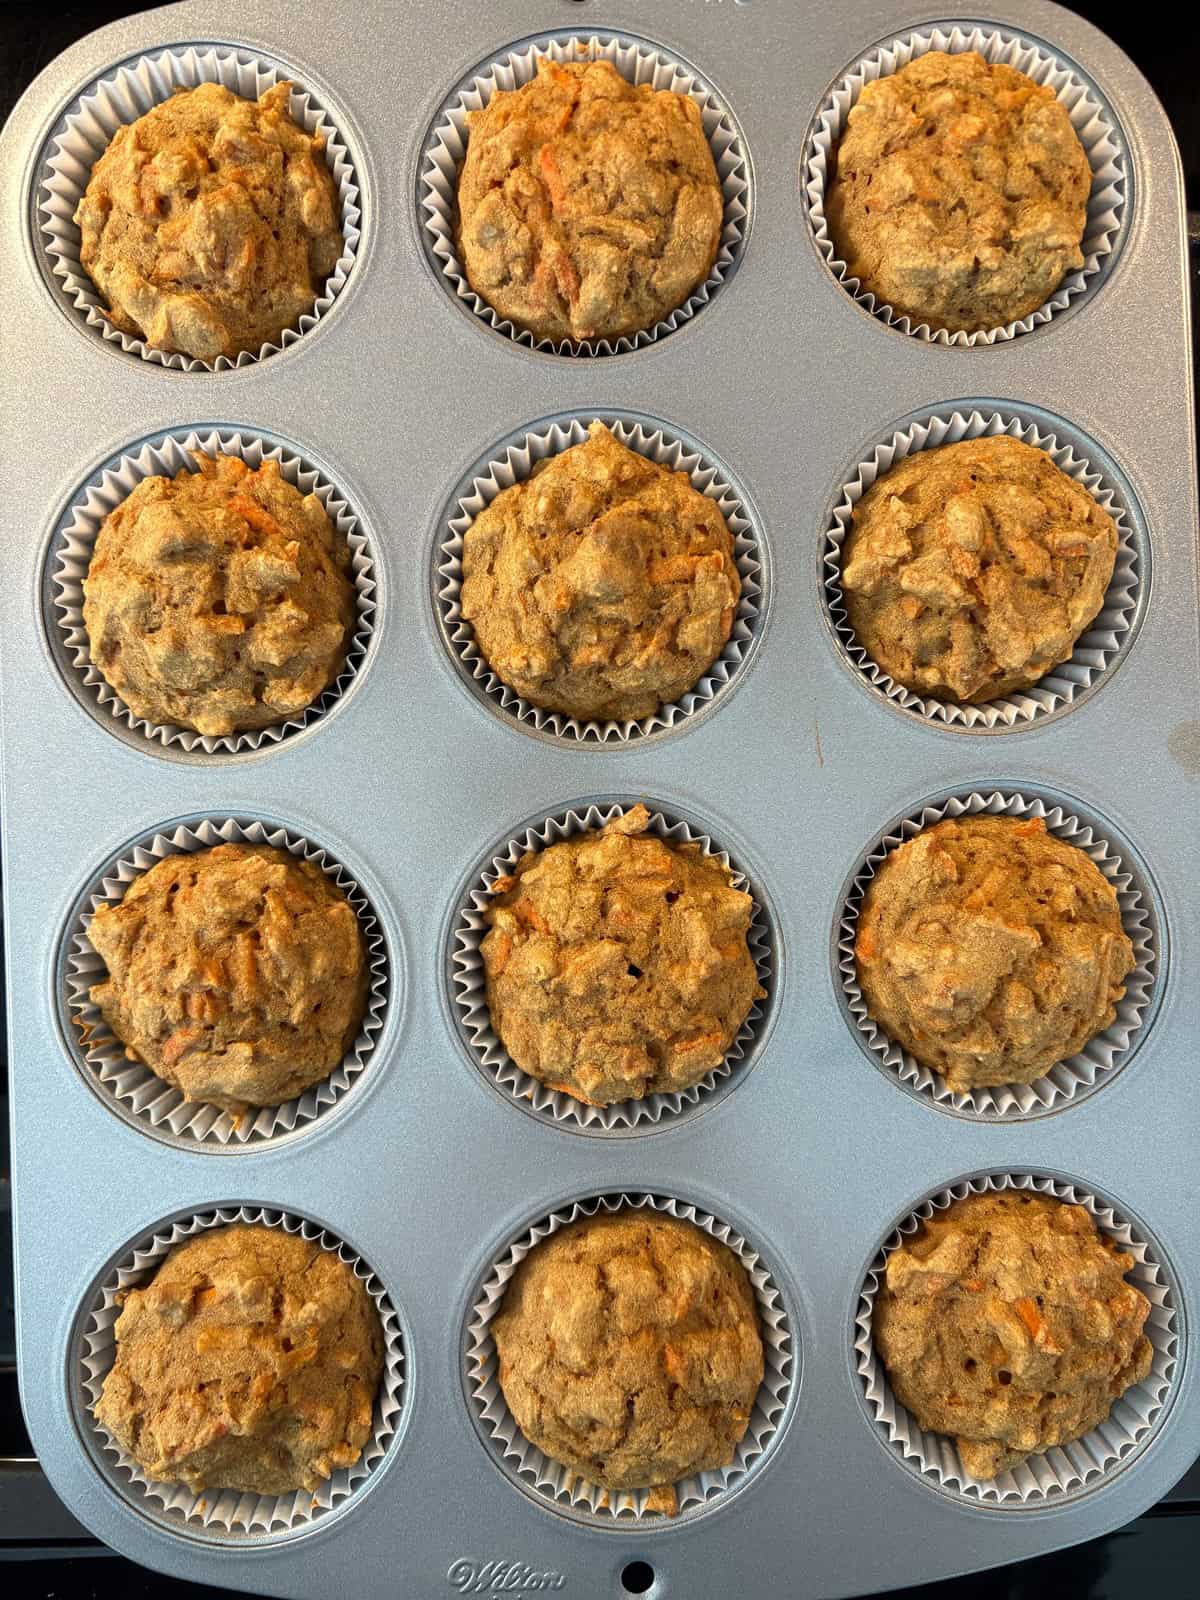
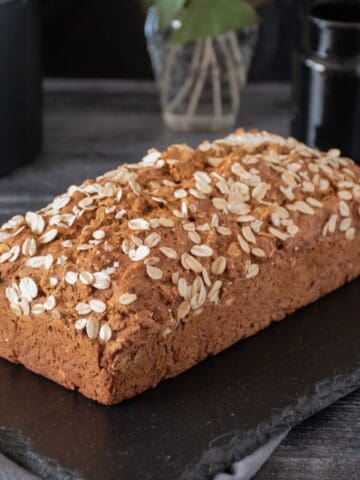
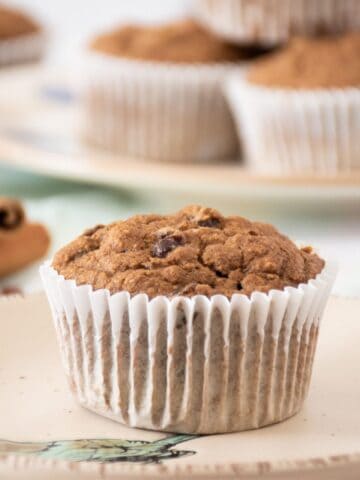
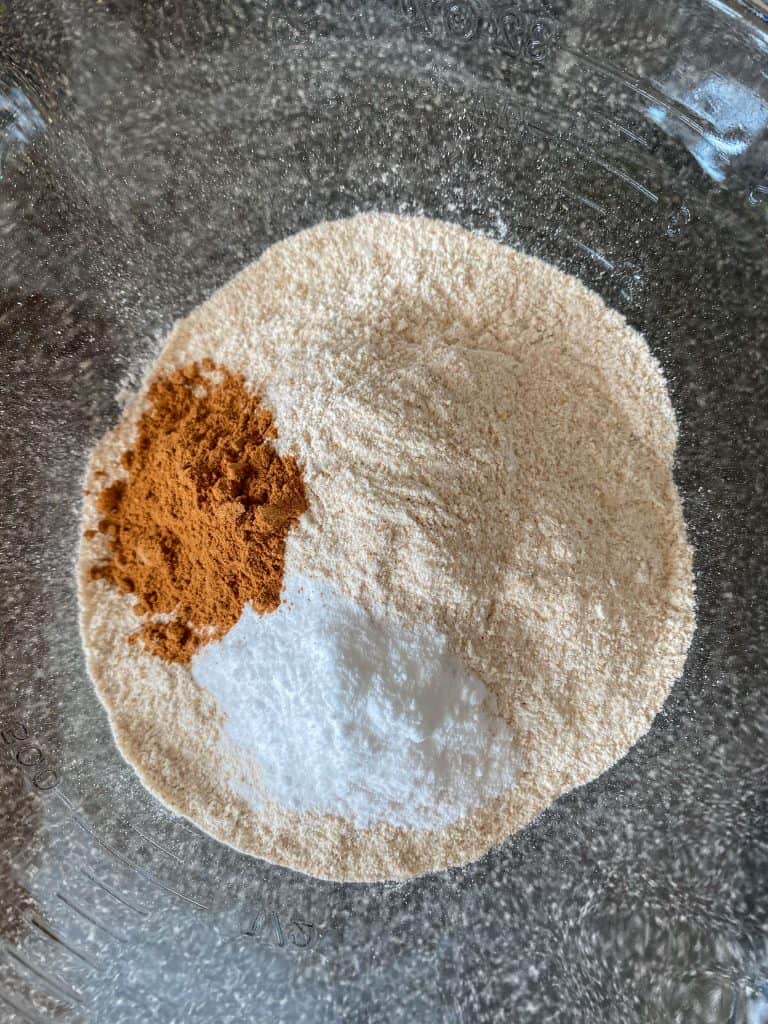
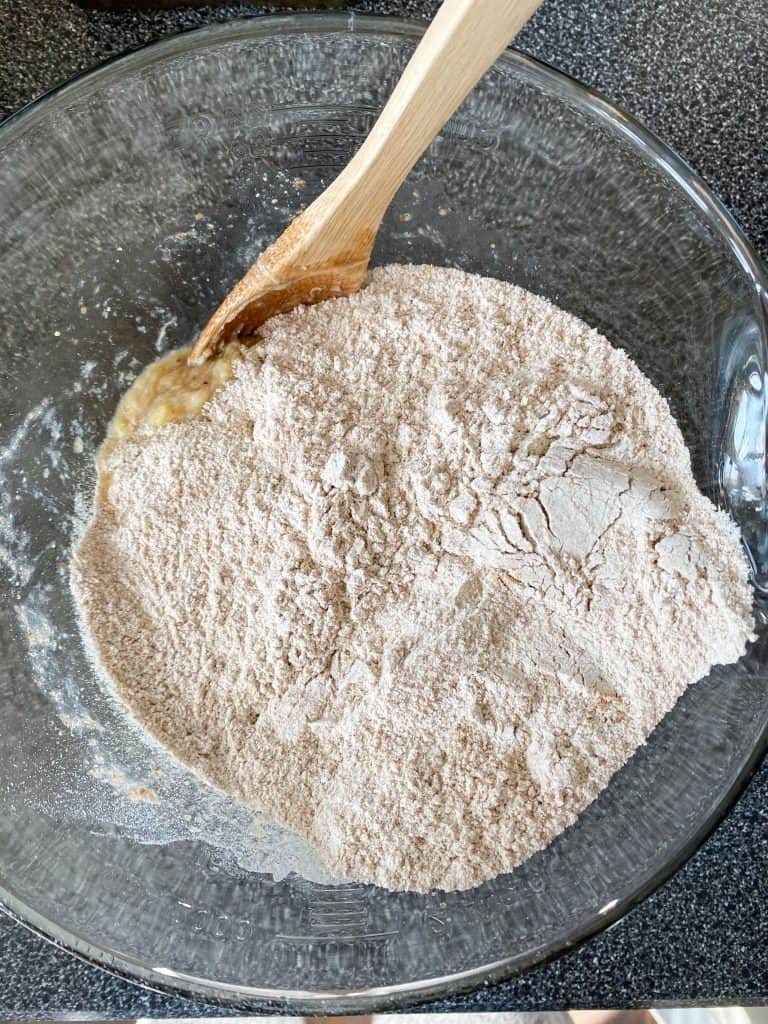
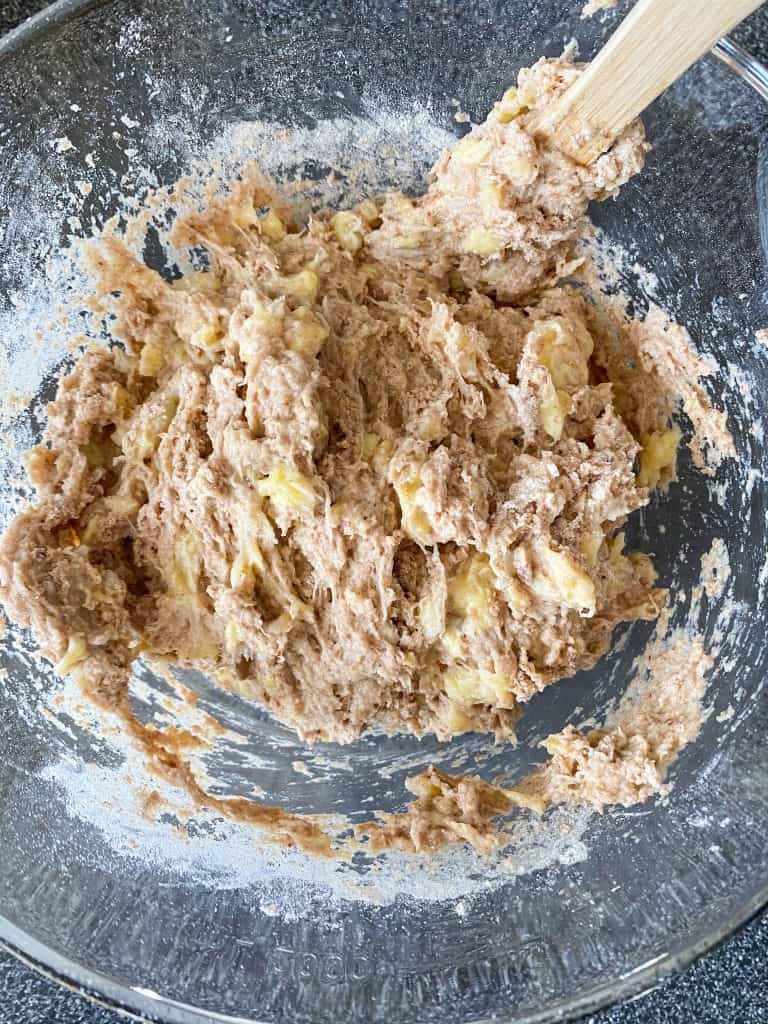
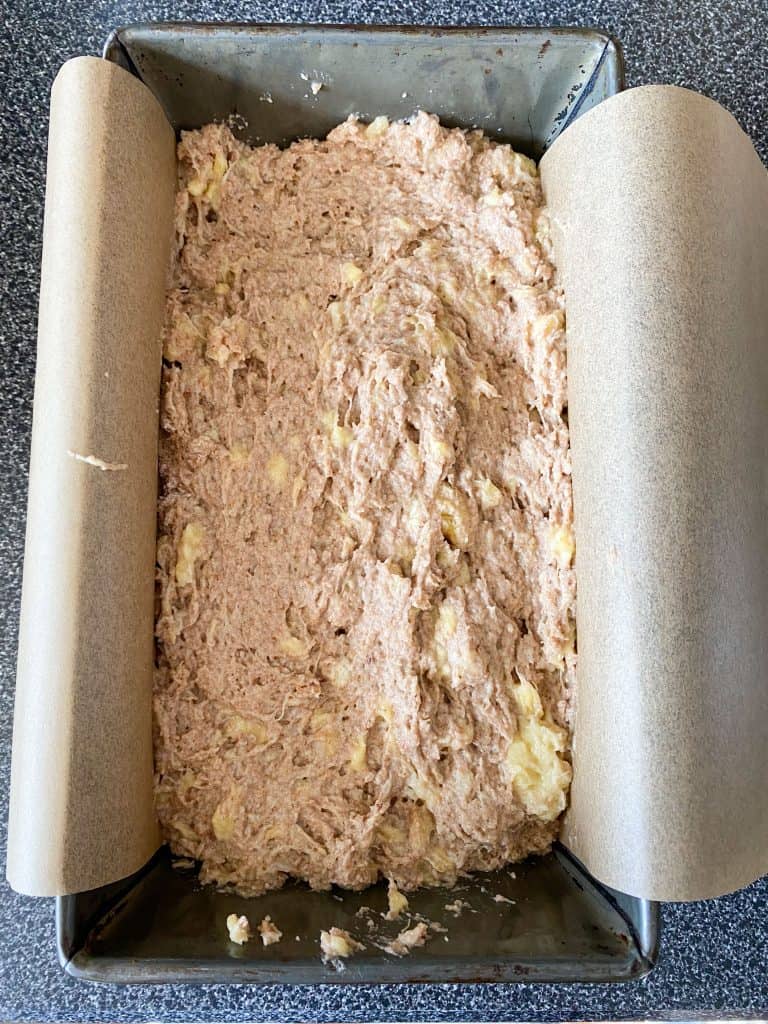
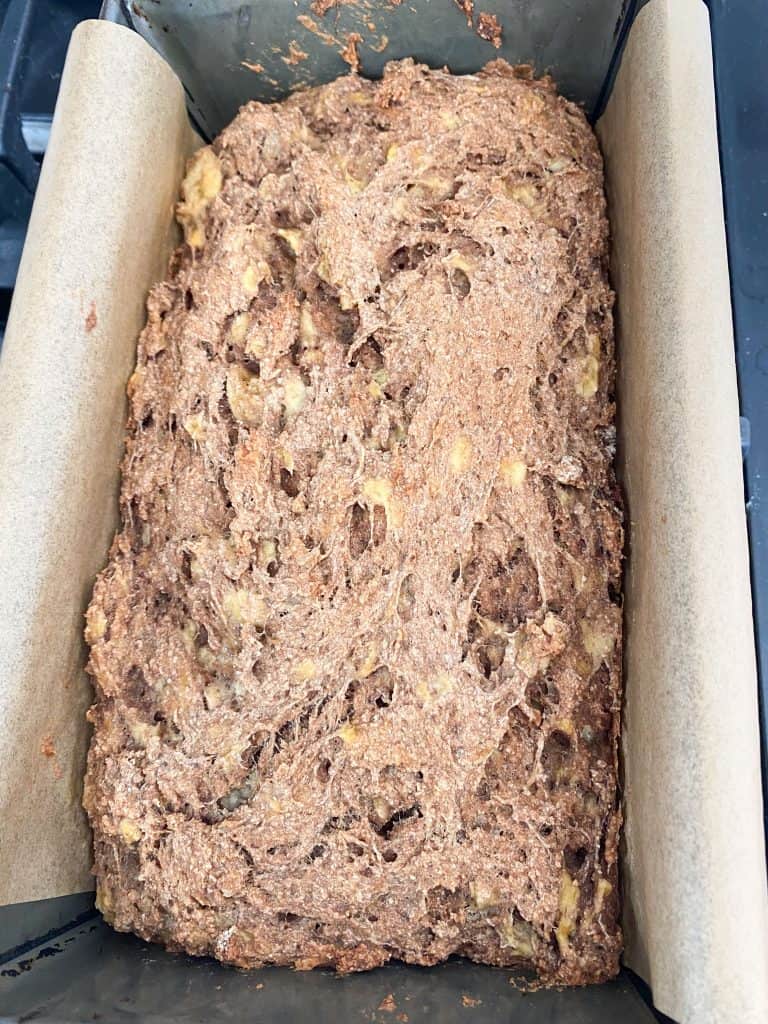
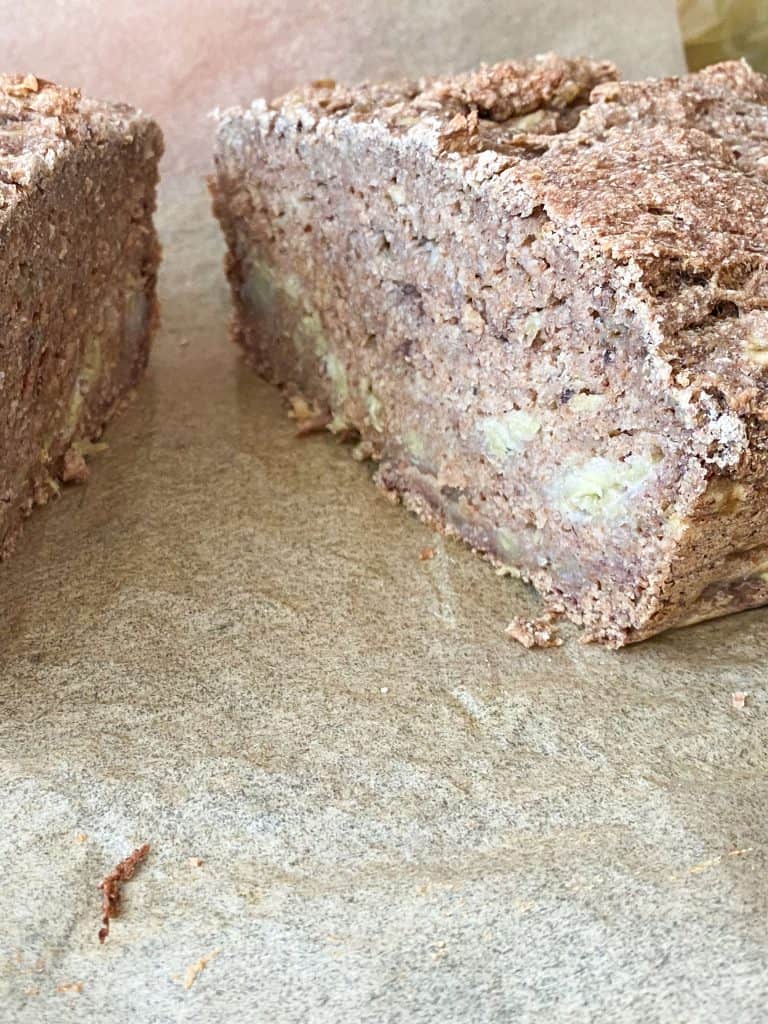
How to make banana bread (in pictures)
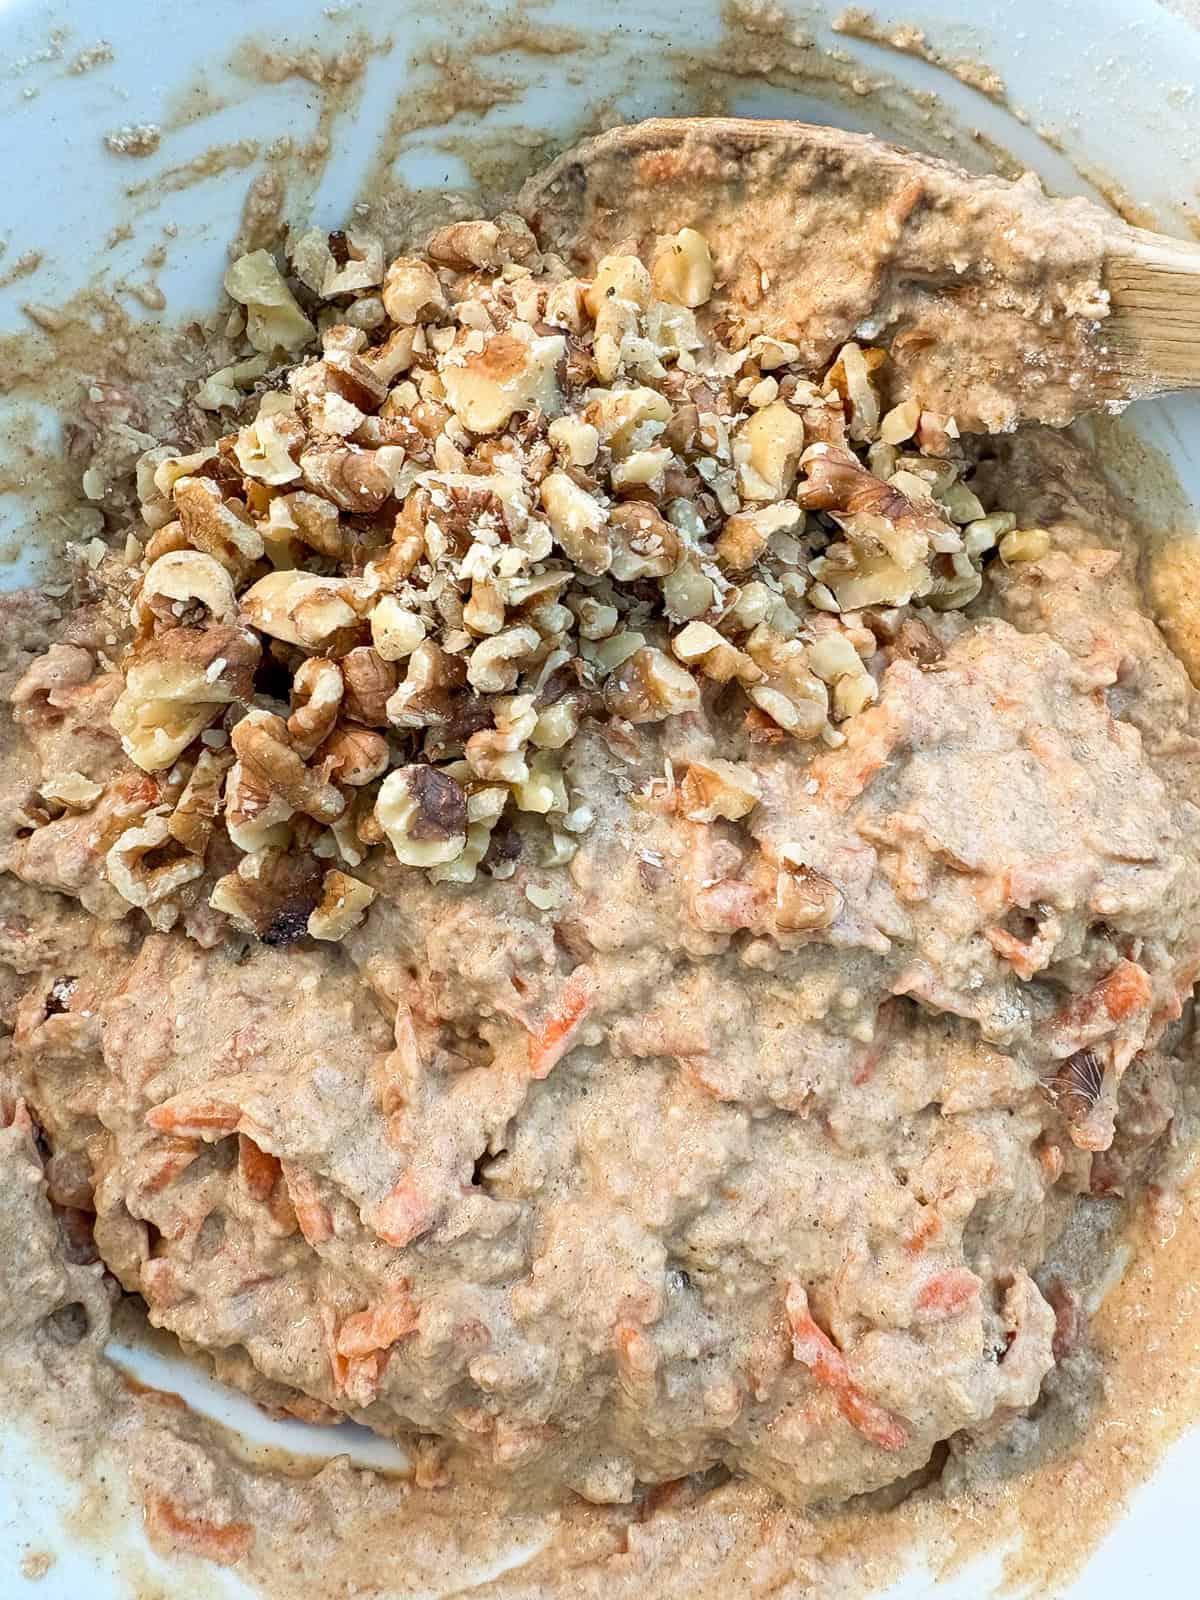
Banana bread is a relatively easy quick bread. For this recipe, we are not using nuts, because we're going to stir them into the nice cream toward the end. Here's how we do that:
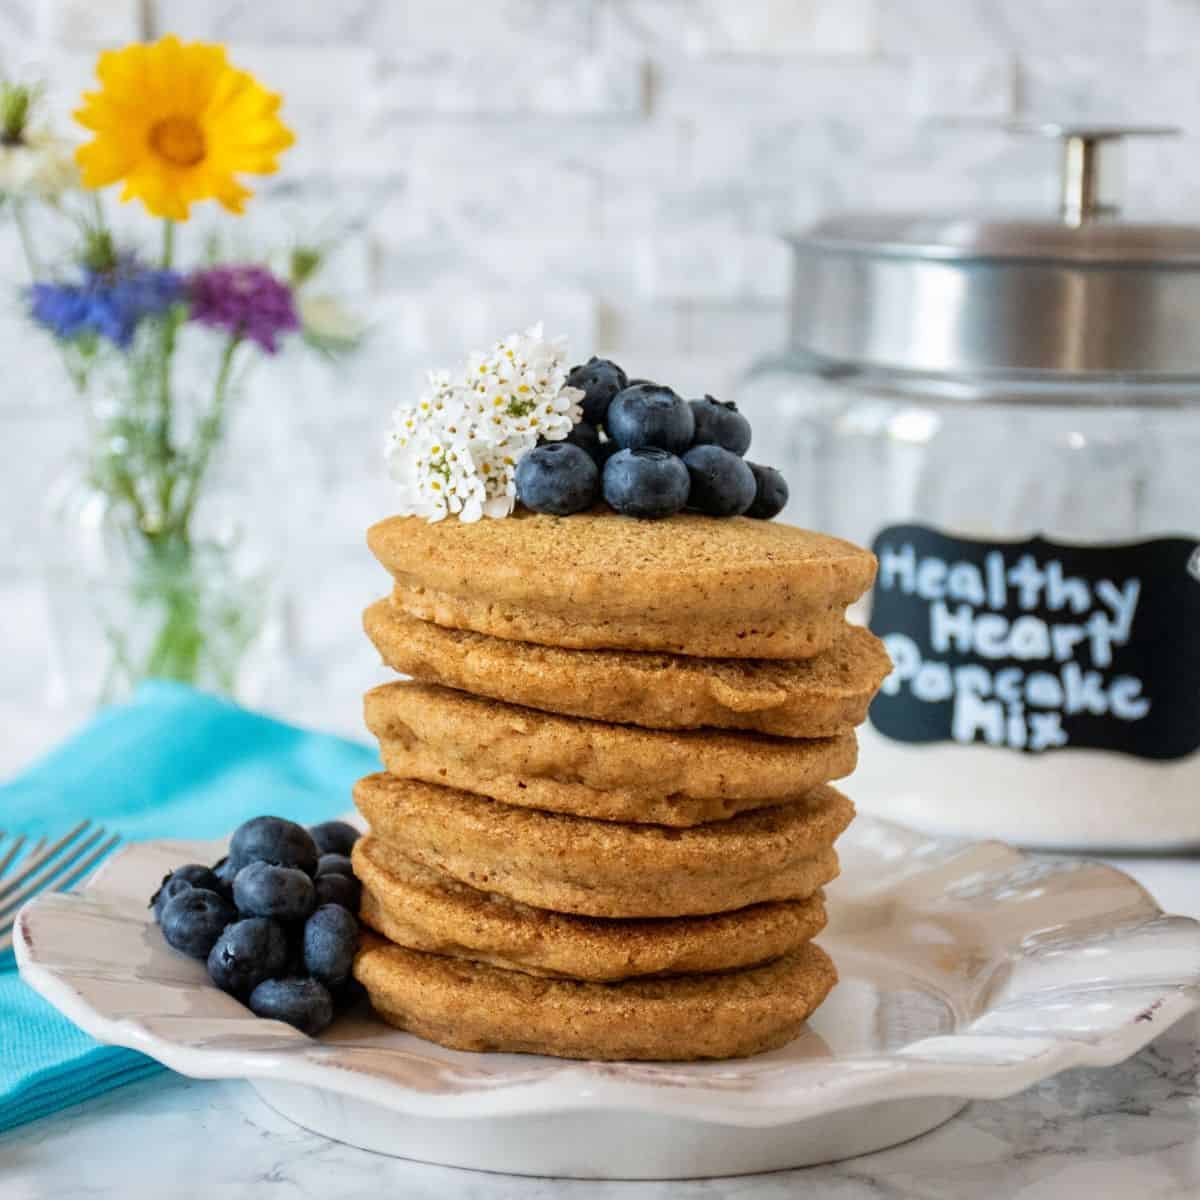
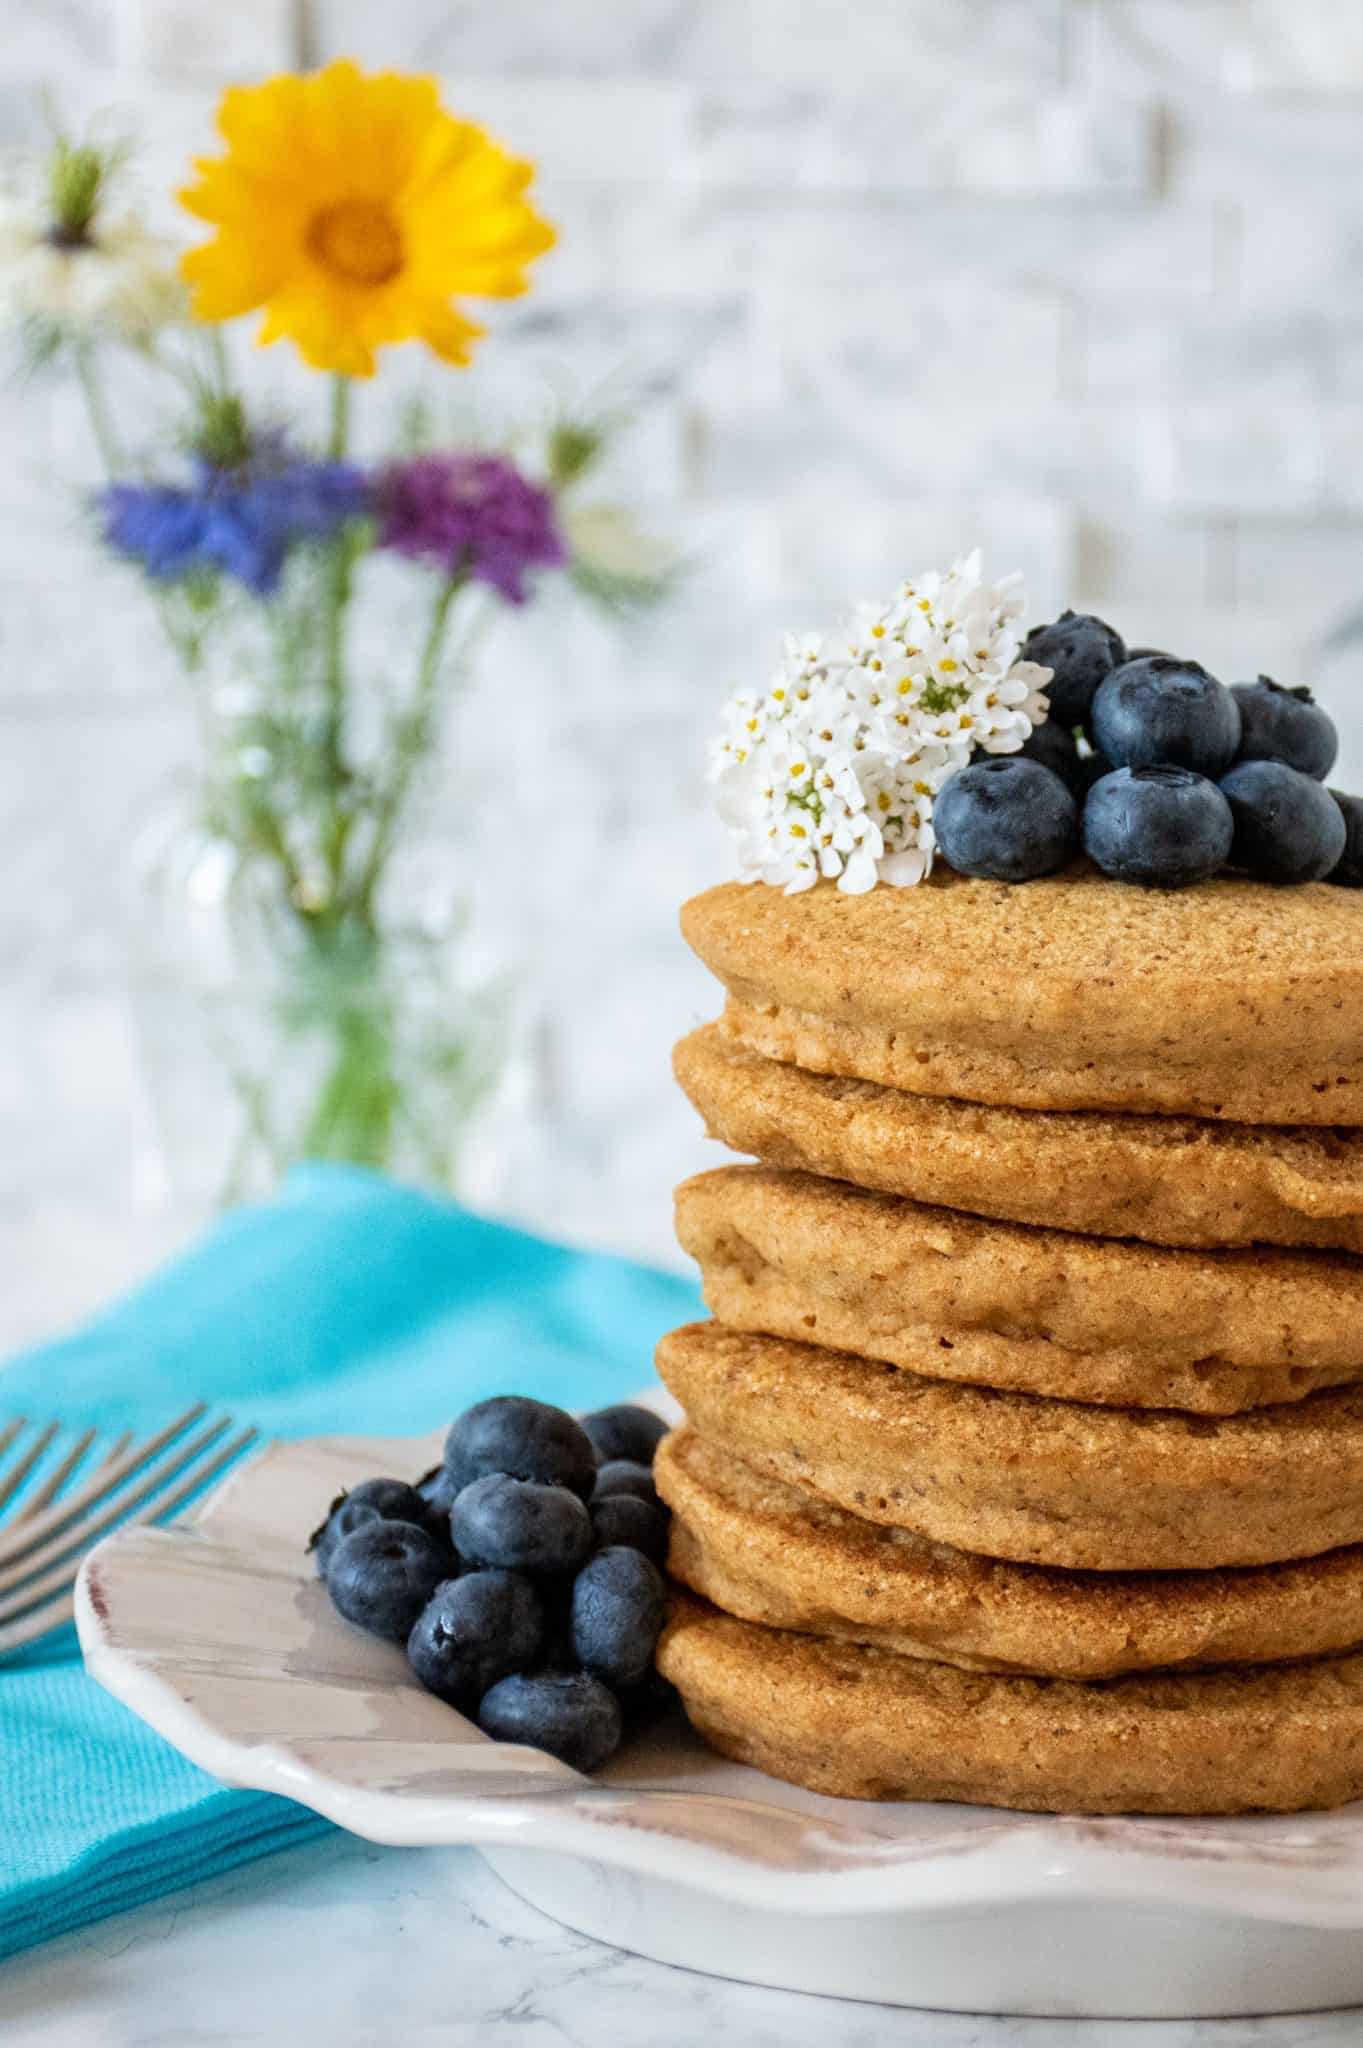
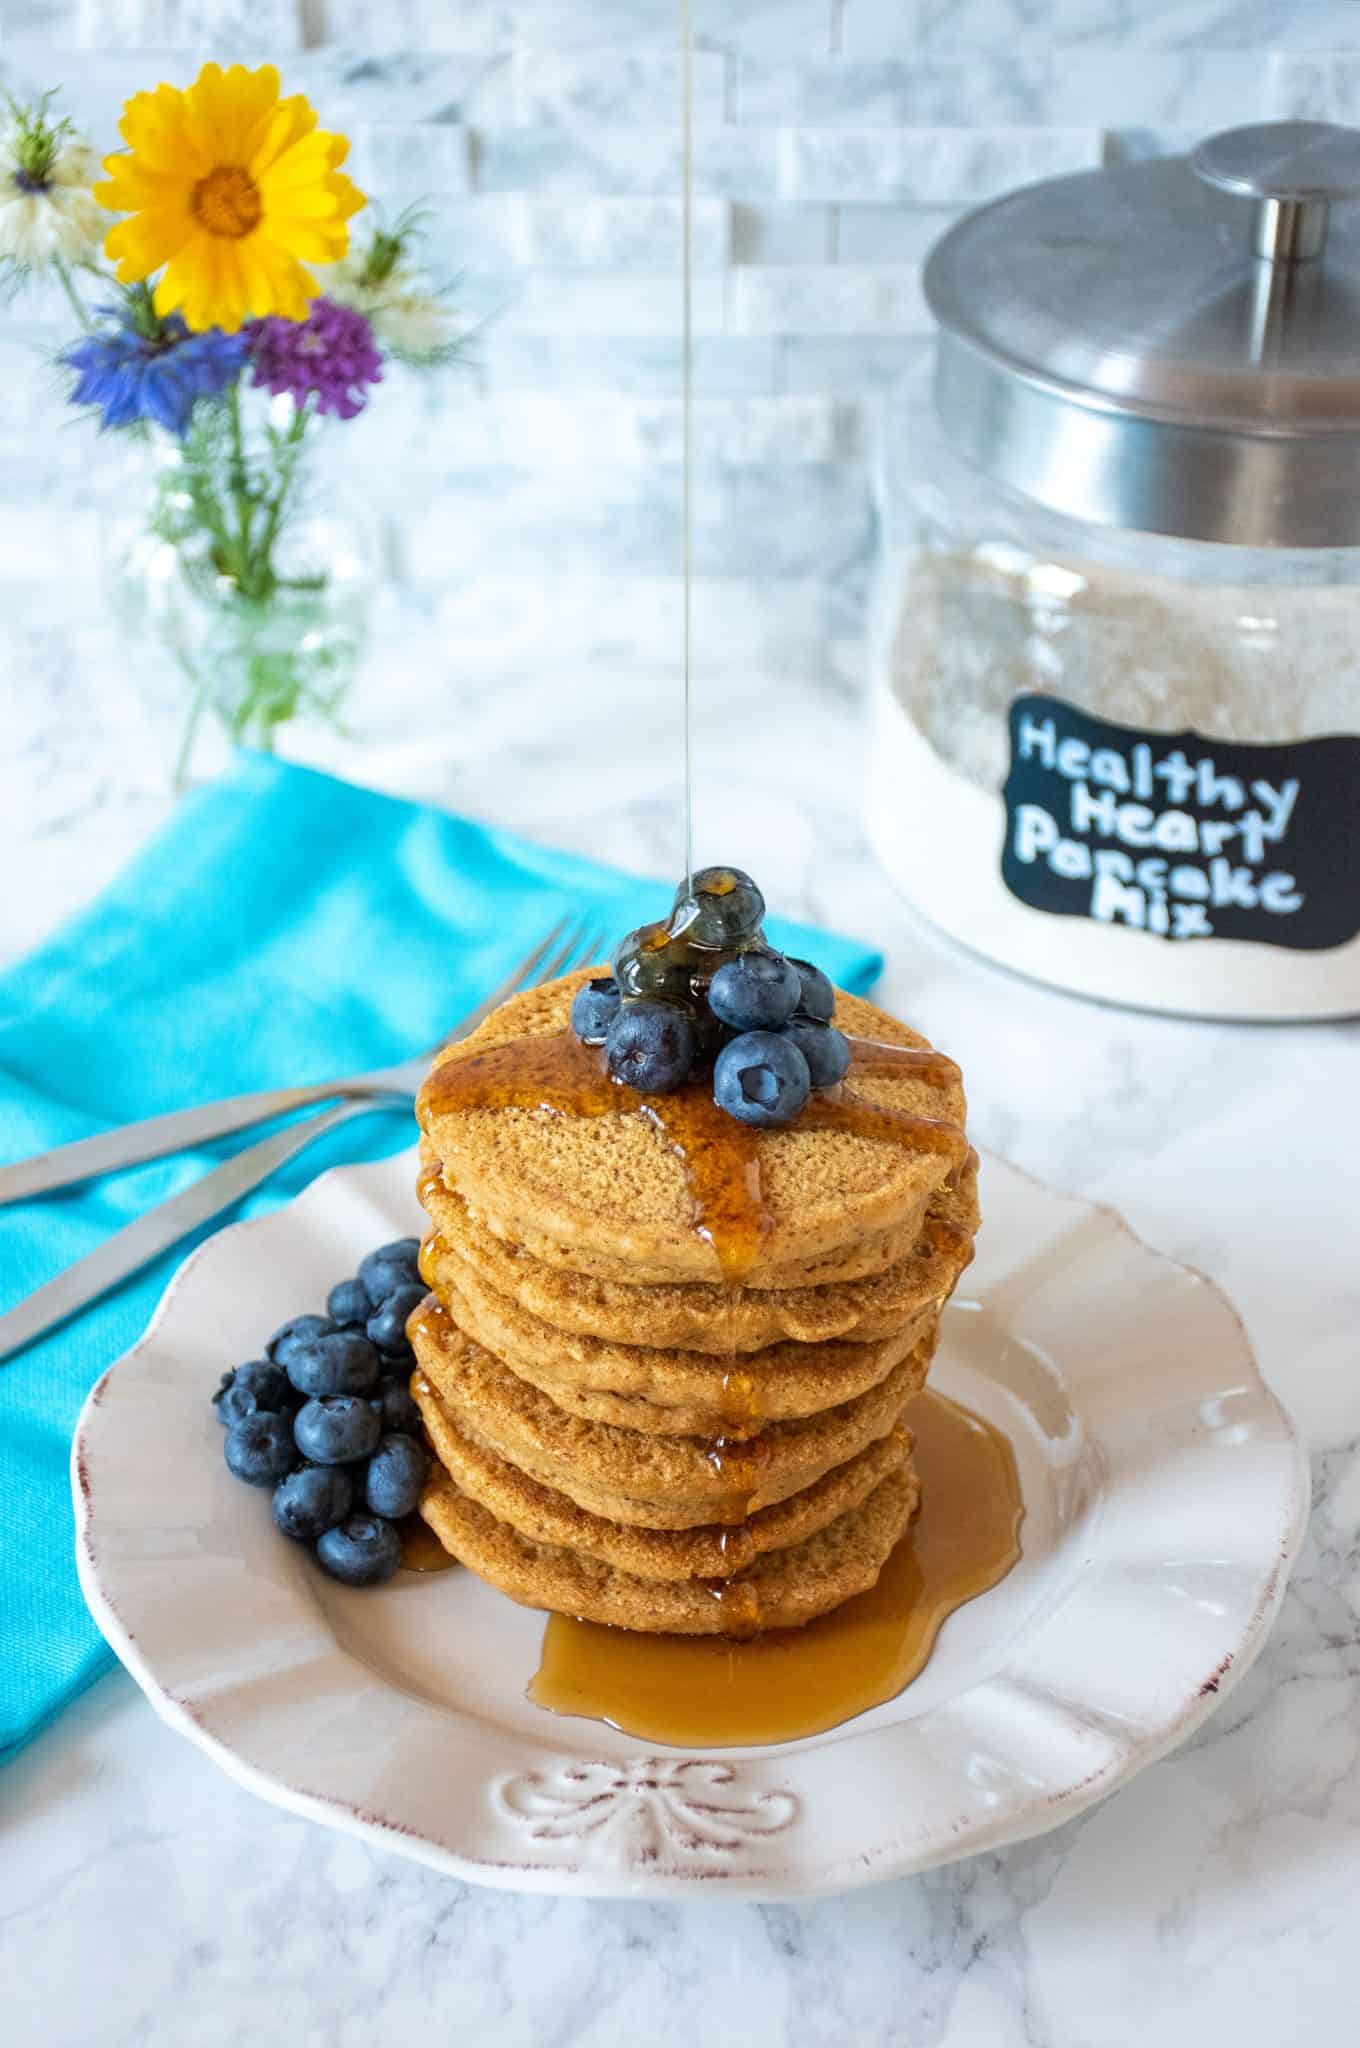
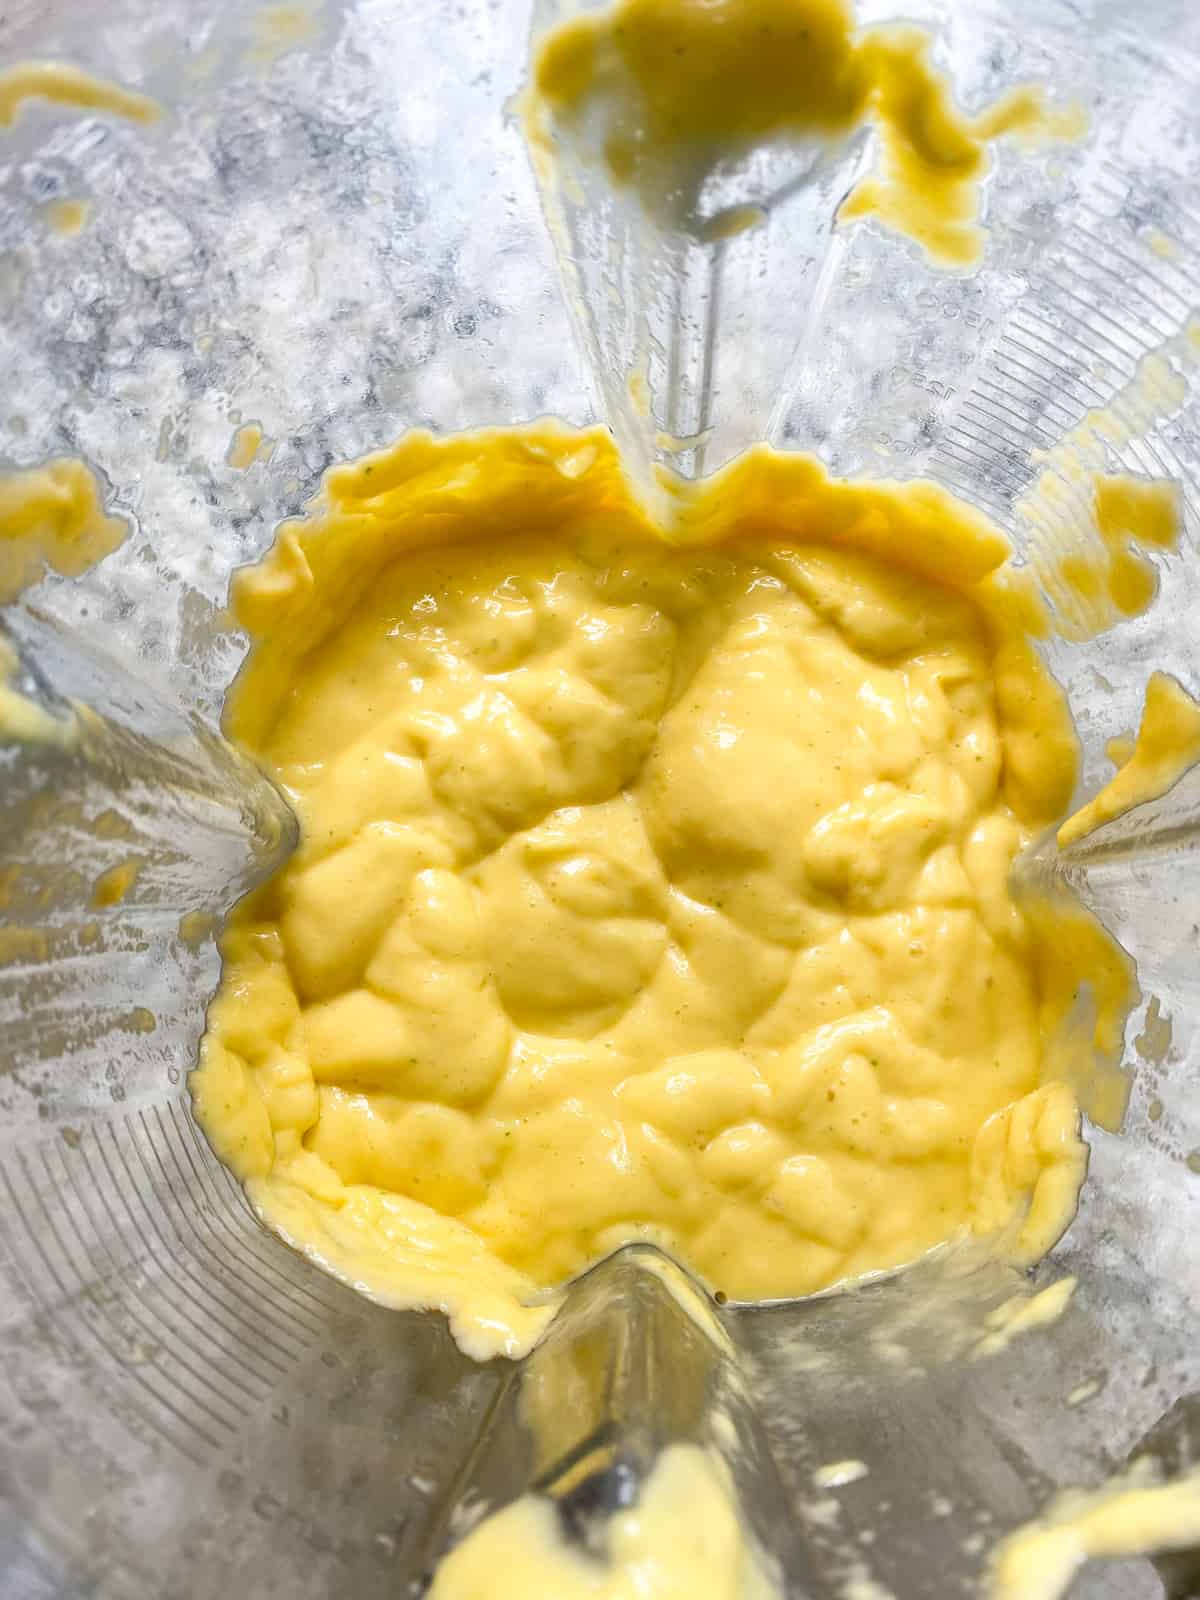
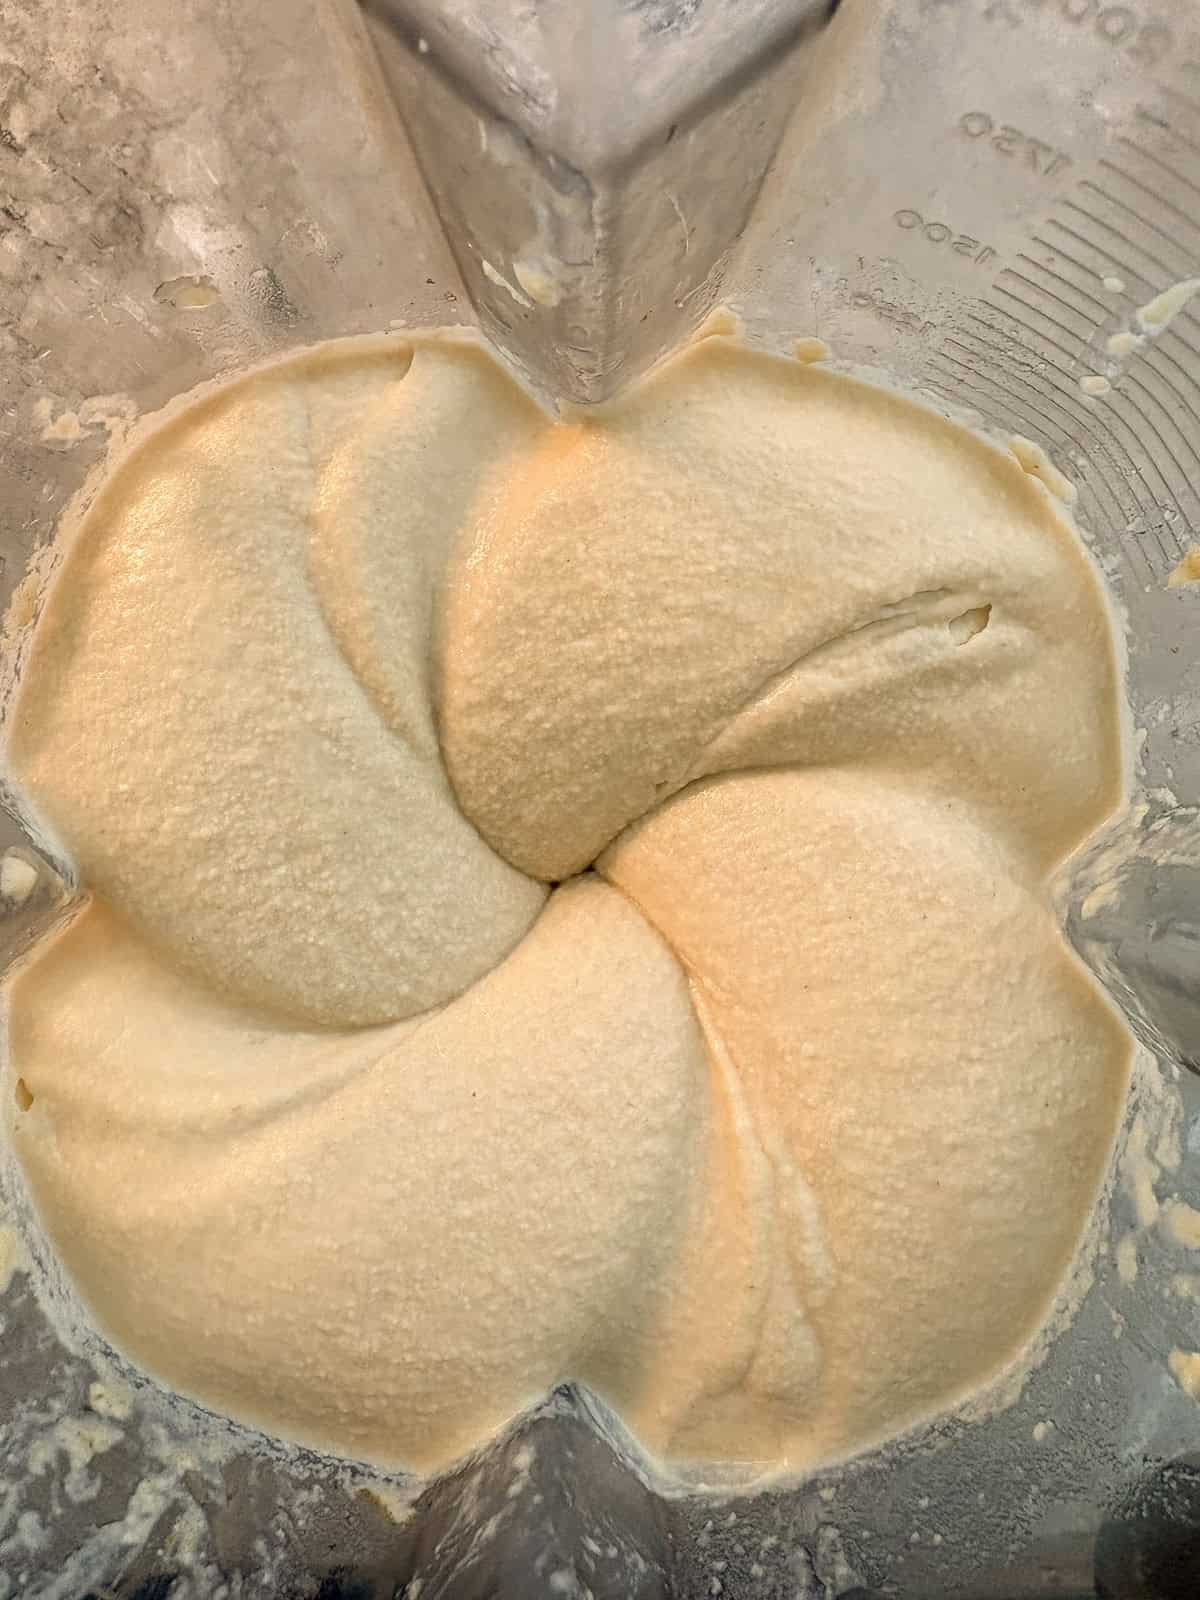
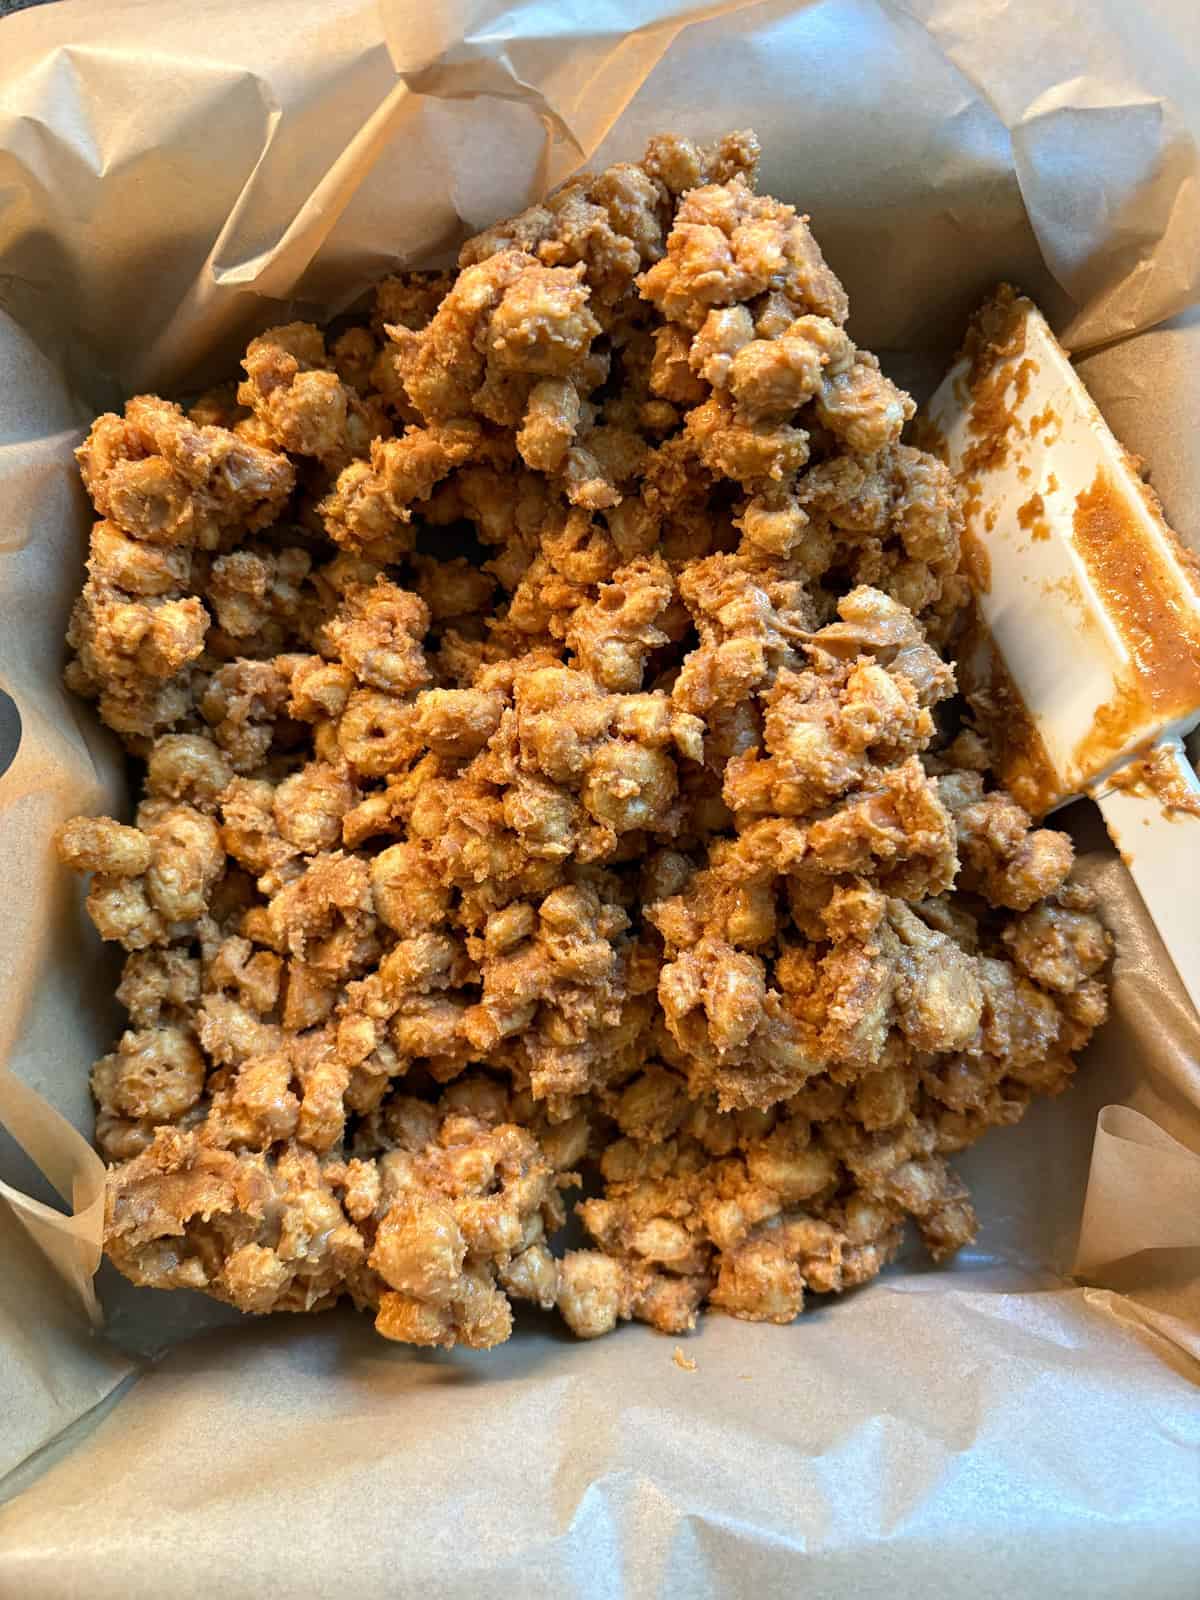
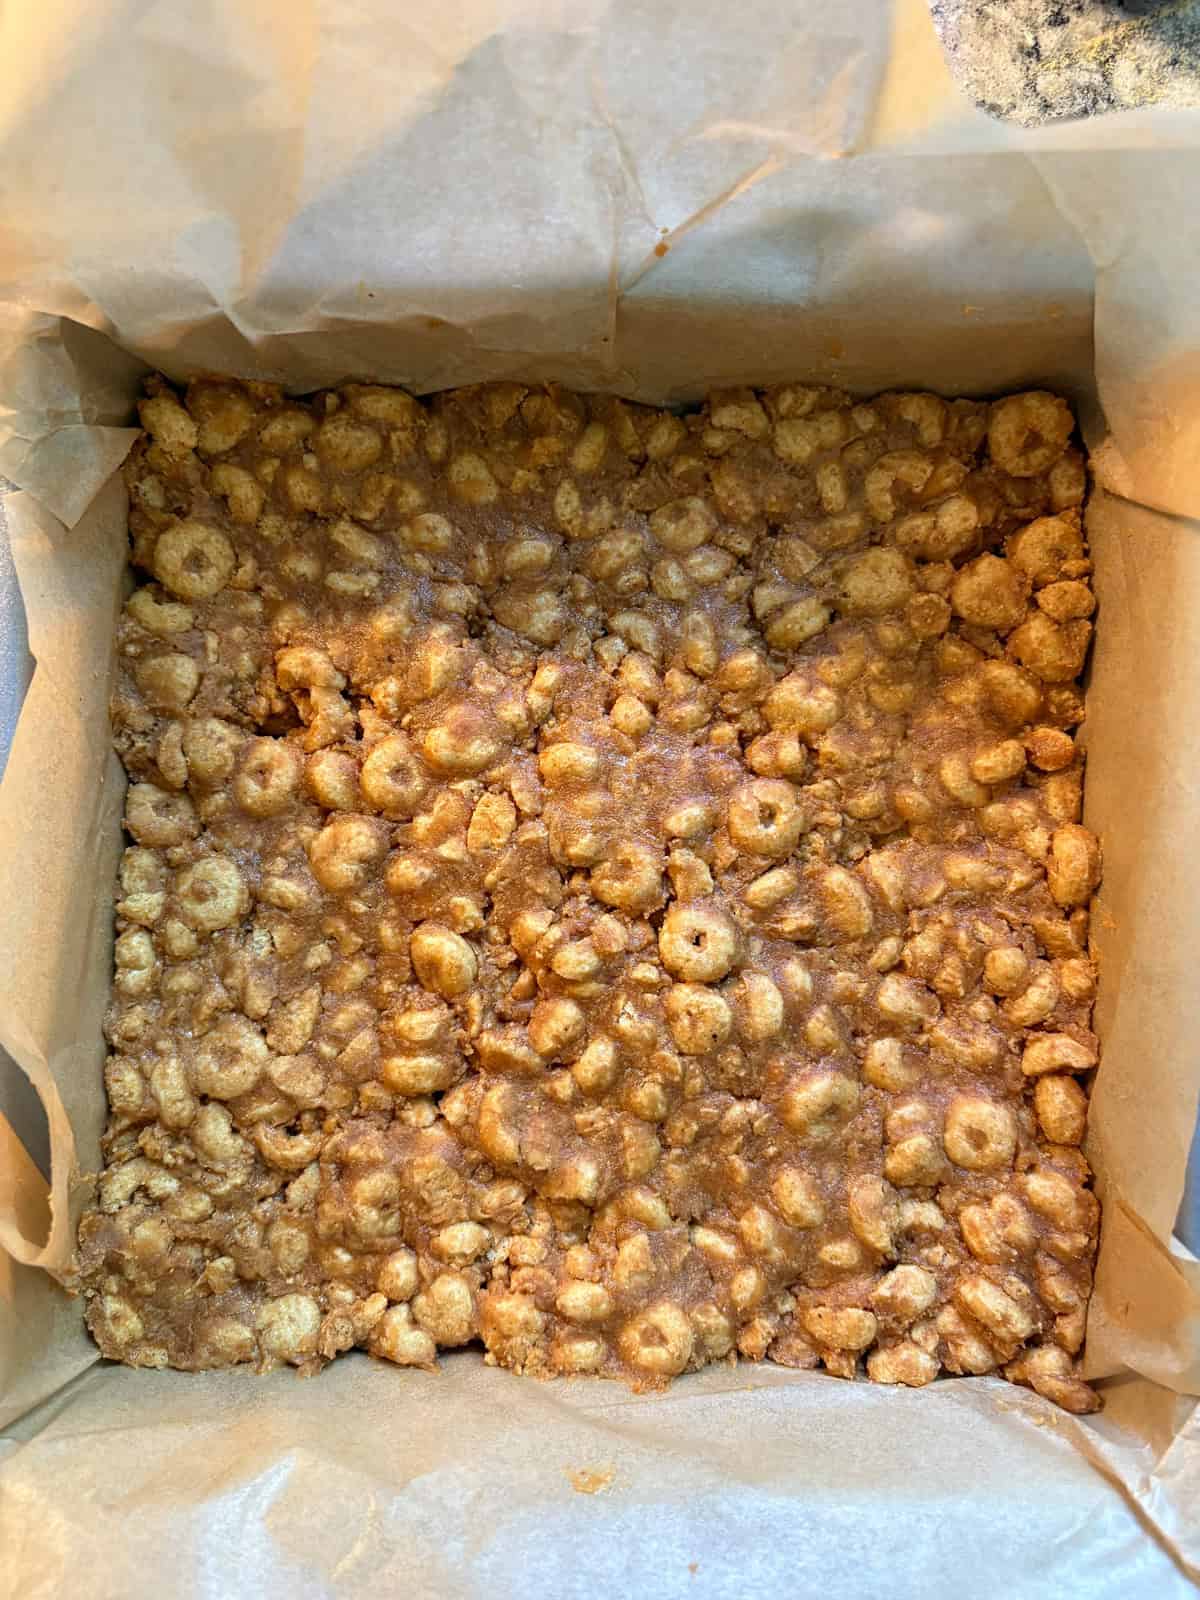
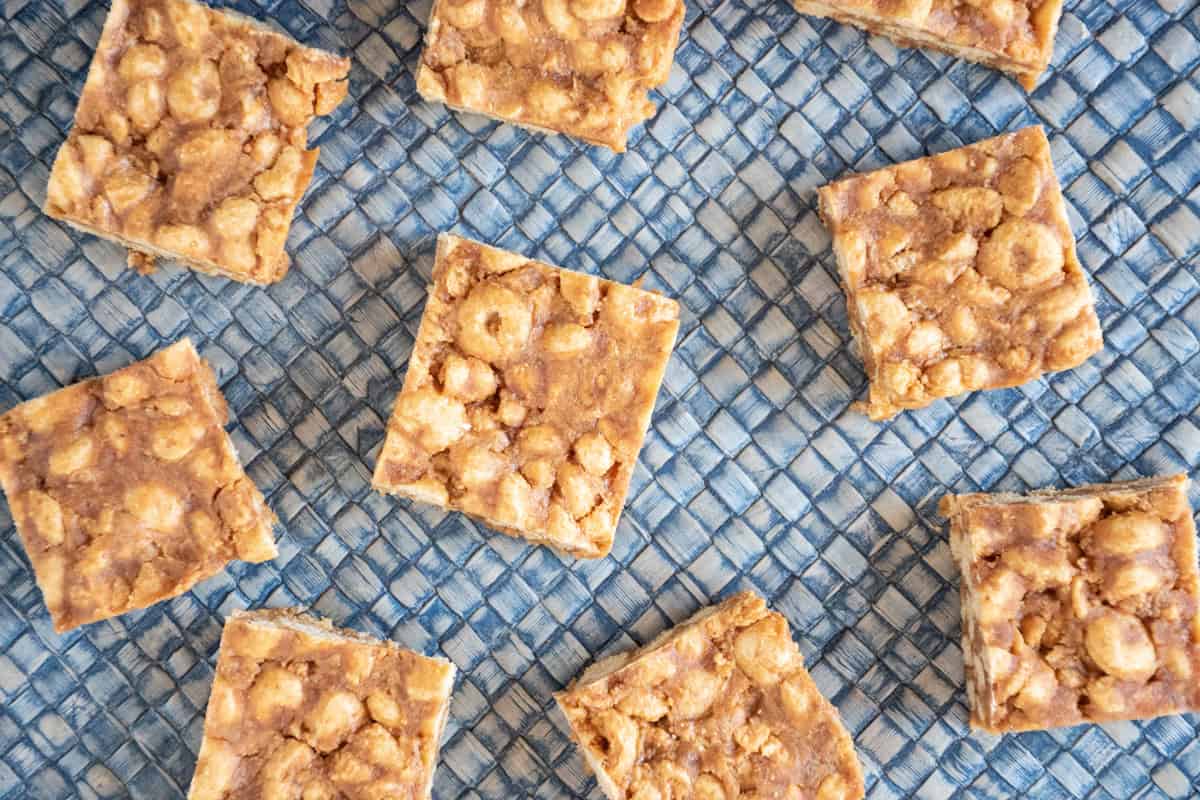
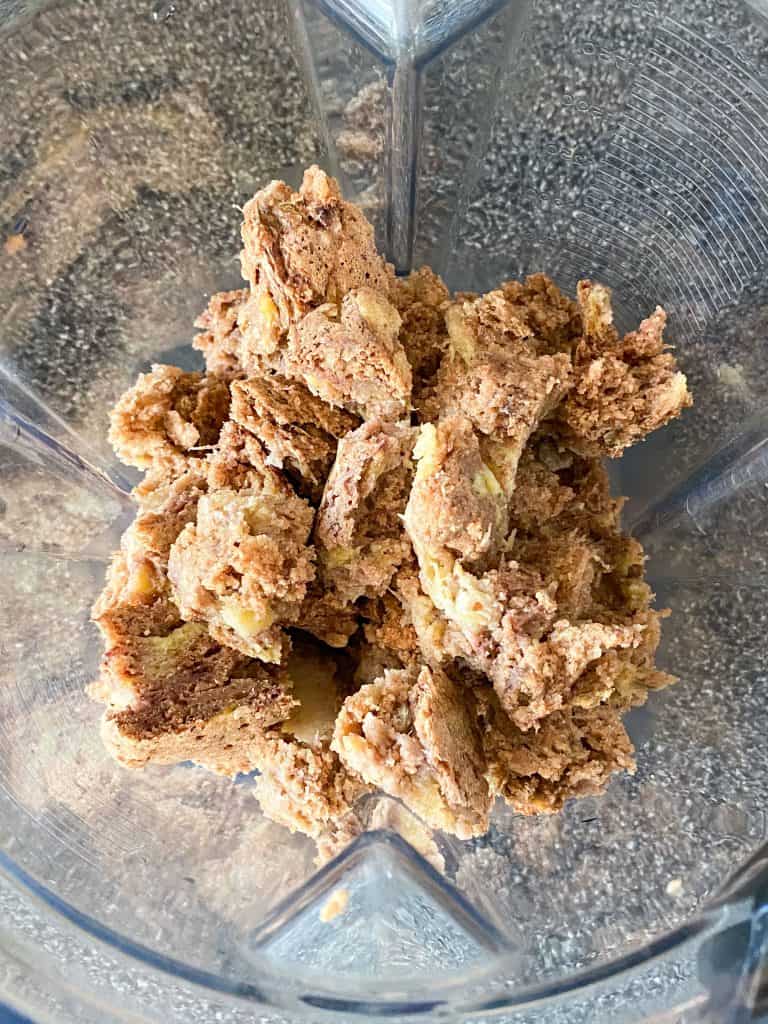
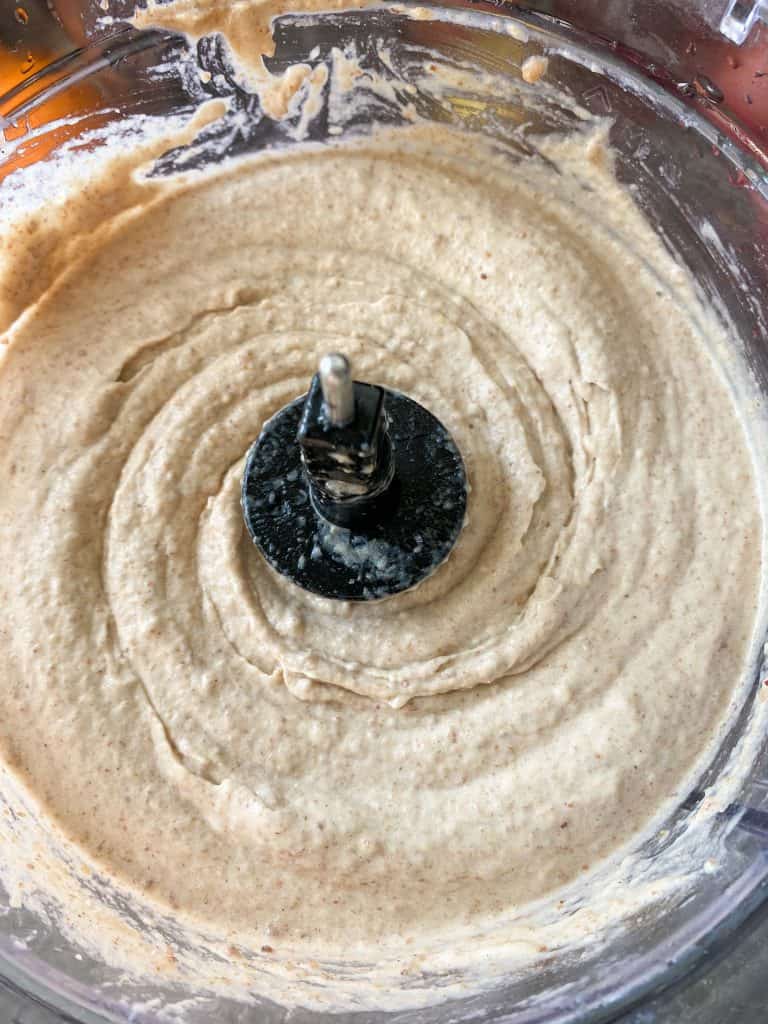
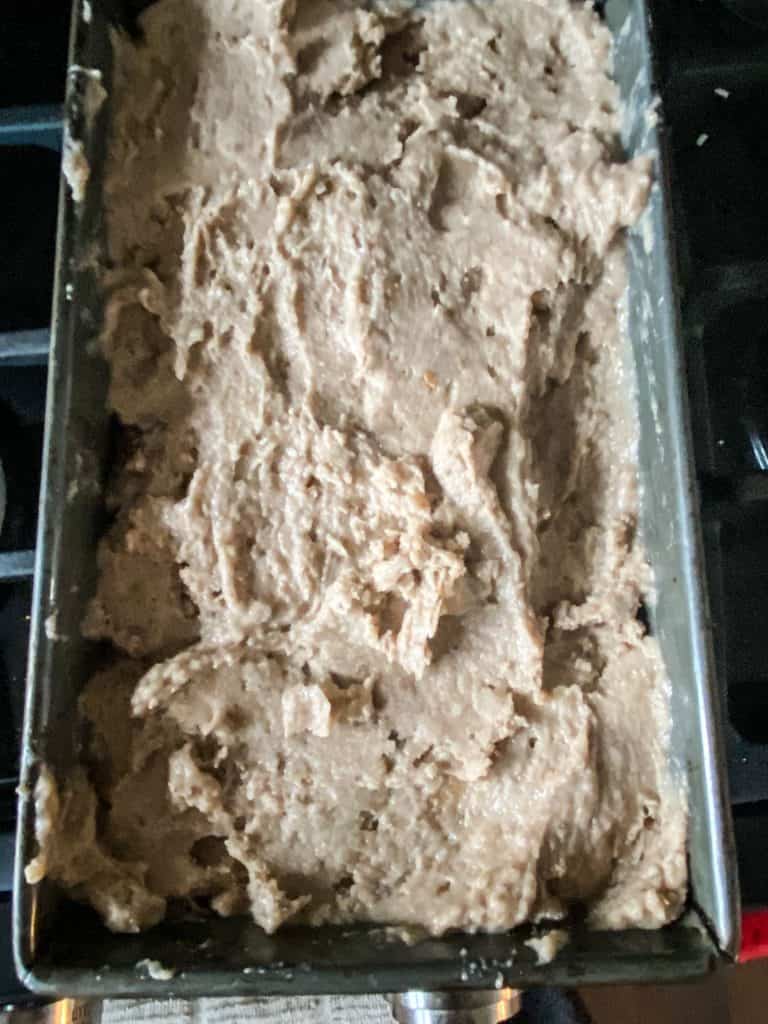
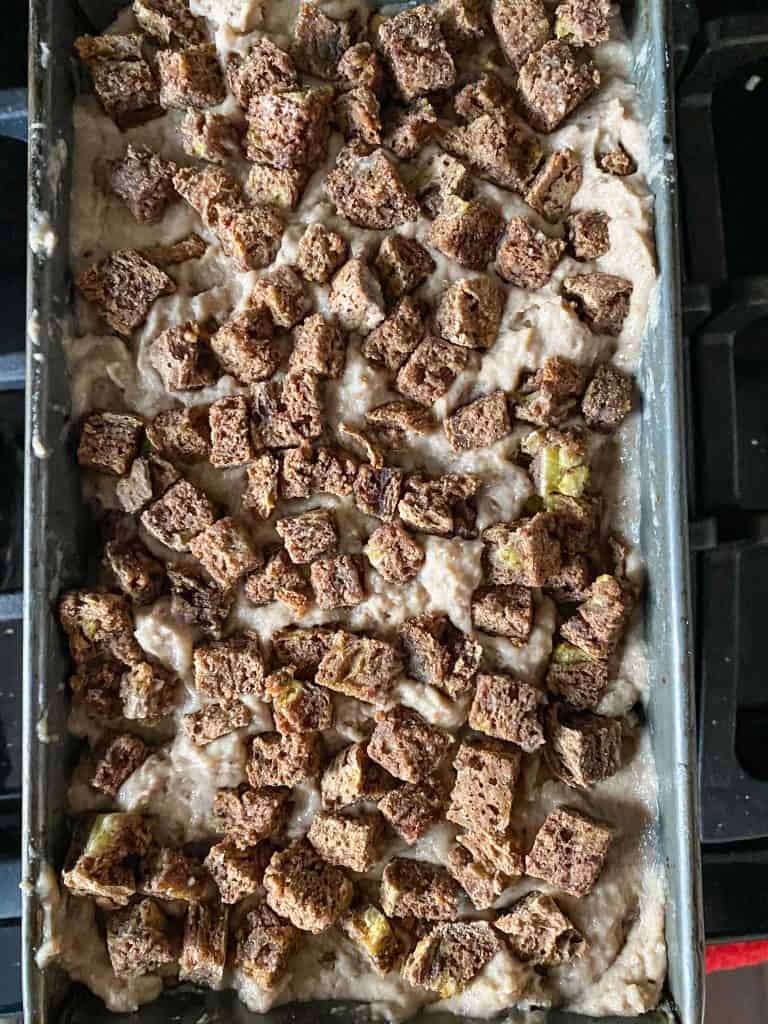
How to make banana bread nice cream (in pictures)
There are just a few more steps to make this recipe above regular nice cream, but not many!

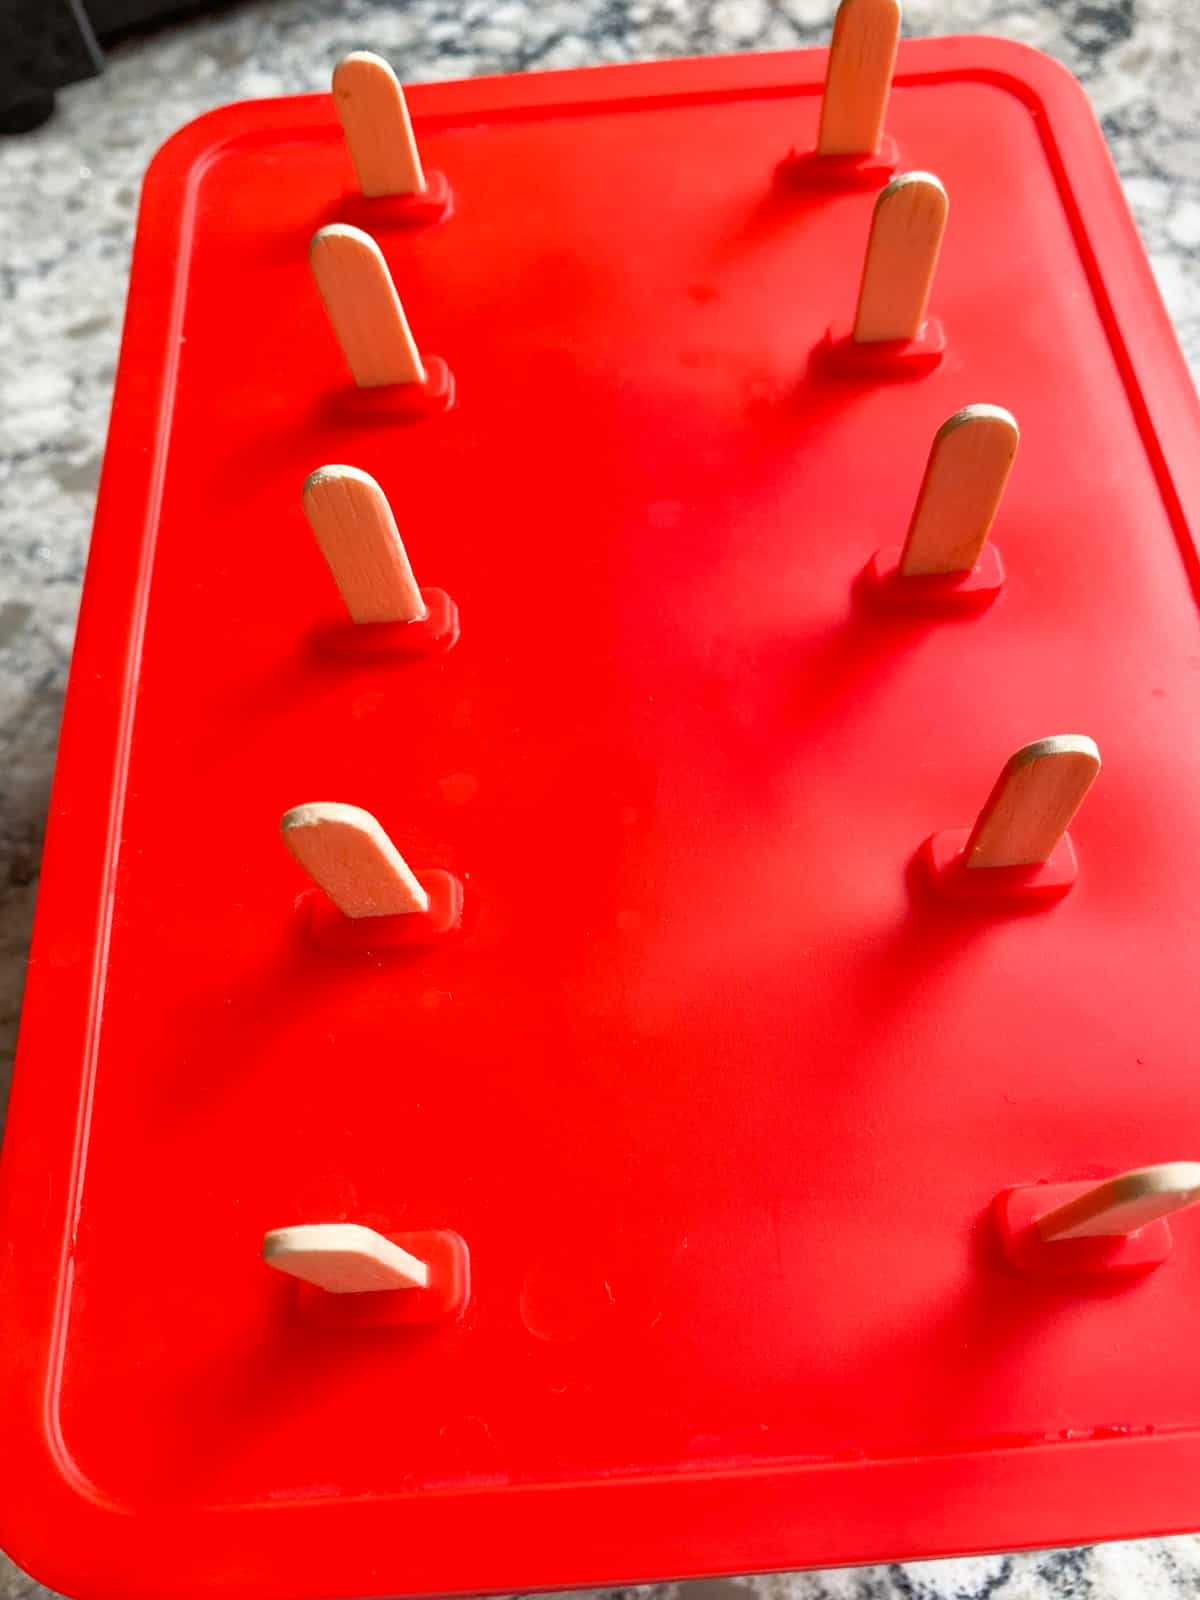
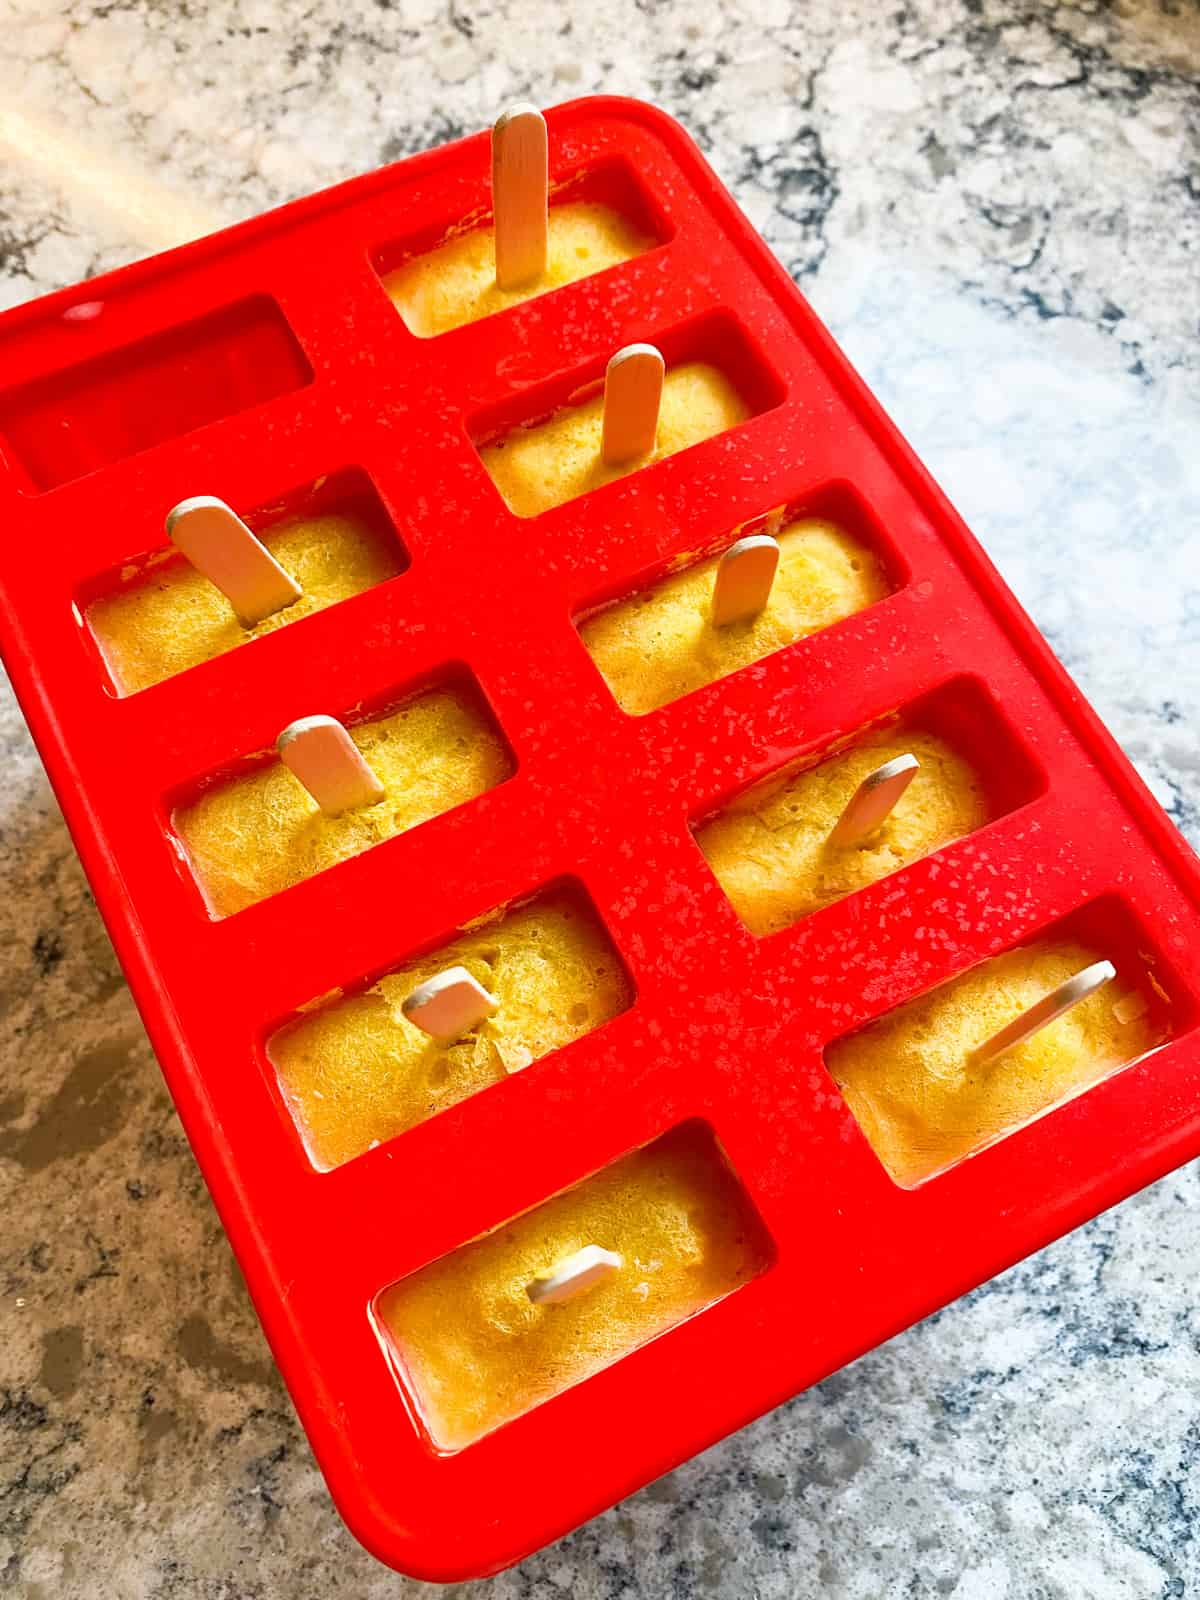
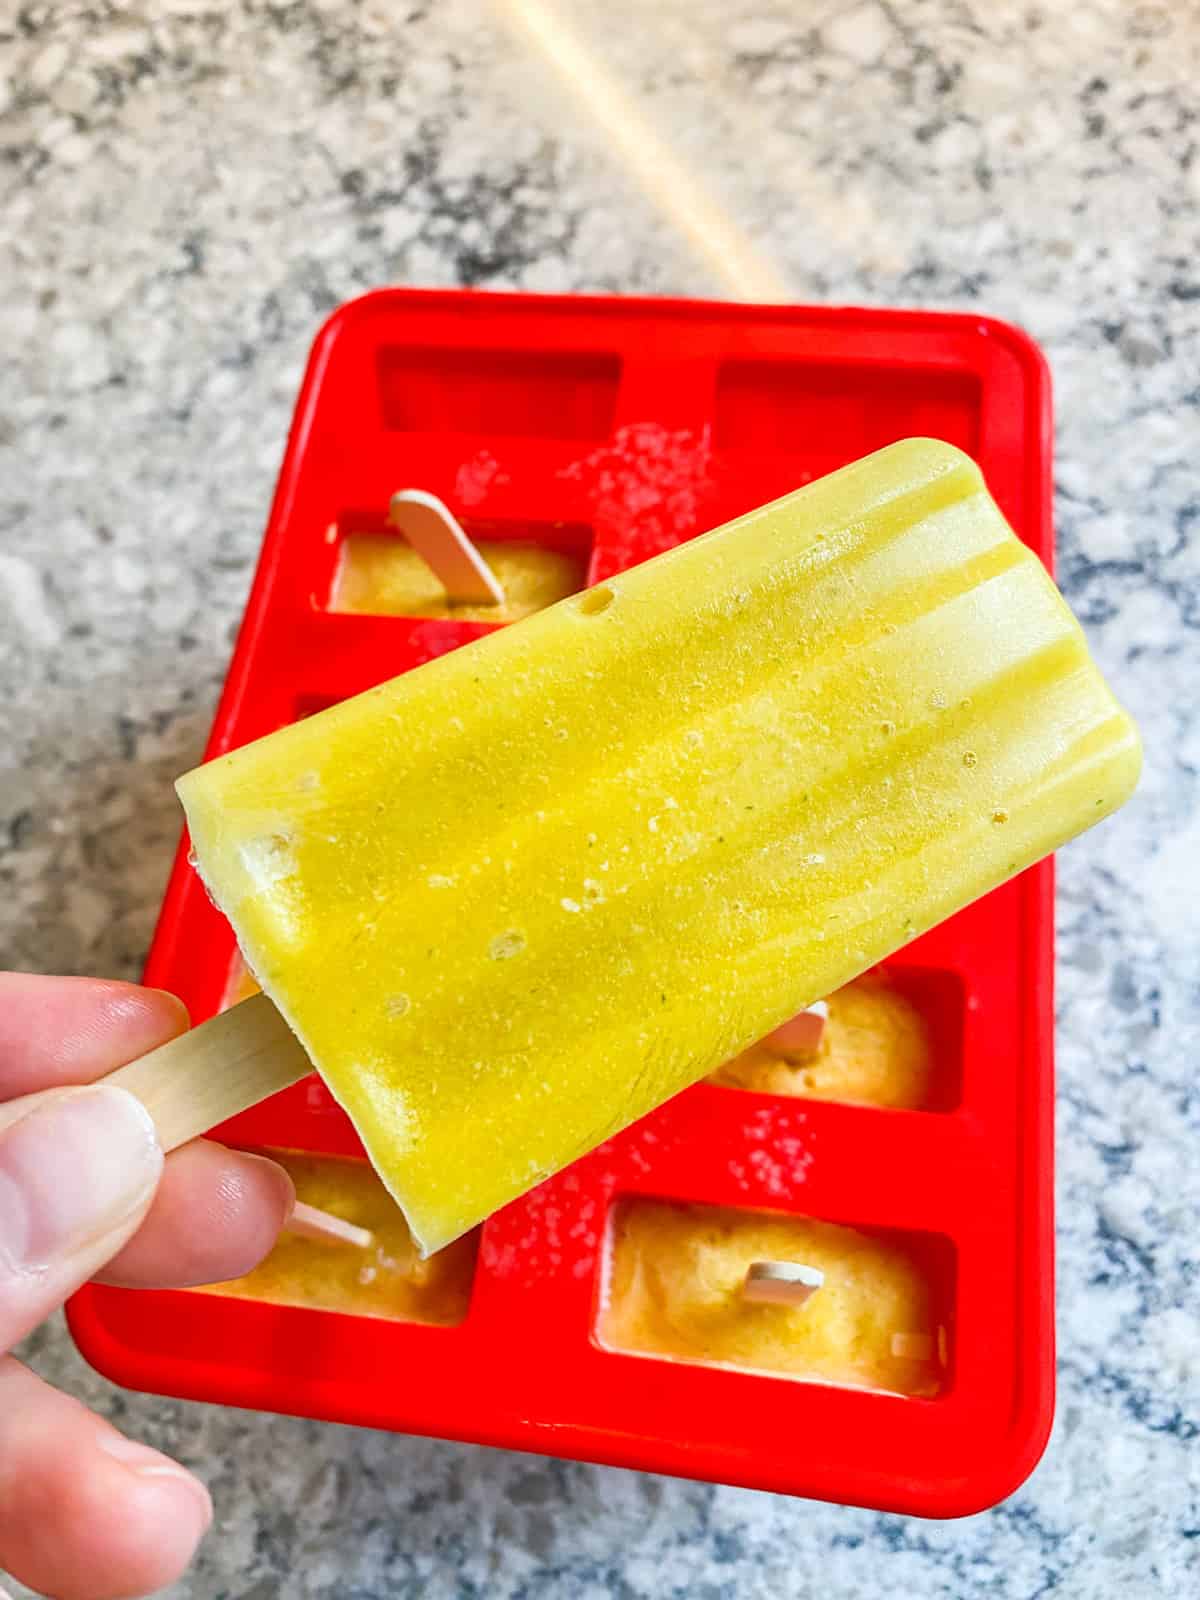
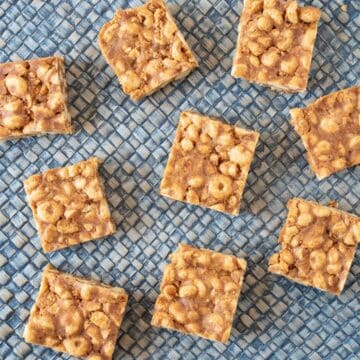
How to make the optional banana bread croutons
While the banana bread croutons are optional, they add a fun textural element to the dish, as well as tons of extra flavor!
FAQs for this recipe
- Can I use my own banana bread recipe for this? Yes, absolutely! I recommend leaving out any nuts that are in your recipe, though, and stirring them into the nice cream separately. Using your own banana bread recipe will also change the nutrition facts.
- Can I just use sugar instead of date syrup? Yes, if you aren't worried about the amount of added sugar you consume, using white sugar, brown sugar, or honey is totally fine. Use ½ cup of whatever sweetener you like.
- Do I have to use ground flax? The flax needs to be ground in order to gel like an egg. If you don't have flax, you can also use the same amount of chia seeds - ground or not. Or you can try just leaving it out all together. It should work since there are so many bananas to hold the bread together (though note that I haven't tested it to know for sure).
- Can I use another nut besides walnuts? Yep! Use any nut you like, or make it nut free and leave them out all together!
If you make Banana Bread Nice Cream, let me know in the comments!
You might also like Cherry Almond Nice Cream, Chocolate Covered Strawberry Chia Pudding, and Mangoes and Cream Popsicles!
📖 Recipe

Banana Bread Nice Cream
Ingredients
For the Banana Bread:
- 1 tablespoon ground flax seed
- 3 tablespoon water
- 4 very ripe bananas*
- ½ cup date paste
- 1 teaspoon vanilla extract
- 1 ½ cup whole wheat flour
- 1 teaspoon baking soda
- 1 teaspoon cinnamon
- ½ teaspoon salt
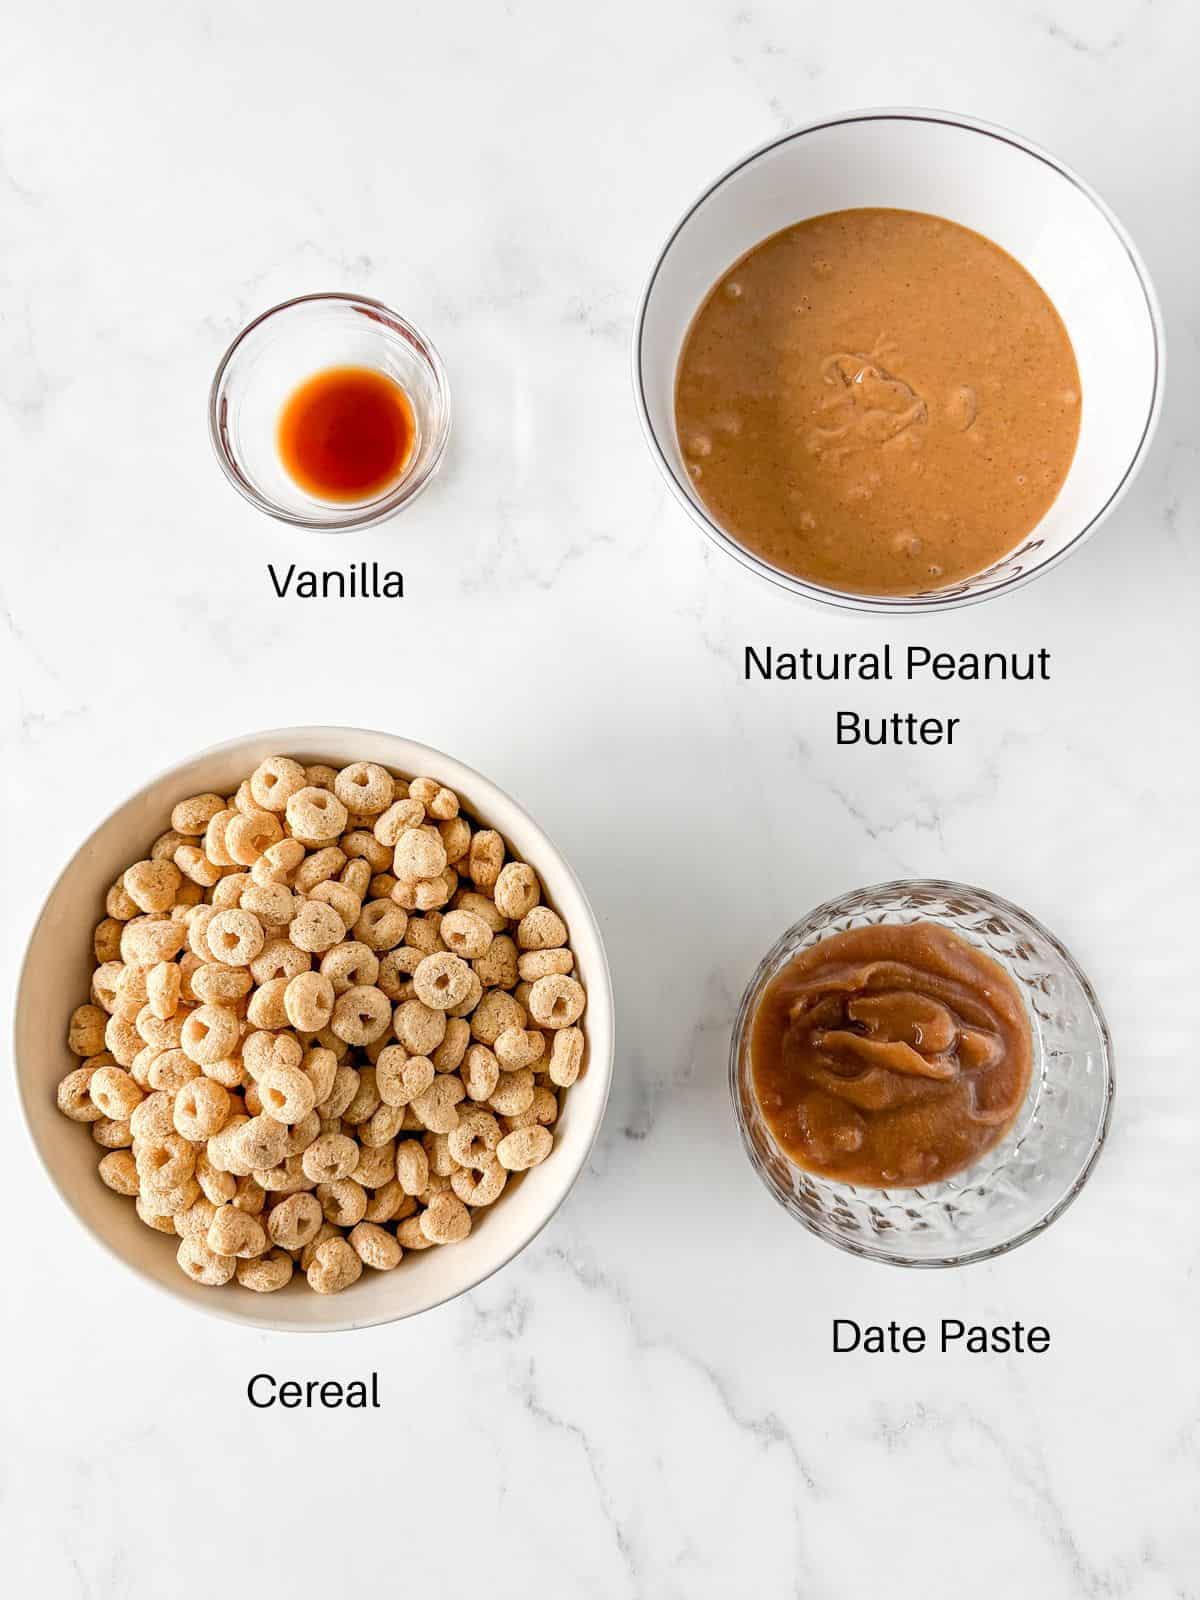
For the Nice Cream:
- 1 whole banana bread, cut in half
- 1 cup milk or nondairy substitute of choice
- 4 very ripe bananas*, sliced and frozen
- 1 teaspoon vanilla extract
- ½ teaspoon cinnamon
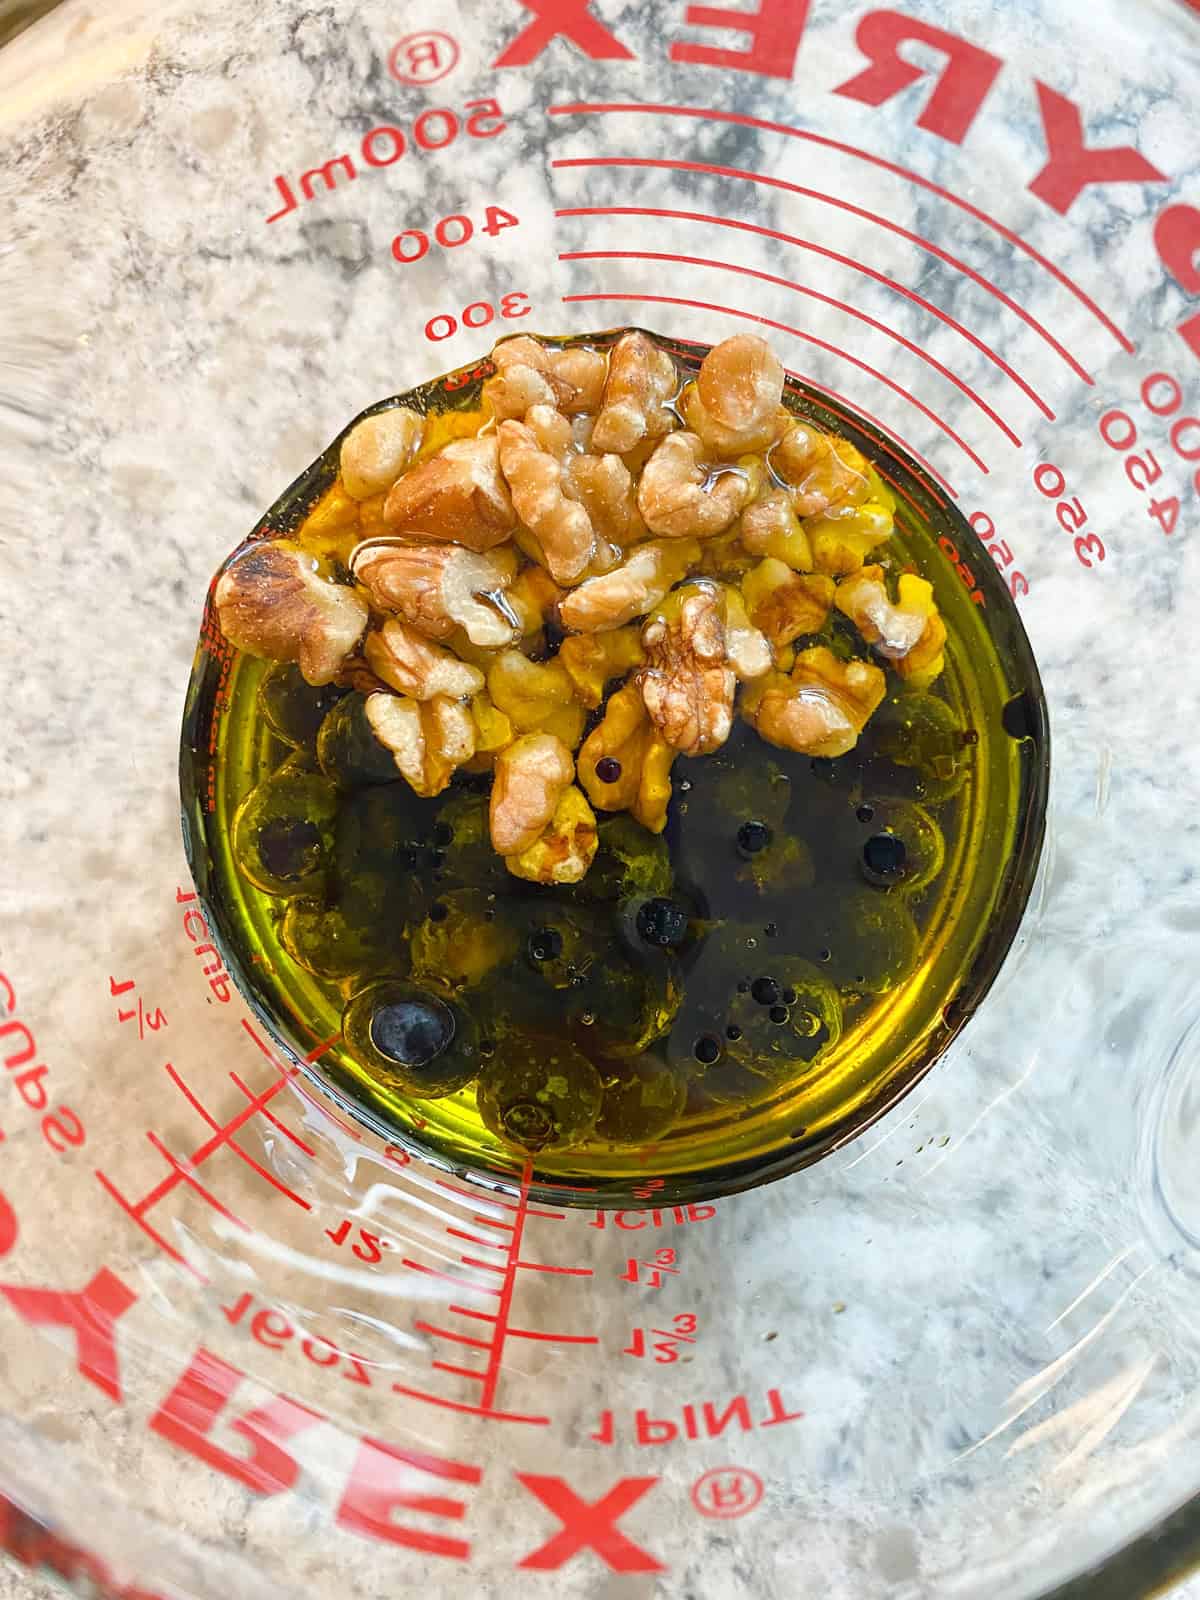
- ½ cup chopped walnuts
For optional topping:
- 1 teaspoon olive oil
- 1 banana, sliced
- 1 tablespoon brown sugar
- ½ teaspoon rum extract (optional)
Instructions
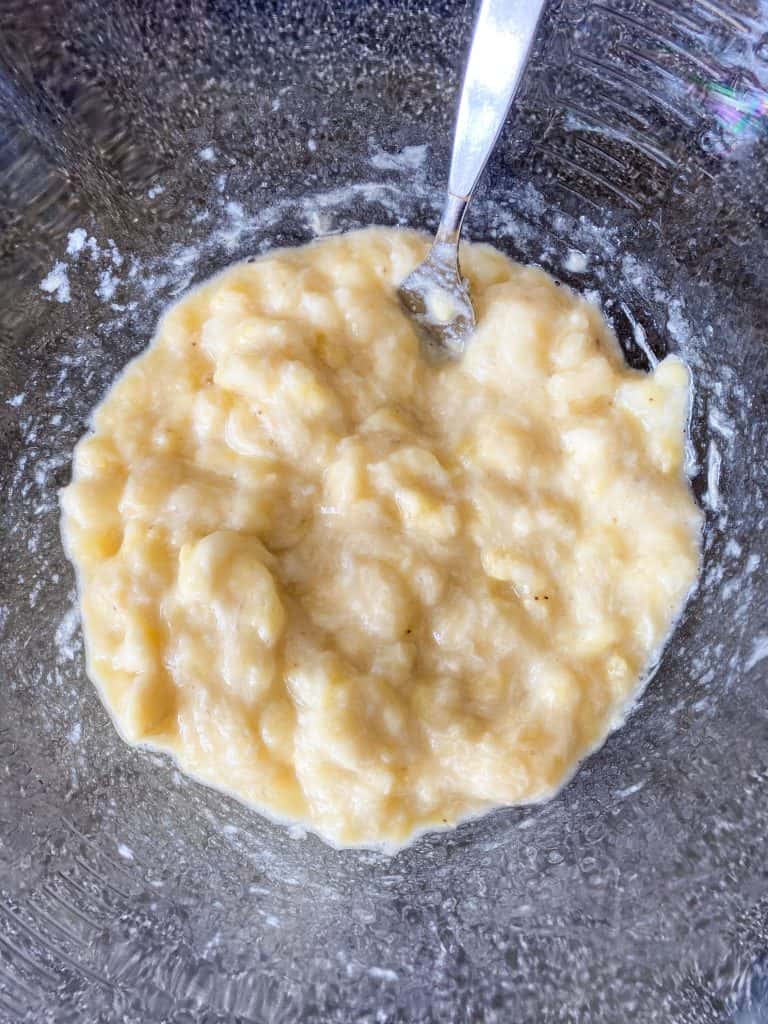
To bake banana bread:
- Preheat oven to 350 degrees F.
- Mix ground flax with water in a small dish, and set aside.
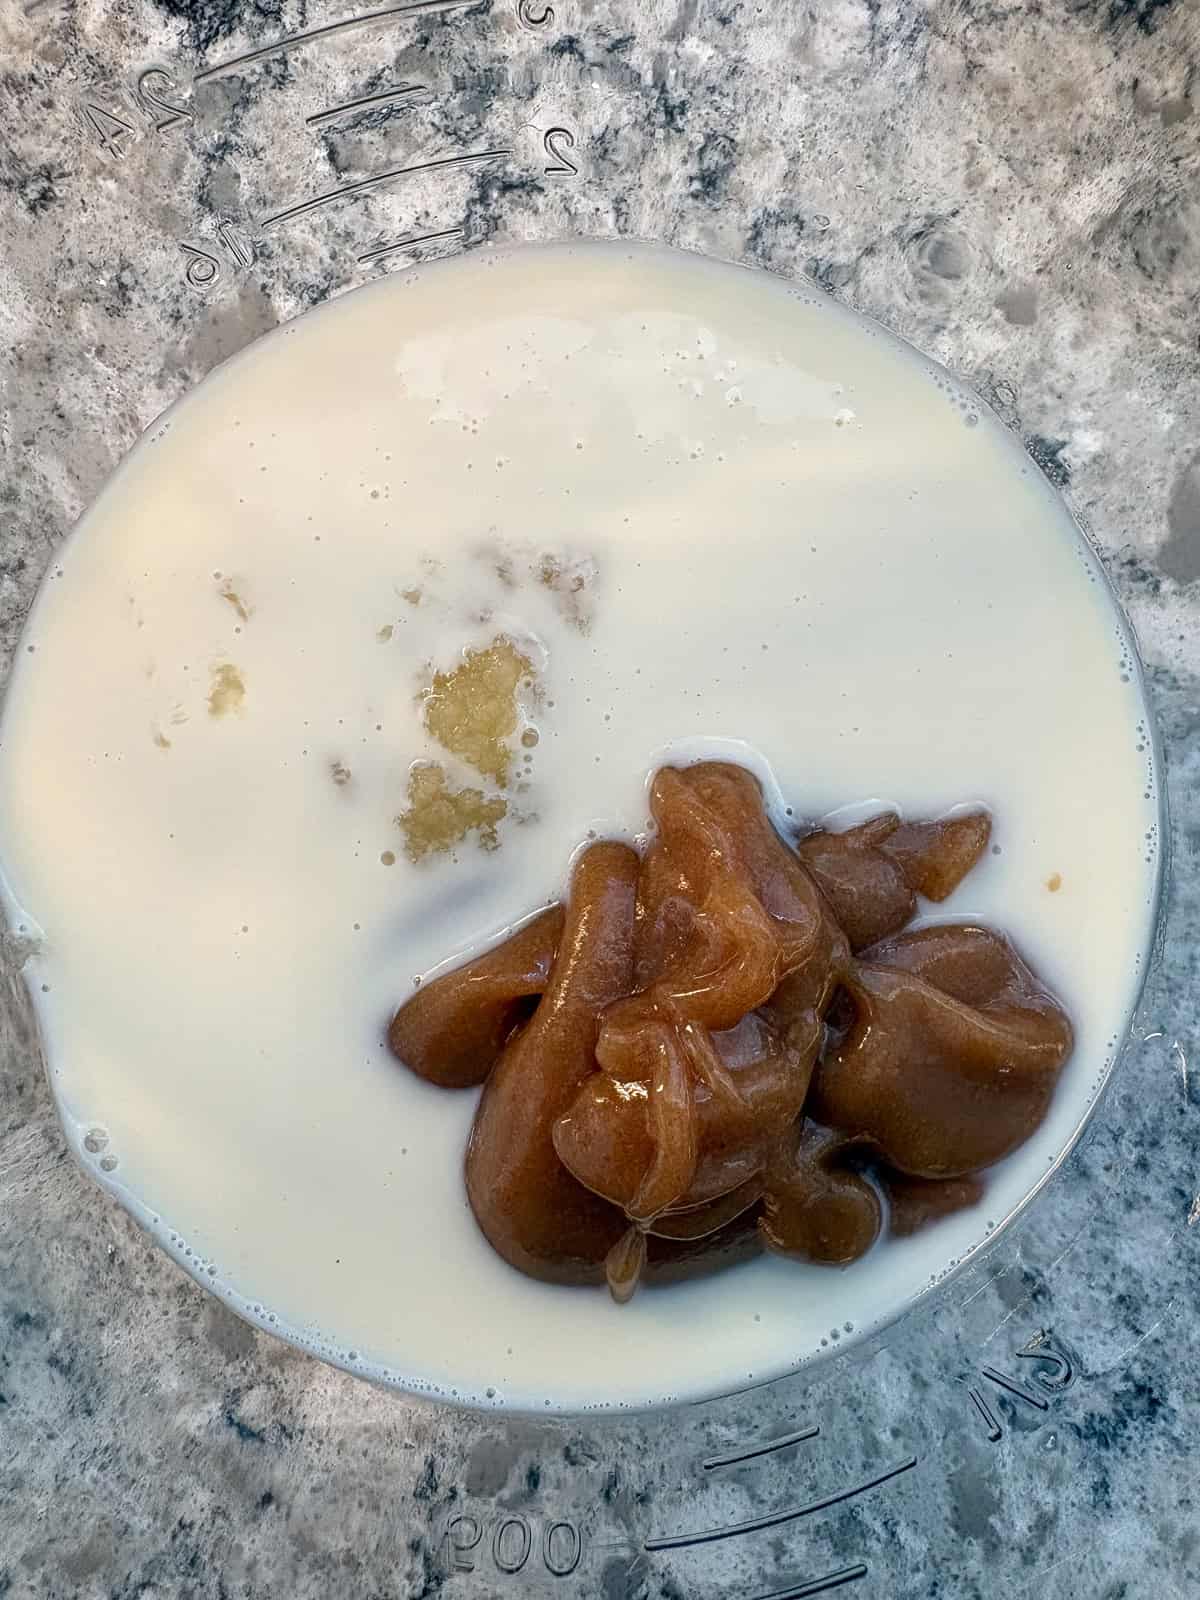
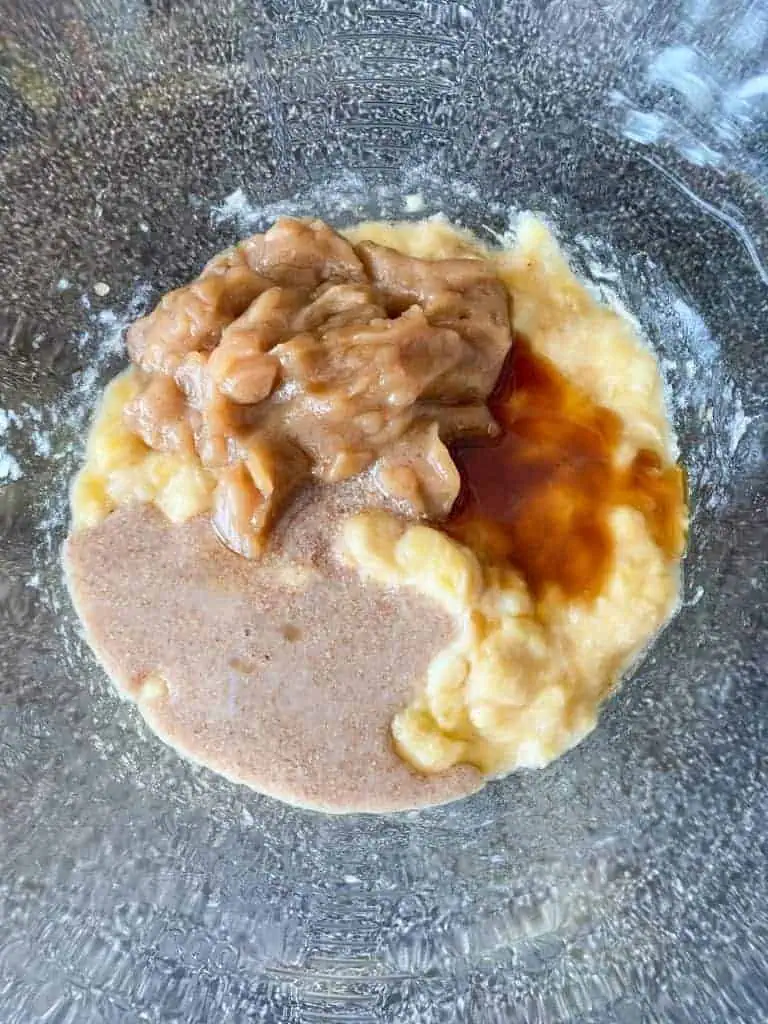
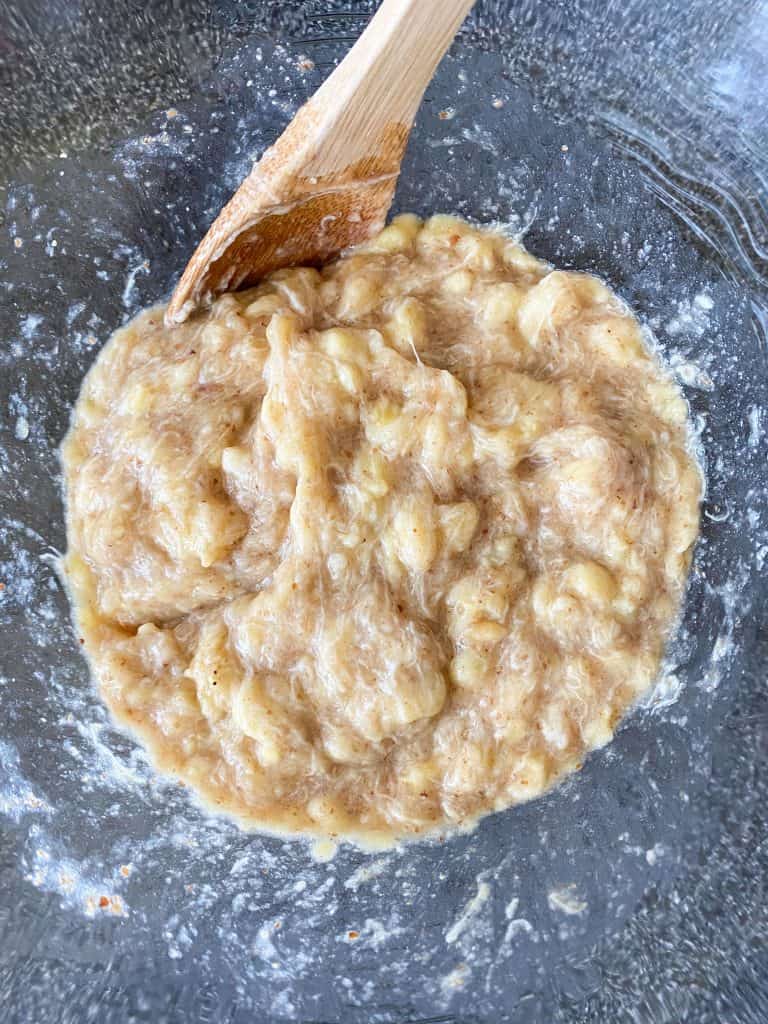
- Mash the bananas well, and add date syrup (see notes), flax mixture, and vanilla. Mix well.
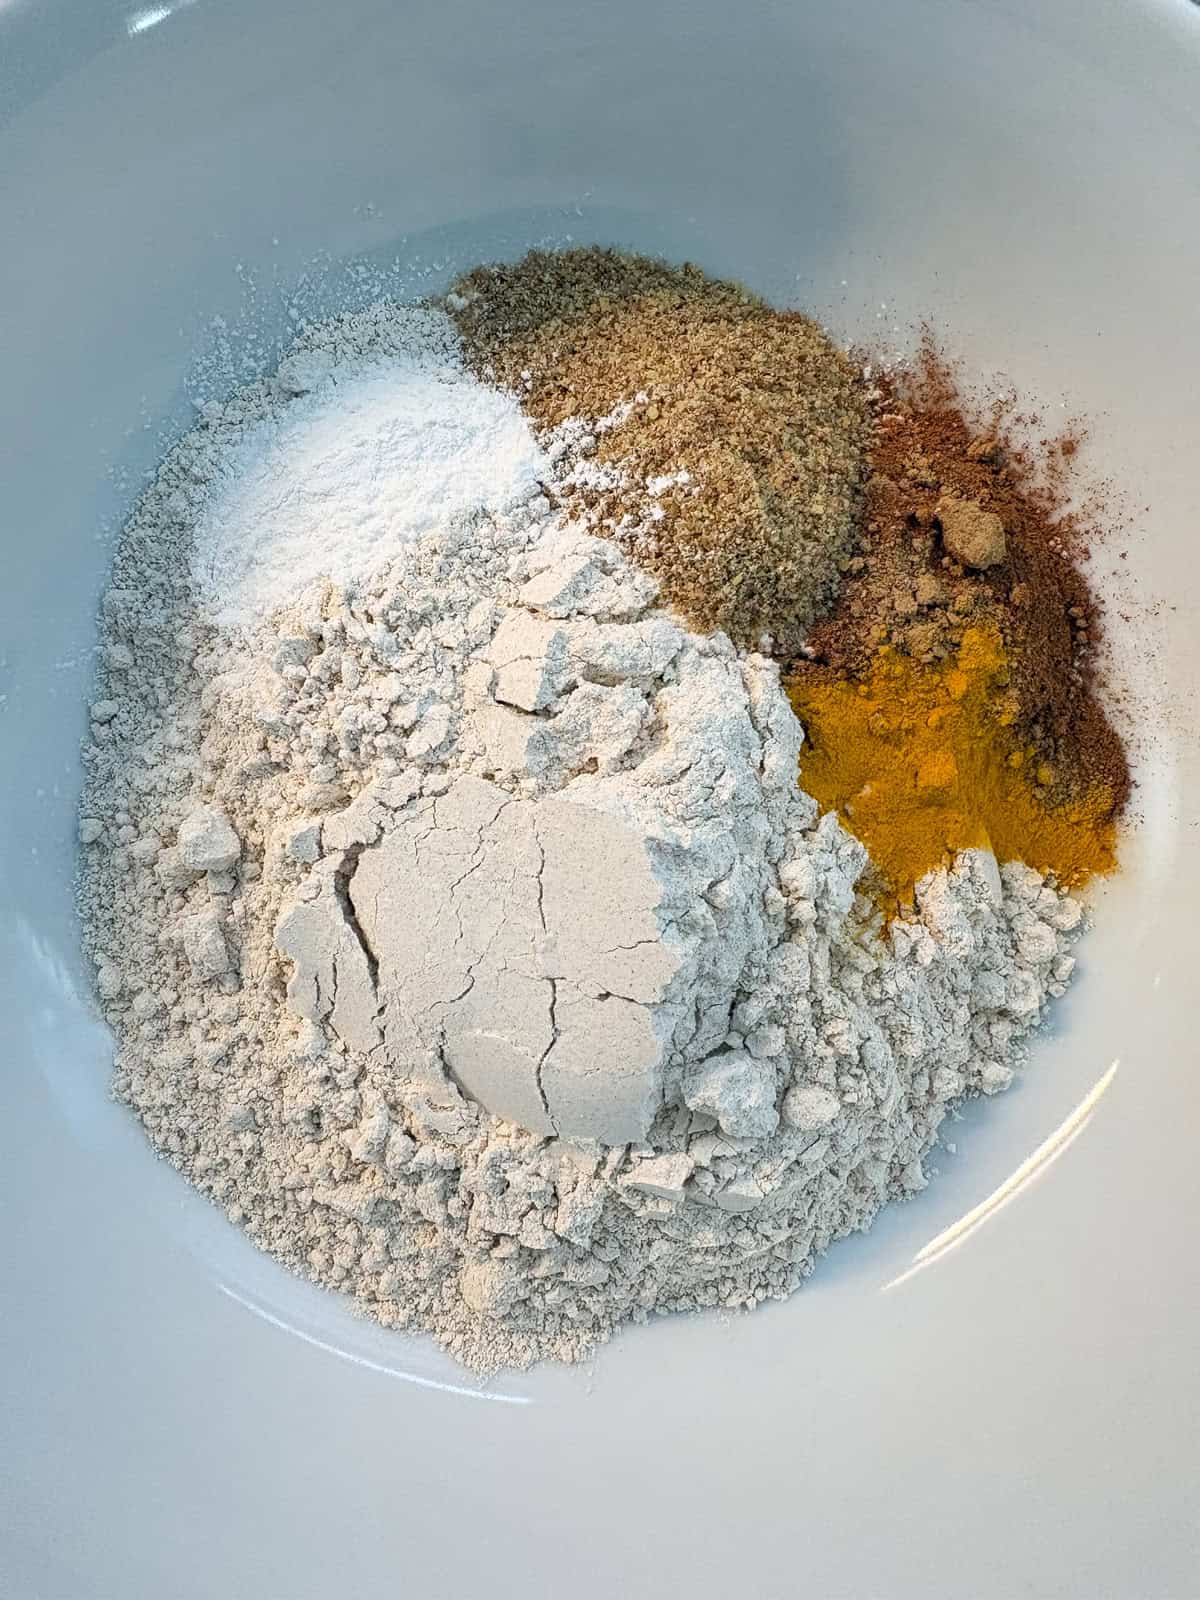
- In another bowl, mix flour, baking soda, cinnamon, and salt.
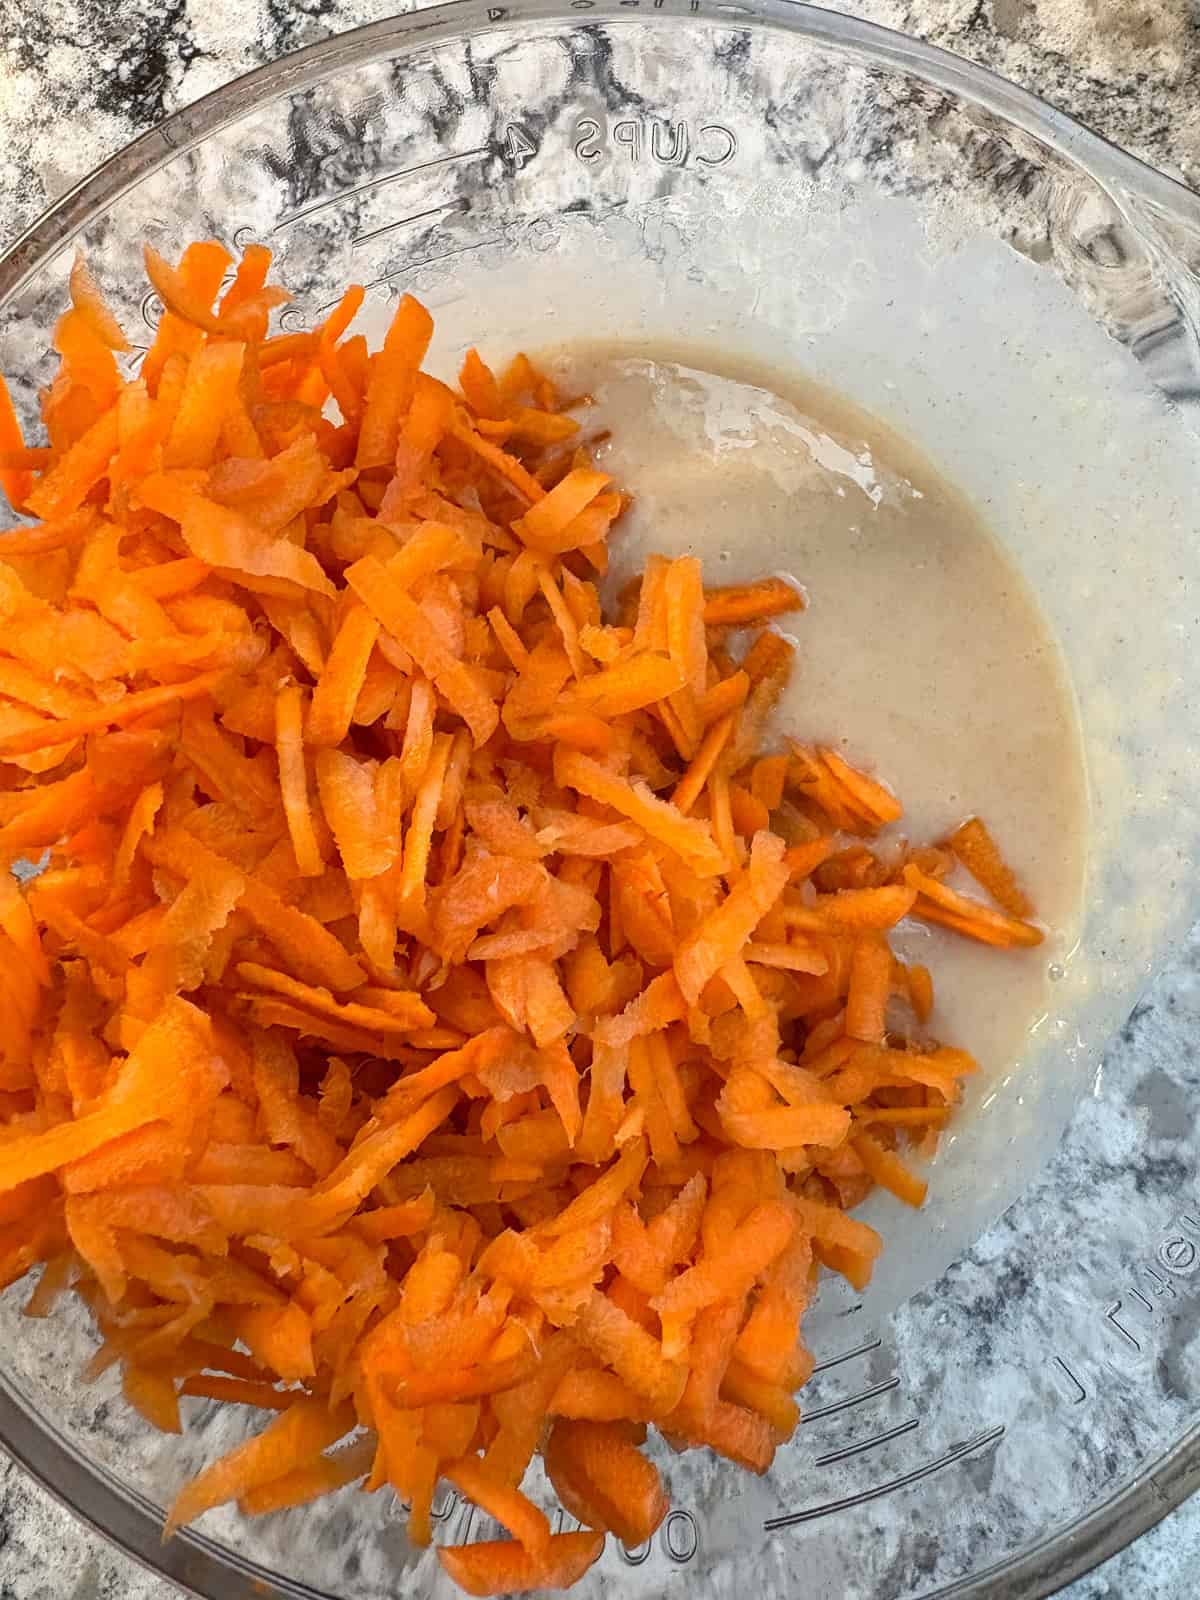
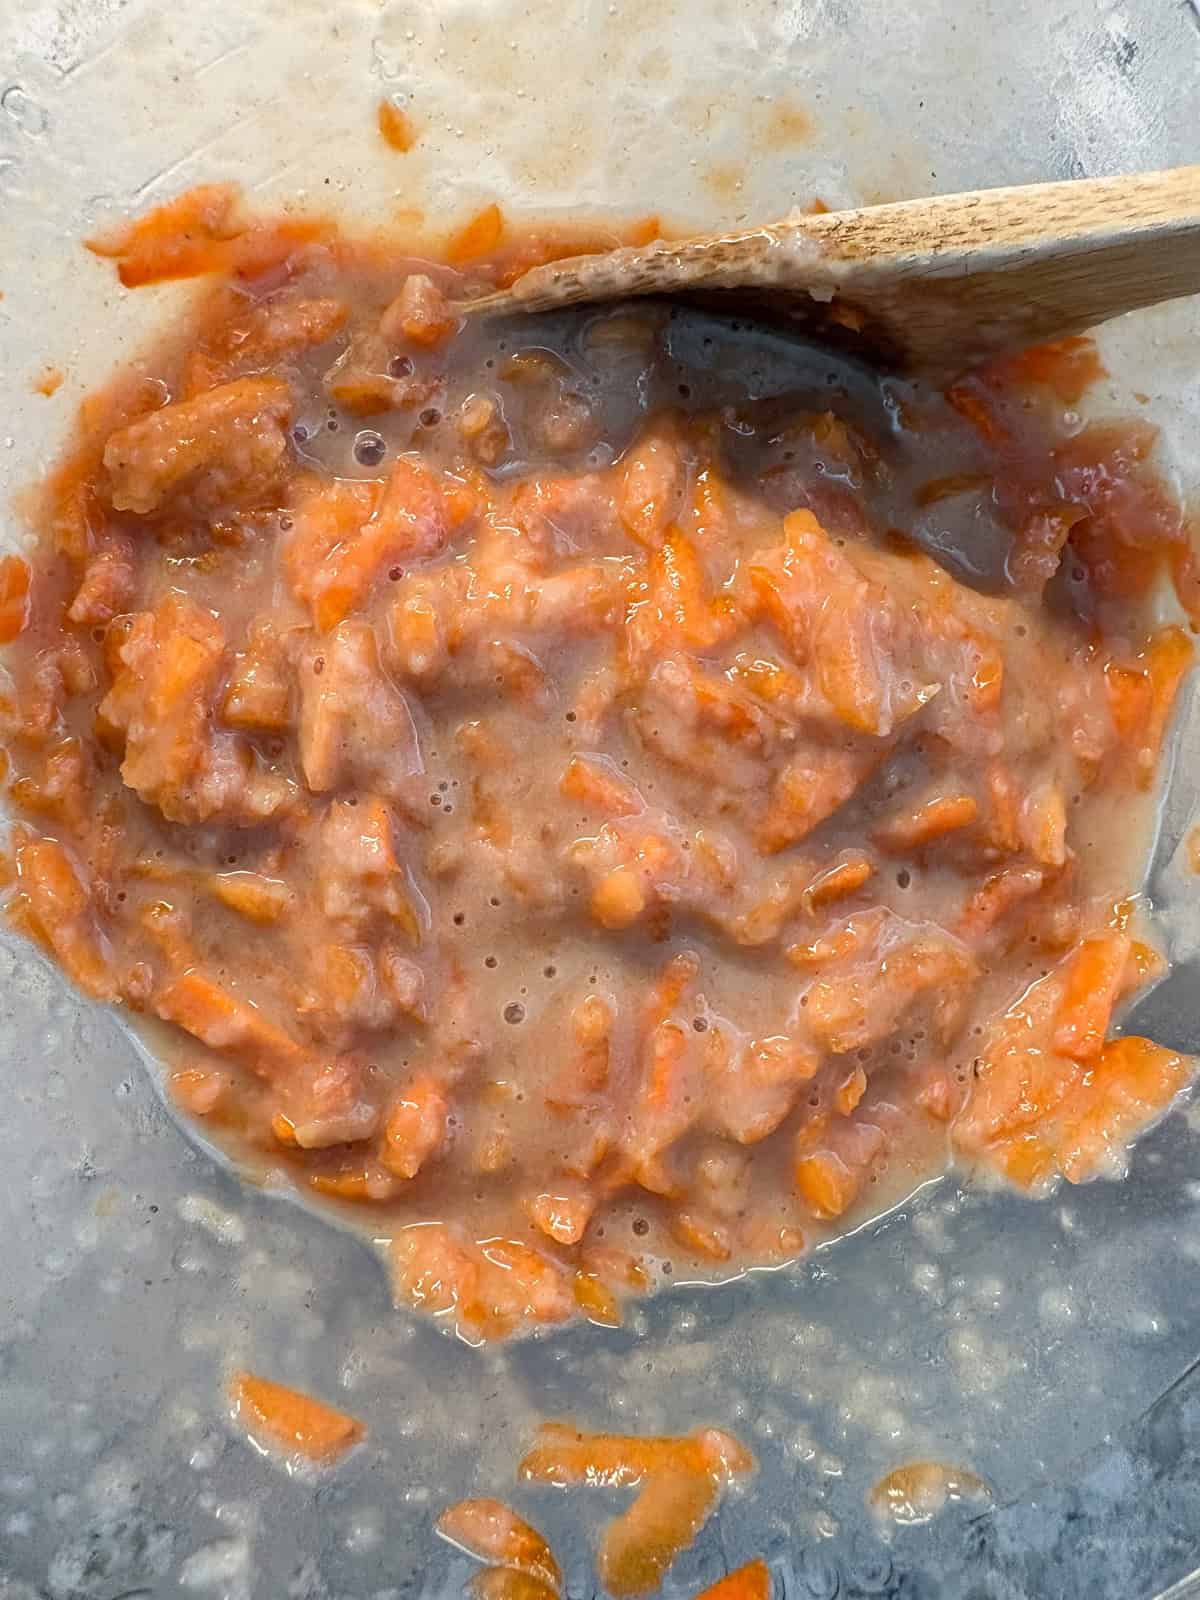
- Pour into banana mixture, and mix until just combined.
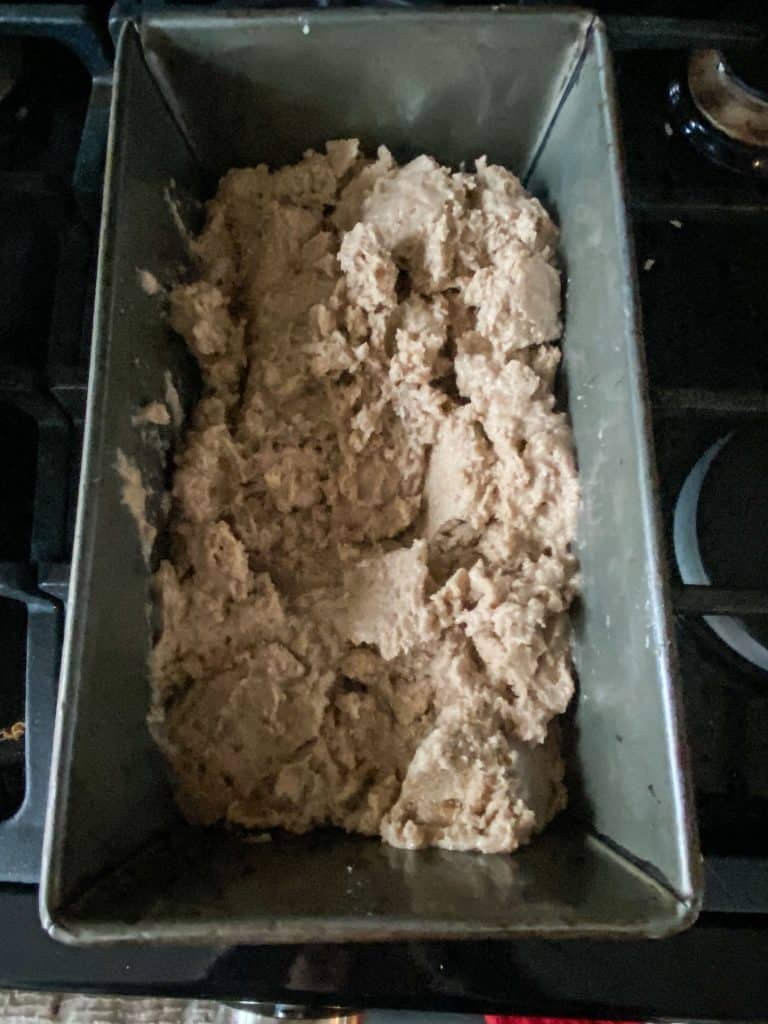
- Pour into a loaf pan lined with parchment paper, or greased well.
- Bake for 50-60 minutes, until a toothpick inserted in the center comes out clean.
- Cool for 10 minutes in the pan, before removing to a wire rack. Cool completely.
To make the Nice Cream:
- Cut the banana bread in half.
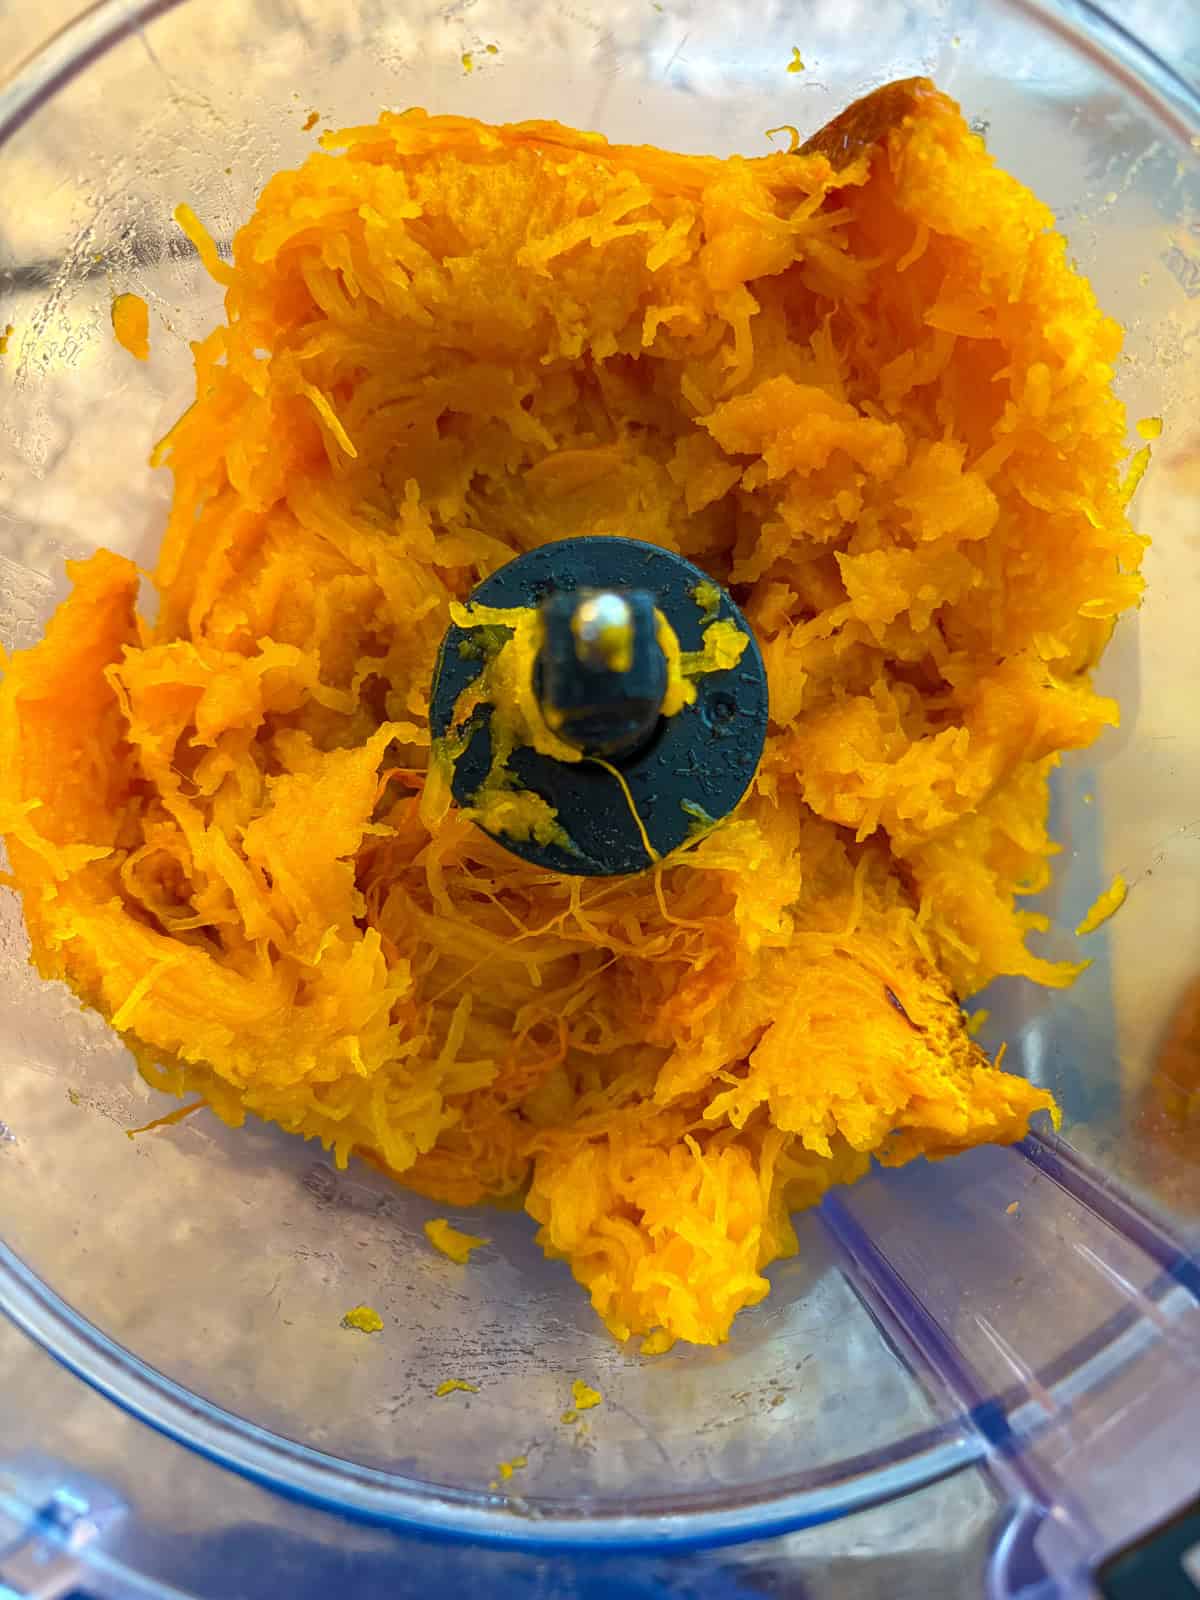
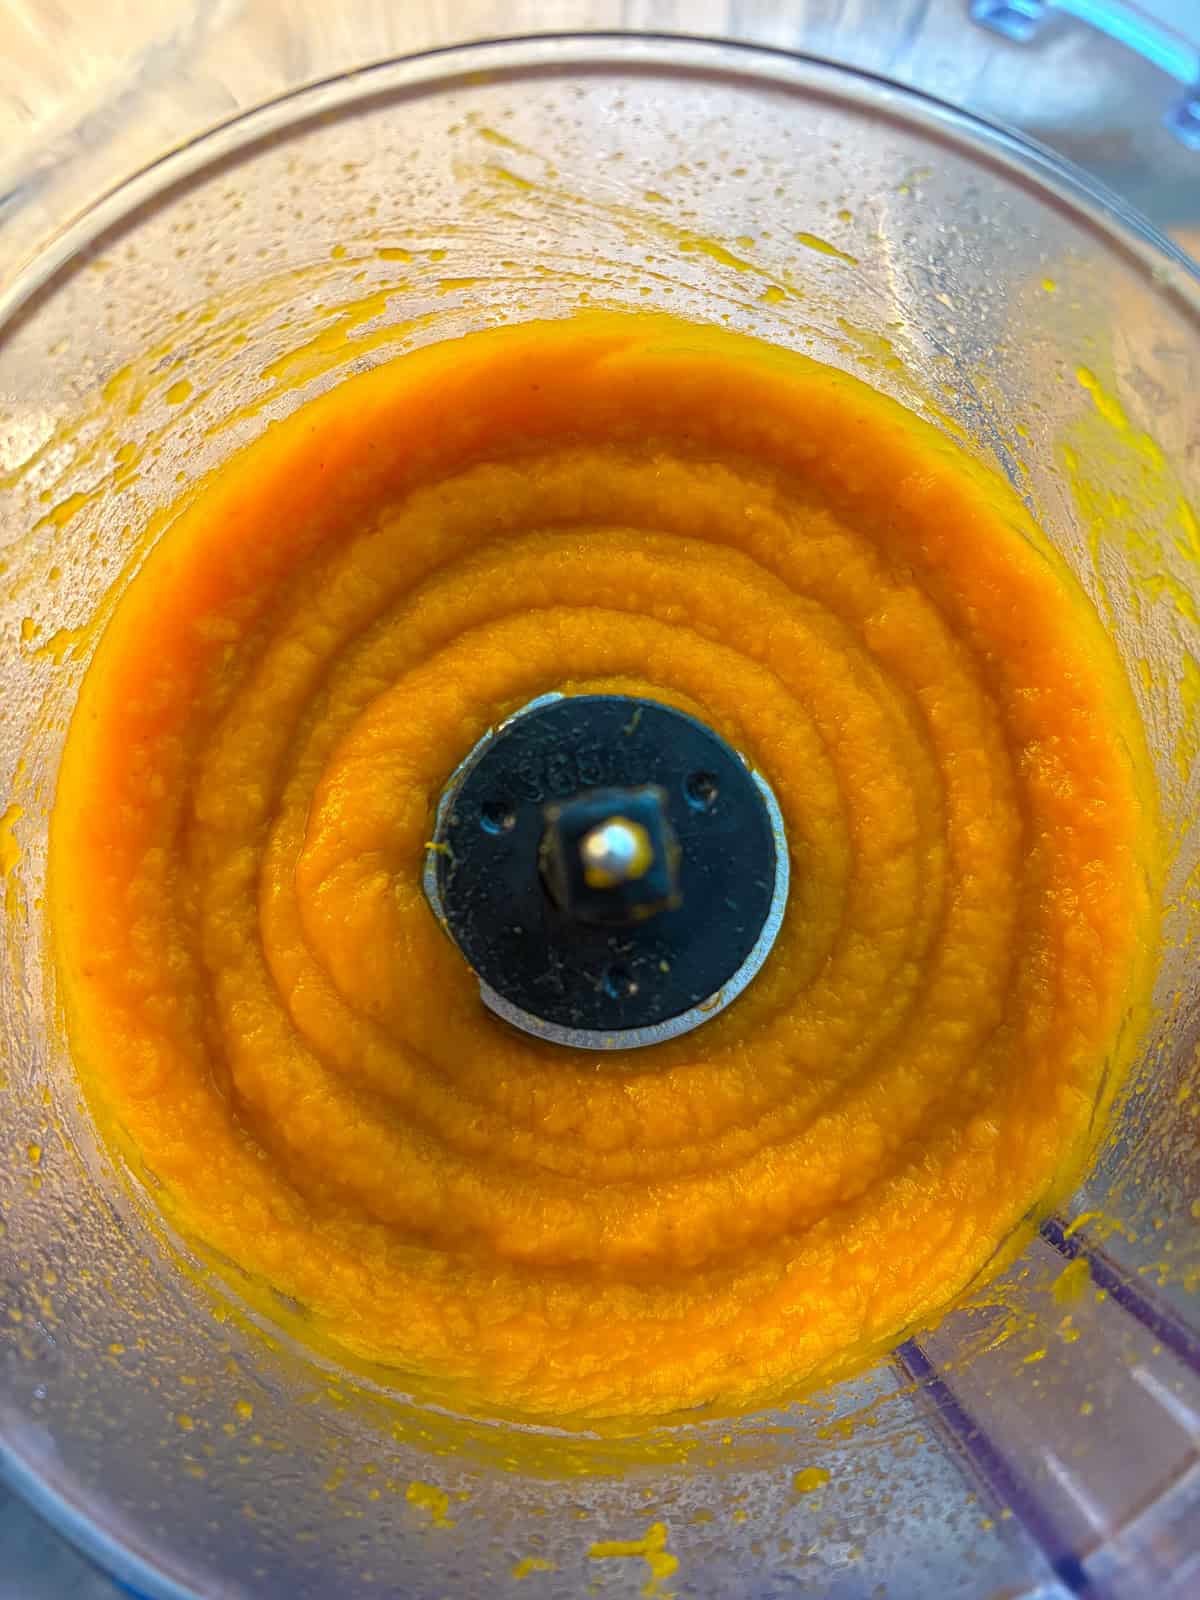
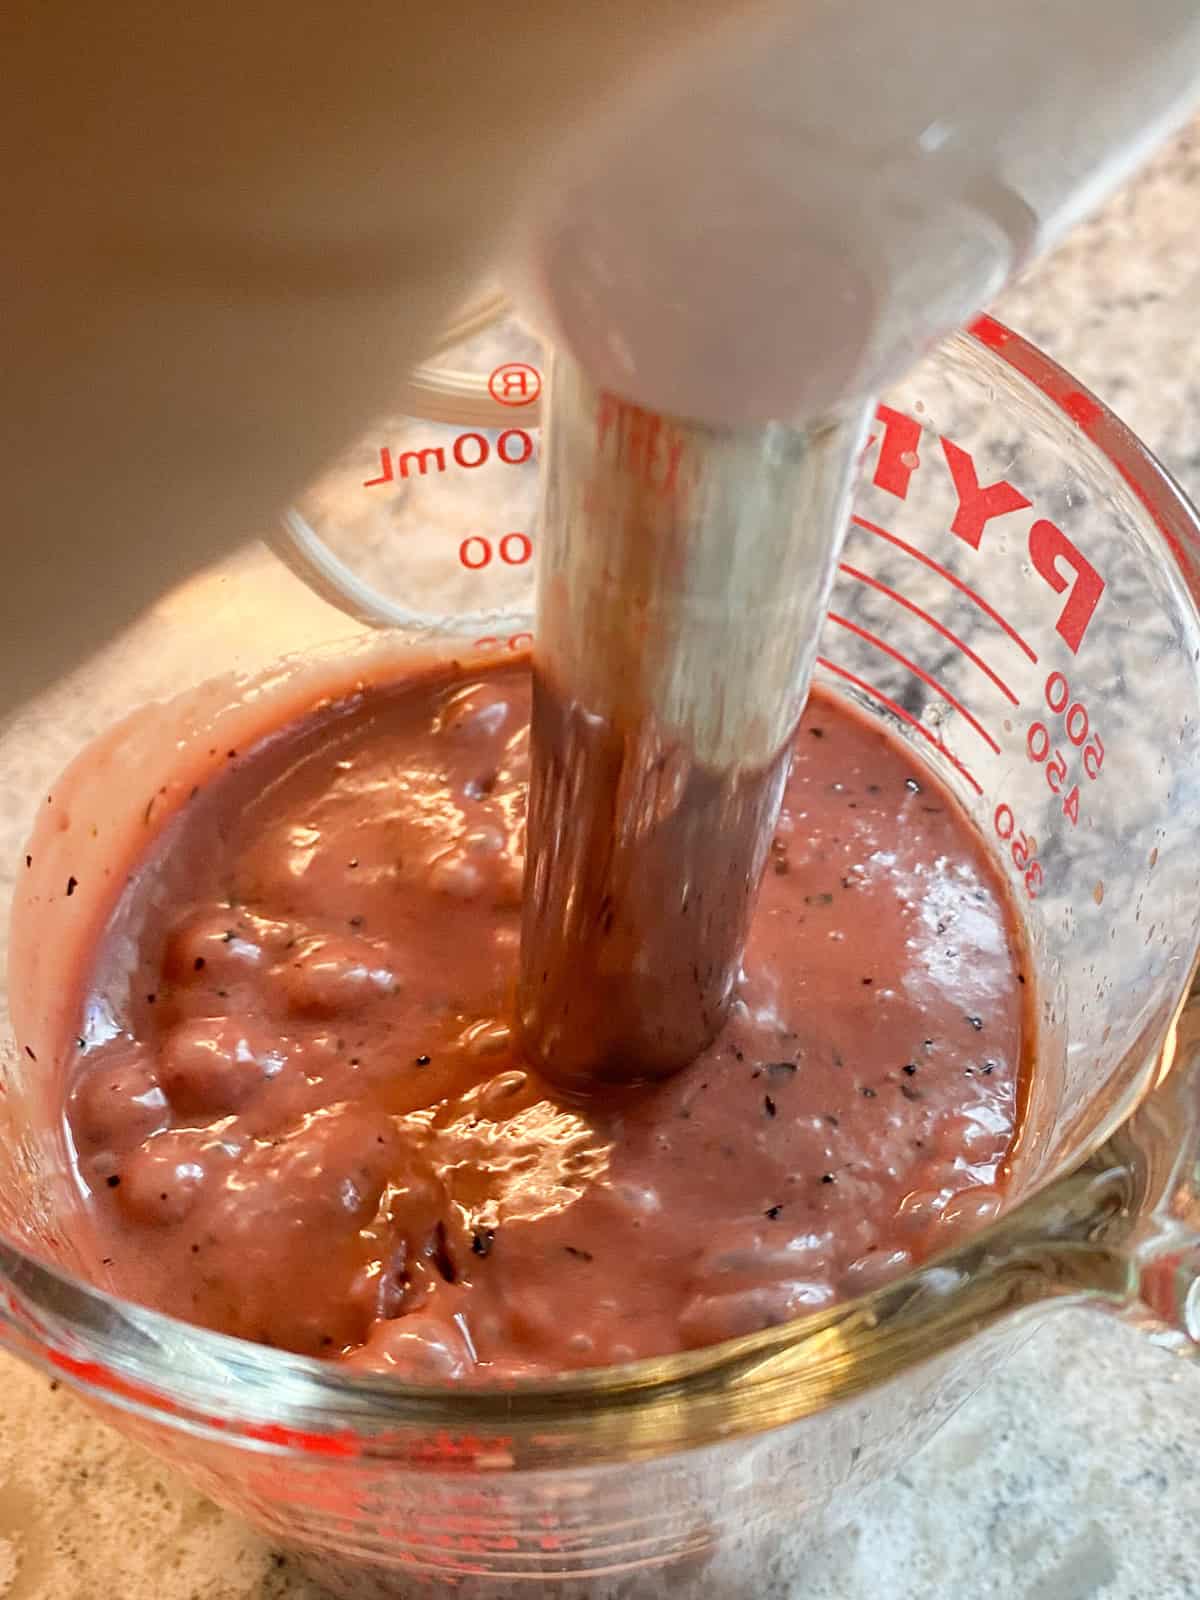
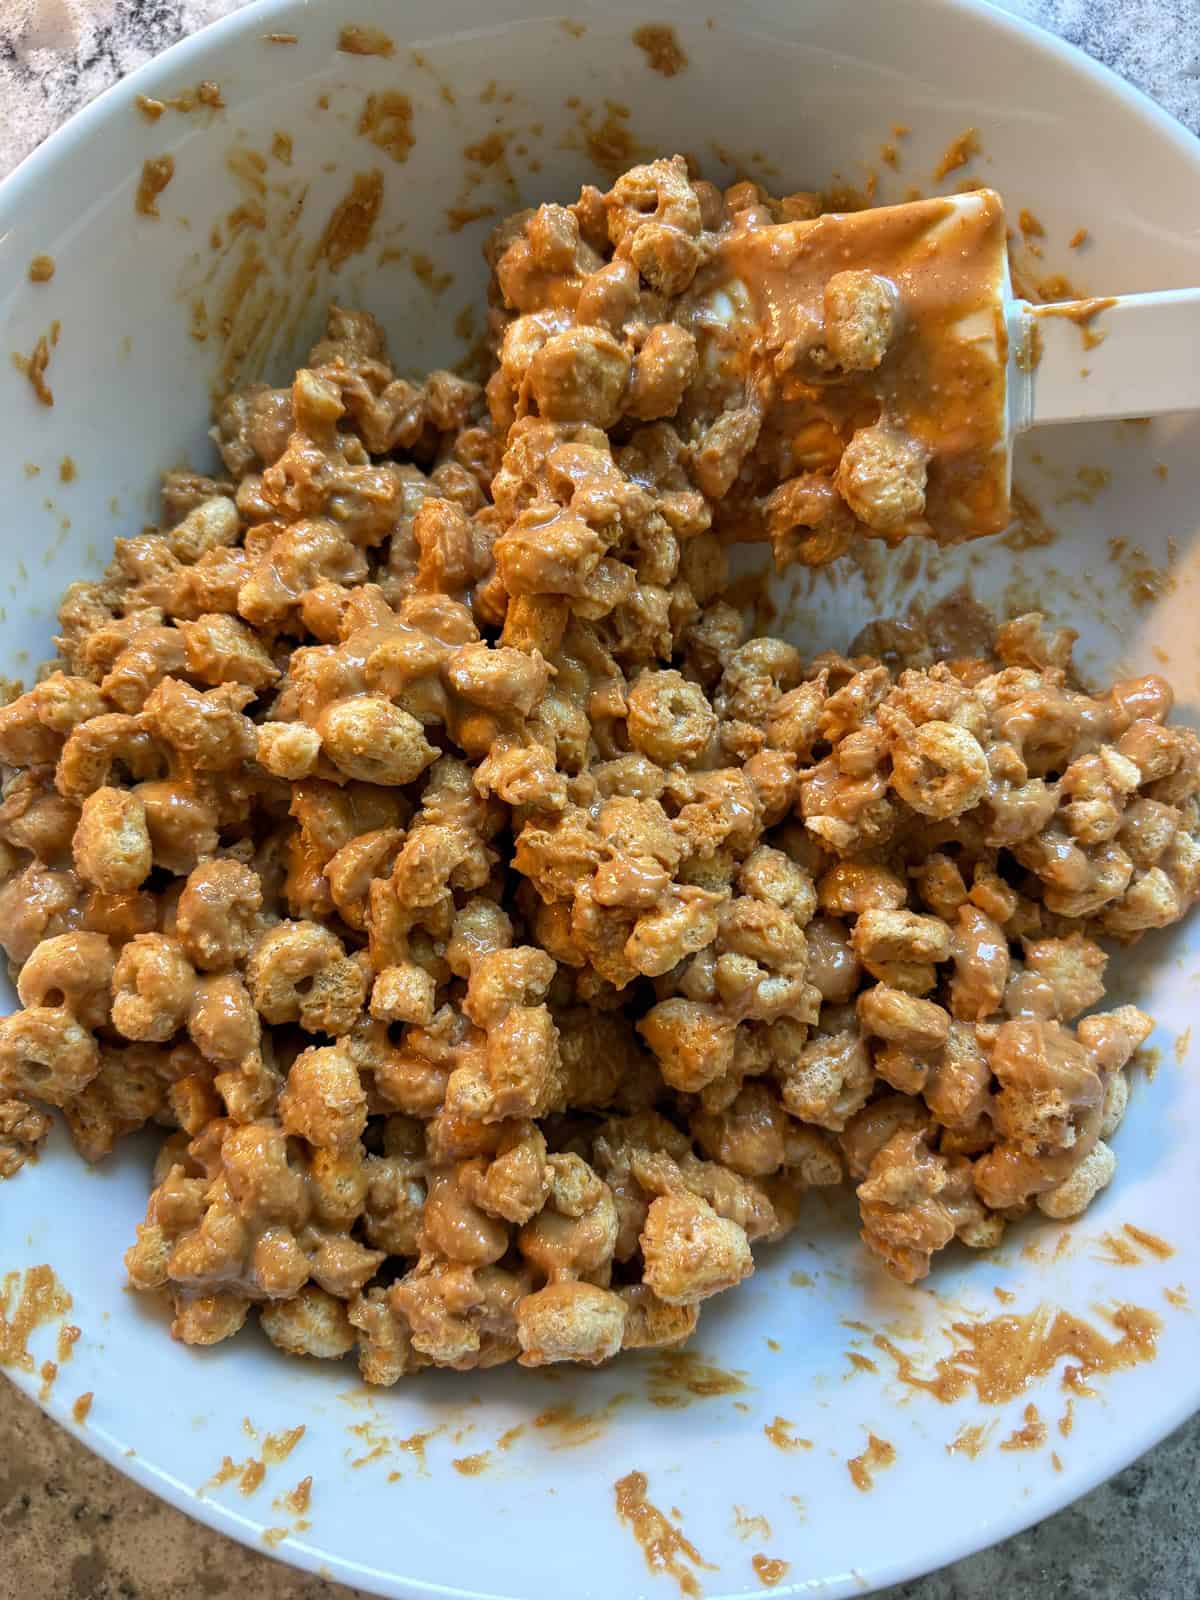
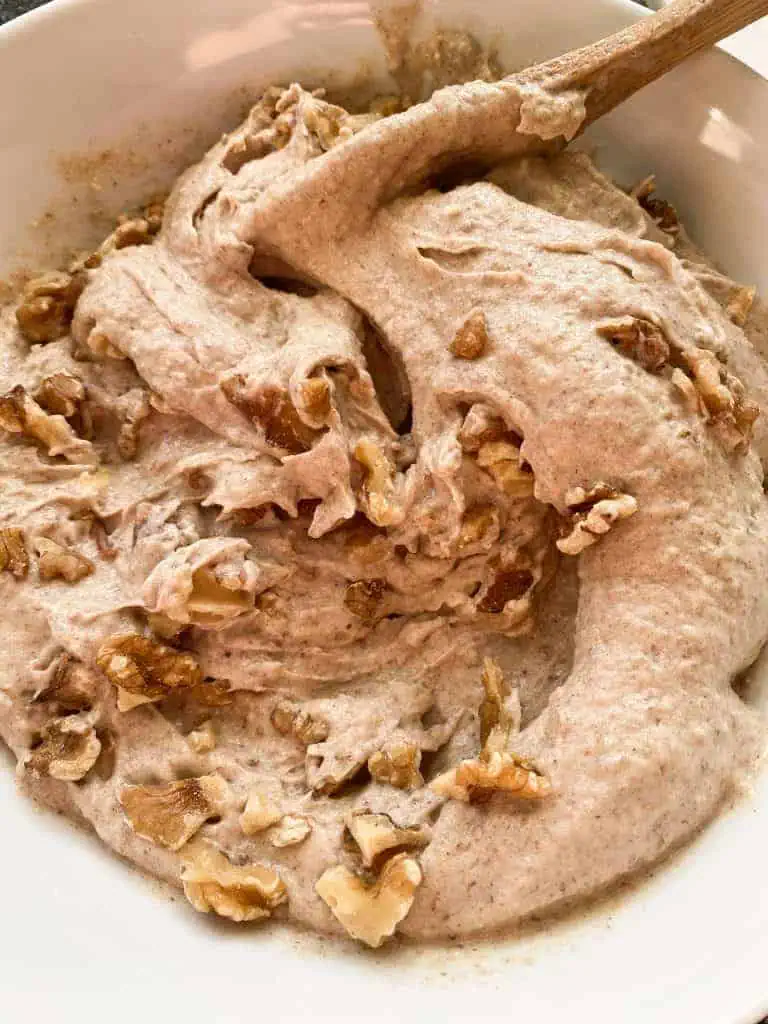
- Crumble on half into a food processor, and pour milk over. Add vanilla and cinnamon.
- Start the food processor, and add the frozen banana slices, a few at a time.
- Process until smooth, and spoon into a large bowl.
- Mix in the chopped walnuts, cover, and freeze.
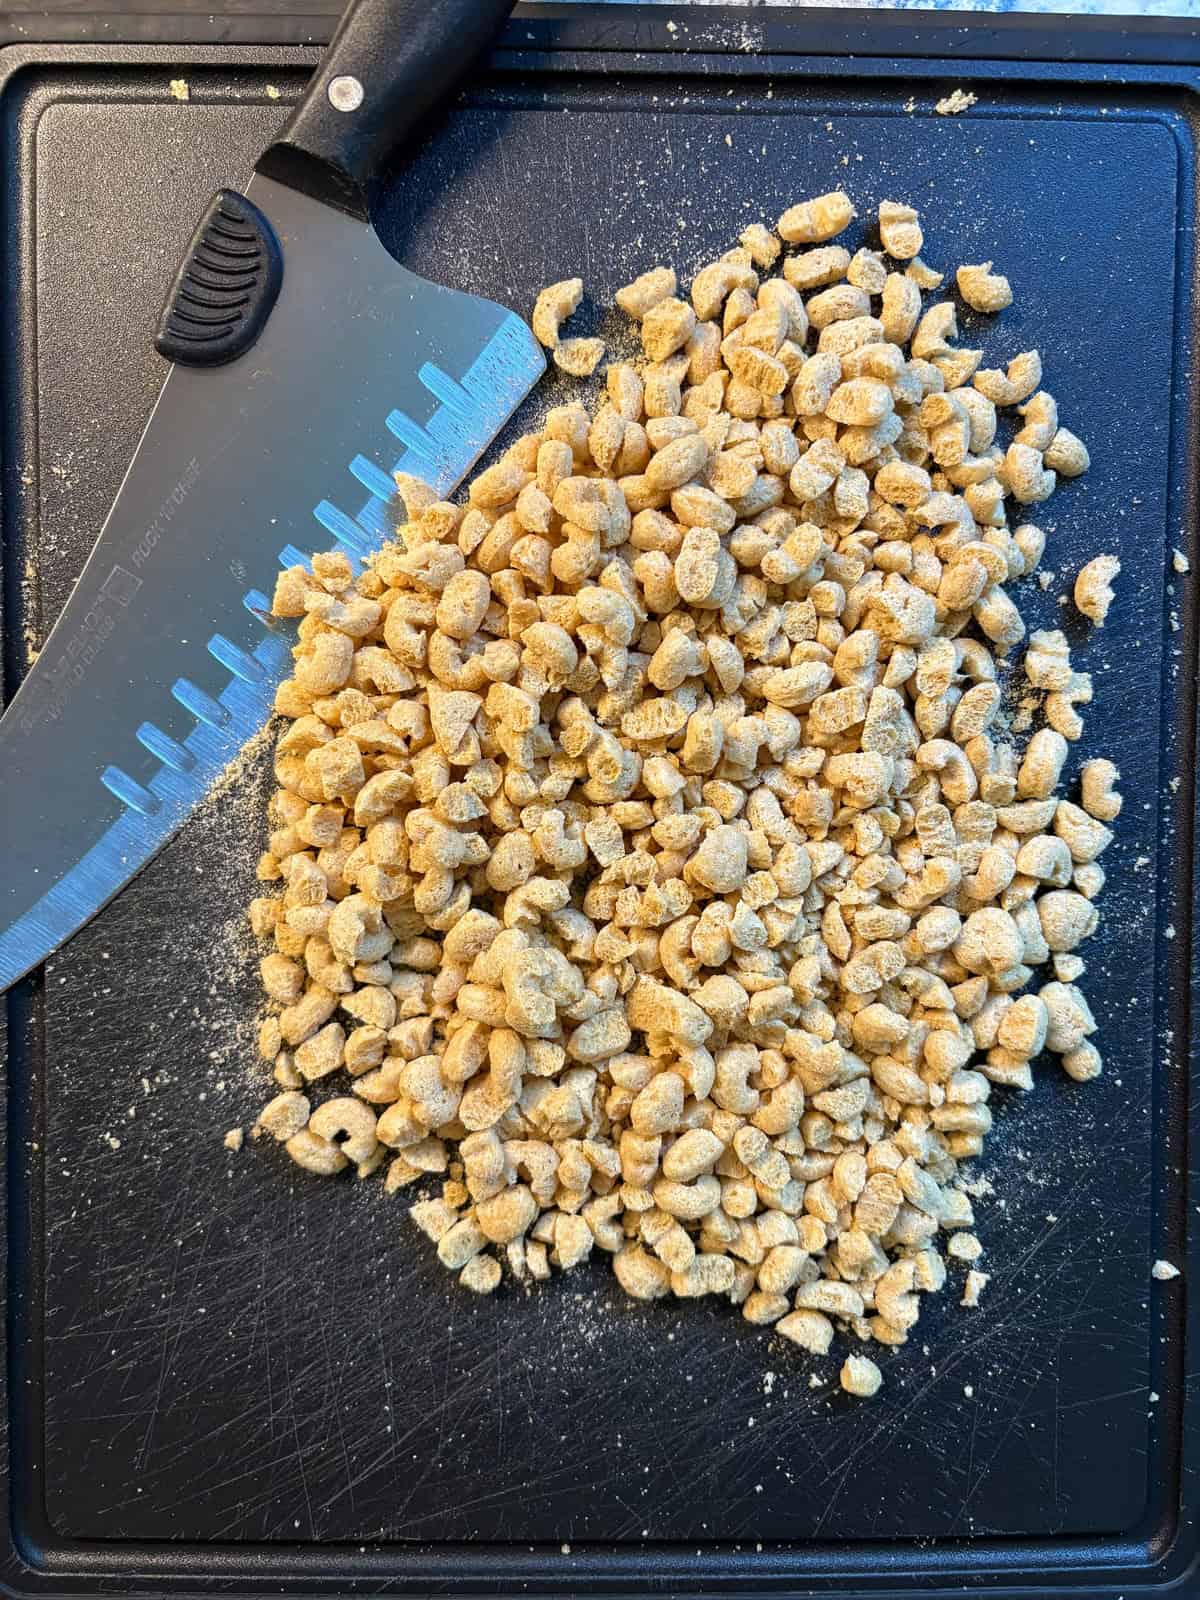
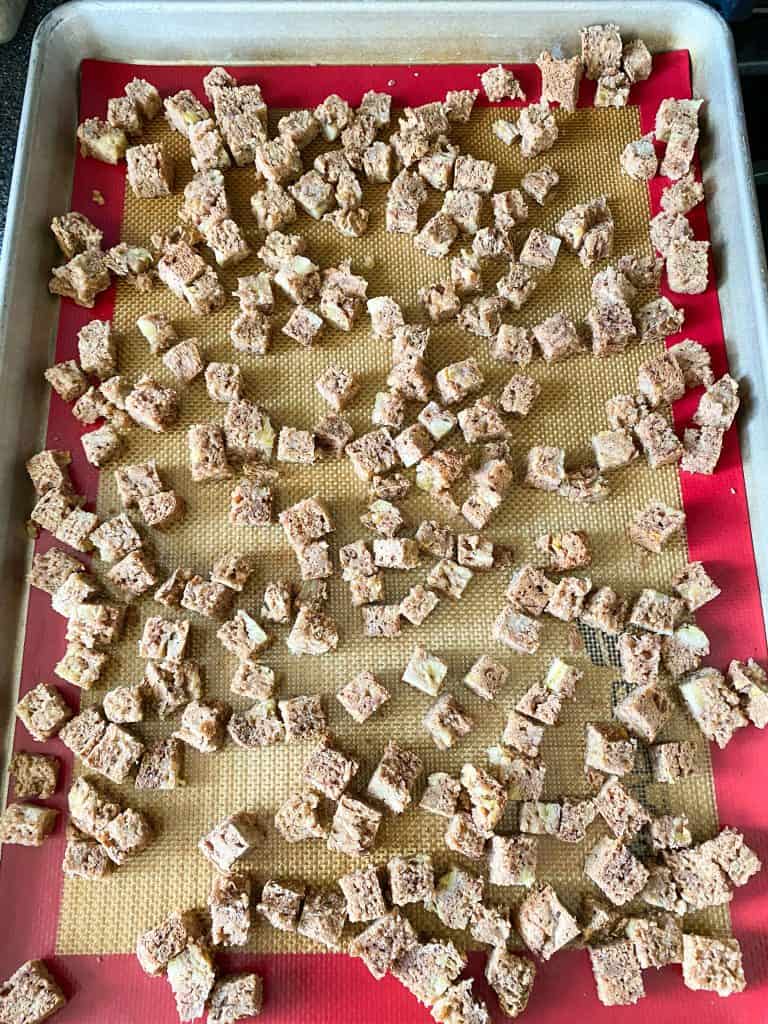
- Meanwhile, preheat the oven to 300 degrees F, and cube the remaining banana bread into ½ inch cubes.
- Bake for 35-45 minutes, until the bread is browned and crispy, but not burned.
- Remove the nice cream from the freezer.
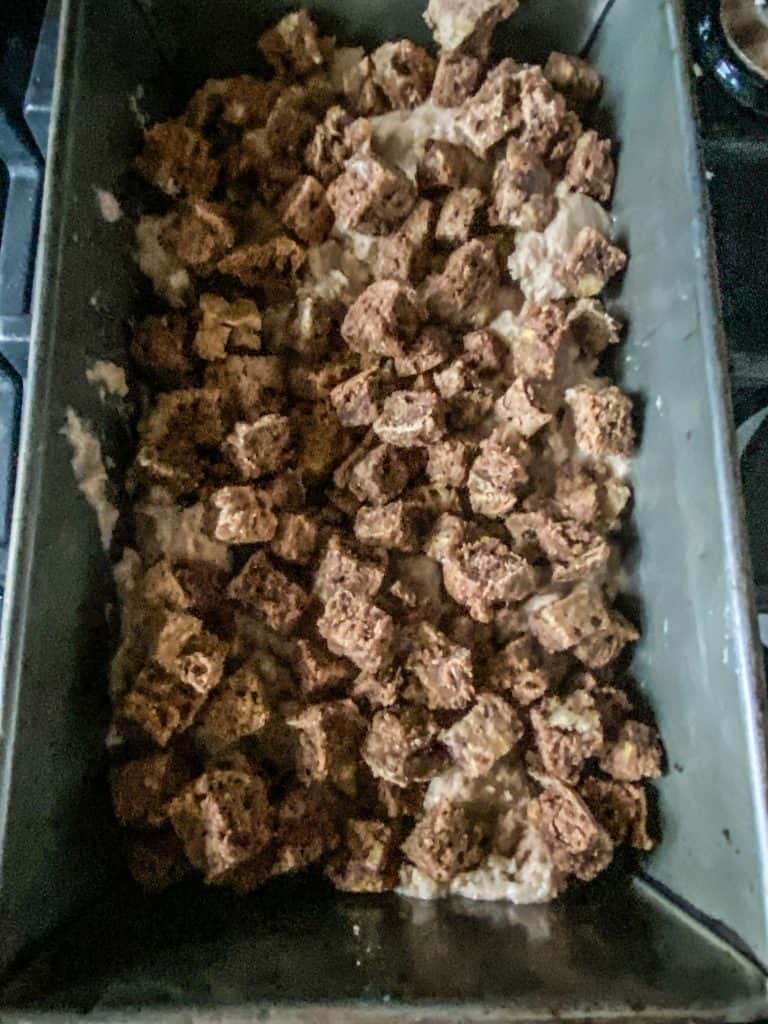
- Scoop half the nice cream into a loaf pan, or something of similar size.
- Spread half the banana bread cubes on the nice cream, and cover with the rest of the nice cream. Add the remaining bread cubes on top, pressing them slightly into the nice cream.
- Serve immediately or cover and freeze until ready to serve.
- To make the nice cream easier to scoop, place in the refrigerator for about 30 minutes prior to serving.
Notes
Nutrition
*Nutrition information is an estimate, and will change based on the brand and individual ingredients and amounts you use. This is provided for your convenience only.