As summer winds down, we hit tomato season. And what's better than a bright red, ripe tomato right off the vine?? Not much I say.
But if you grow your own, you know you can't possibly eat them all before they go bad. Here's something a little different than your usual tomato sauce for your bounty: Instant Pot Smoky Tomato Jam! (Or on your stove if you don't have an Instant Pot.)

Tomato jam is often sticky sweet, and loaded with sugar. And don't get me wrong, it's delicious! But my version is also big on flavor, without all the sugar. Because tomatoes are so heart healthy, there's no reason to load them down with less-than-healthy ingredients!
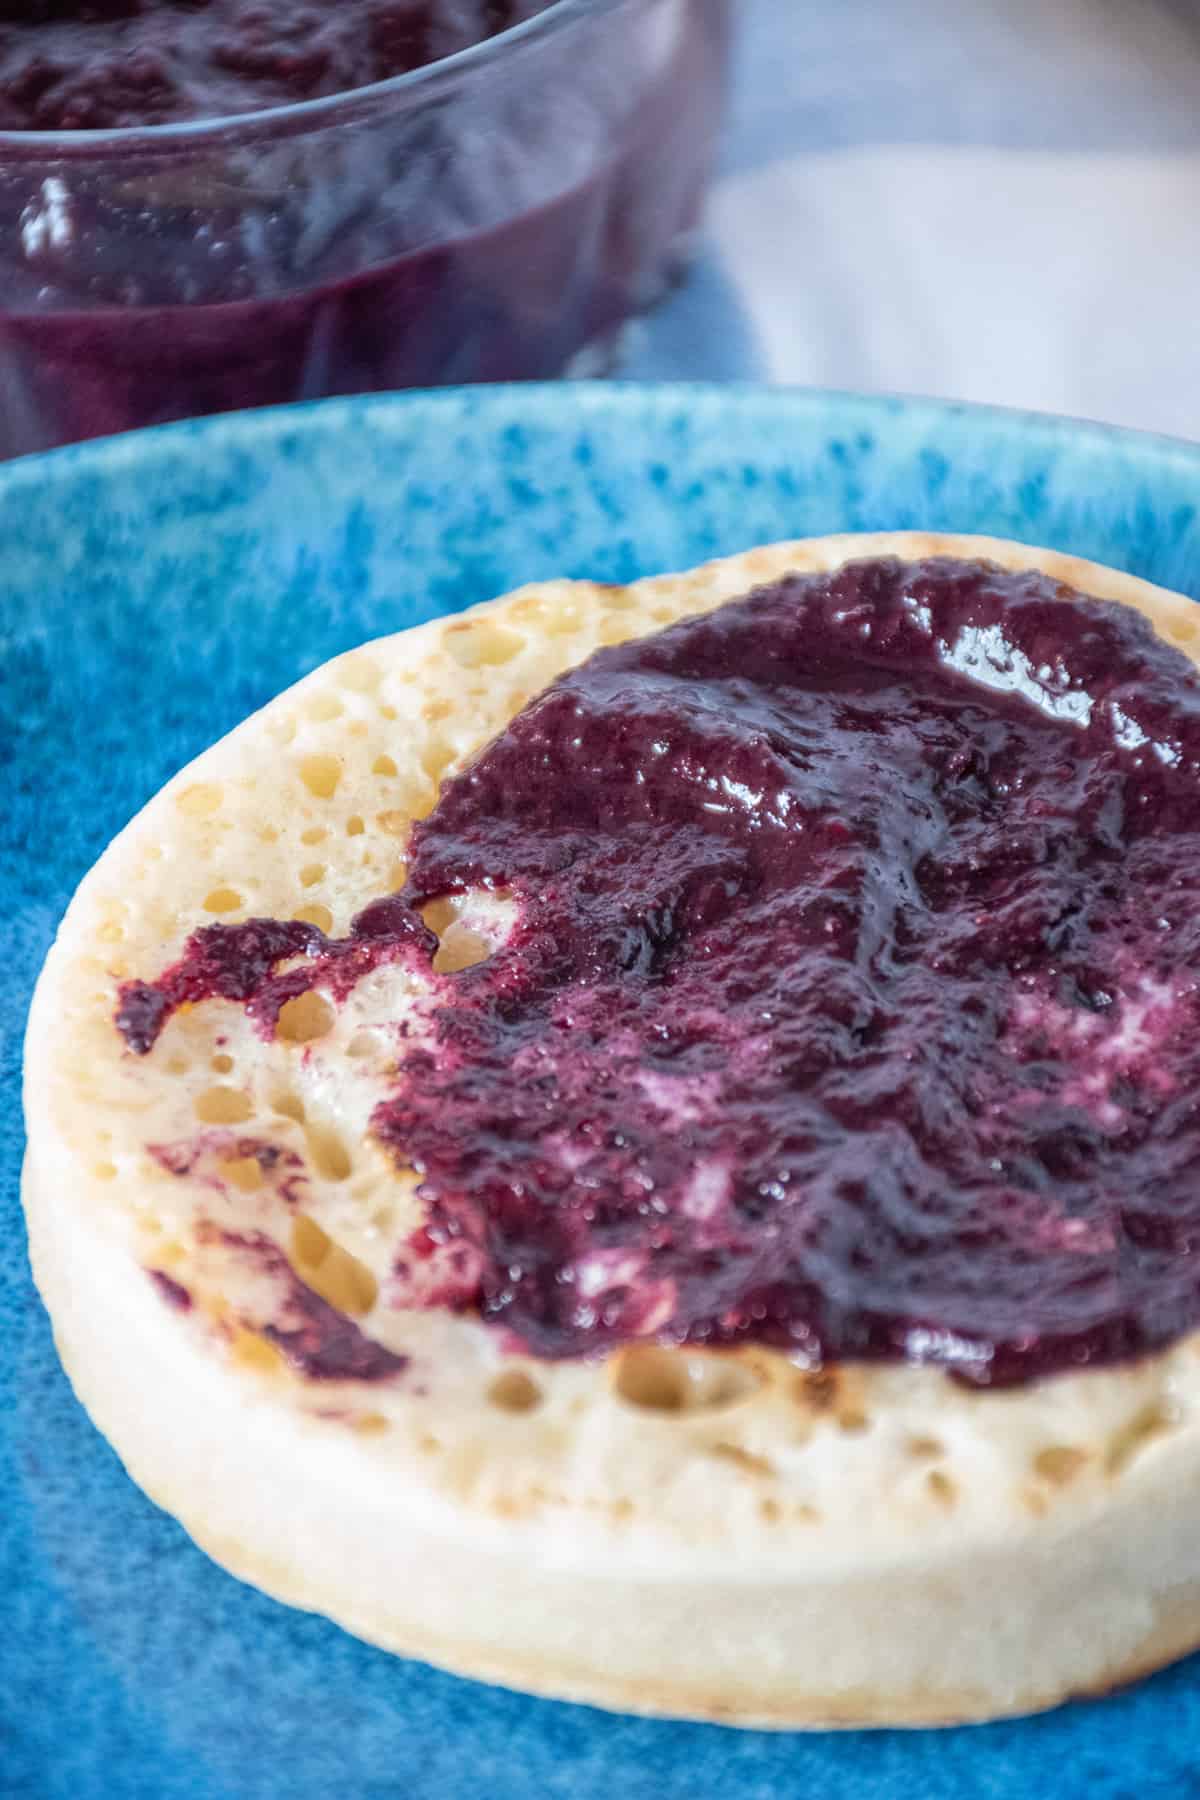
So I opted for a savory version that goes perfect on toast with avocado smear! I used smoked paprika for a smoky version of this traditional condiment.
Another ingredient tomato jam usually has is pectin. Well, I don't often have pectin in my pantry. But I do often have apples. Did you know that apples, particularly the skins, are a natural source of pectin? Plus, they add a bit of sweetness to balance out the acid of the tomatoes. Dice your apples really small, and you won't even notice they're in there!

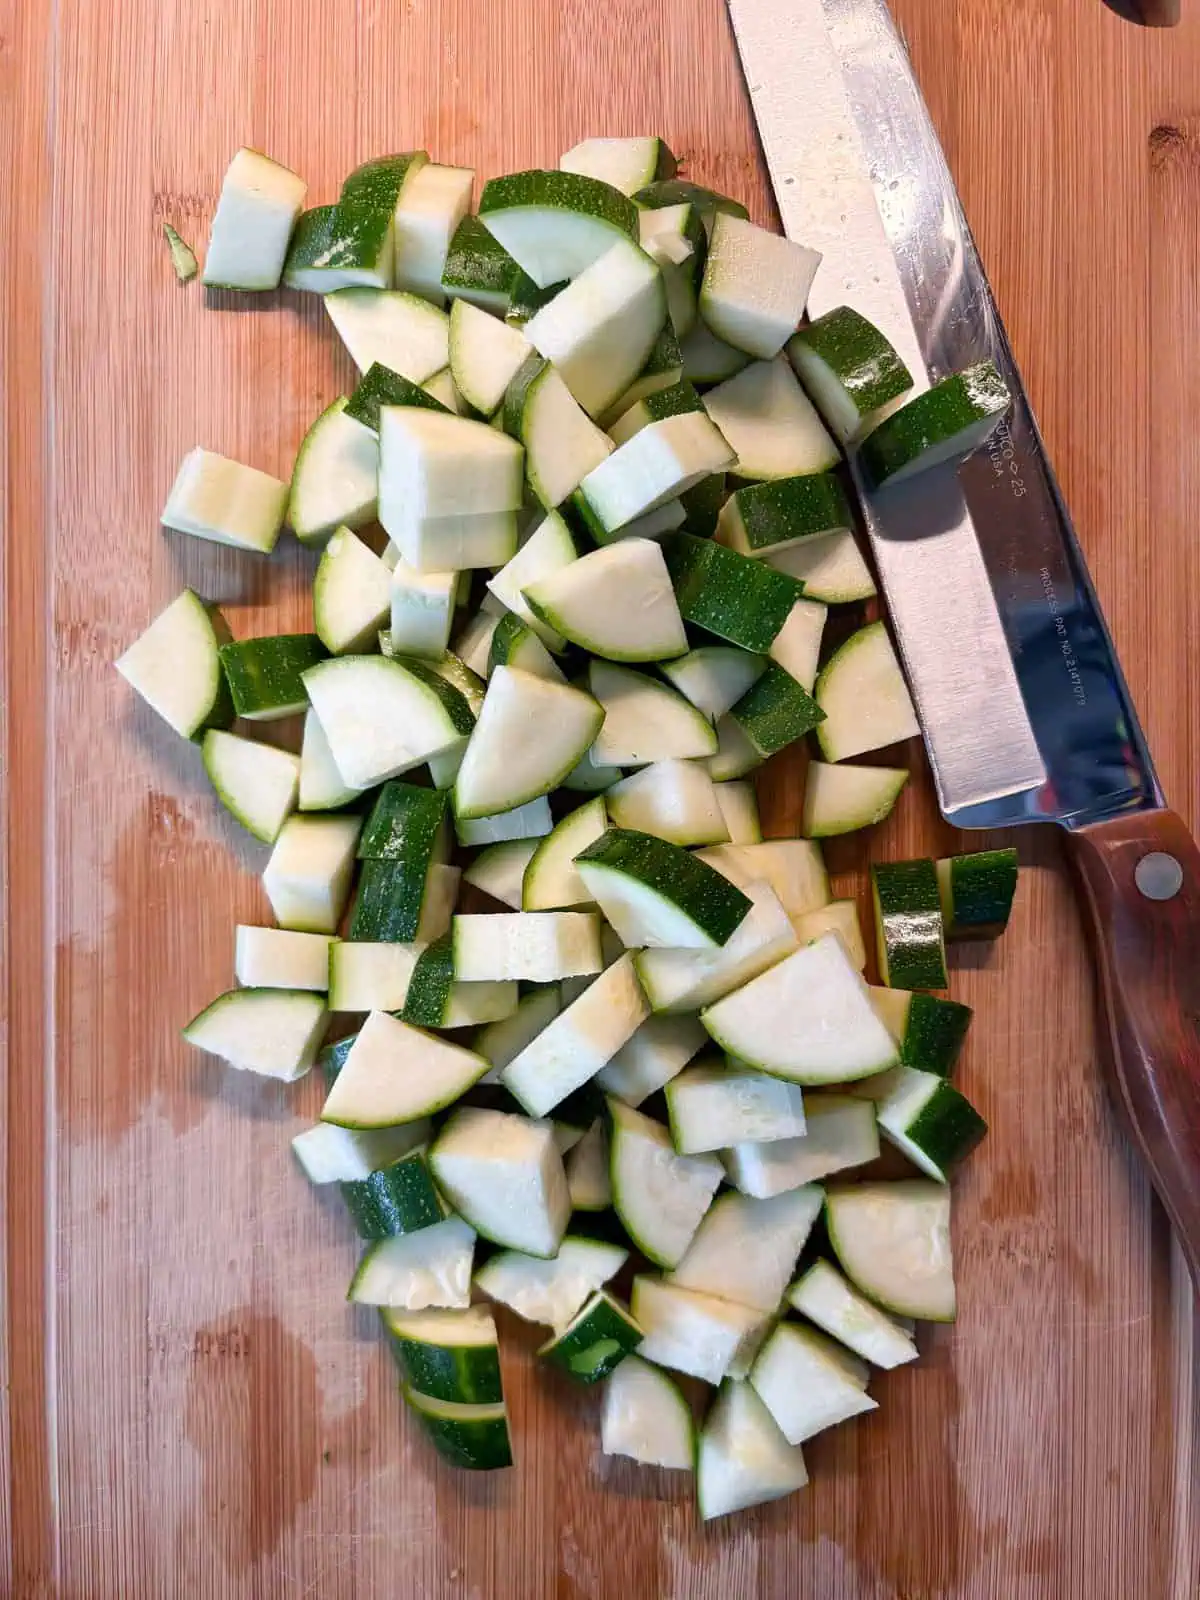
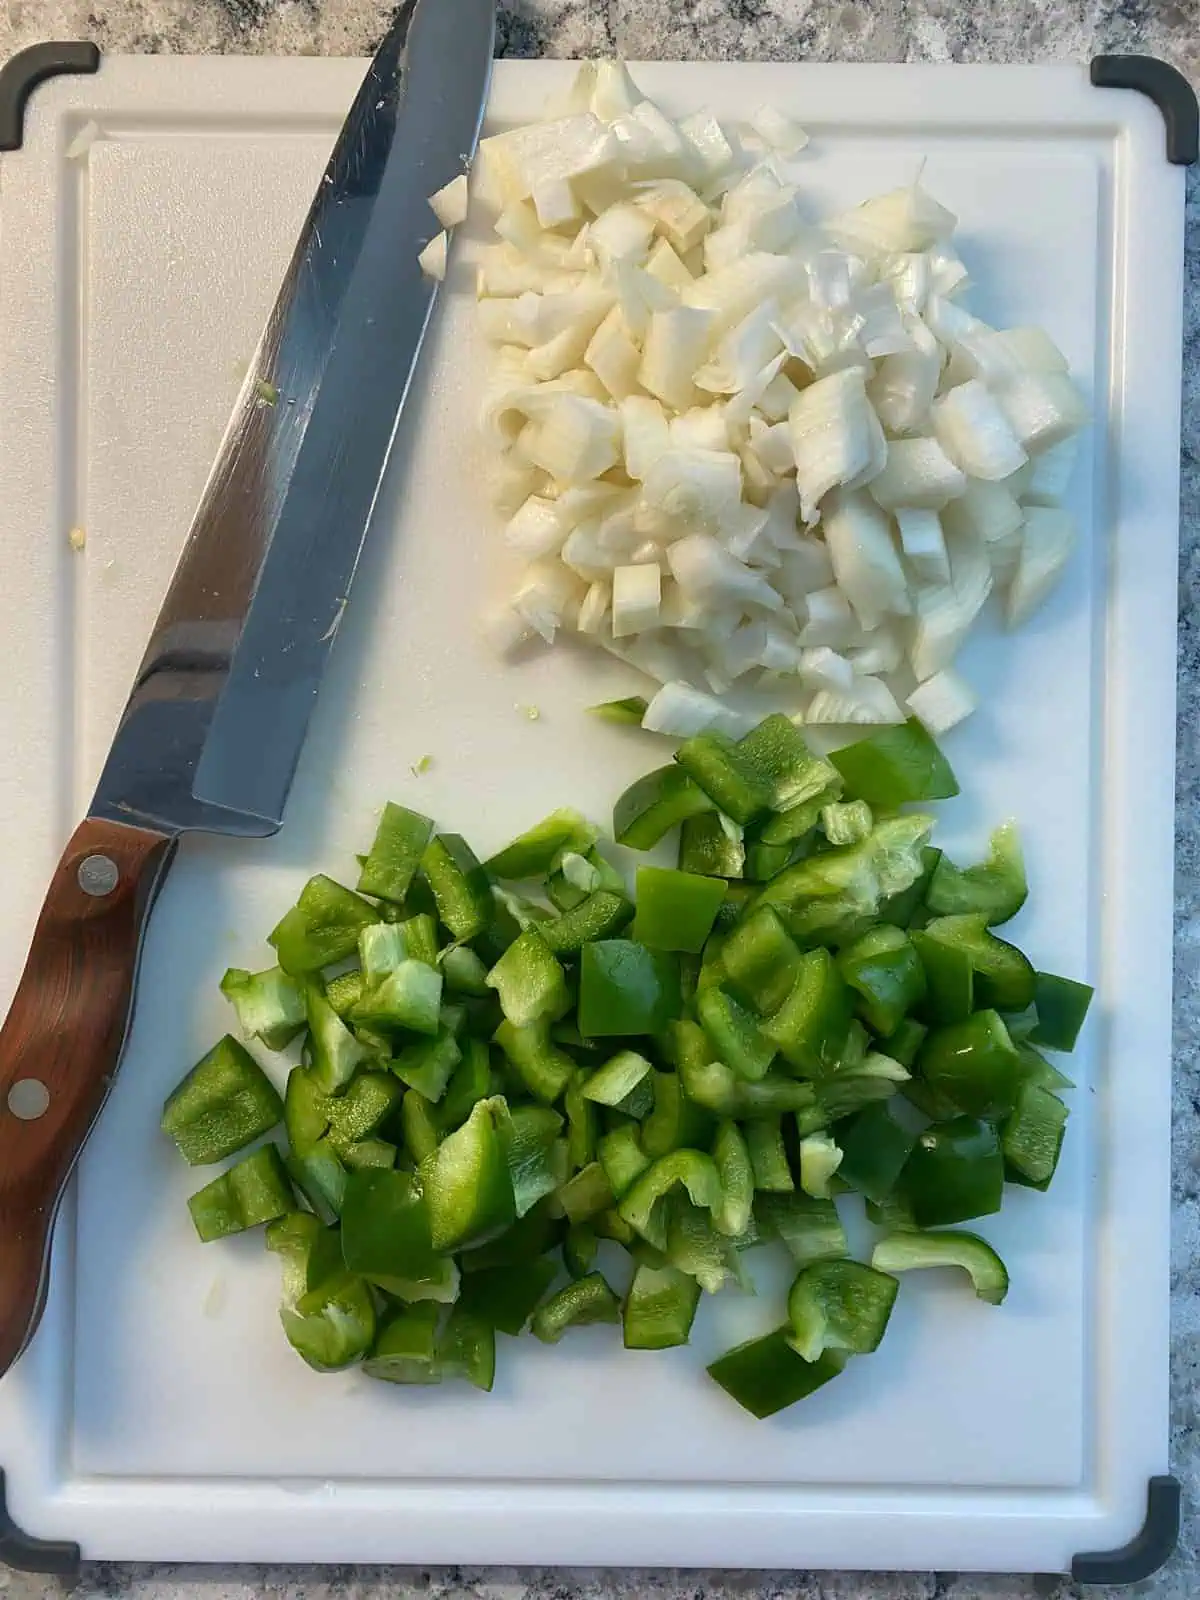
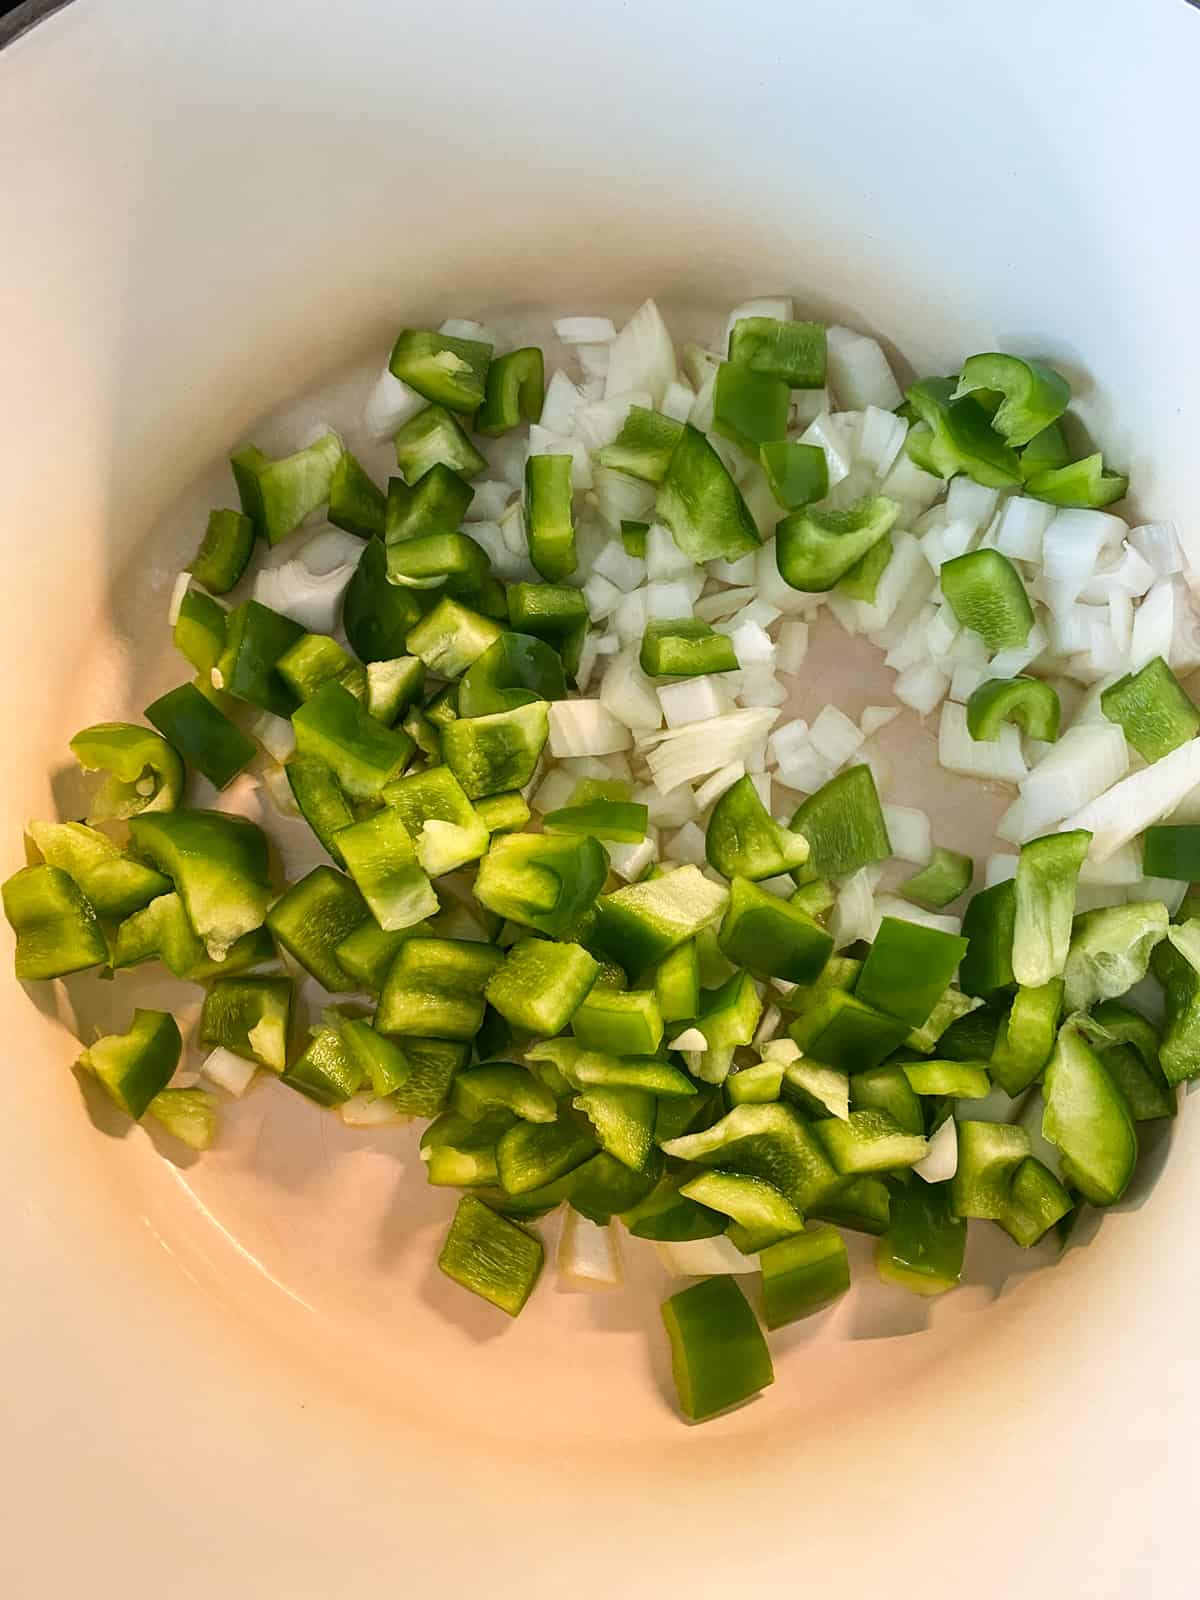
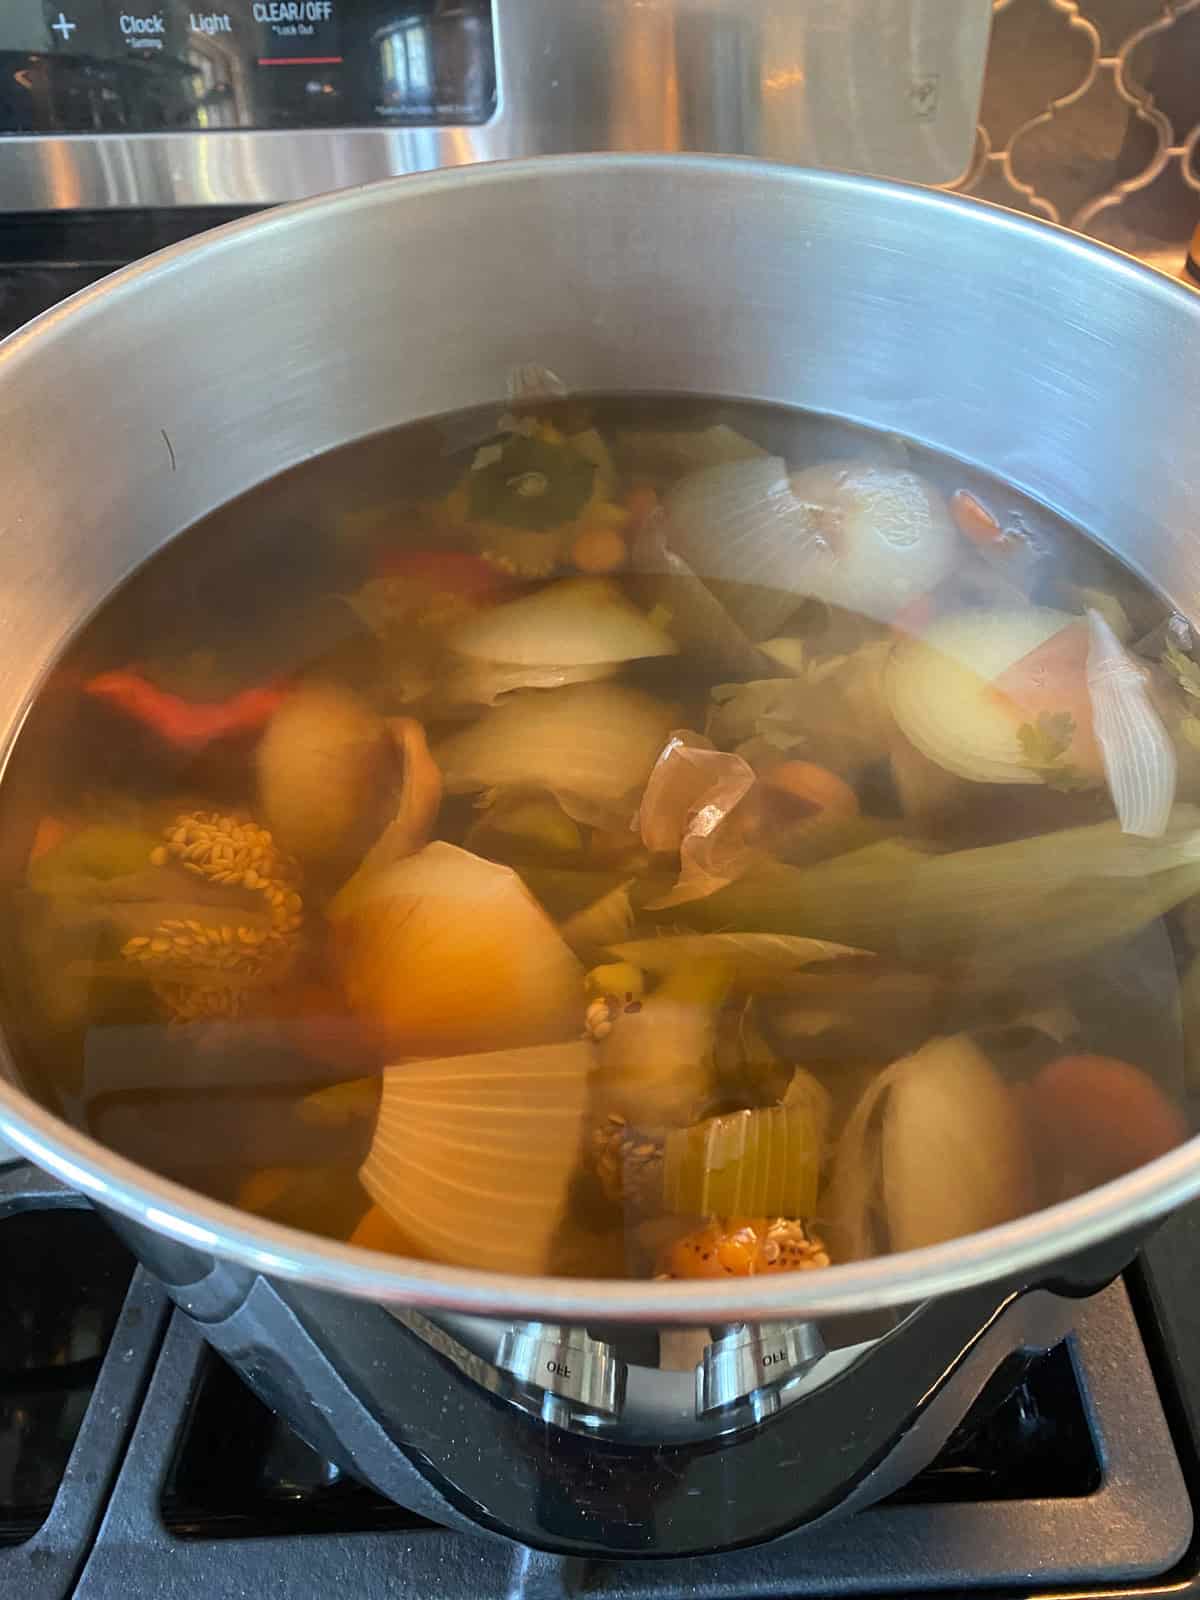
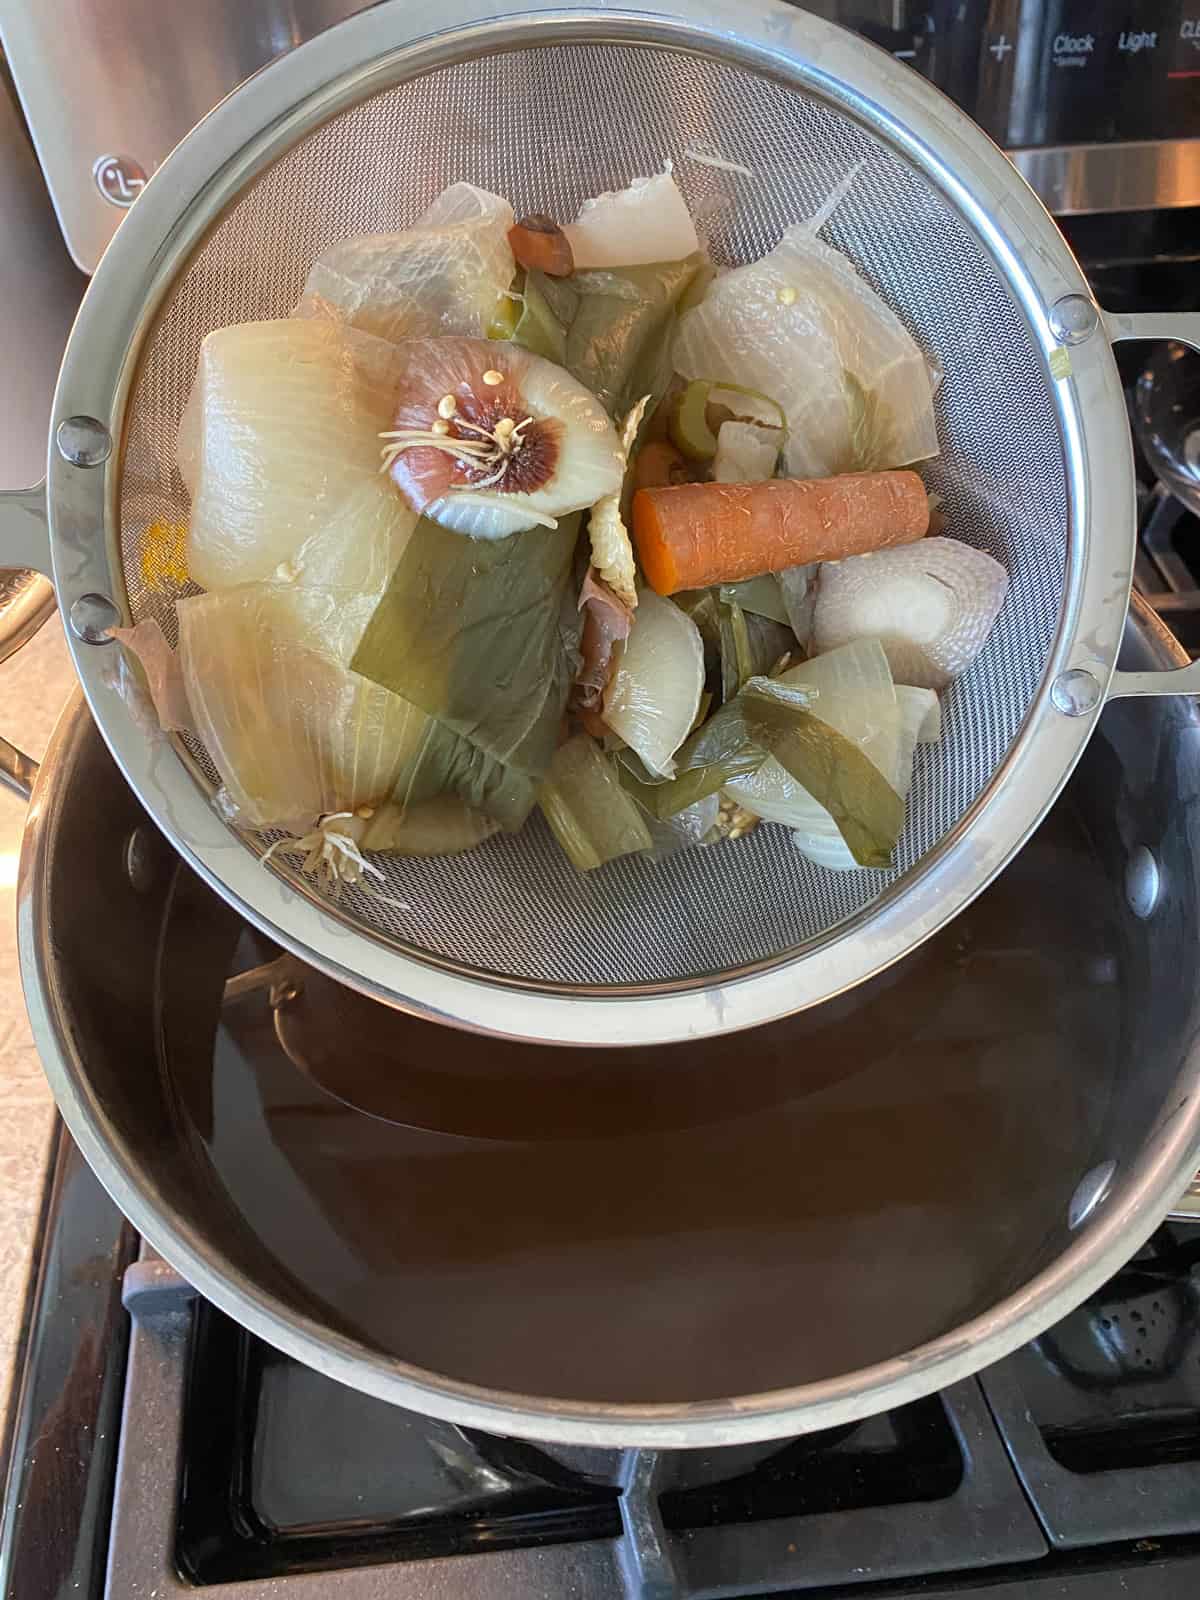
For dicing, my trick is to toss everything in my food processor and pulse it until everything is nice and small. Easy peasy, and my counters don't get a bath in tomato juice! I used a combination of "regular" tomatoes, Roma tomatoes, and cherry tomatoes because that's what I had. Use whichever tomatoes you like! Make sure to toss your tomato tops in the freezer to make Vegetable Broth later!
How To Use Smoky Tomato Jam
As I mentioned, I used mine on top of toast smeared with avocado and drizzled with Balsamic vinegar. But the sky's the limit! Here are some mouthwatering ideas:
- Topping for cottage cheese
- Smear on cheese and crackers
- Top macaroni and cheese
- Thin with olive oil and use as salad dressing
- Use as a hamburger condiment
- Pile on scrambled eggs
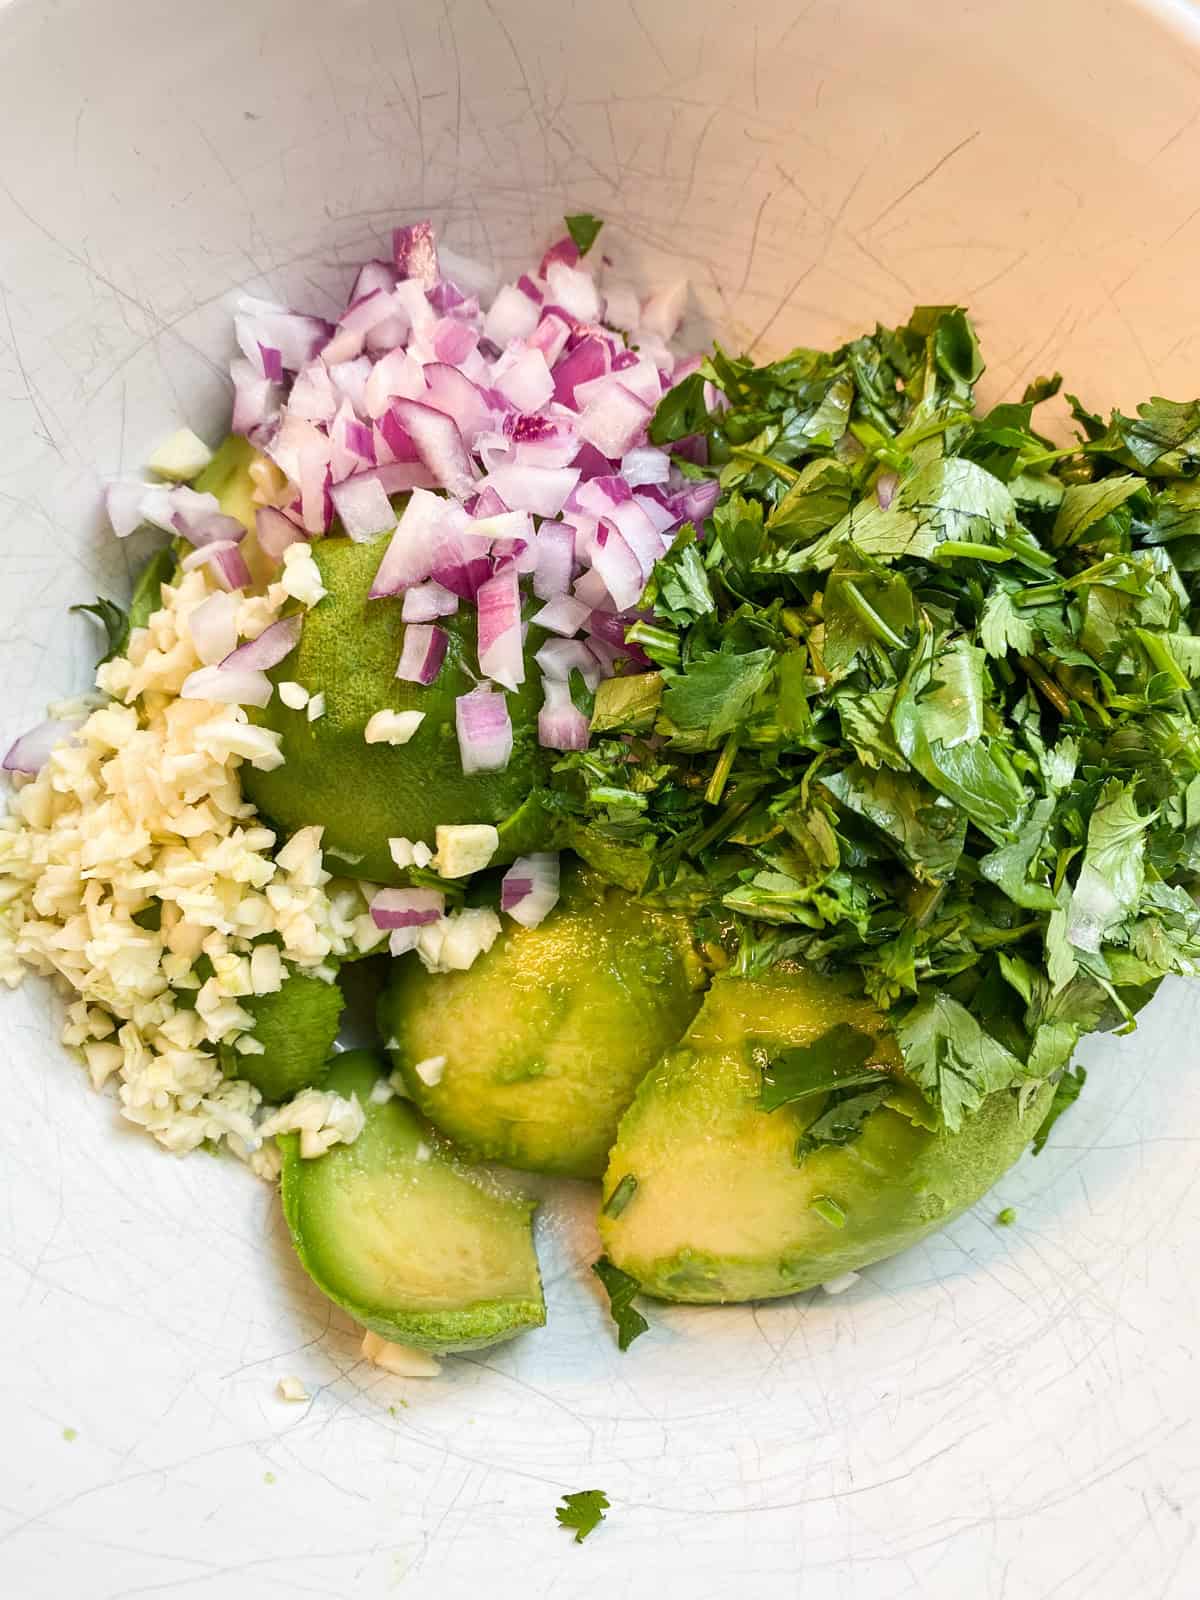
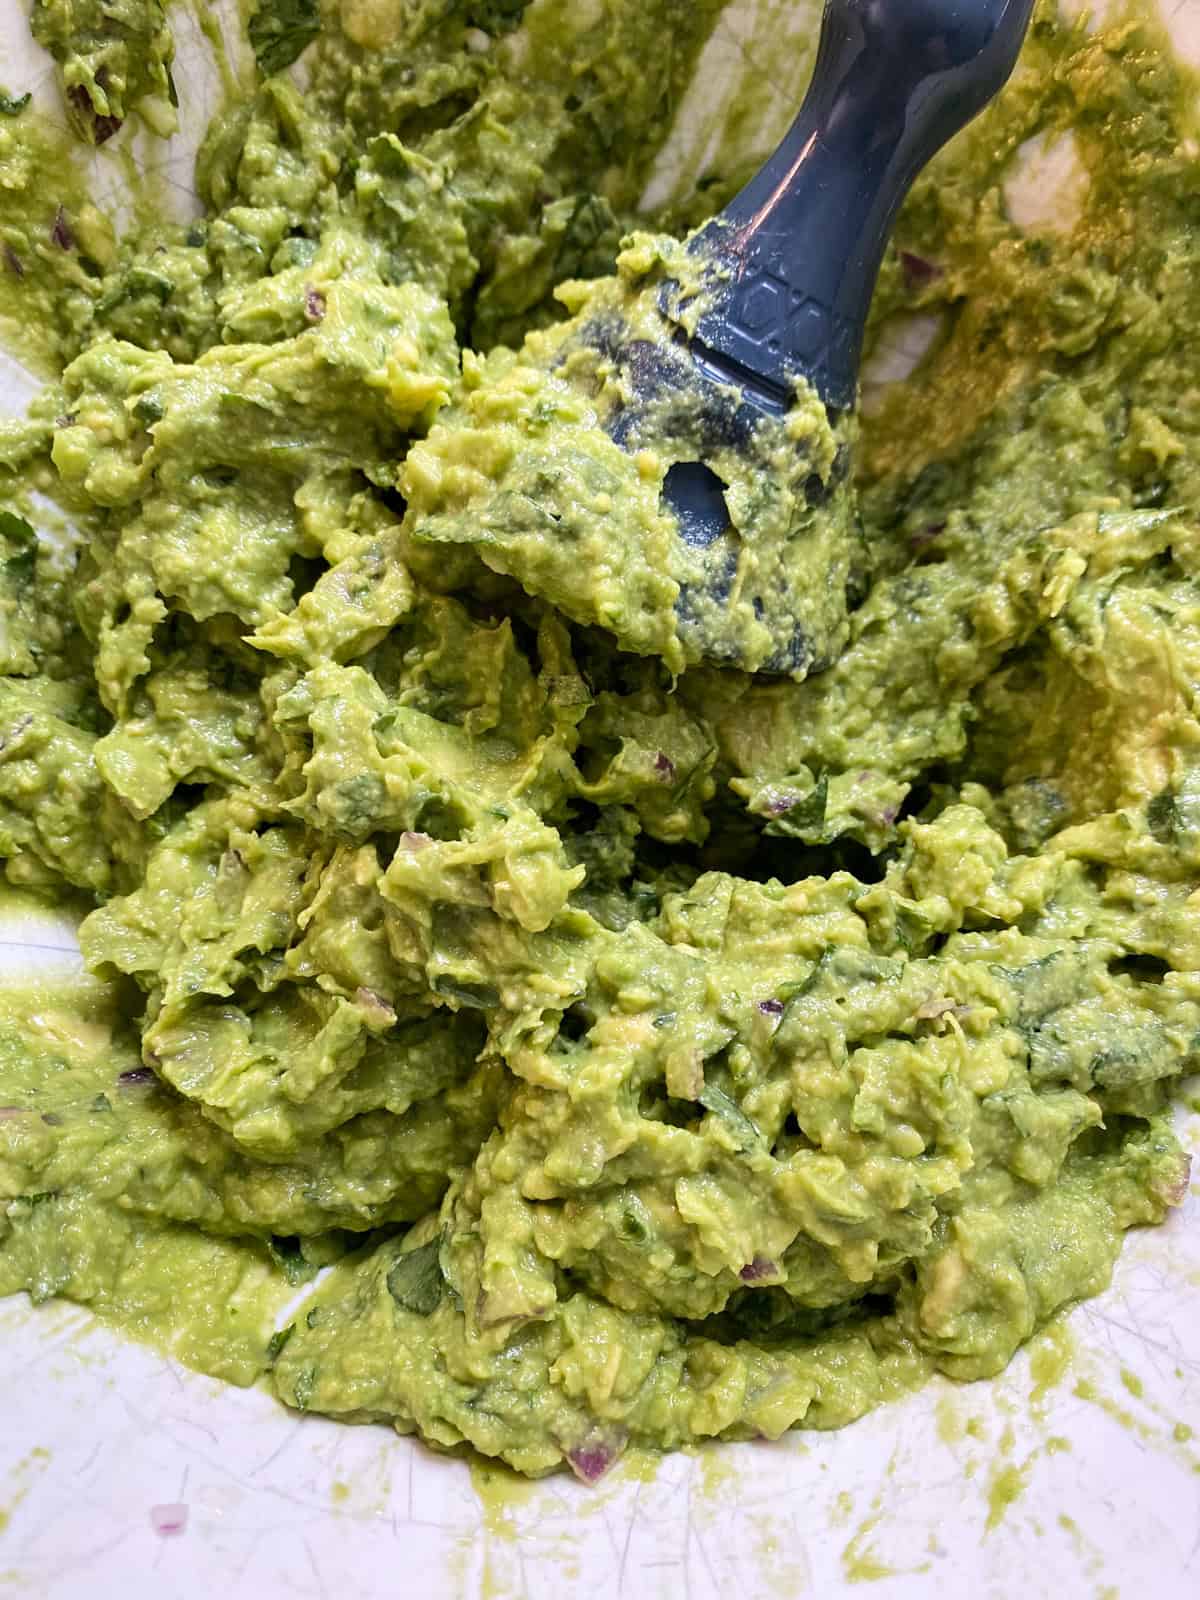
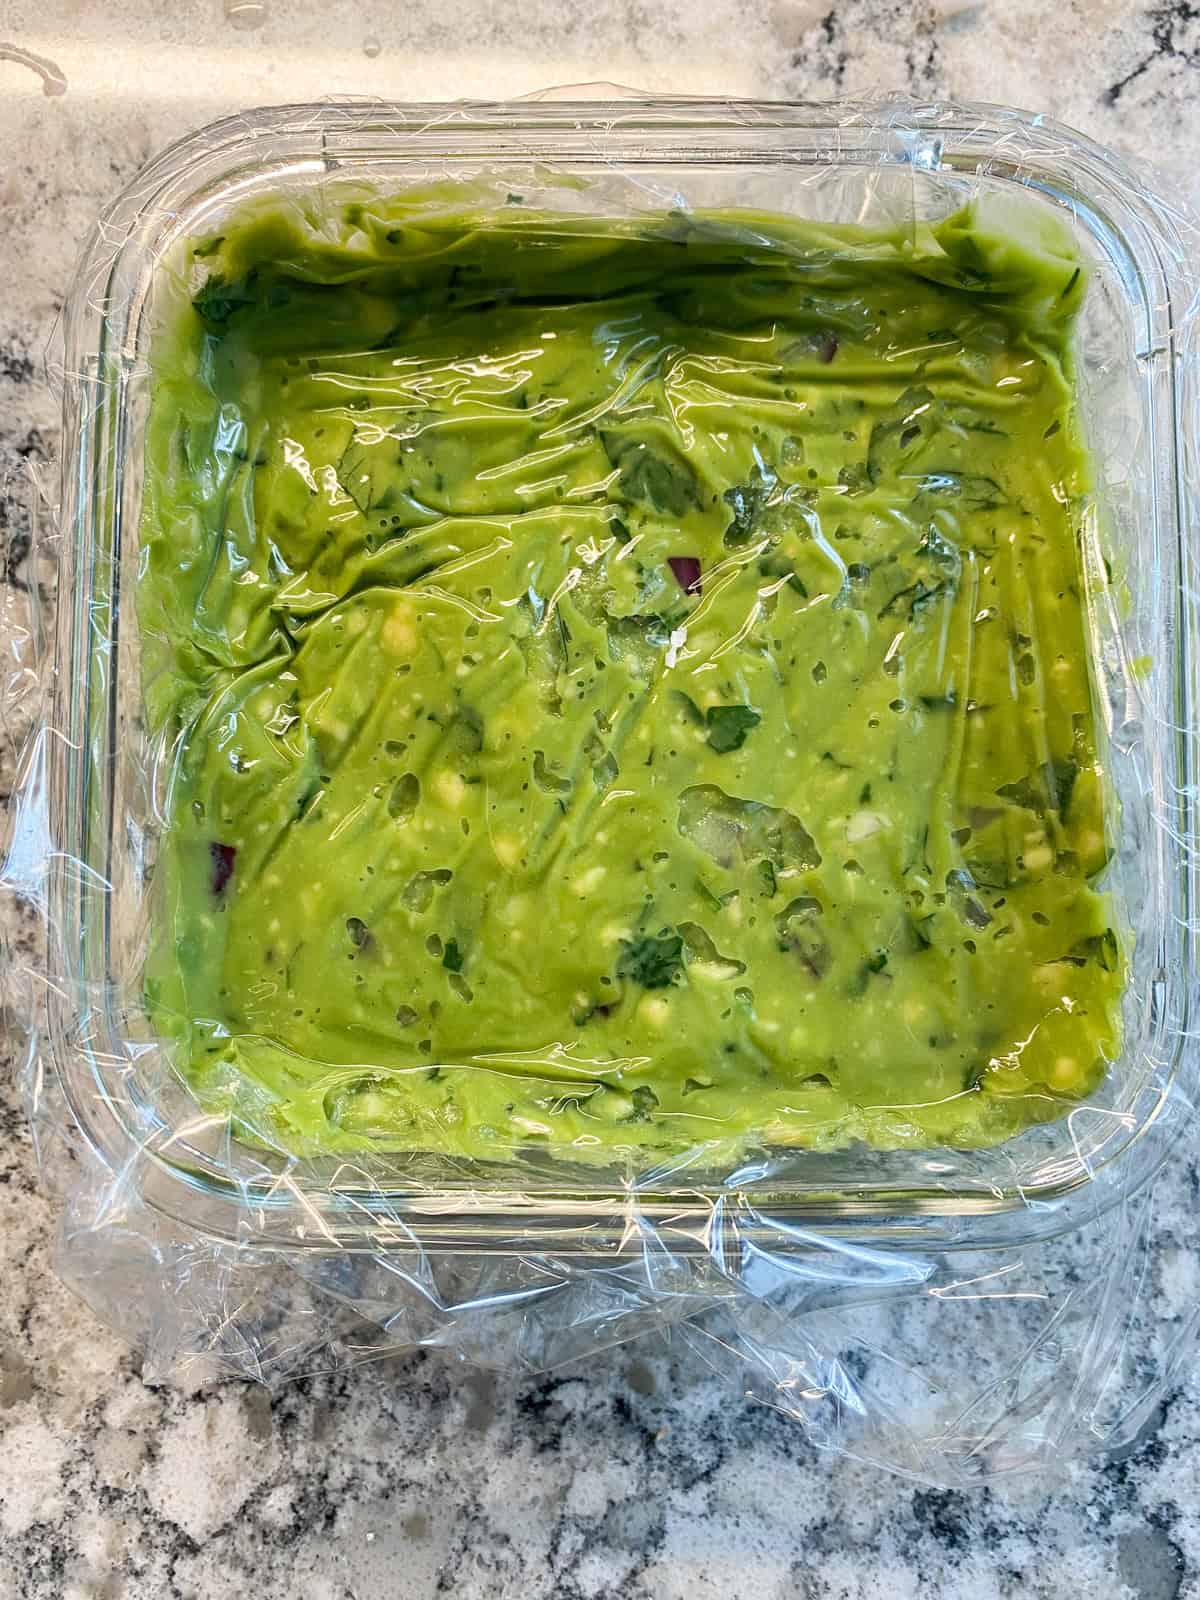
- Mix into mashed avocado for a unique guacamole
- Spoon onto hummus for a fun flavor combo
- Eat it straight from the jar!
If you're into canning, Instant Pot Smoky Tomato Jam can totally be canned (always use safe canning practices and if you're new to canning, use only recipes specifically for canning that you get on reputable sites). It will also keep well in the freezer up to 6 months.
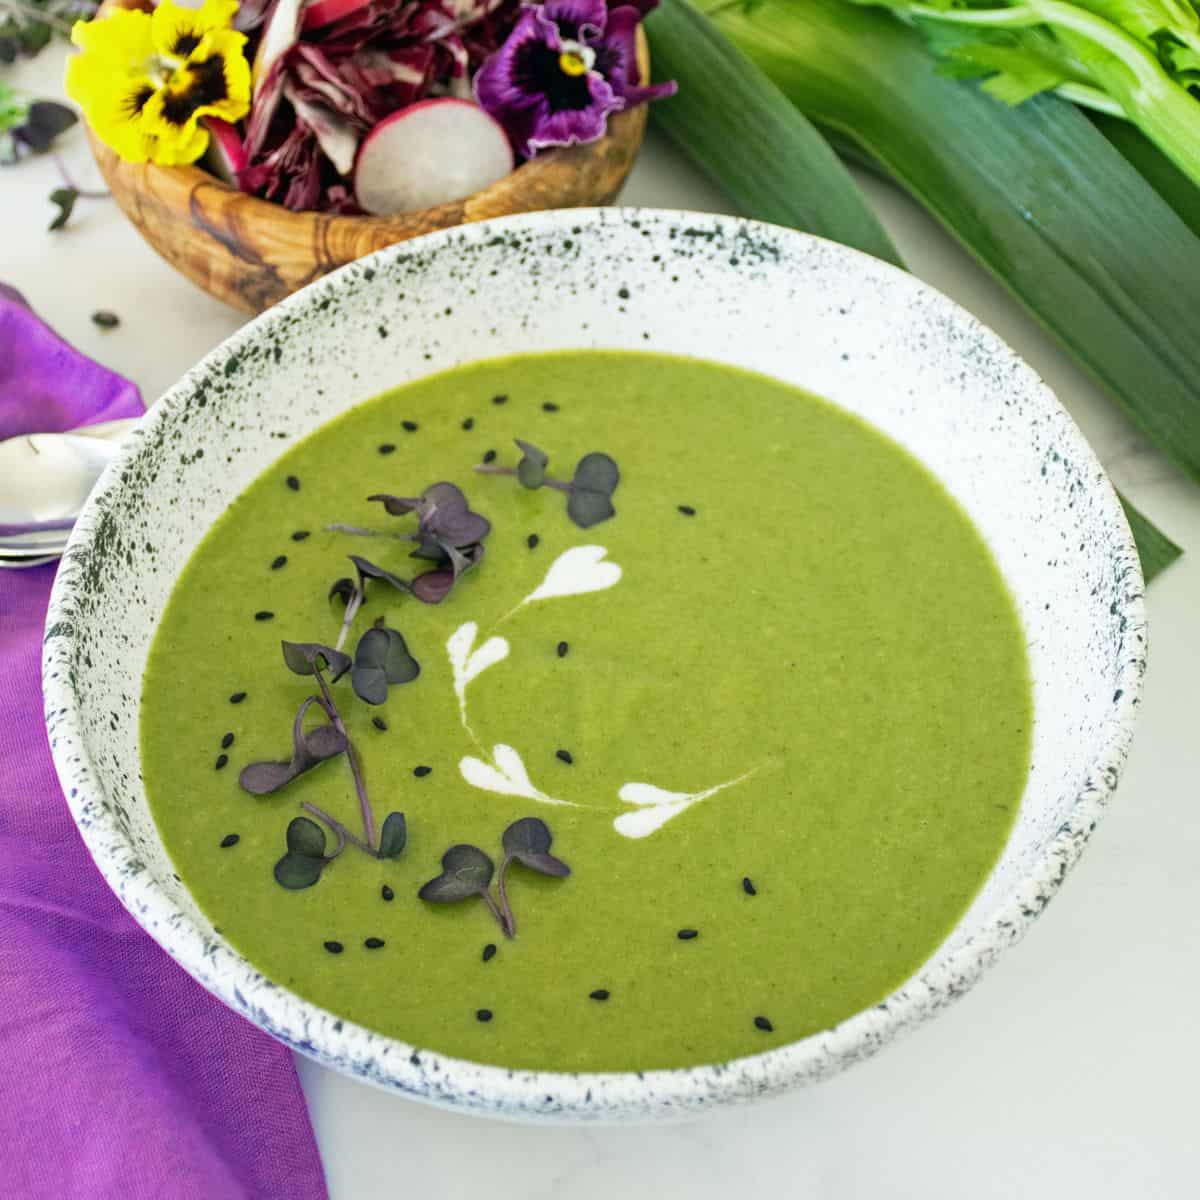
Got a truckload of green tomatoes, too? Try Green Tomato Soup to use some up!
If you try Instant Pot Smoky Tomato Jam, let me know in the comments!
📖 Recipe

Instant Pot Smoky Tomato Jam
Equipment
Ingredients
- 2 lbs Tomatoes, diced
- 1 Apple, cored, diced small (do not peel)
- 1 teaspoon Smoked Paprika
- ½ teaspoon Apple Cider Vinegar
Instructions
- Add diced tomatoes and apple to Instant Pot. Close lid, and set timer to 4 minutes on high pressure. Allow natural release of pressure for at least 10 minutes before carefully releasing remaining pressure and opening lid.
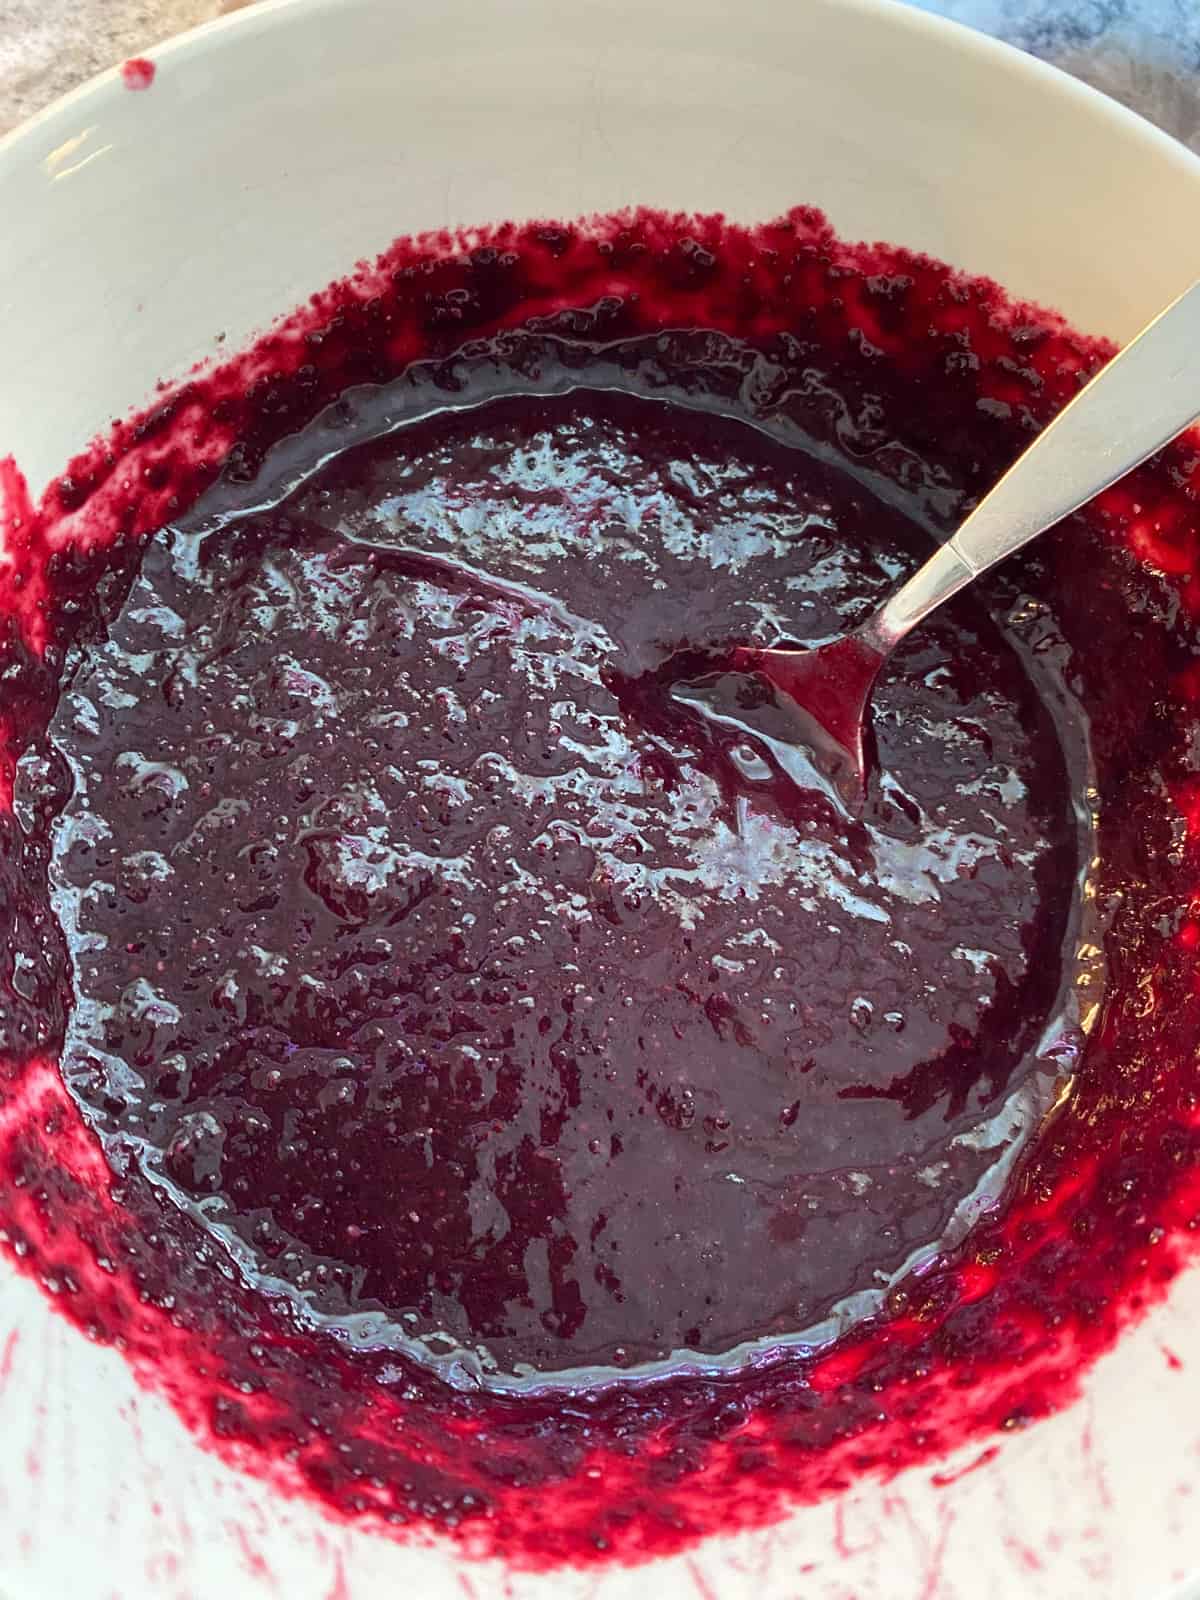
- Set Instant Pot to saute and simmer the tomato mixture for about 15-20 minutes, stirring occasionally, until the apple breaks down and the liquid is reduced by about half.
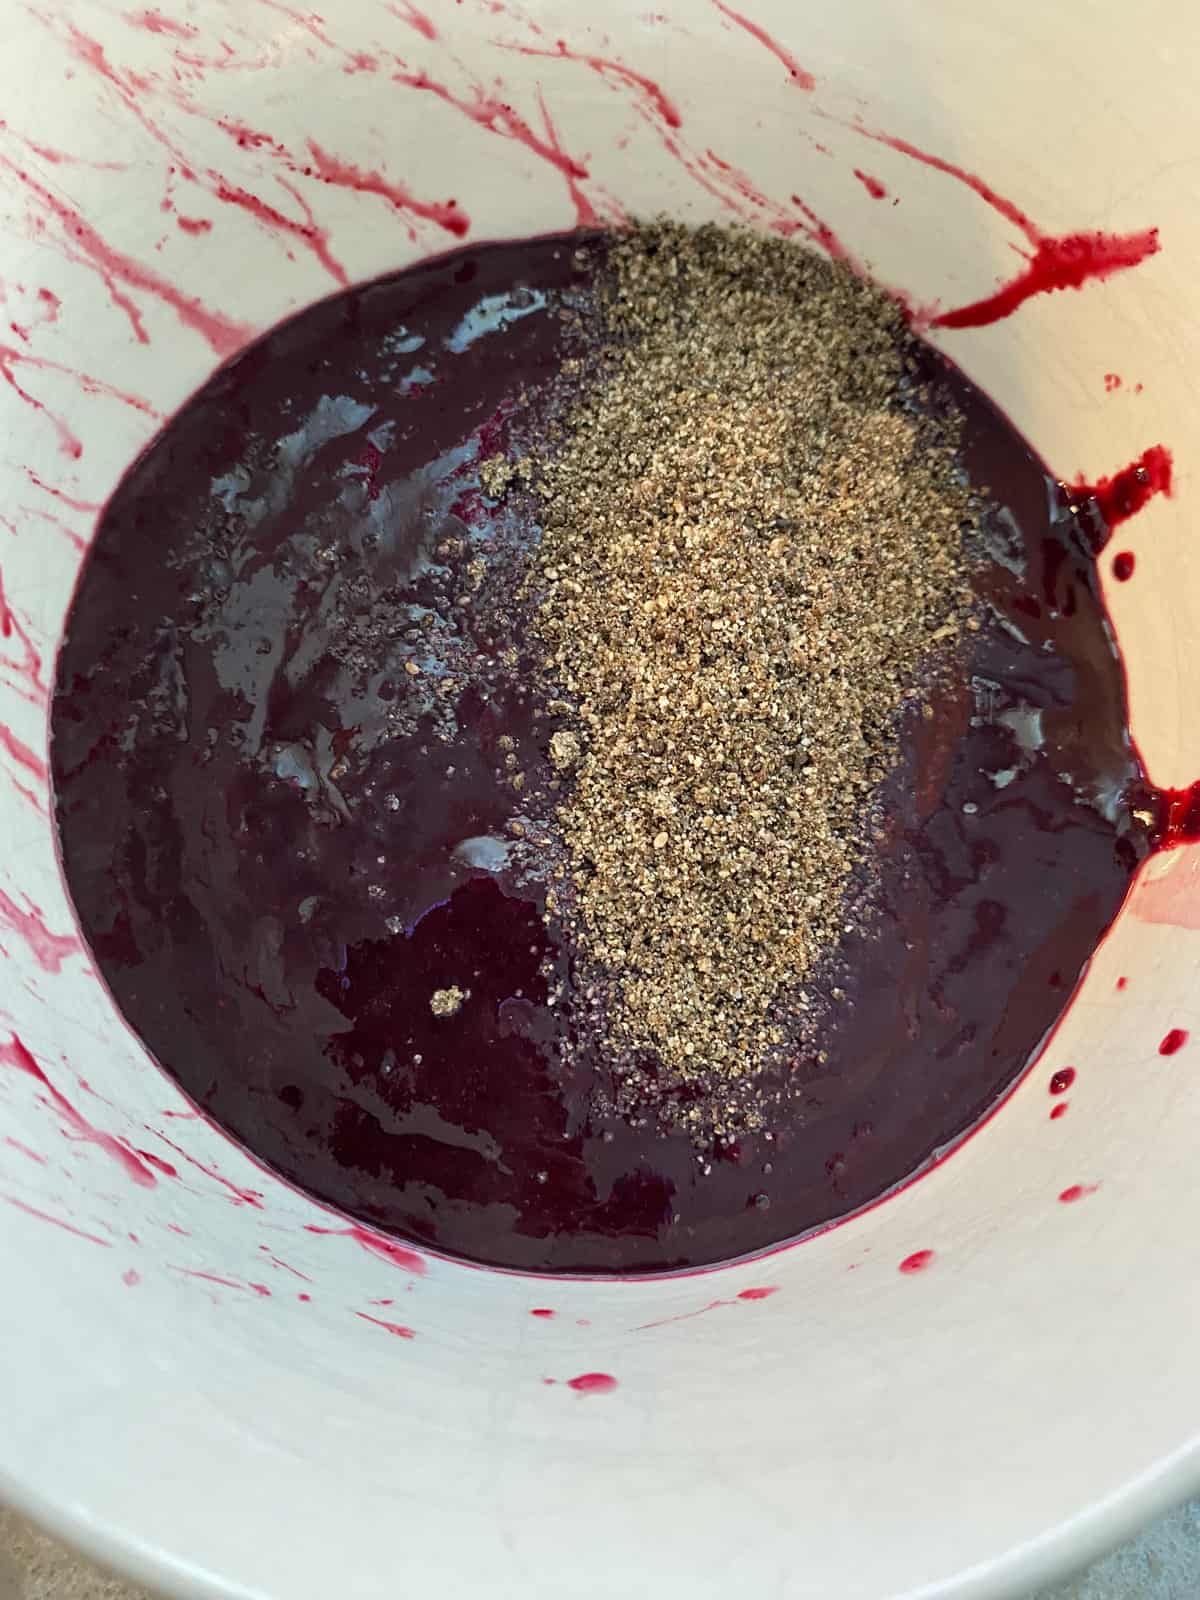
- Stir in the smoked paprika and vinegar.
- Ladle into jelly jars and refrigerate until ready to use. It will thicken more as it cools. I recommend serving on toast with avocado, drizzled with Balsamic vinegar!
Notes
Nutrition
*Nutrition information is an estimate, and will change based on the brand and individual ingredients and amounts you use. This is provided for your convenience only.