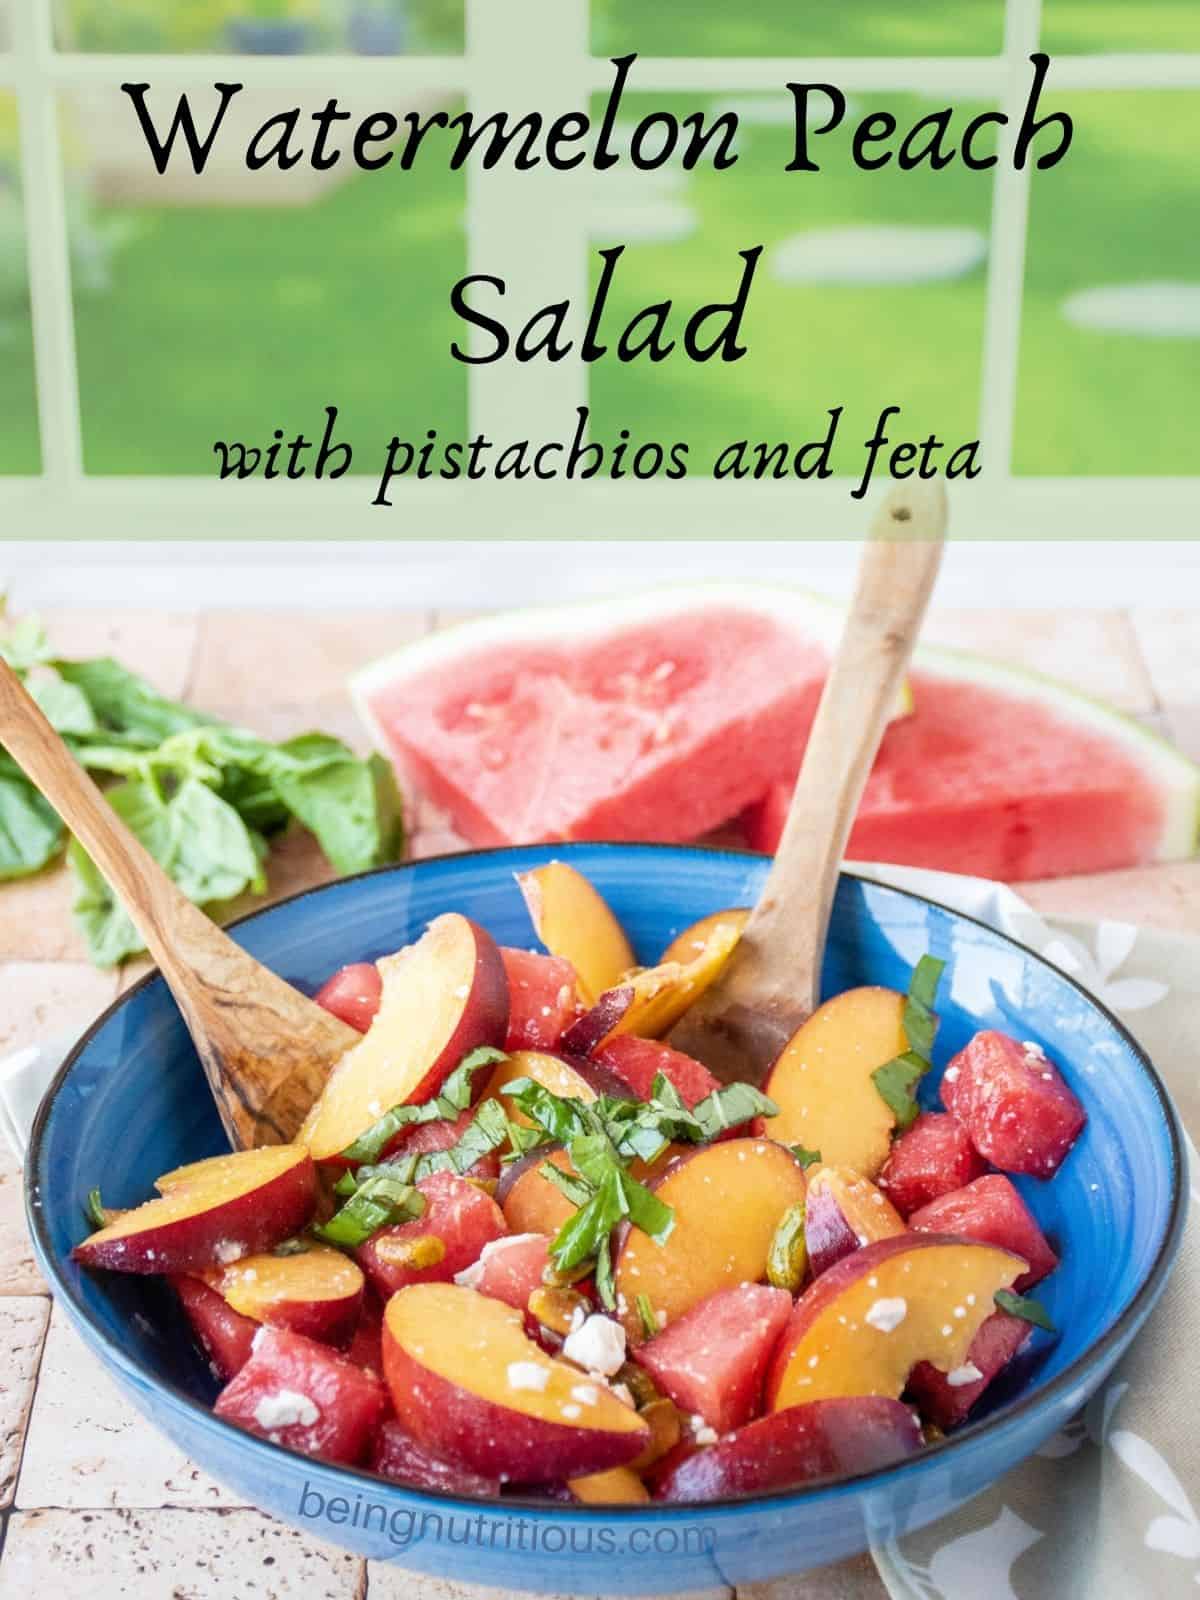
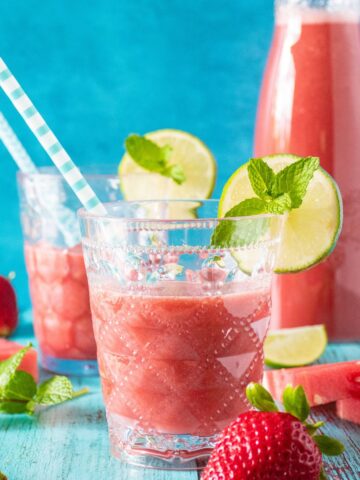
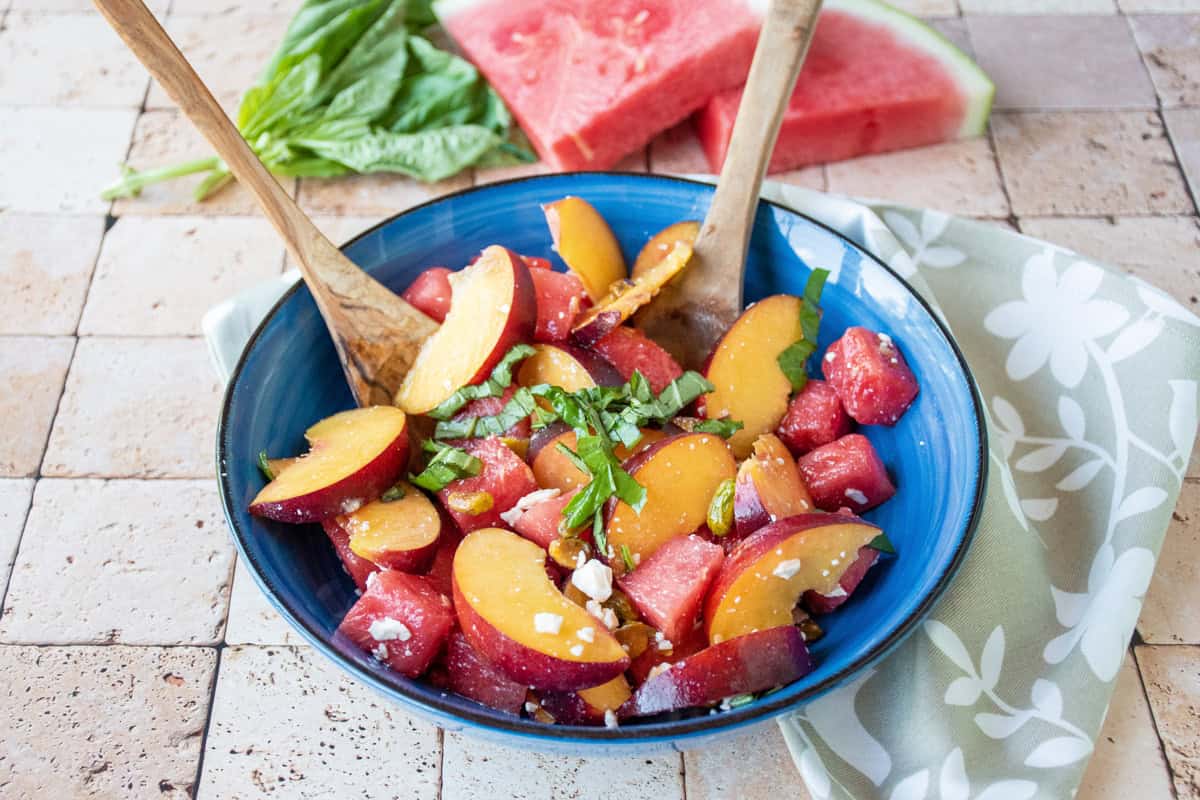
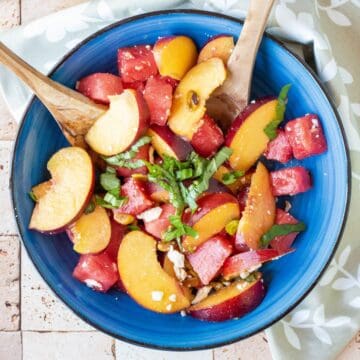
Delicious summer watermelon and perfectly ripe peaches come together with briny feta, crunchy pistachios, and bright, herbal basil, for a seasonal flavor explosion! You'll love the variety of flavors and textures these ingredients bring. Watermelon Peach Salad is equally great as a side dish or a dessert, and pairs well with any summer cookout.
This post may contain affiliate links. See our Disclaimer for more information
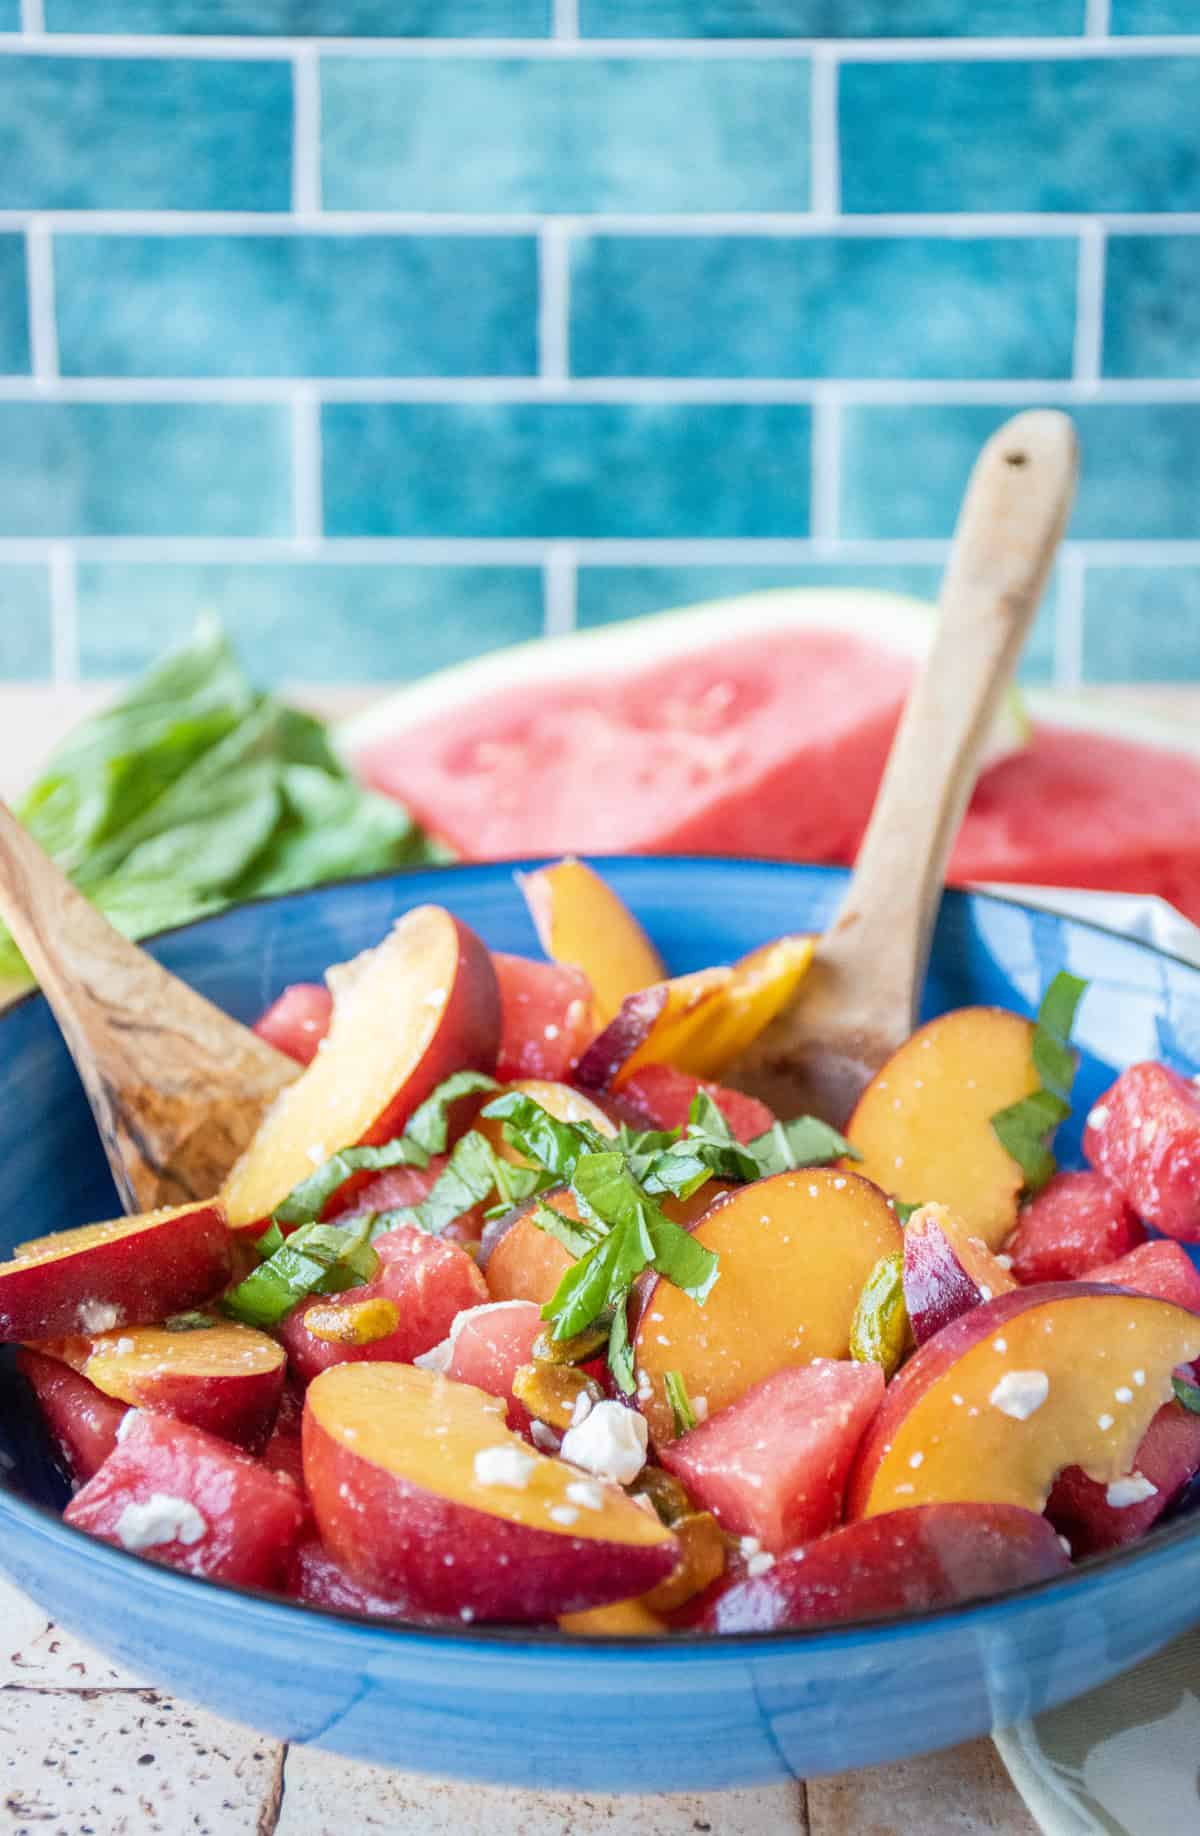
This is the fruit salad Summer begs for! Watermelon and peaches are both at their best now, and that's really what you want. Winter watermelon just doesn't have it for me.
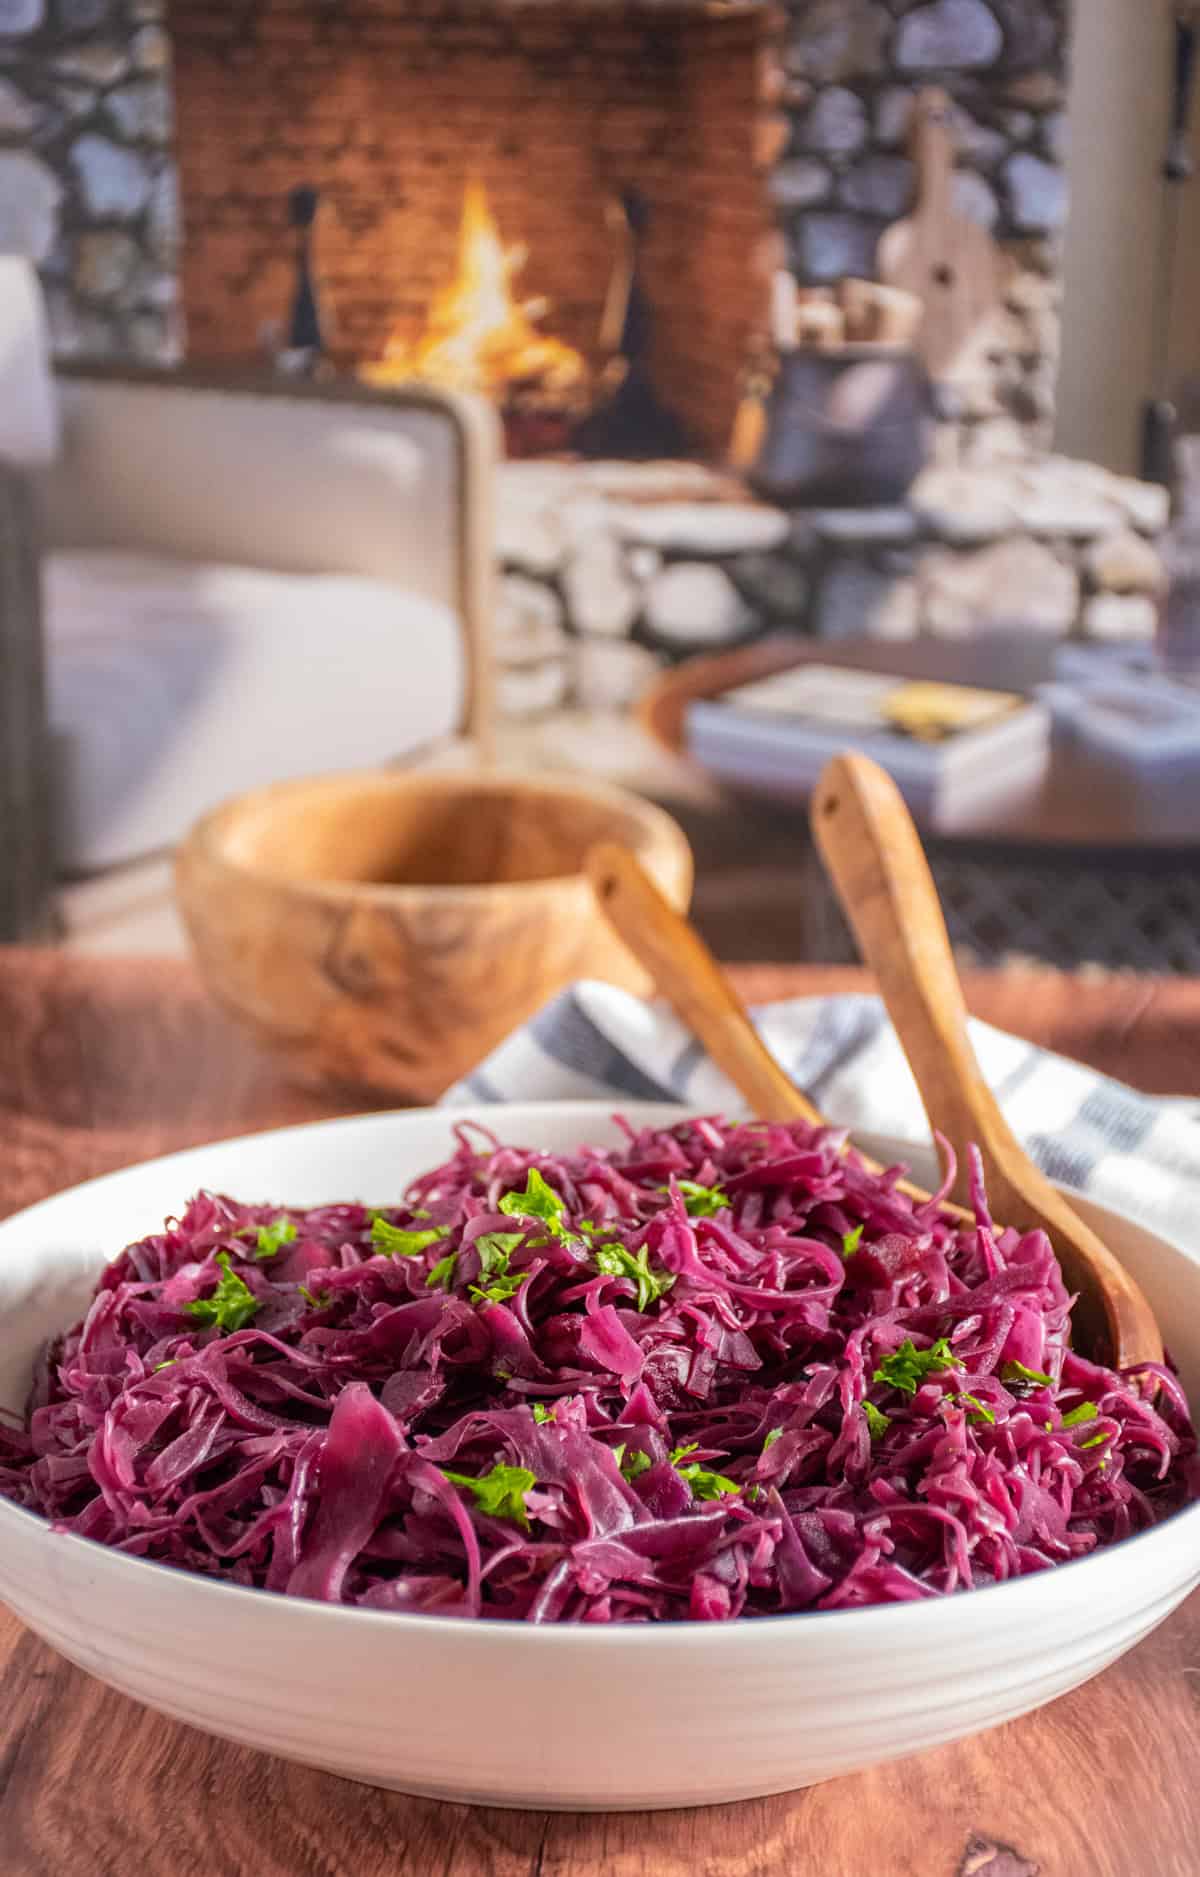
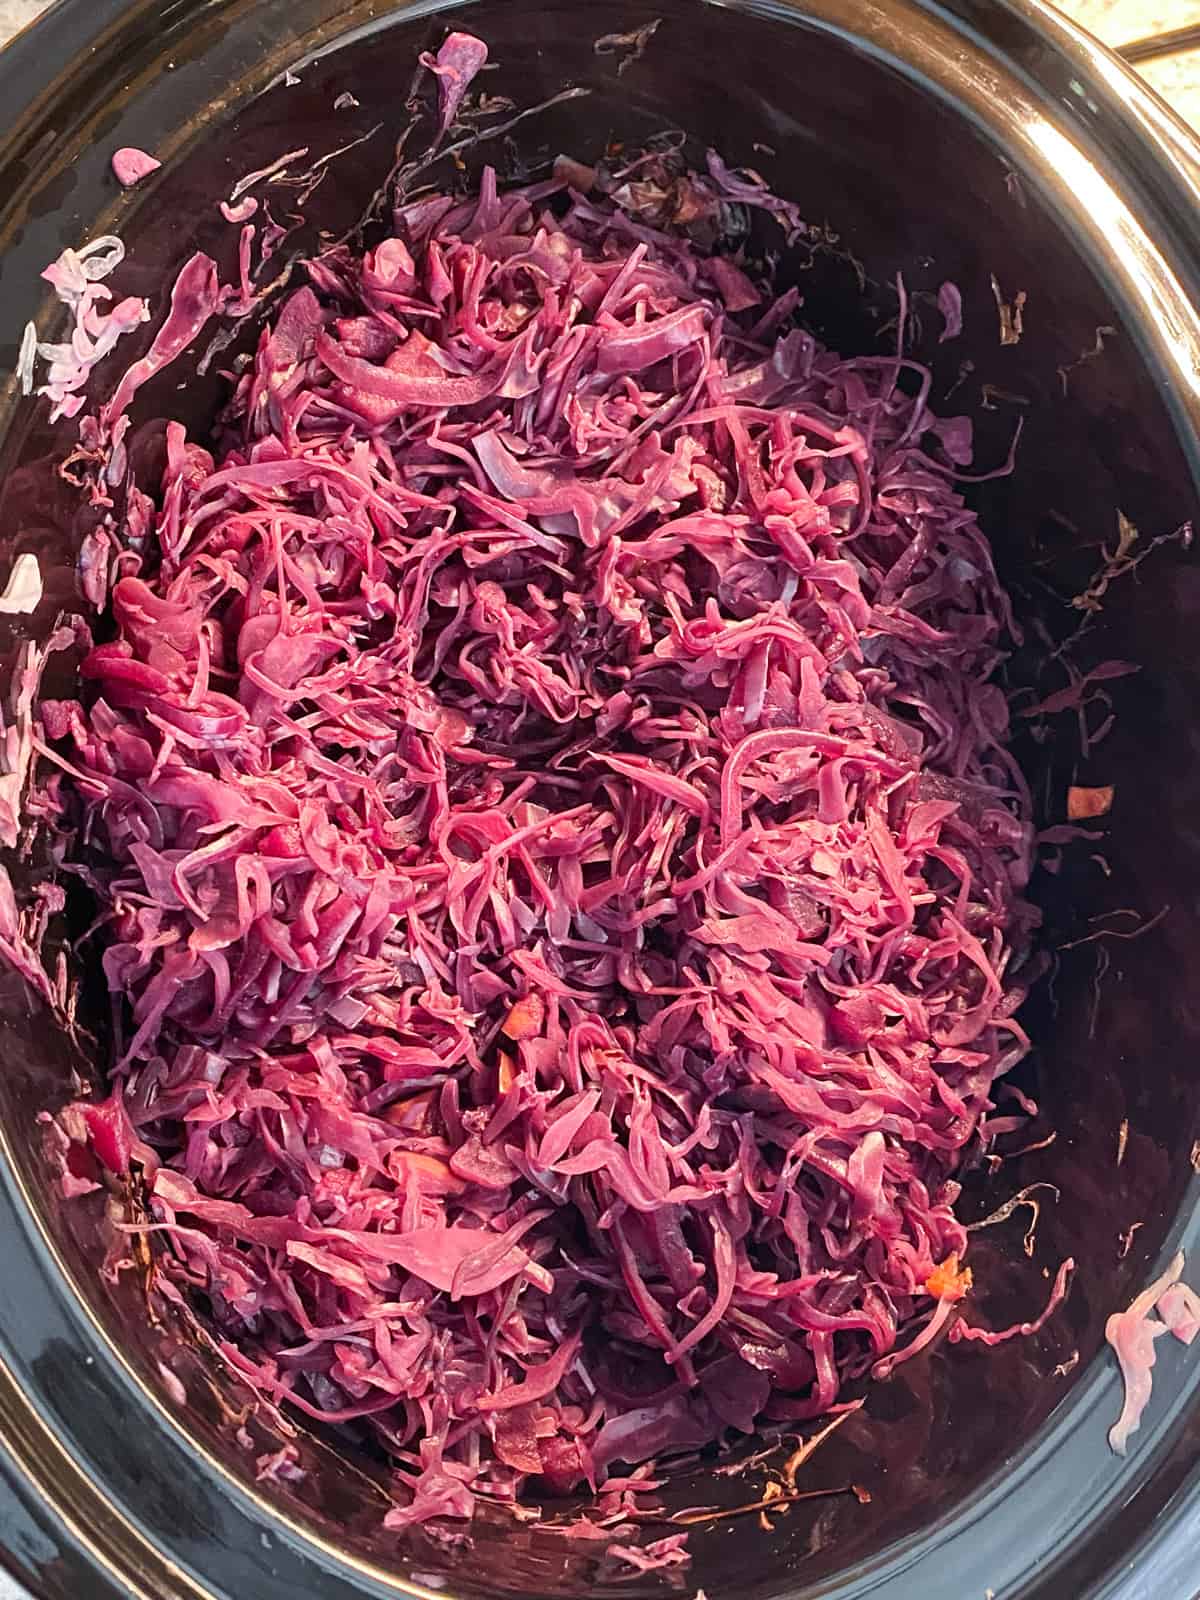
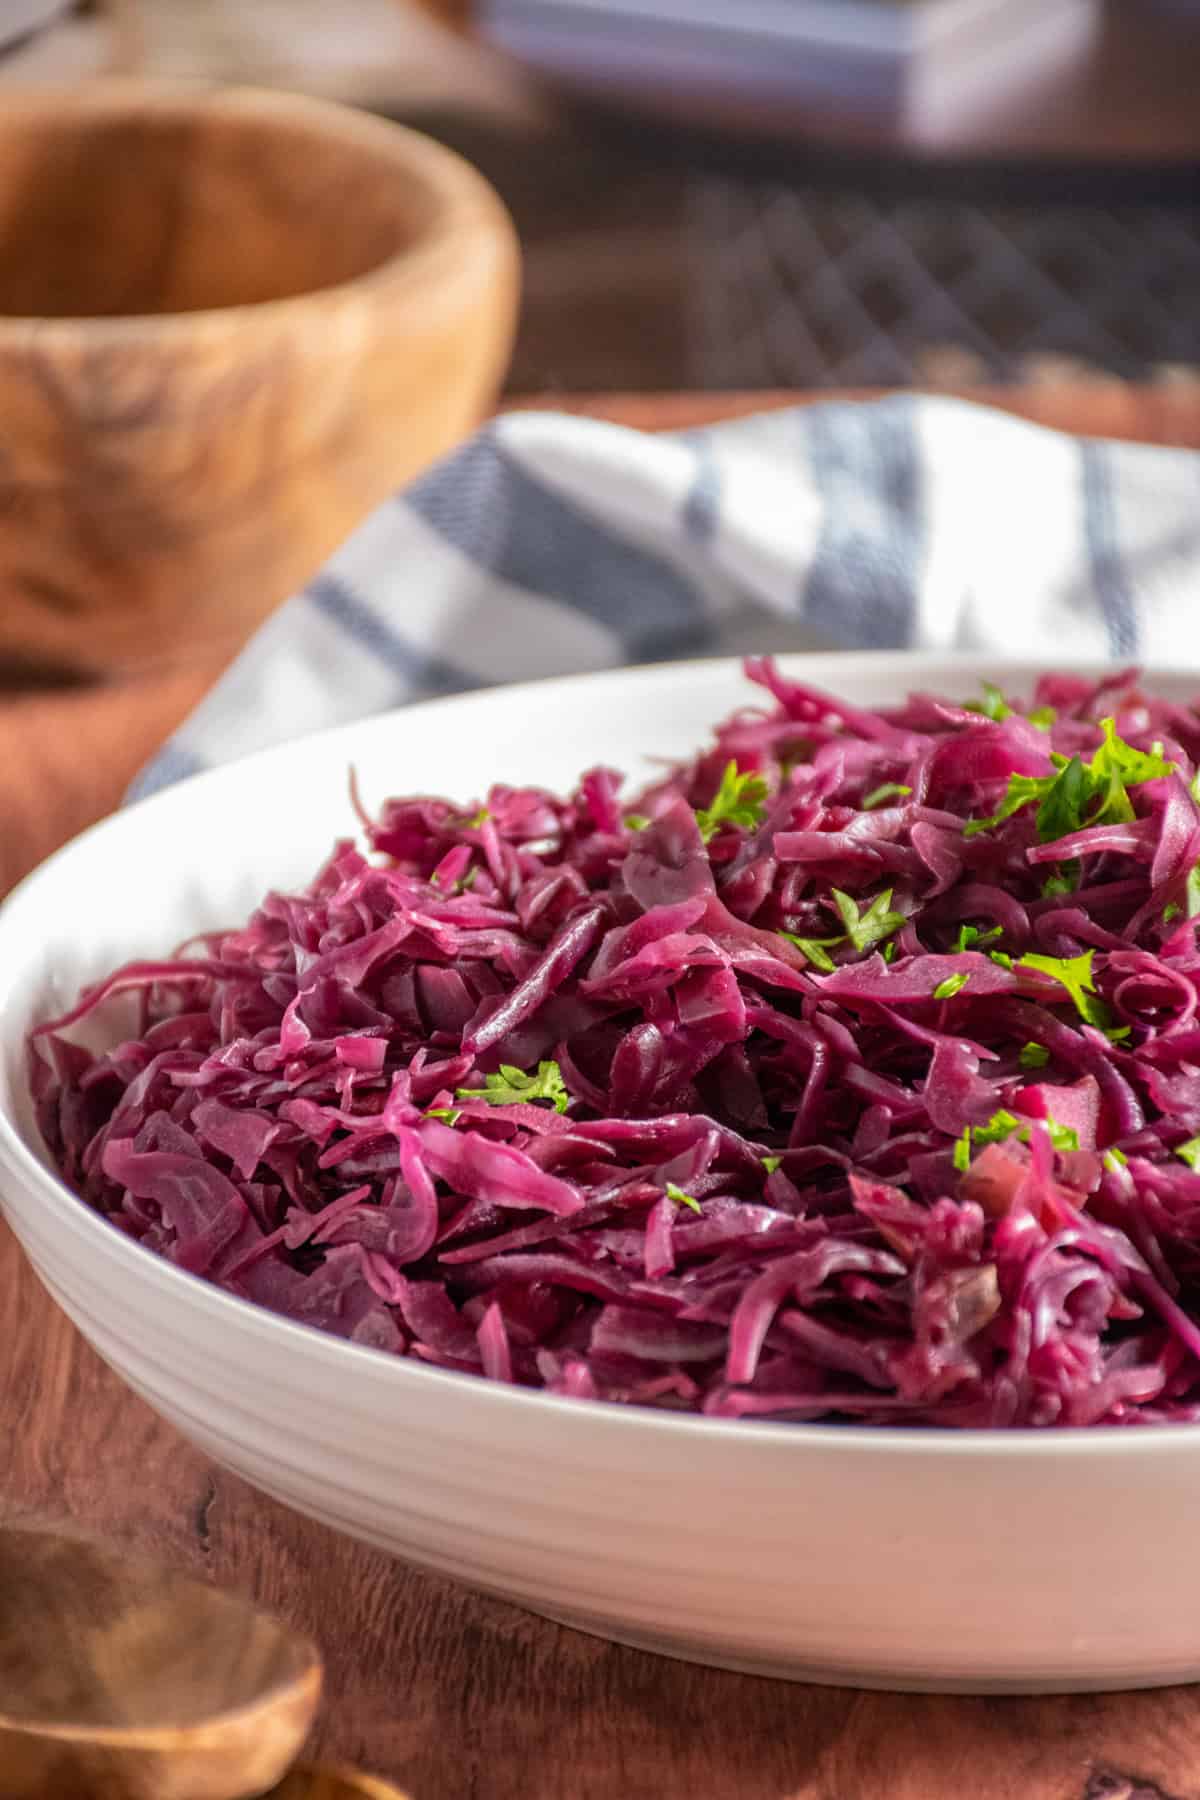
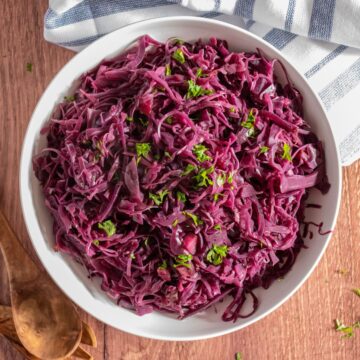
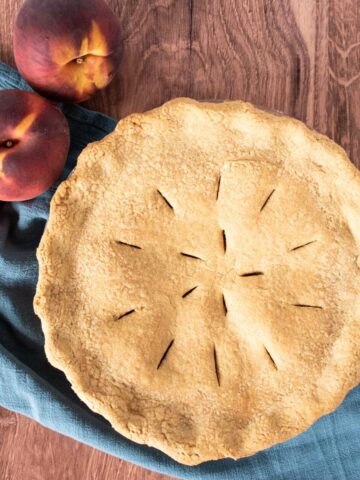
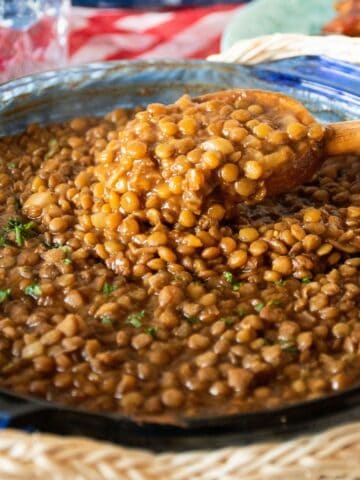
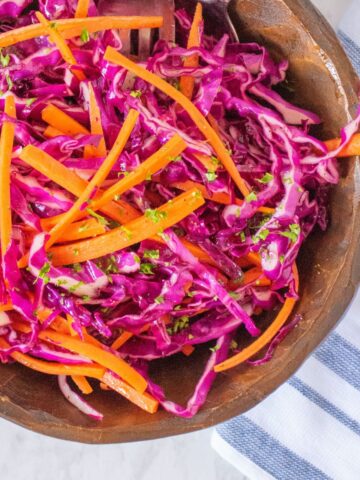
Add this fruit salad to summer fare, like Black Bean Burgers, Lentil Baked Beans, and Red Cabbage Slaw.
Heart Health Benefits of Watermelon Peach Salad
Our fruit salad recipe combines multiple ingredients with known cardiovascular benefits. These benefits may include vasodilation, cholesterol lowering and LDL oxidation protection, as well as potential blood pressure reduction.
Of note, pistachios may be one of the best tree nuts to consume for heart health. Studies show both pistachios and walnuts to be better than other tree nuts at reducing triglycerides, LDL cholesterol, and total cholesterol (1, 2), and may also help reduce systolic blood pressure (3).
Sodium could be an issue here, so make sure to choose either lightly salted or unsalted pistachios, since the feta cheese is also a sodium contributor.
Macronutrients
Watermelon Peach Salad is low in carbohydrates, high in monounsaturated fats, and a good source of fiber and protein. Pretty impressive for a fruit salad, actually!
Pistachios and olive oil help our recipe to be high in heart healthy fats, and both pistachios and feta cheese provide protein, helping to make this fruit salad a nutritionally well-rounded side dish.
Micronutrients and Bioactive Components
Bioactive compounds are substances that have effects within the body that promote good health. Here are some of the most abundant bioactive compounds in watermelon peach salad:
- L-citrulline - (in watermelon) an amino acid that get converted to L-arginine, and then to nitric oxide, which is a critical vasodilator that helps with vascular function and blood pressure regulation (4, 5);
- Lycopene - (in watermelon) a carotenoid (vitamin A derivative) with anti-atherosclerotic, antioxidant, anti-inflammatory, and antihypertensive effects (6);
- Chlorogenic acid, catechins, and epicatechins - (in peaches and basil) polyphenols with diverse functions like neuroprotection, anti-inflammation, antioxidant, blood pressure regulation, and reduced LDL oxidation (7, 8);
- Eugenol - (in basil) an essential oil that promotes blood vessel relaxation, thereby lowering blood pressure (9);
- Monounsaturated and polyunsaturated fatty acids - (in pistachios and olive oil) types of fat molecules that can help lower LDL cholesterol, and provide nutrition to maintain and build your body's cells (10); and
- Hydroxytyrosol and oleuropein - (in olive oil) polyphenols that may be preventative against high blood pressure, stroke, and heart attack (11).
Ingredients
Here is what you'll need for this watermelon feta salad recipe, along with some applicable substitutions and notes.
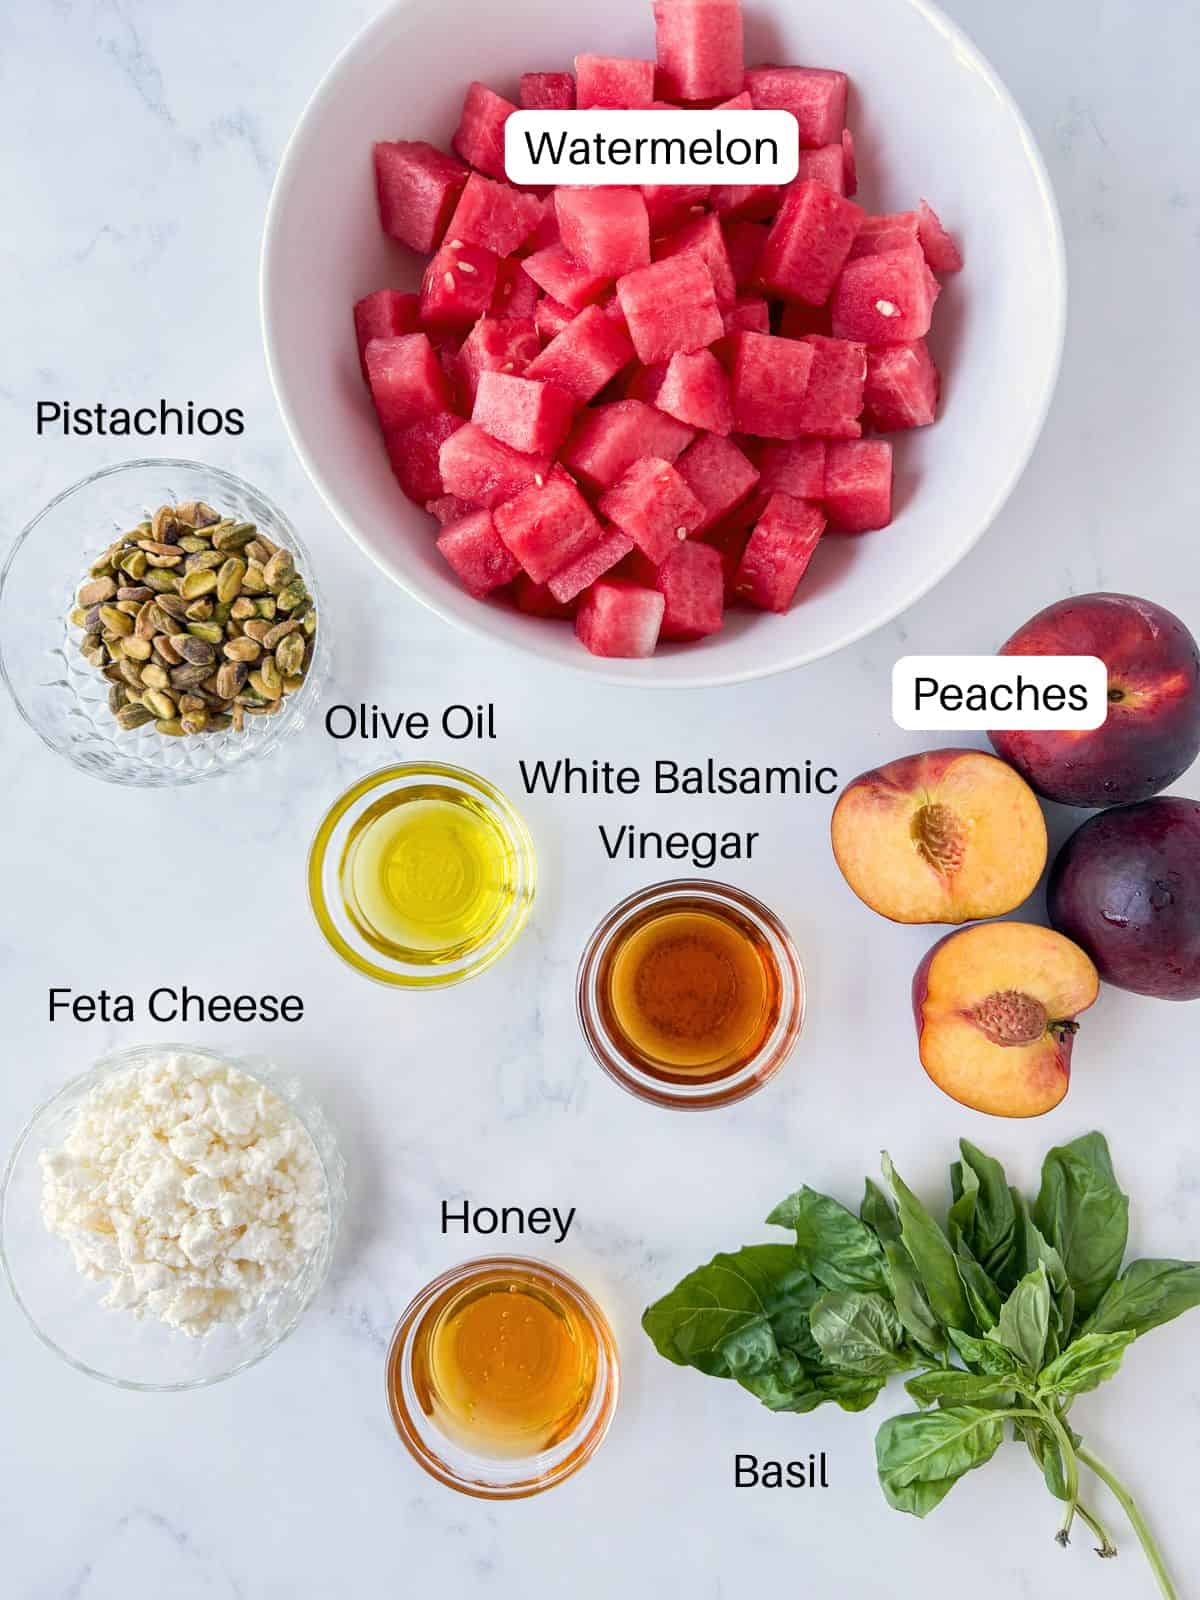
- Watermelon - the best summer melon you can find; cubed or balled
- Peaches - fresh of course, and sliced thin
- Lightly salted roasted pistachios - no salt is fine too. The feta provides salt to this recipe, so it's optional here.
- Fat free feta cheese - or vegan feta cheese for a vegan version
- Fresh basil - not dried; they do not taste the same
- Olive oil
- White balsamic vinegar - or champagne vinegar, sherry vinegar, or, in a pinch, apple cider vinegar
- Honey - or 100% pure maple syrup for a vegan version
See recipe card for quantities.
Instructions
Fruit salads are wonderfully easy, and this one is no exception. Here's how.
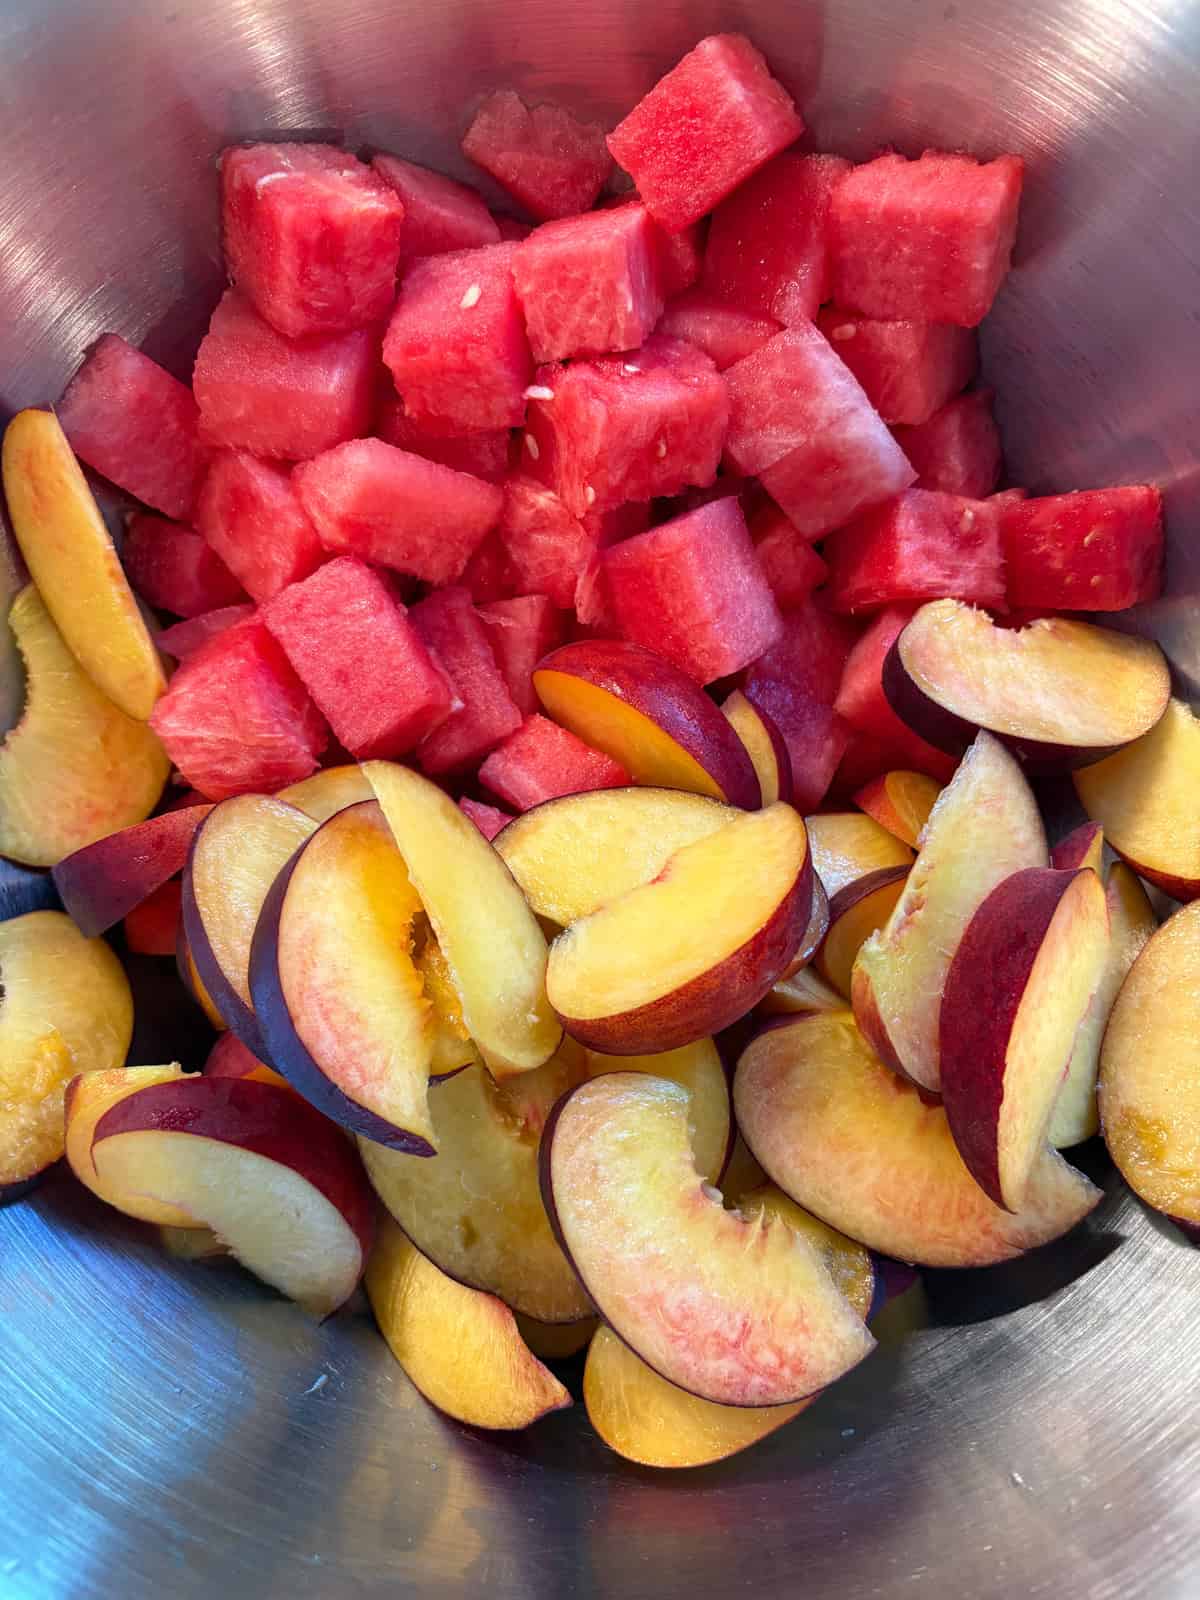
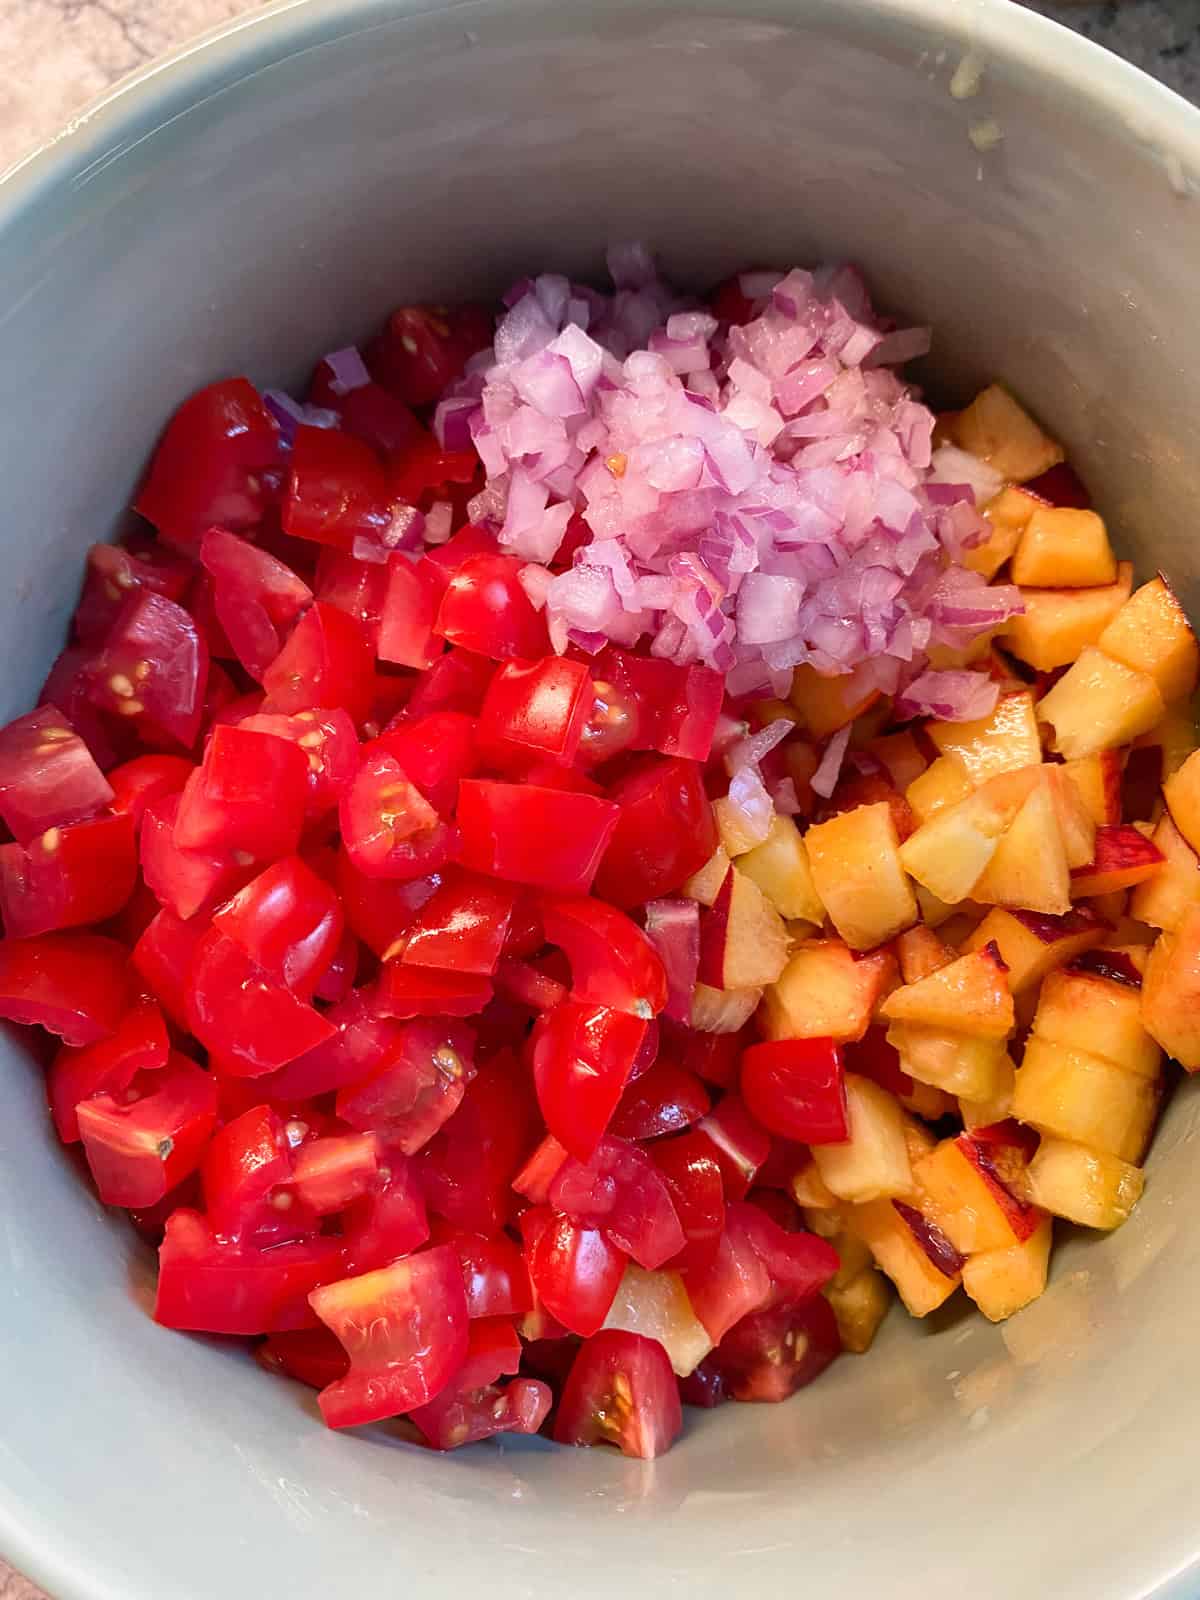
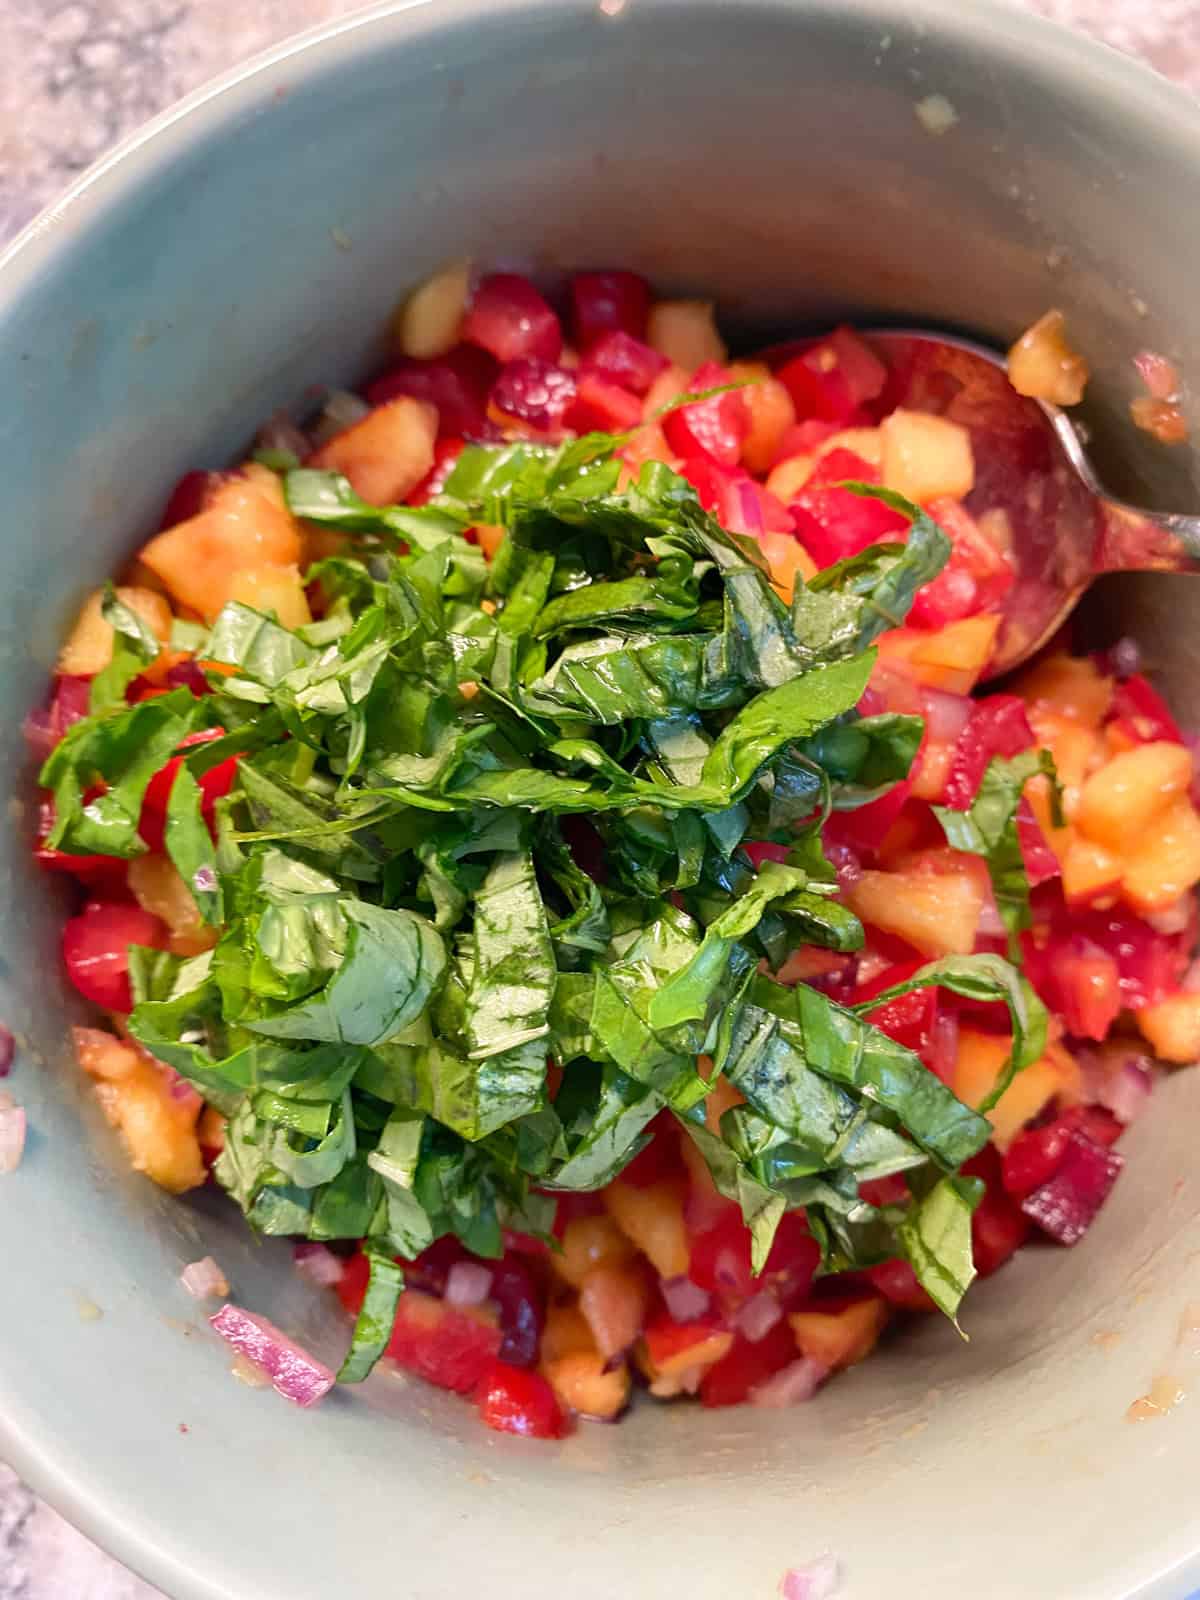
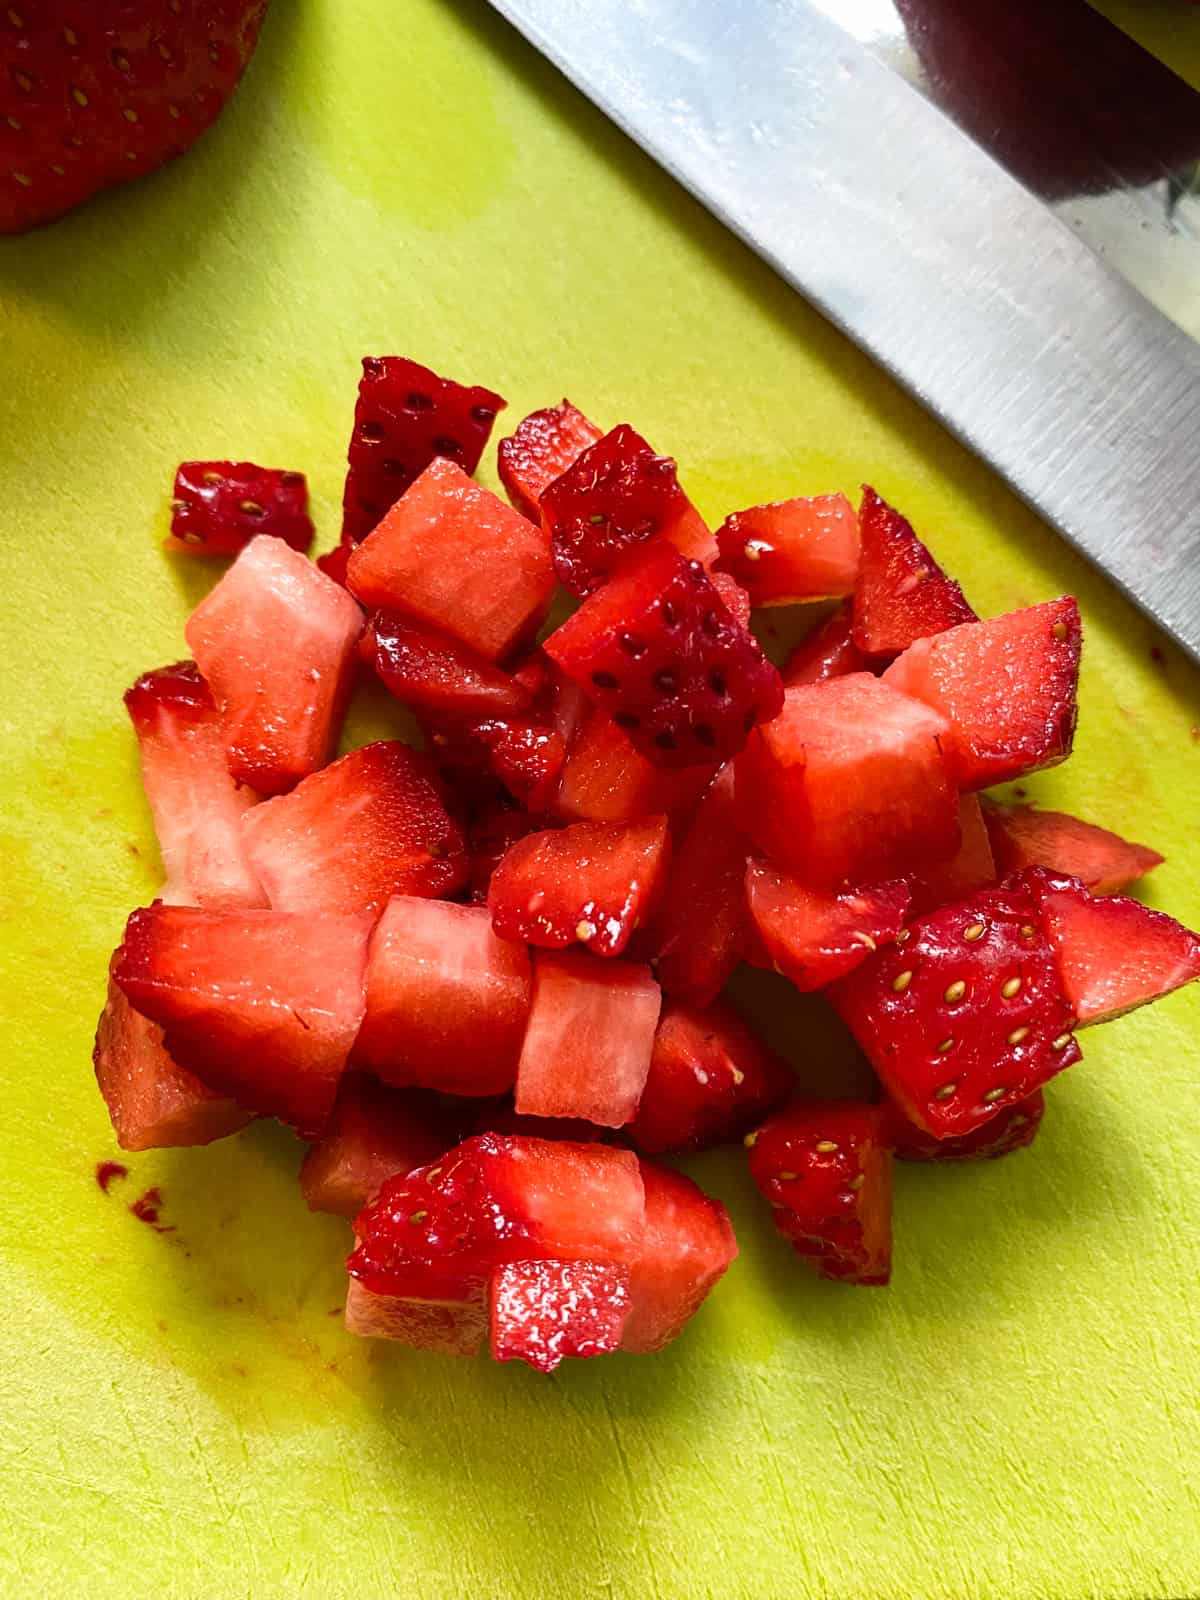
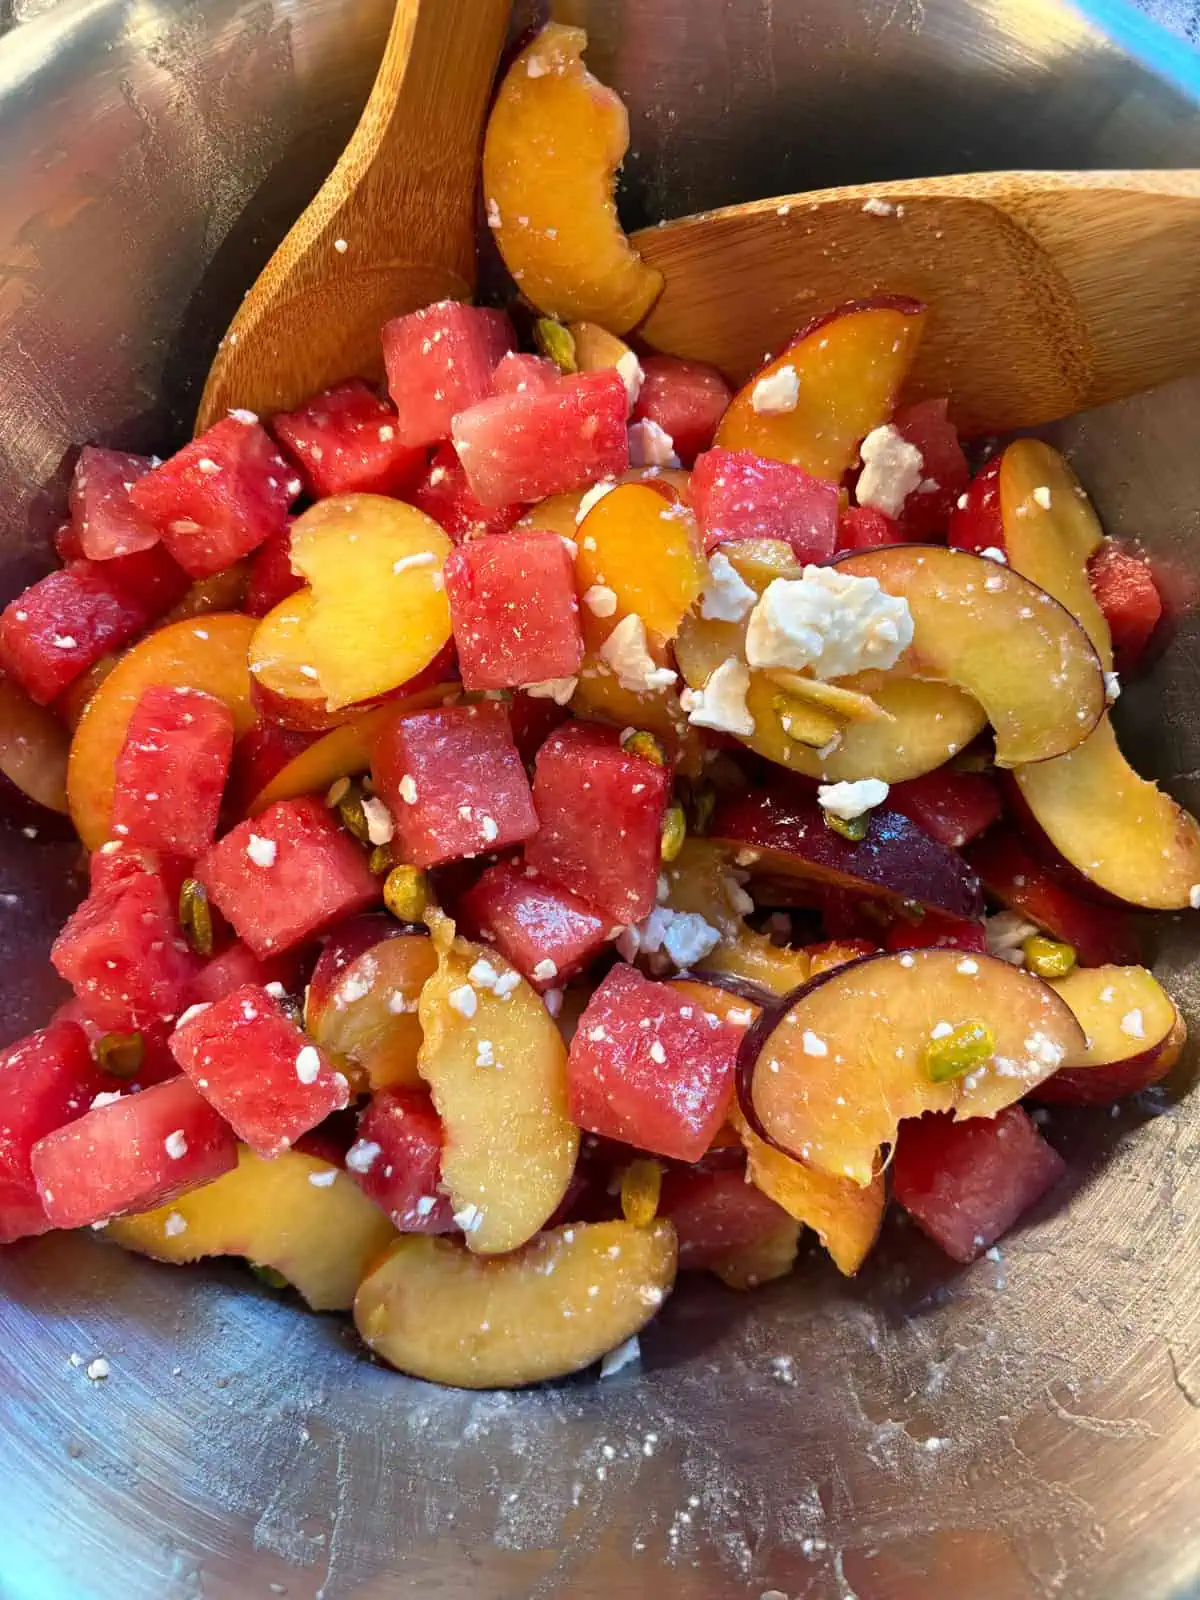
- Step 1: Cut the watermelon into small cubes, or use a melon baller to form balls. Slice the peaches thinly, and place the two fruits in a mixing bowl.
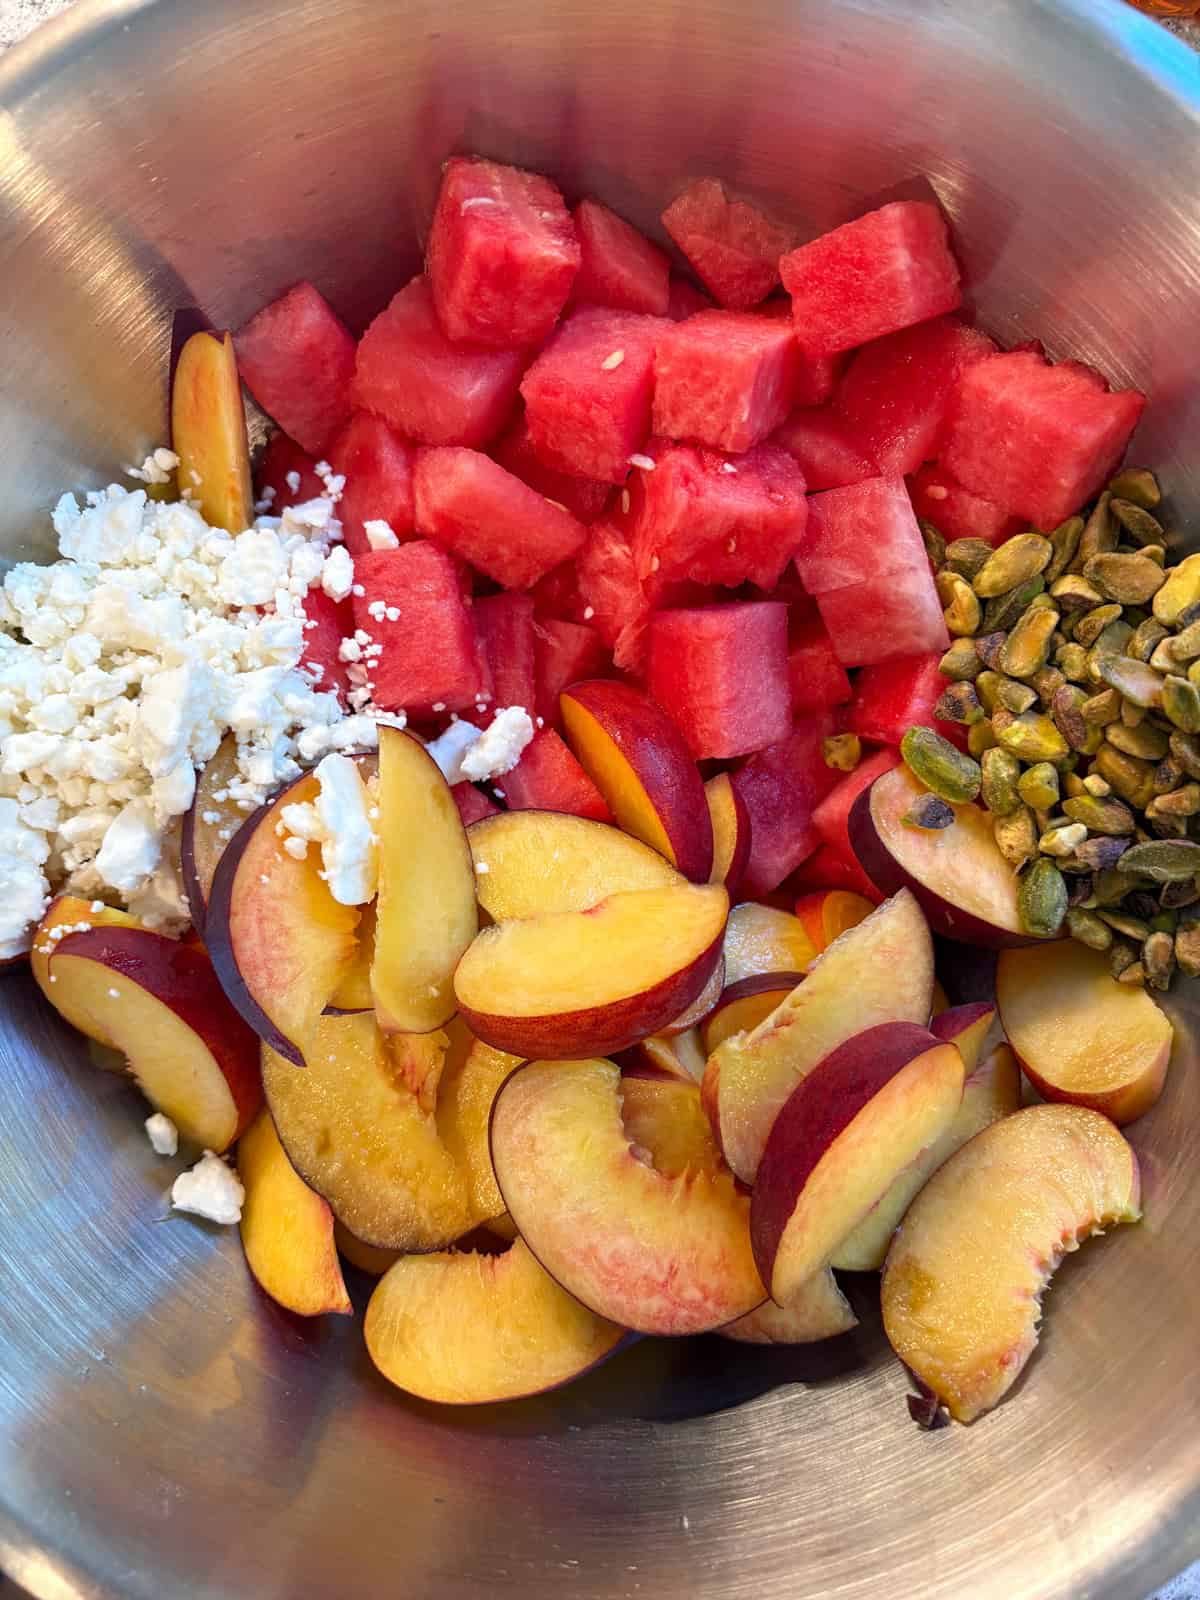
- Step 2: Add the feta and pistachios.
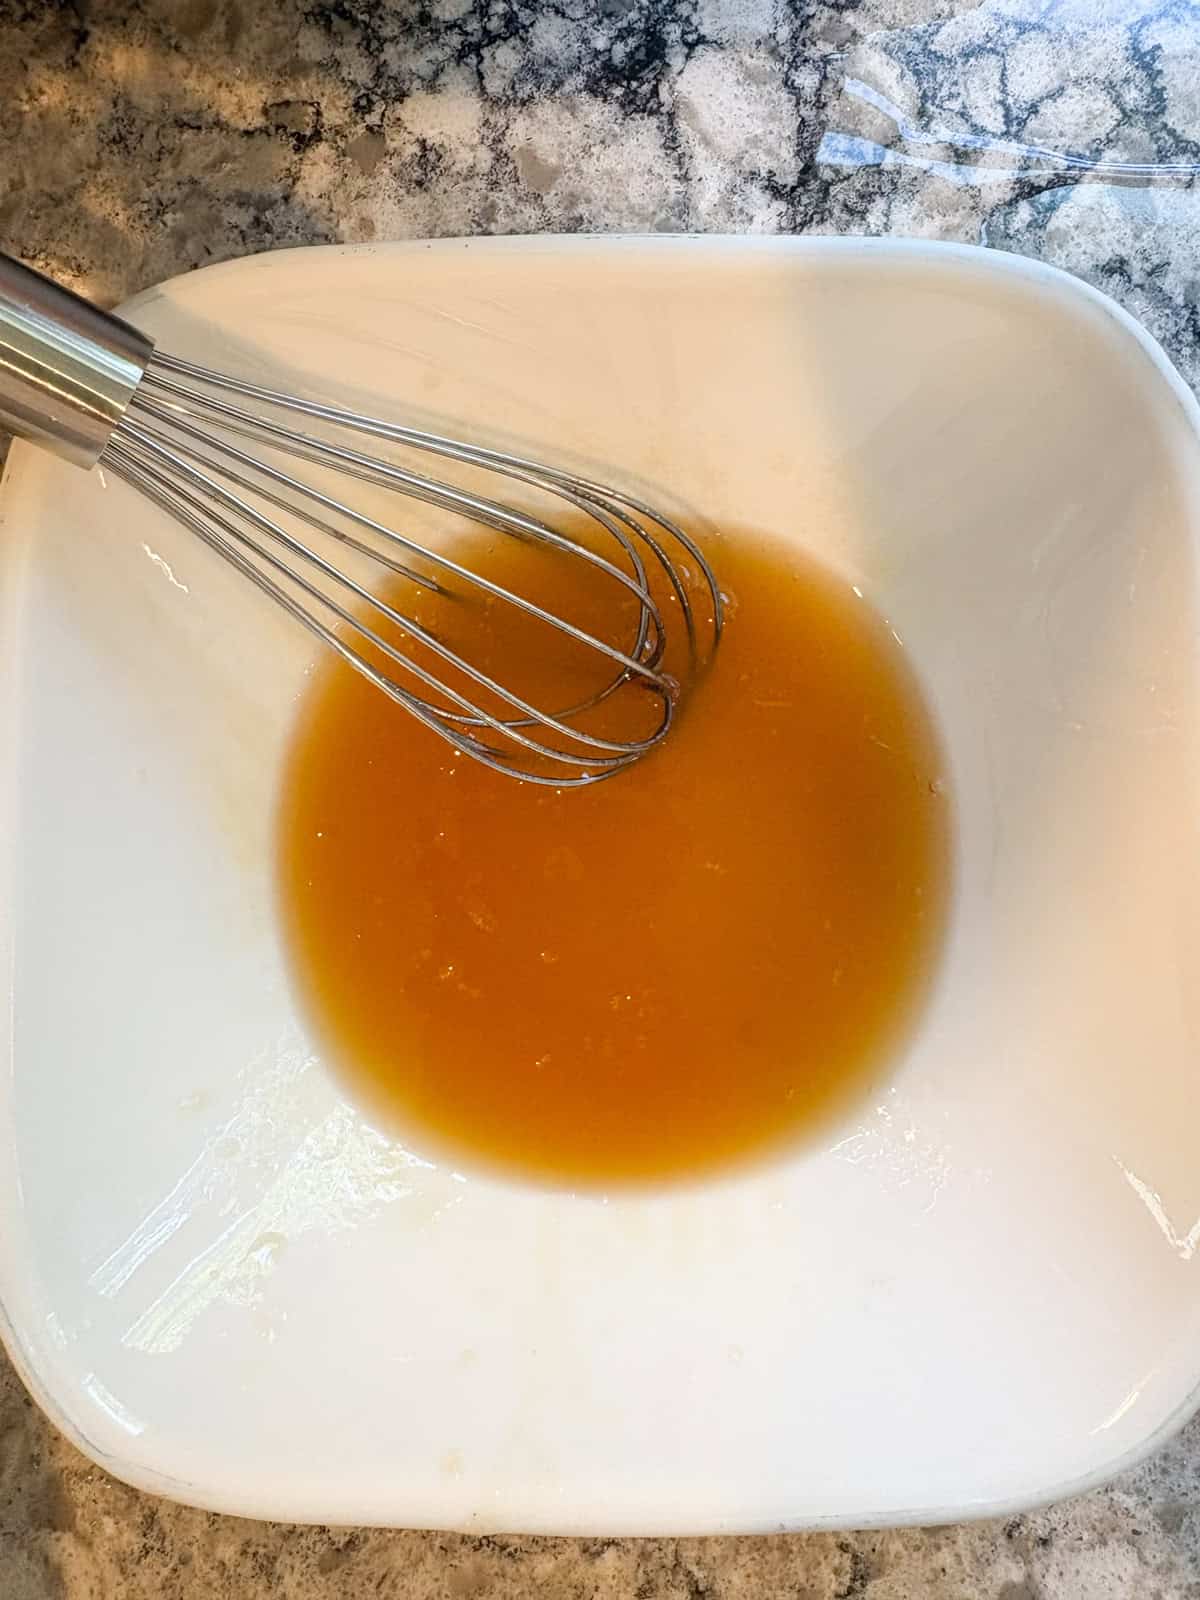
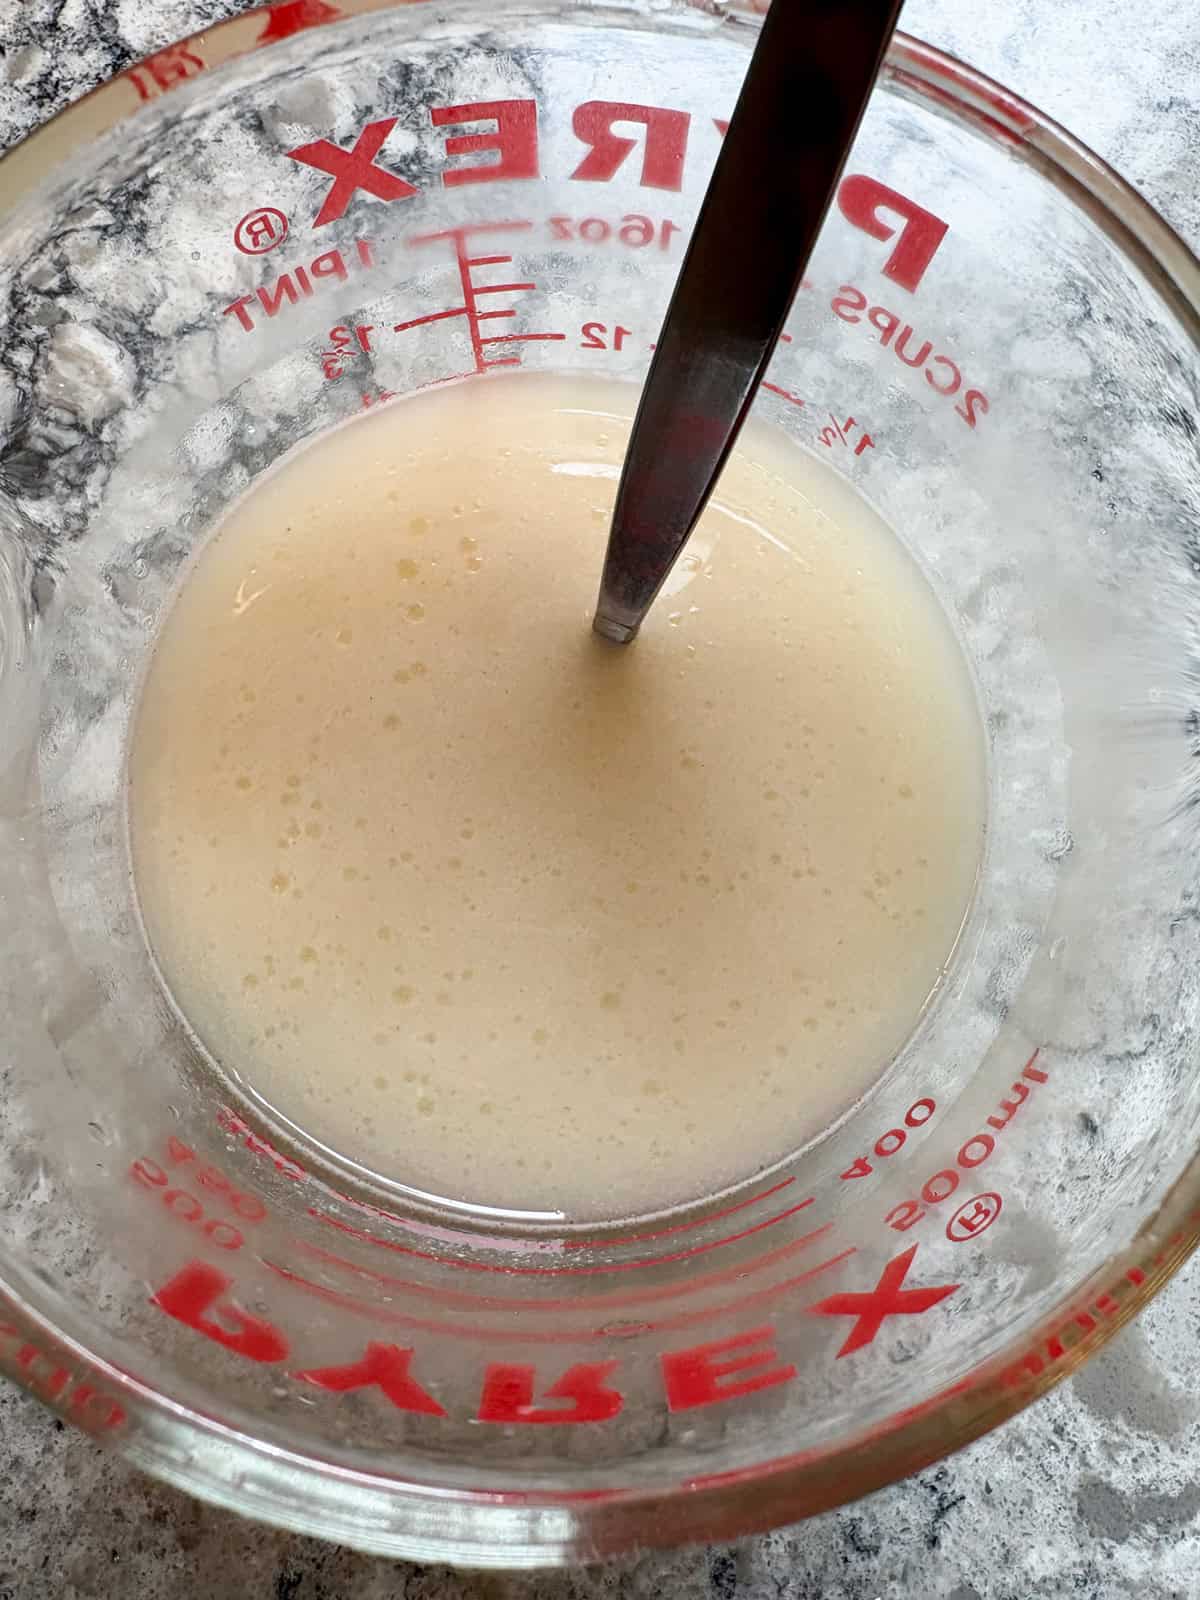
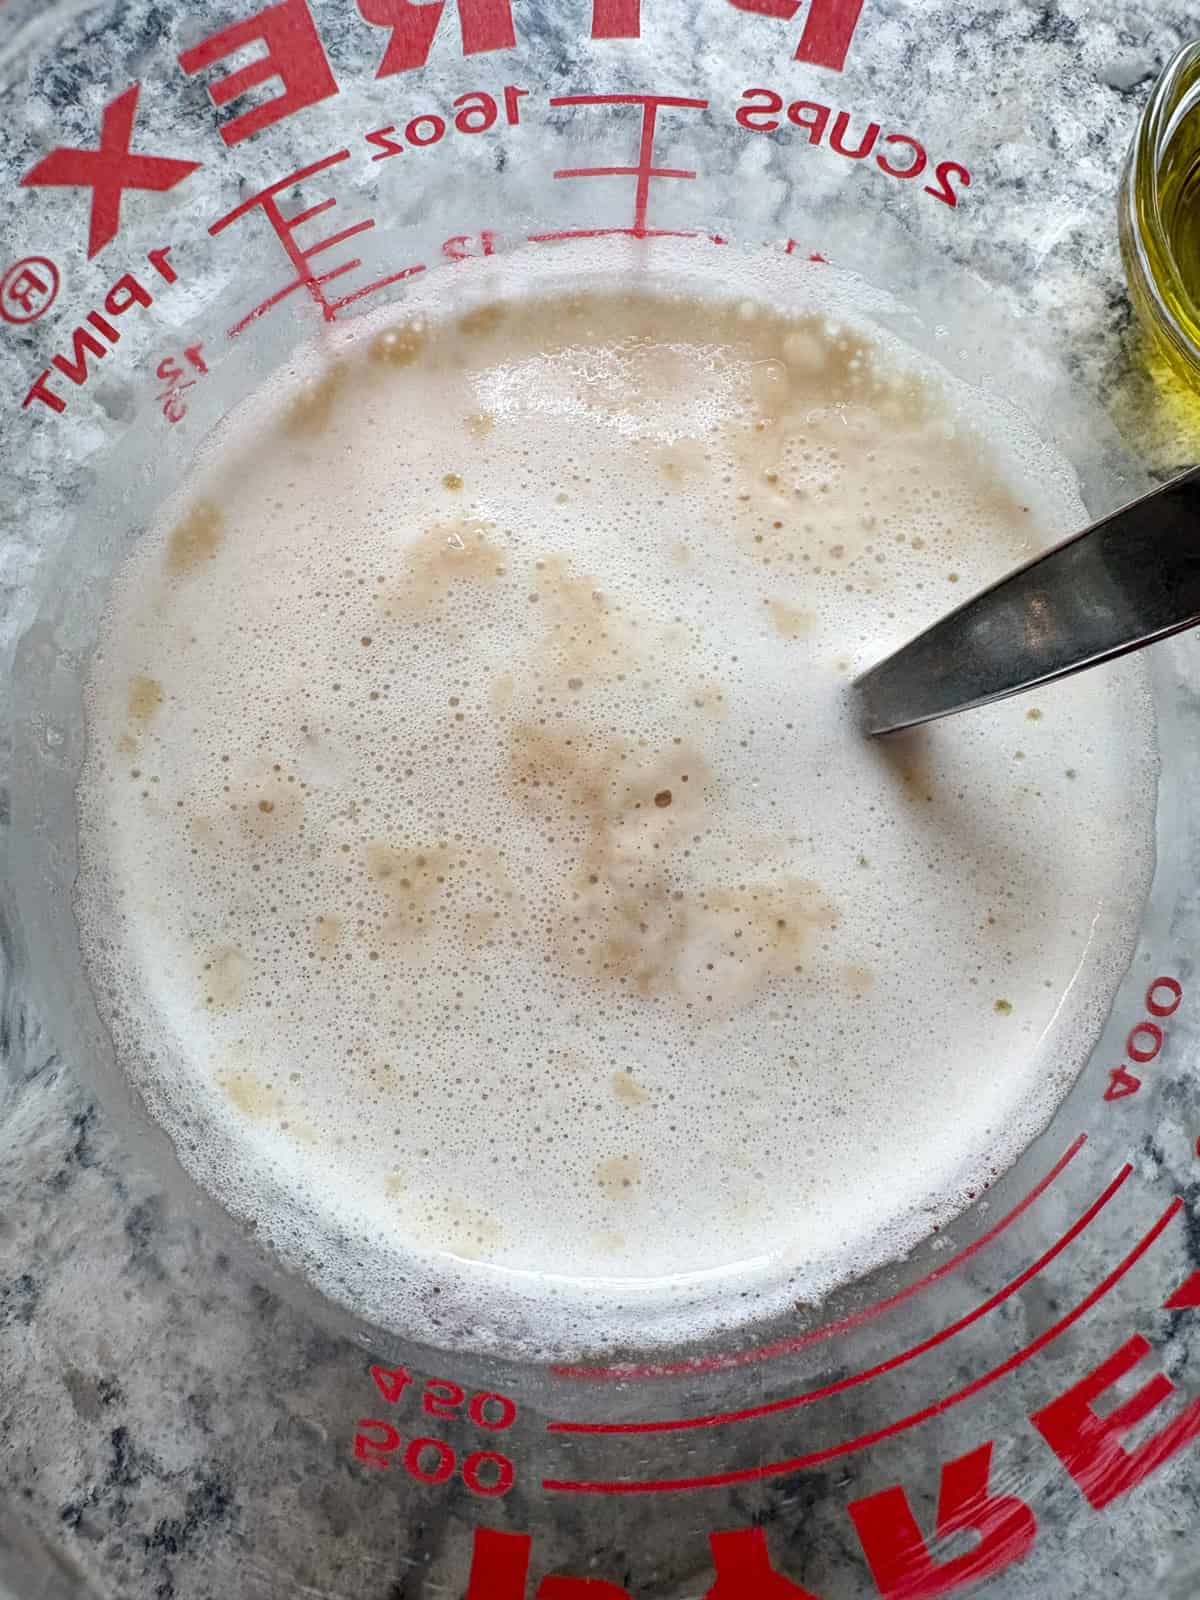
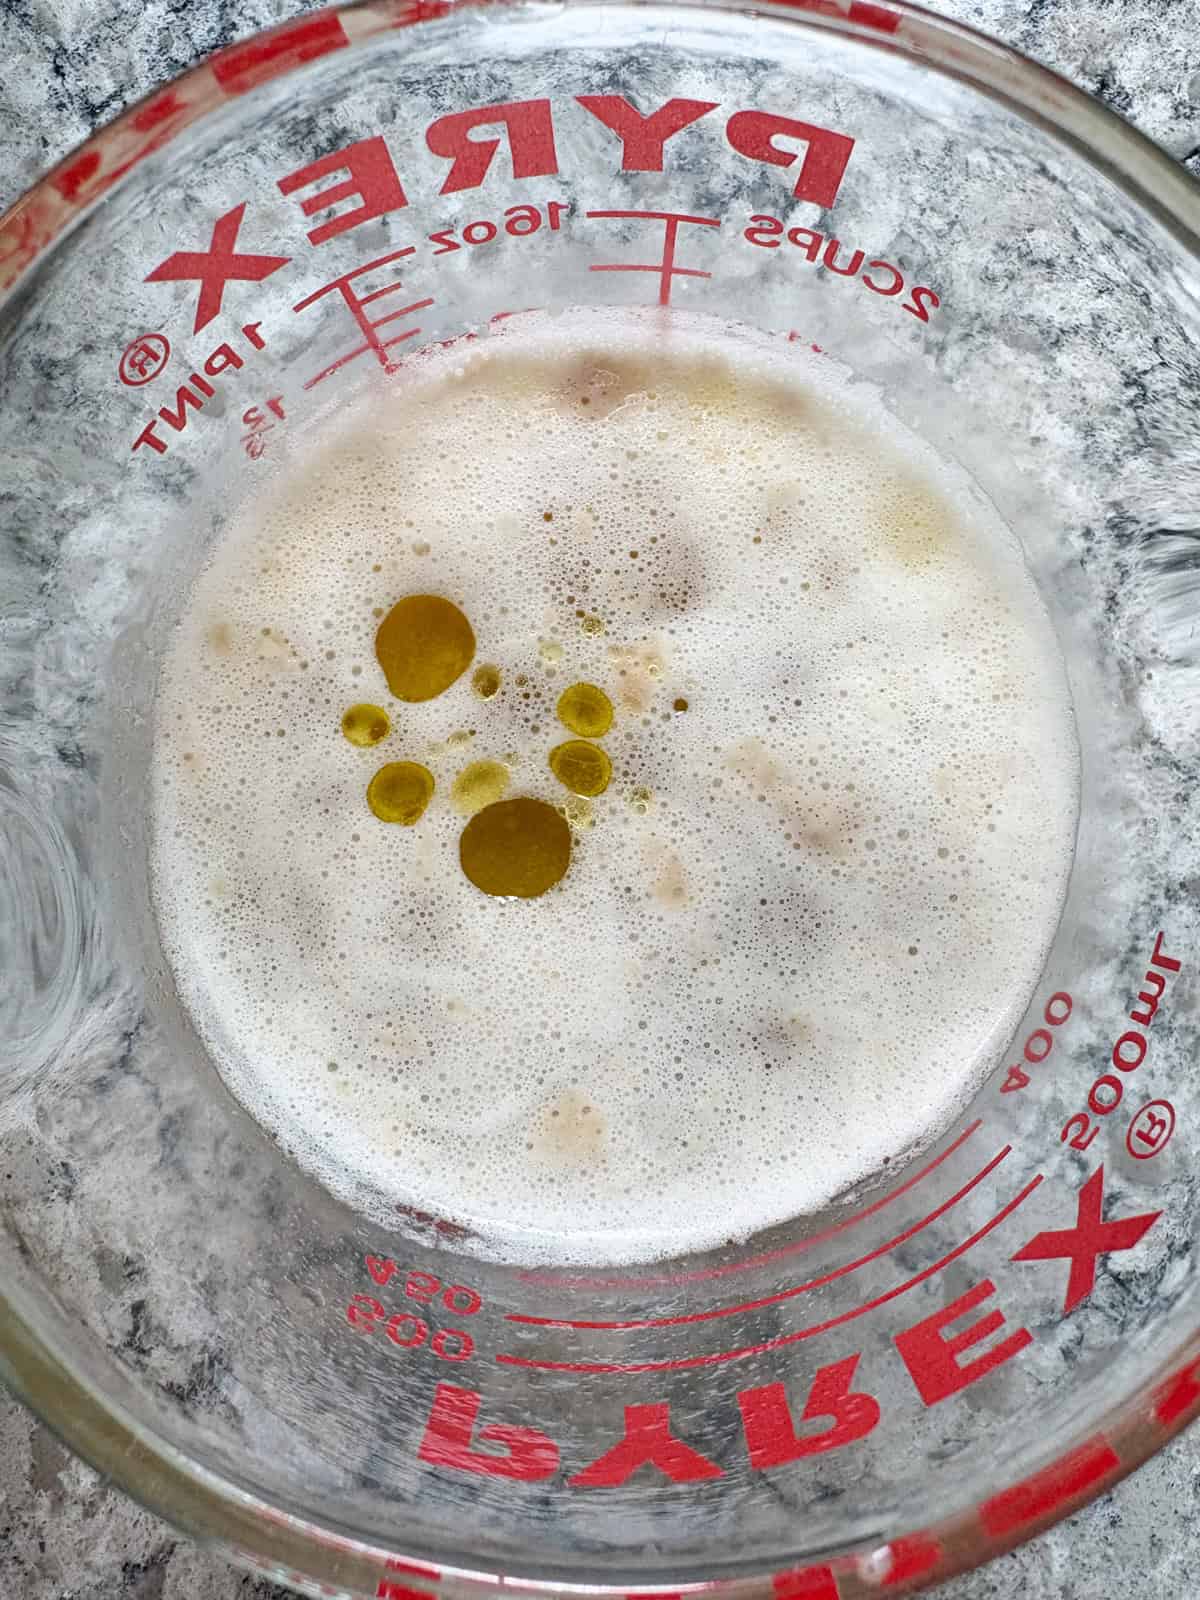
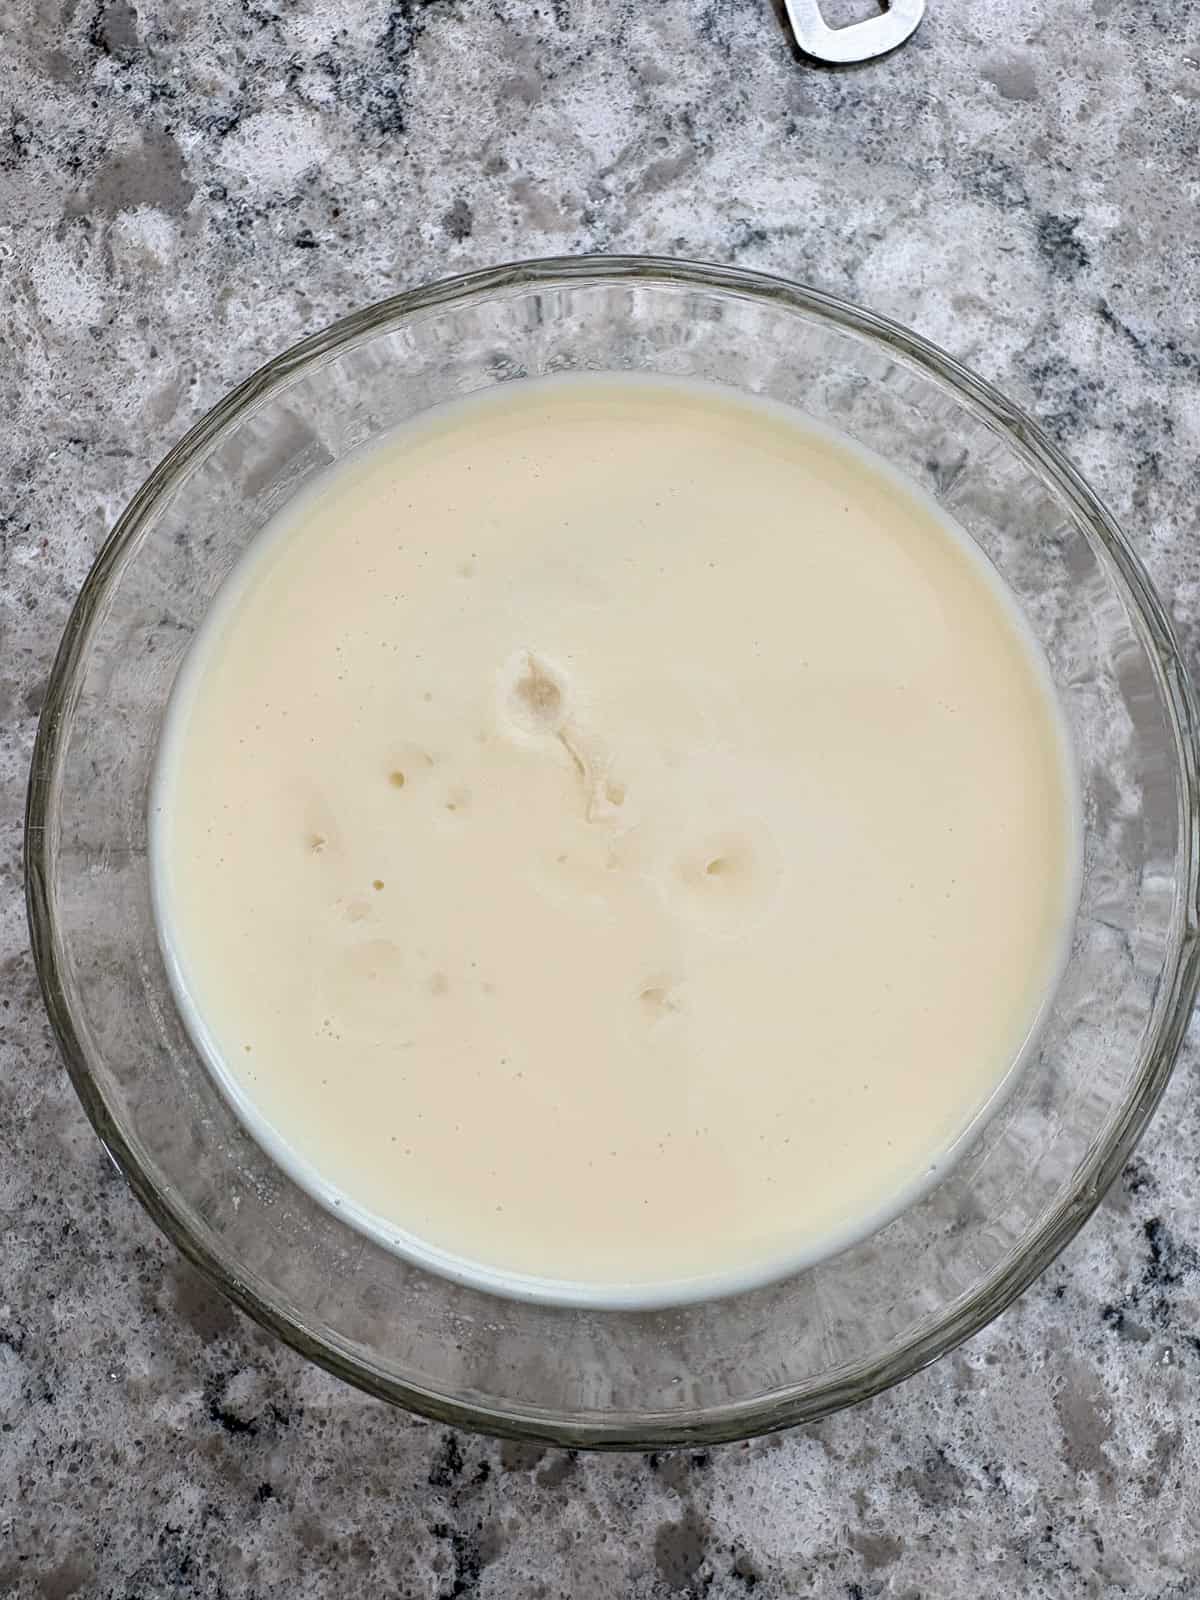
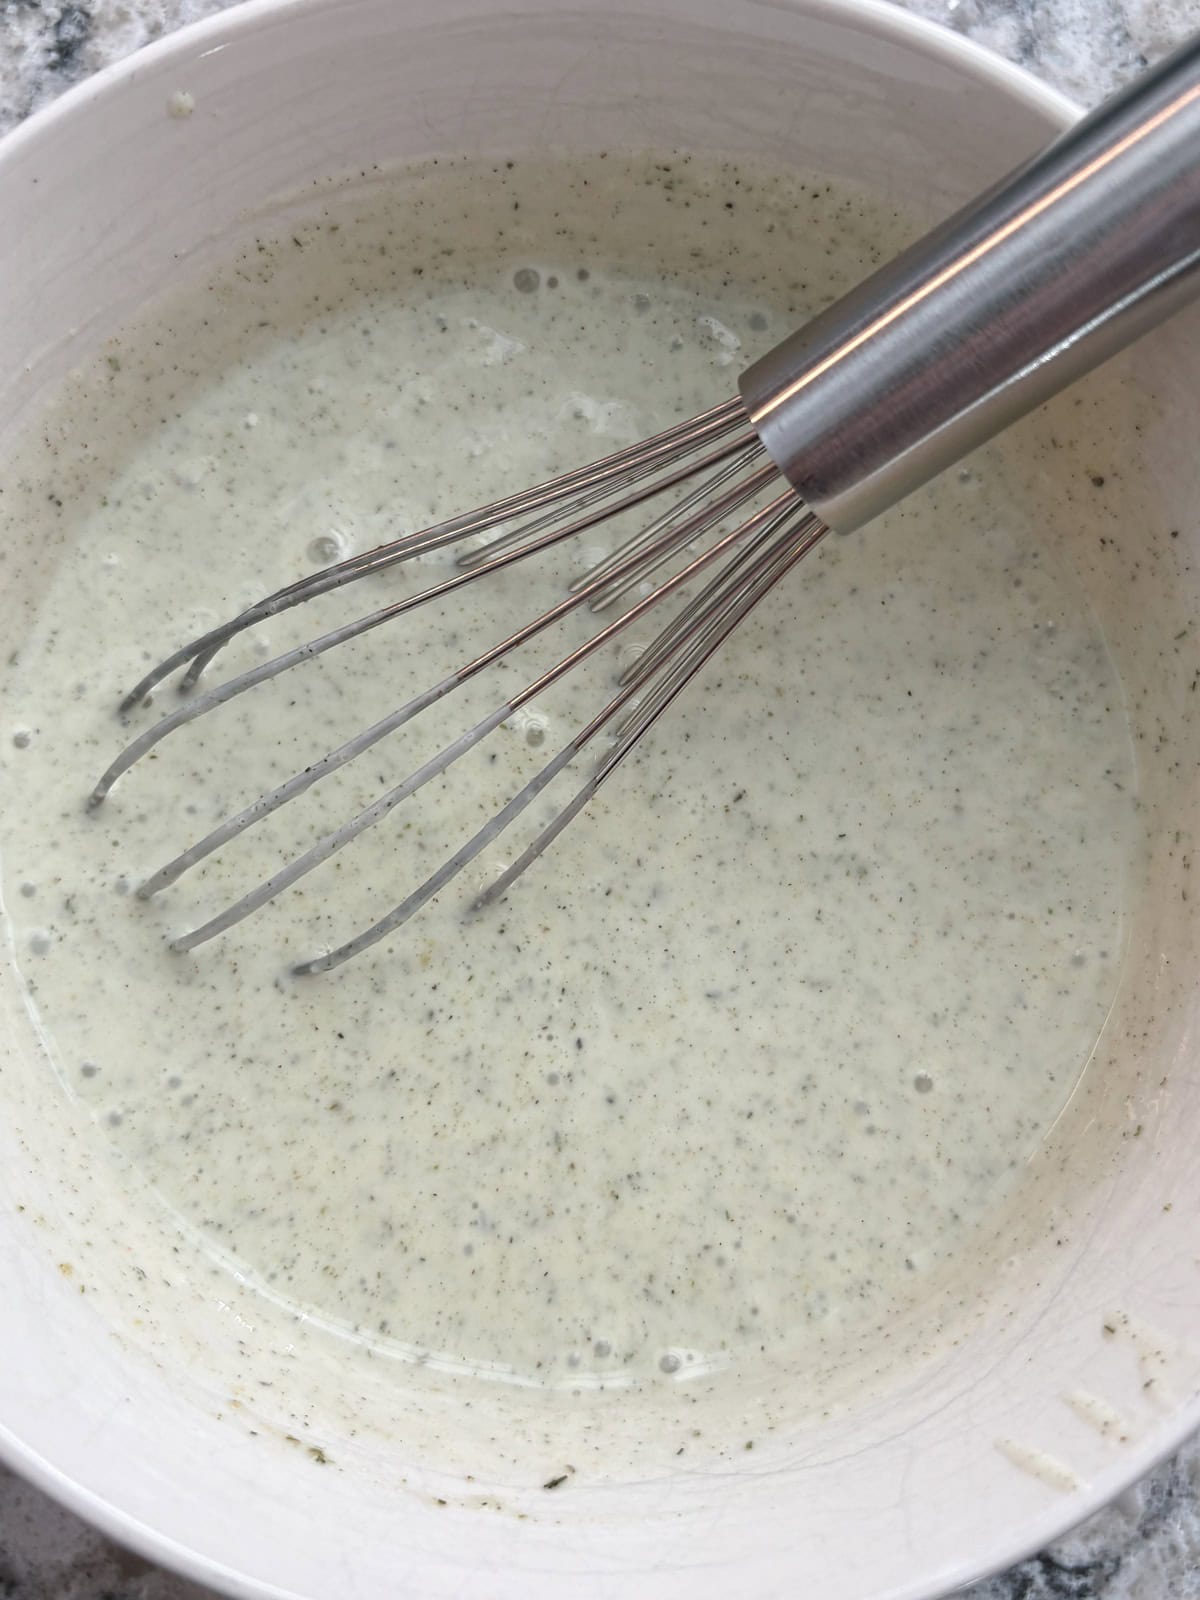
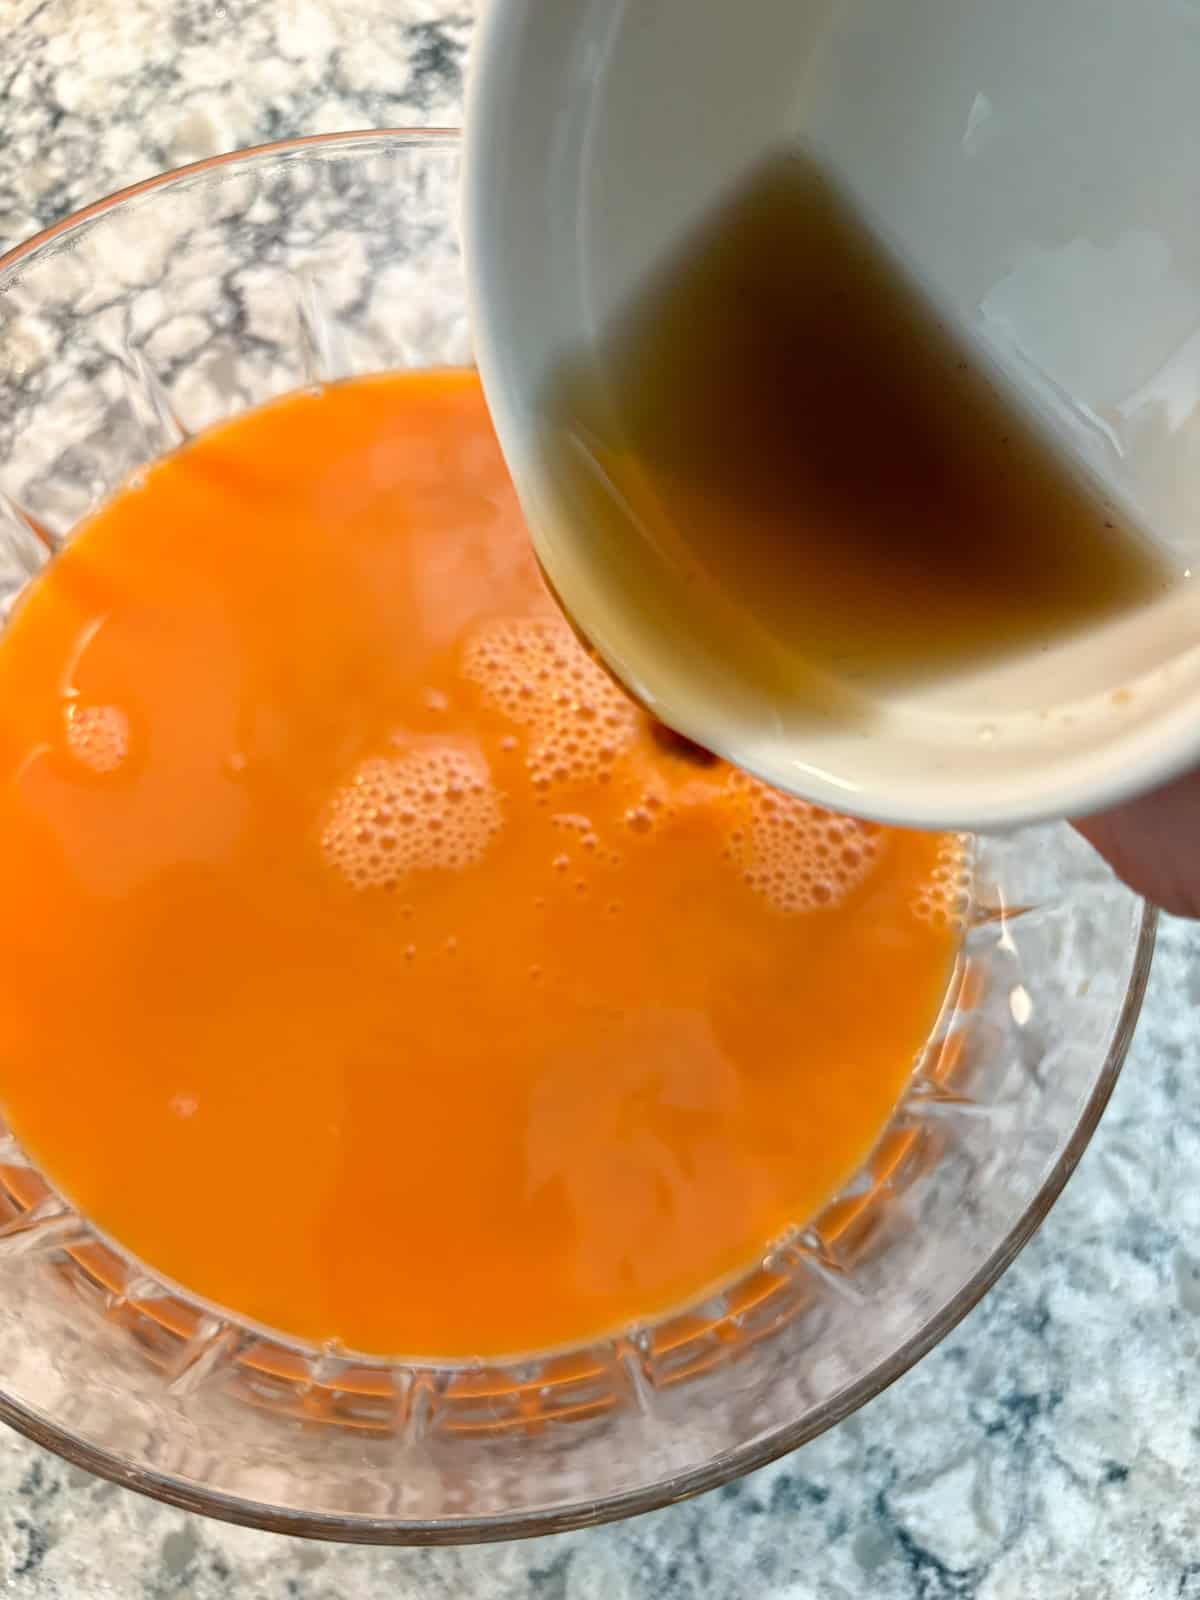
- Step 3: Whisk the ingredients for the dressing together.
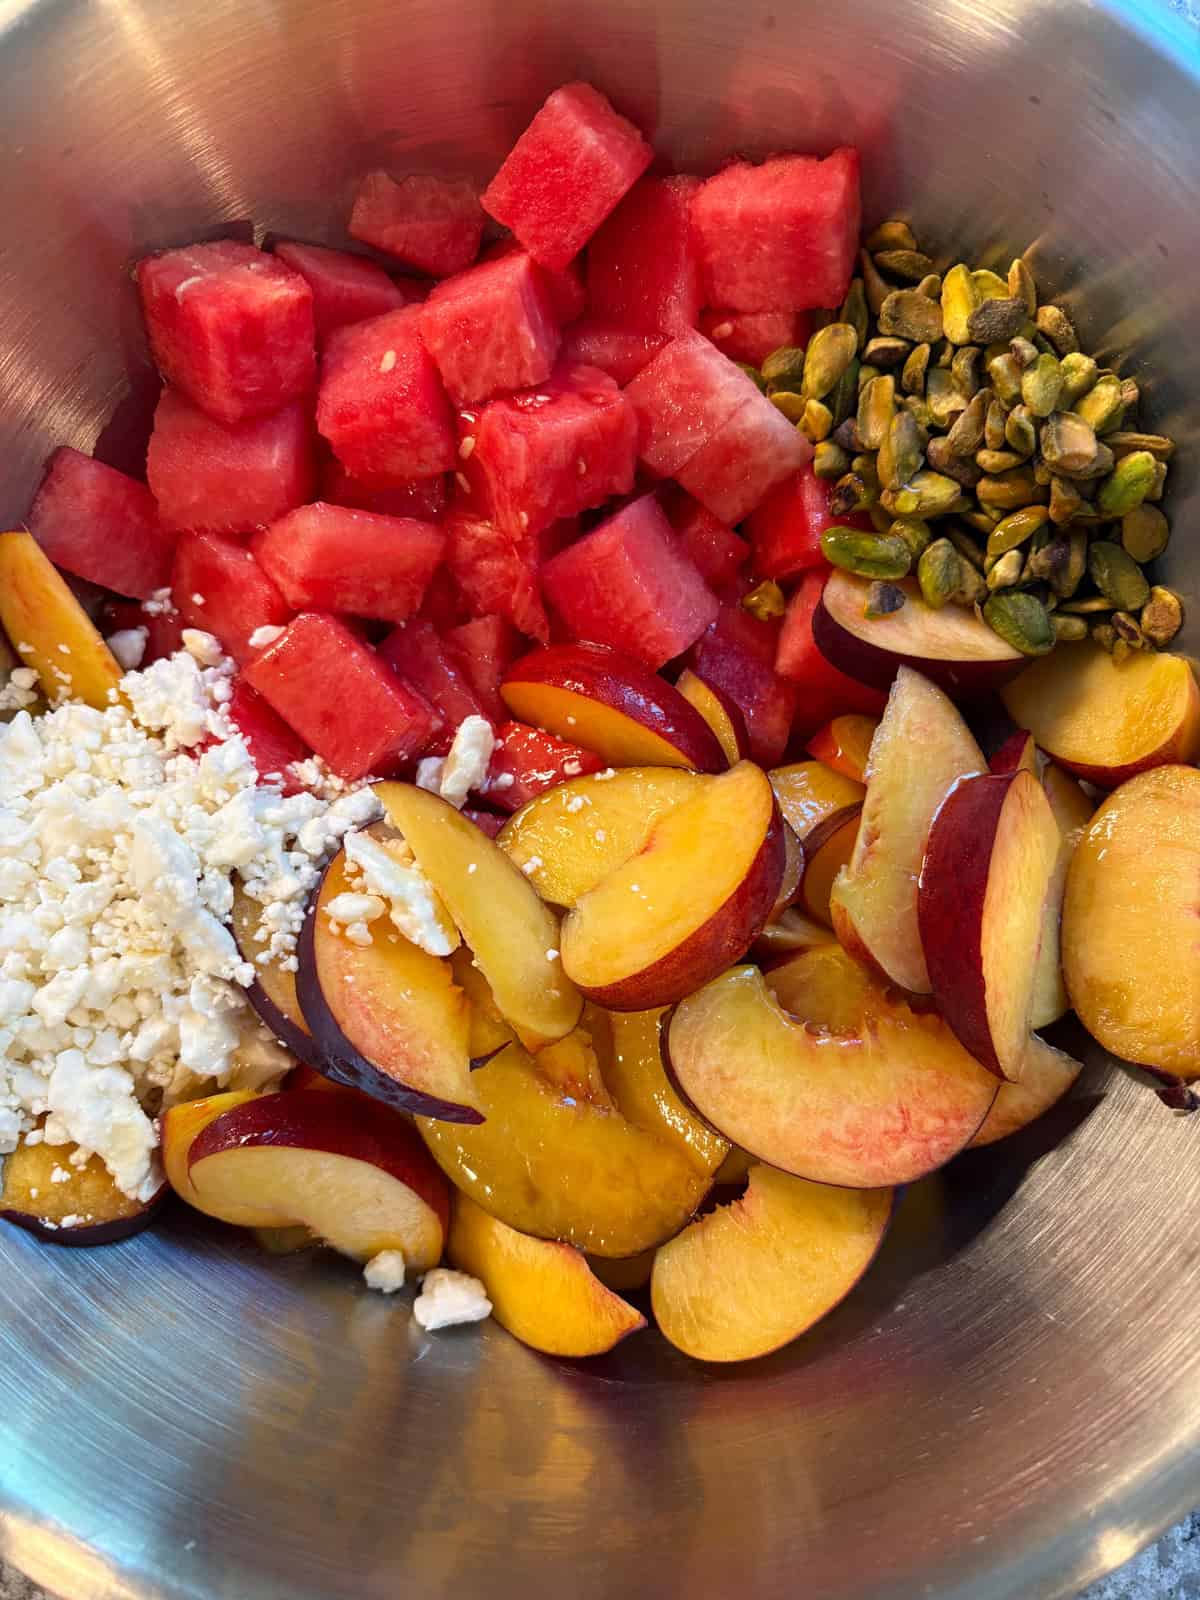
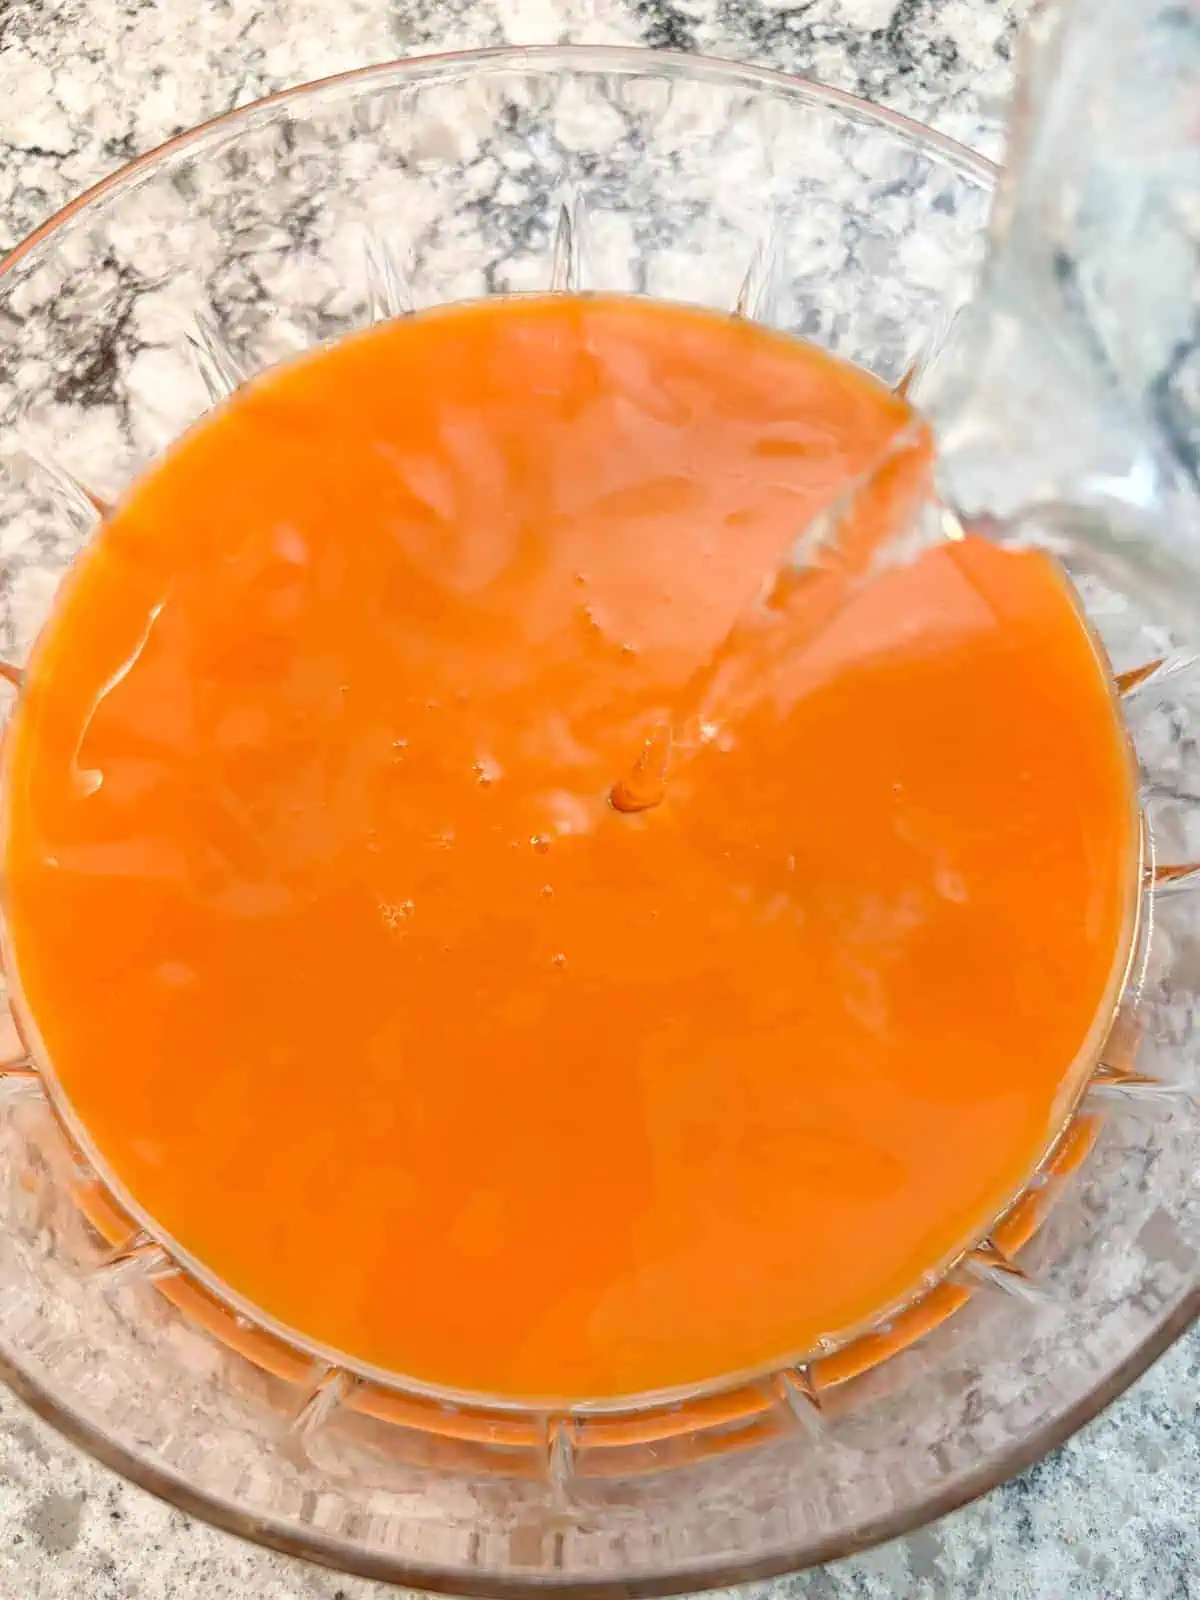
- Step 4: Pour the dressing over the fruit.
- Step 5: Gently toss to combine.
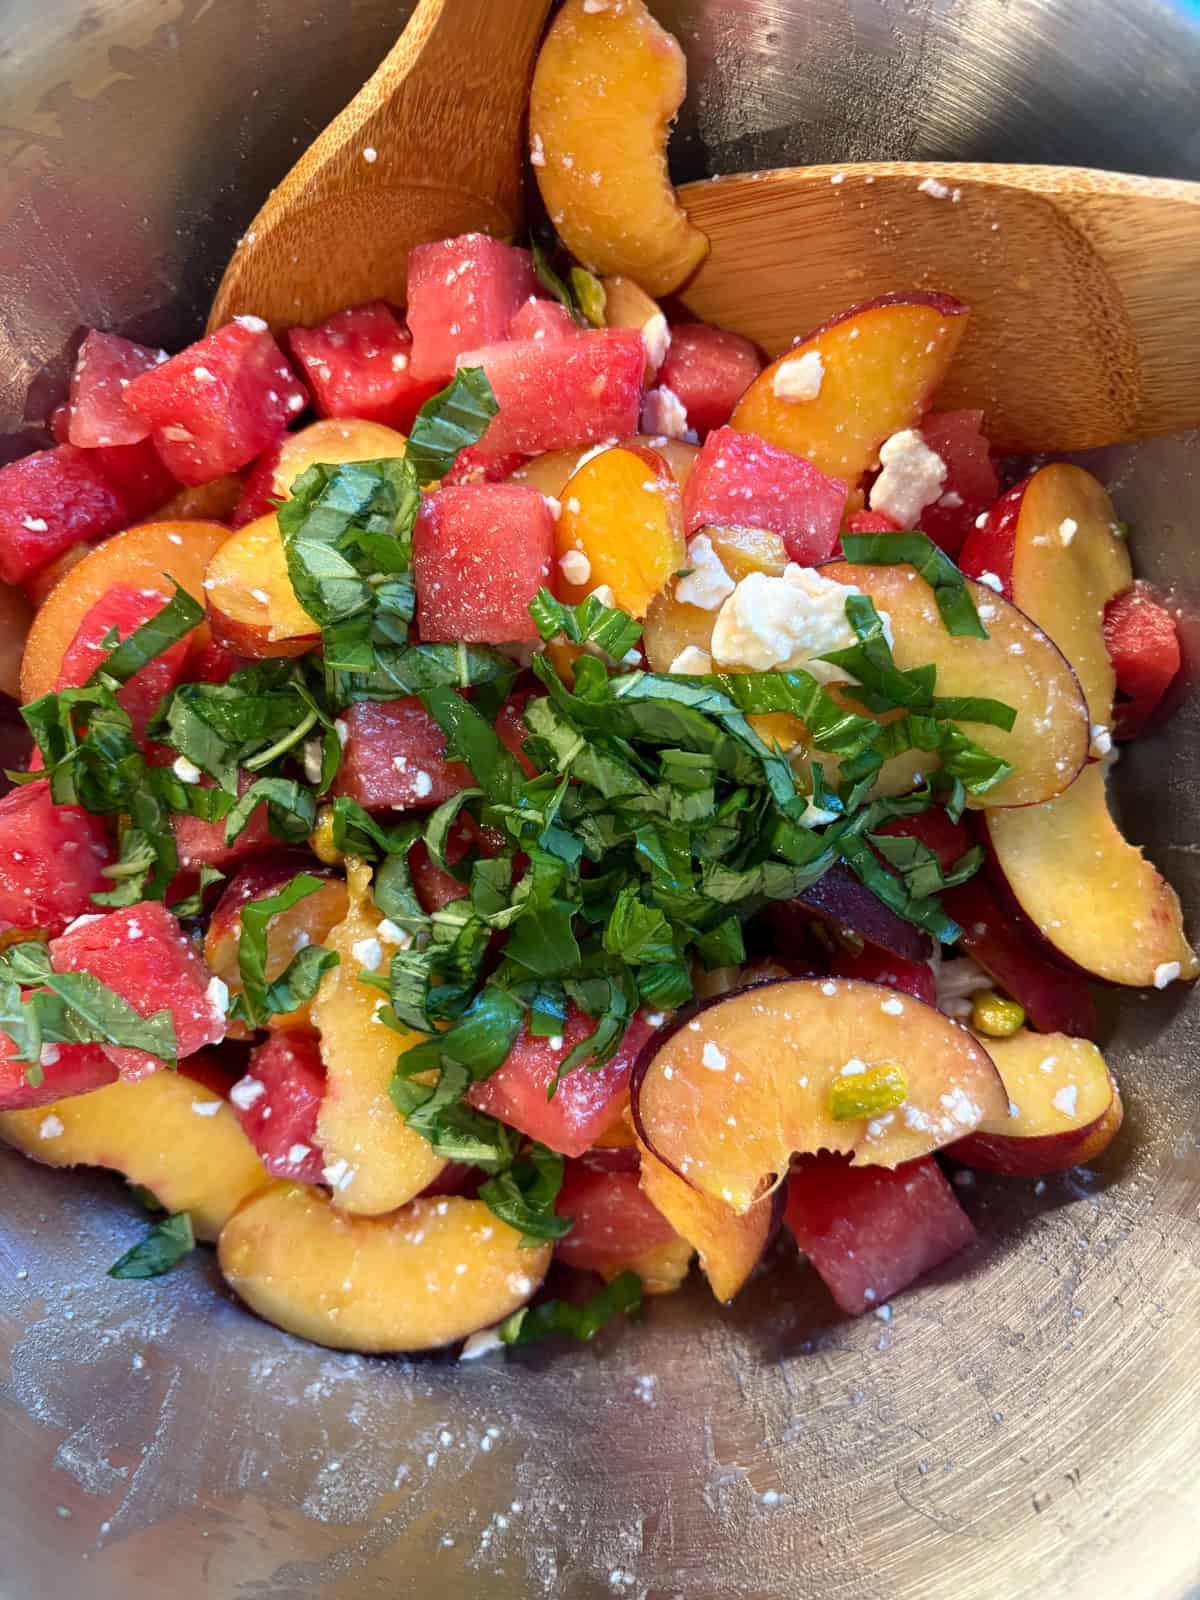
- Step 6: Slice the basil thinly (chiffonade), and sprinkle over the top of the fruit. Serve immediately.
Hint: Do not toss the fruit salad together until all the ingredients are added. Tossing it too much or too strongly will cause the fruits to break down quickly. This is best served immediately after mixing.
Variations
Fruit salad has so many variations! That's why it's so wonderful. Here are a few to consider!
- Simple - combine the fruit with the feta and pistachios and call it a day; easy peasy and without whisking dressing!
- Spicy - skip the basil, and sprinkle a little tajin seasoning over the salad, or just plain cayenne pepper for more kick
- Other summer fruits to add - try cherries, nectarines, cantaloupe, honeydew, or any variety of fresh berries like blueberries, strawberries, blackberries, or raspberries
See this patriotic fruit salad version!
Equipment
Just a cutting board and knife, along with measuring cups and spoons are needed for this recipe!
Storage
Leftovers can be refrigerated, and should ideally be eaten within 24 hours for the best quality.
Healthy heart pro tip
While there continues to be somewhat of a controversy surrounding cheese (and dairy in general) and heart health, the American Heart Association considers these to be heart-neutral (meaning they neither hurt nor help your heart). Small amounts of low fat or fat free versions are recommended to help shift the dietary pattern toward a more favorable unsaturated to saturated fat ratio (12).
That's why, when our recipes use cheese, we use it sparingly for flavor, and allow the other ingredients to also shine!
FAQ
Cherries, nectarines, cantaloupe, honeydew, or any variety of fresh berries like blueberries, strawberries, blackberries, or raspberries would all be delicious!
Fresh mint would be the next best herb to use in this salad. Fresh tarragon or even fennel fronds would also work well.
In this case, I wouldn't. Fresh basil and dried basil have different flavor profiles, and it would affect the final product negatively.
Related
Looking for other healthy fruit recipes? Try these:


Pairing
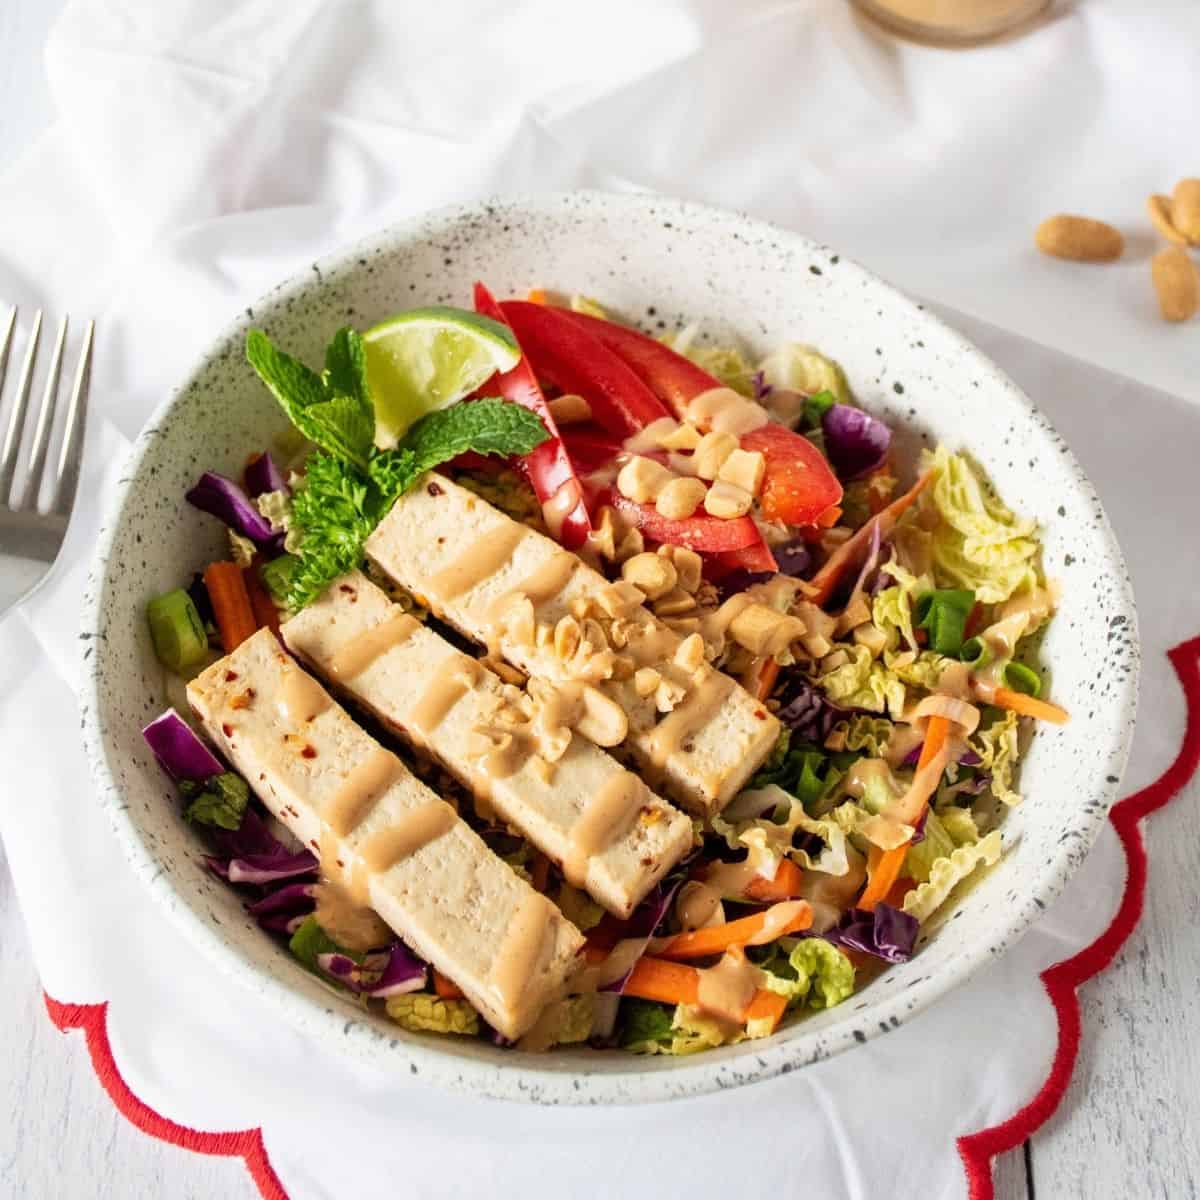
These are my favorite dishes to serve with Watermelon Peach Salad:


📖 Recipe
Watermelon Peach Salad with Pistachios and Feta
Ingredients
- 4 cups Watermelon cubed or balled
- 3 large Peaches pitted and sliced thin (or 4 small peaches)
- ½ cup Fat Free Feta Cheese crumbled
- ¼ cup Roasted, Lightly Salted Pistachios
- ¼ cup Basil chiffonade (sliced thinly)
- 3 tablespoon White Balsamic Vinegar
- 2 tablespoon Olive Oil
- 2 tablespoon Honey or 100% pure maple syrup
Instructions
- Add the watermelon, peaches, feta cheese, and pistachios to a large mixing bowl.
- In a small bowl, whisk together the white balsamic vinegar, olive oil, and honey.
- Pour the dressing over the fruit, and toss gently, just until everything is mixed.
- Sprinkle the chiffonade basil over the fruit salad, and serve immediately.
Notes
Nutrition
*Nutrition information is an estimate, and will change based on the brand and individual ingredients and amounts you use. This is provided for your convenience only.
Food safety
Food safety is always top of mind! Here are some important tips for this recipe:
- Wash produce thoroughly, even if they have thick skins you won't eat (your knife and cutting board will still get contaminated with any dirt and germs on the skins!)
- Be careful of cross contamination - wash and sanitize counters and tools before starting
- Wash hands before beginning, and after touching face, hair, pets, etc. and any time they are dirty
- Don't leave food sitting out at room temperature for extended periods