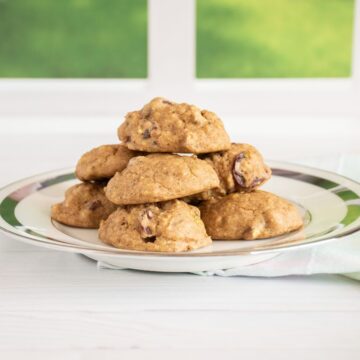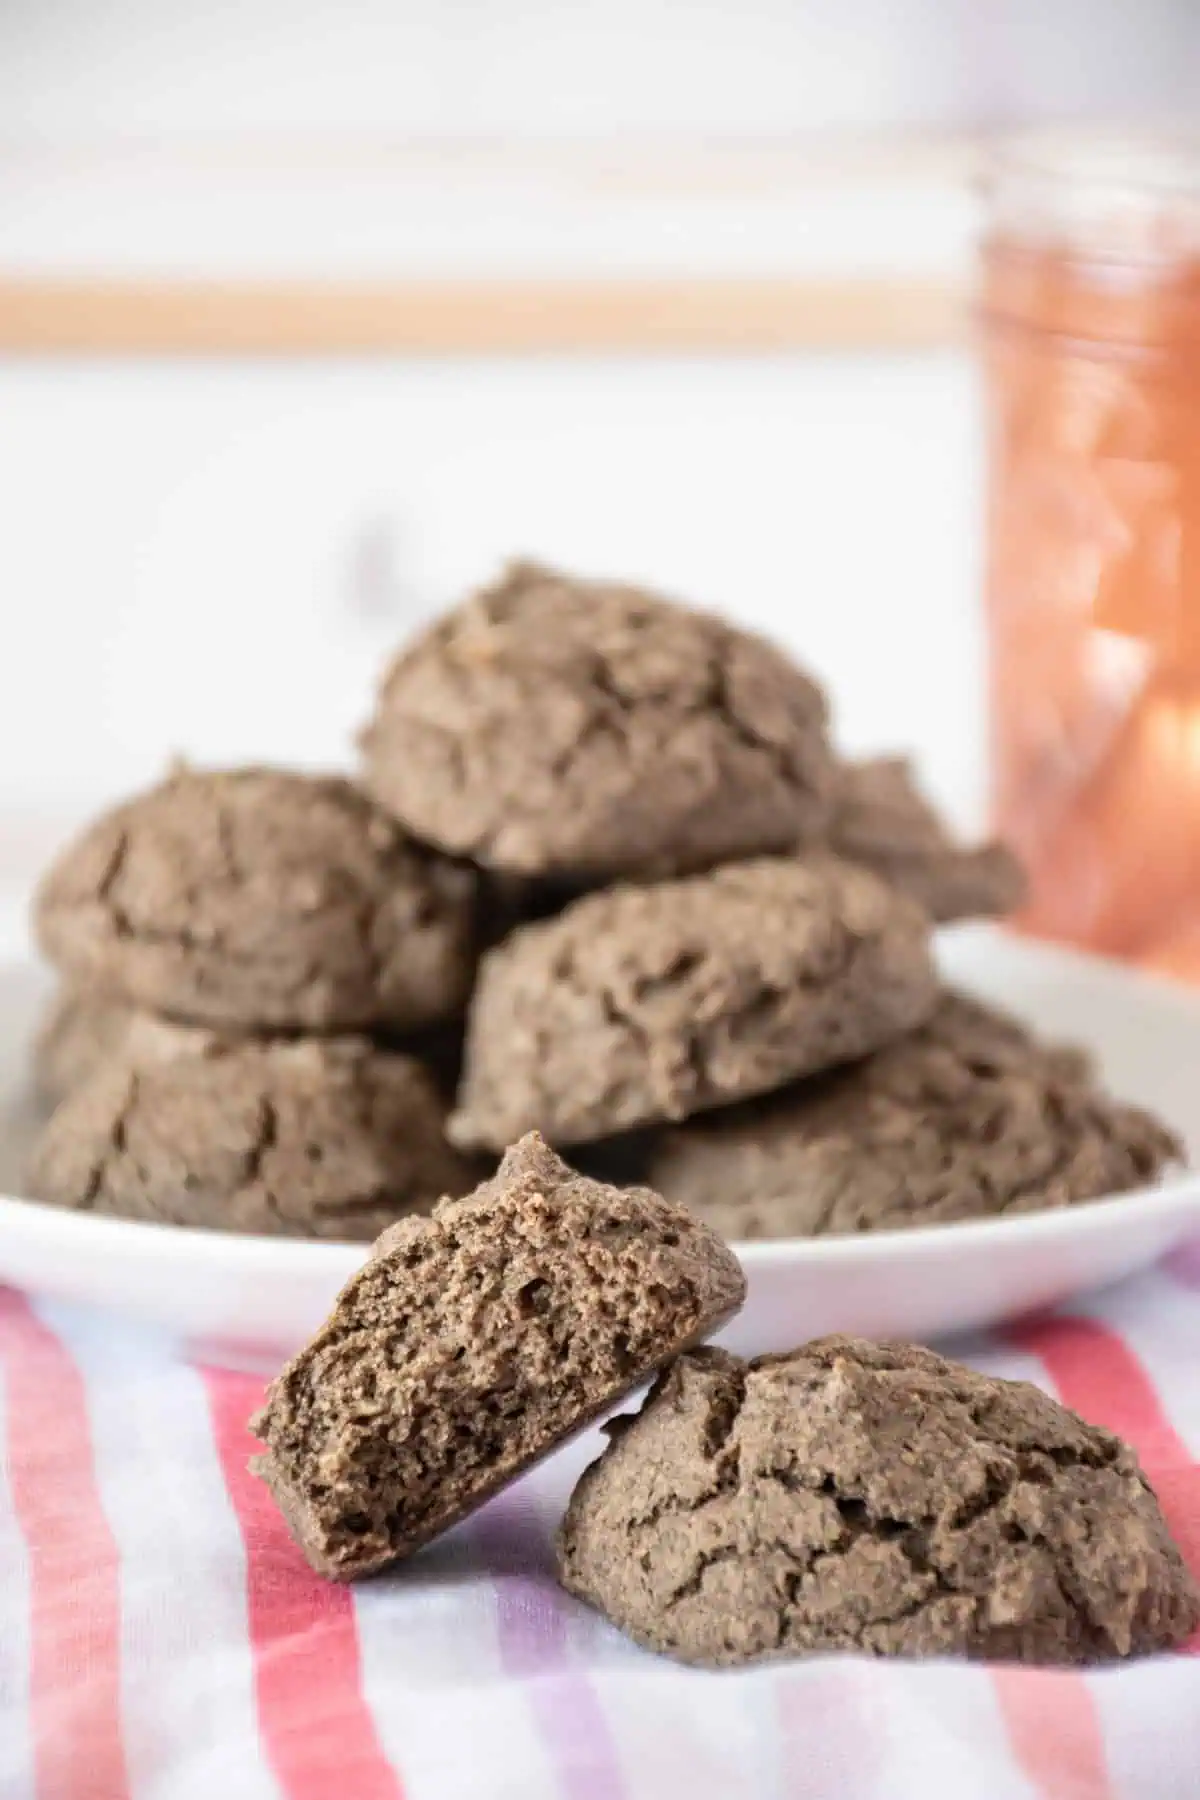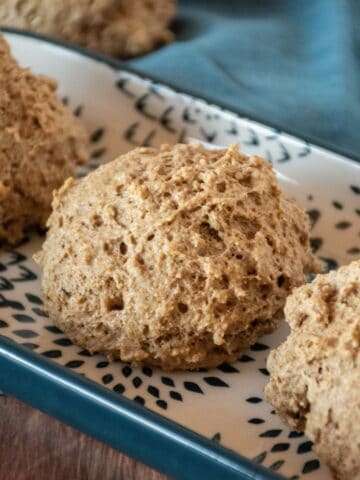
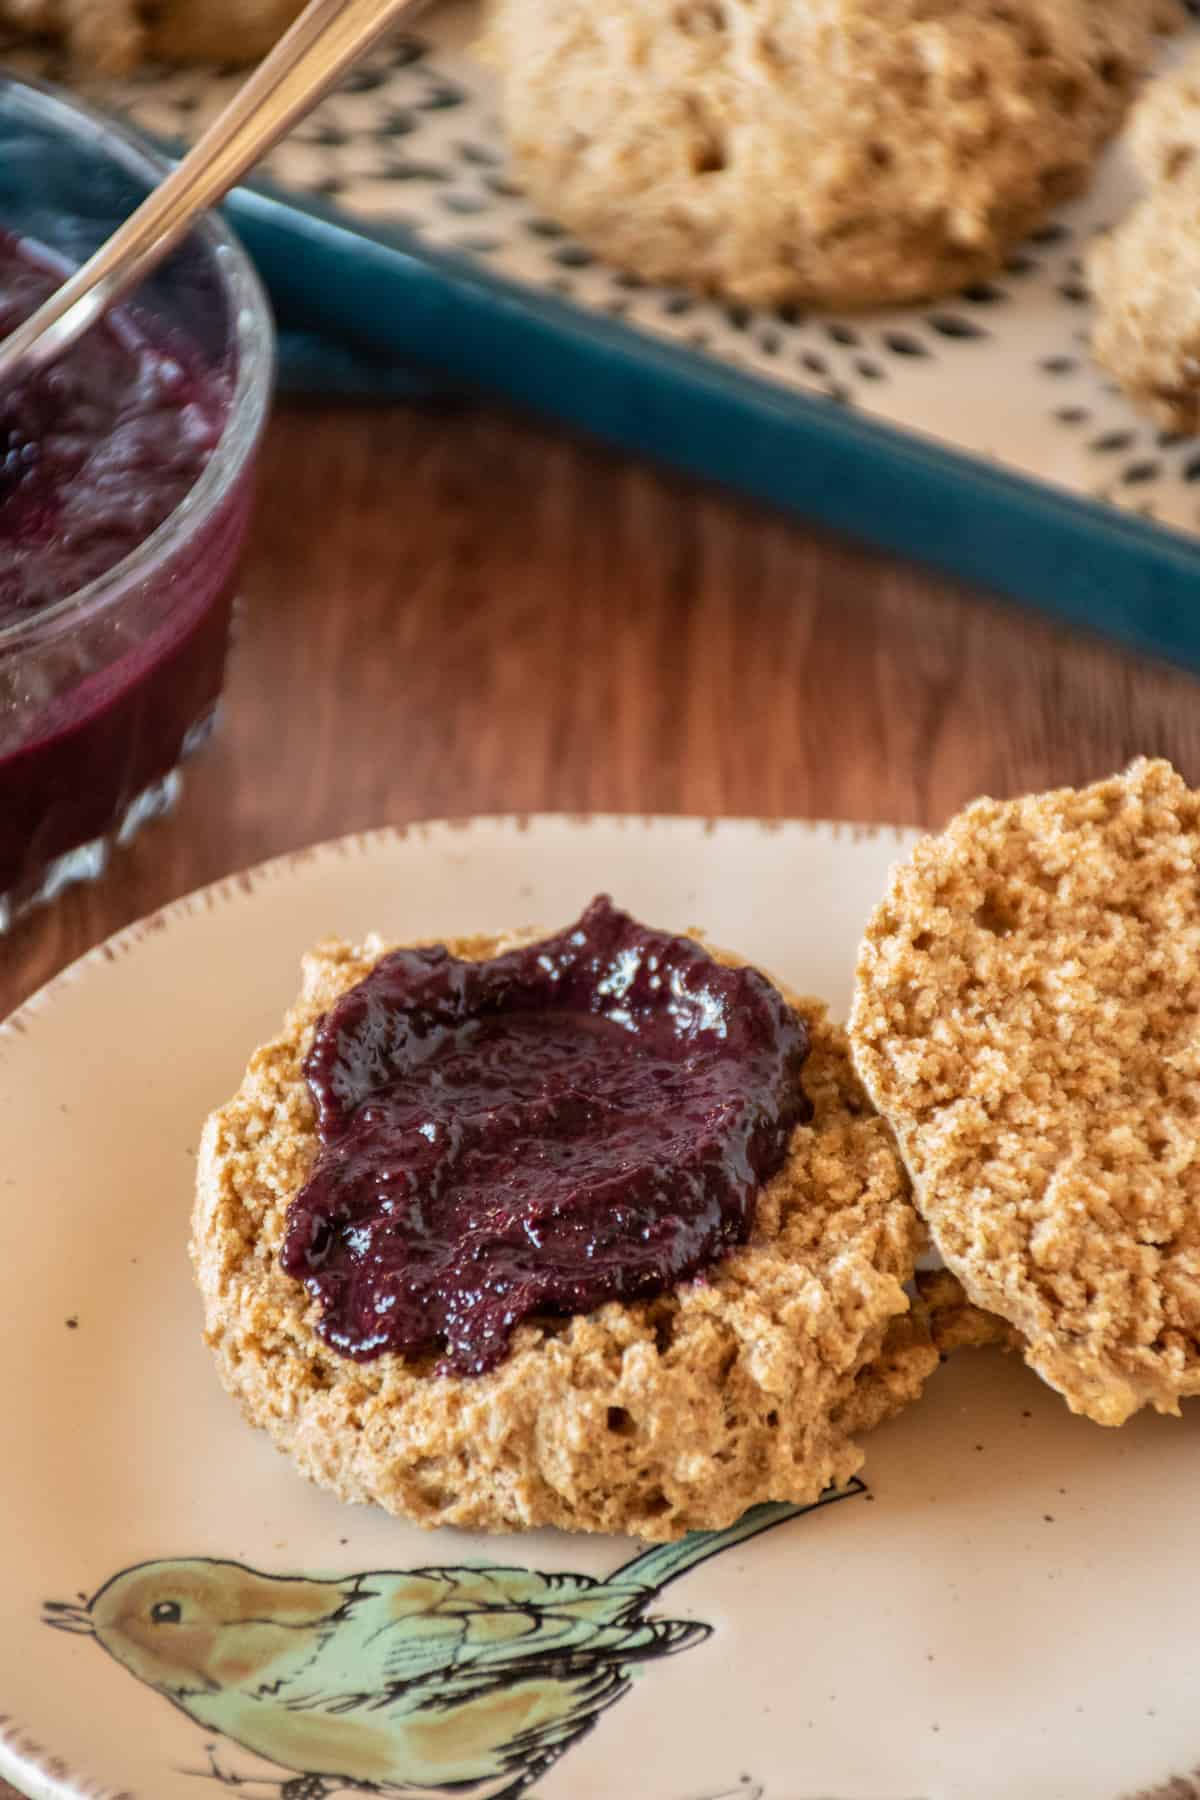
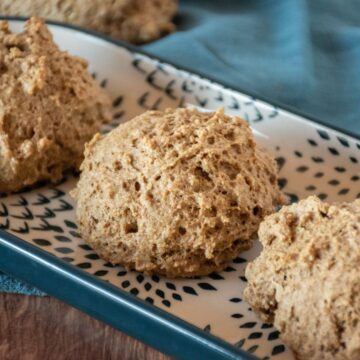
These Whole Wheat Drop Biscuits are super simple, quick, and delicious for holidays or even weeknights. We use only a handful of basic ingredients to create healthy little clouds of goodness that you can feel good about serving your family. This recipe is easily doubled, too!
This post may contain affiliate links. See our Disclaimer for more information
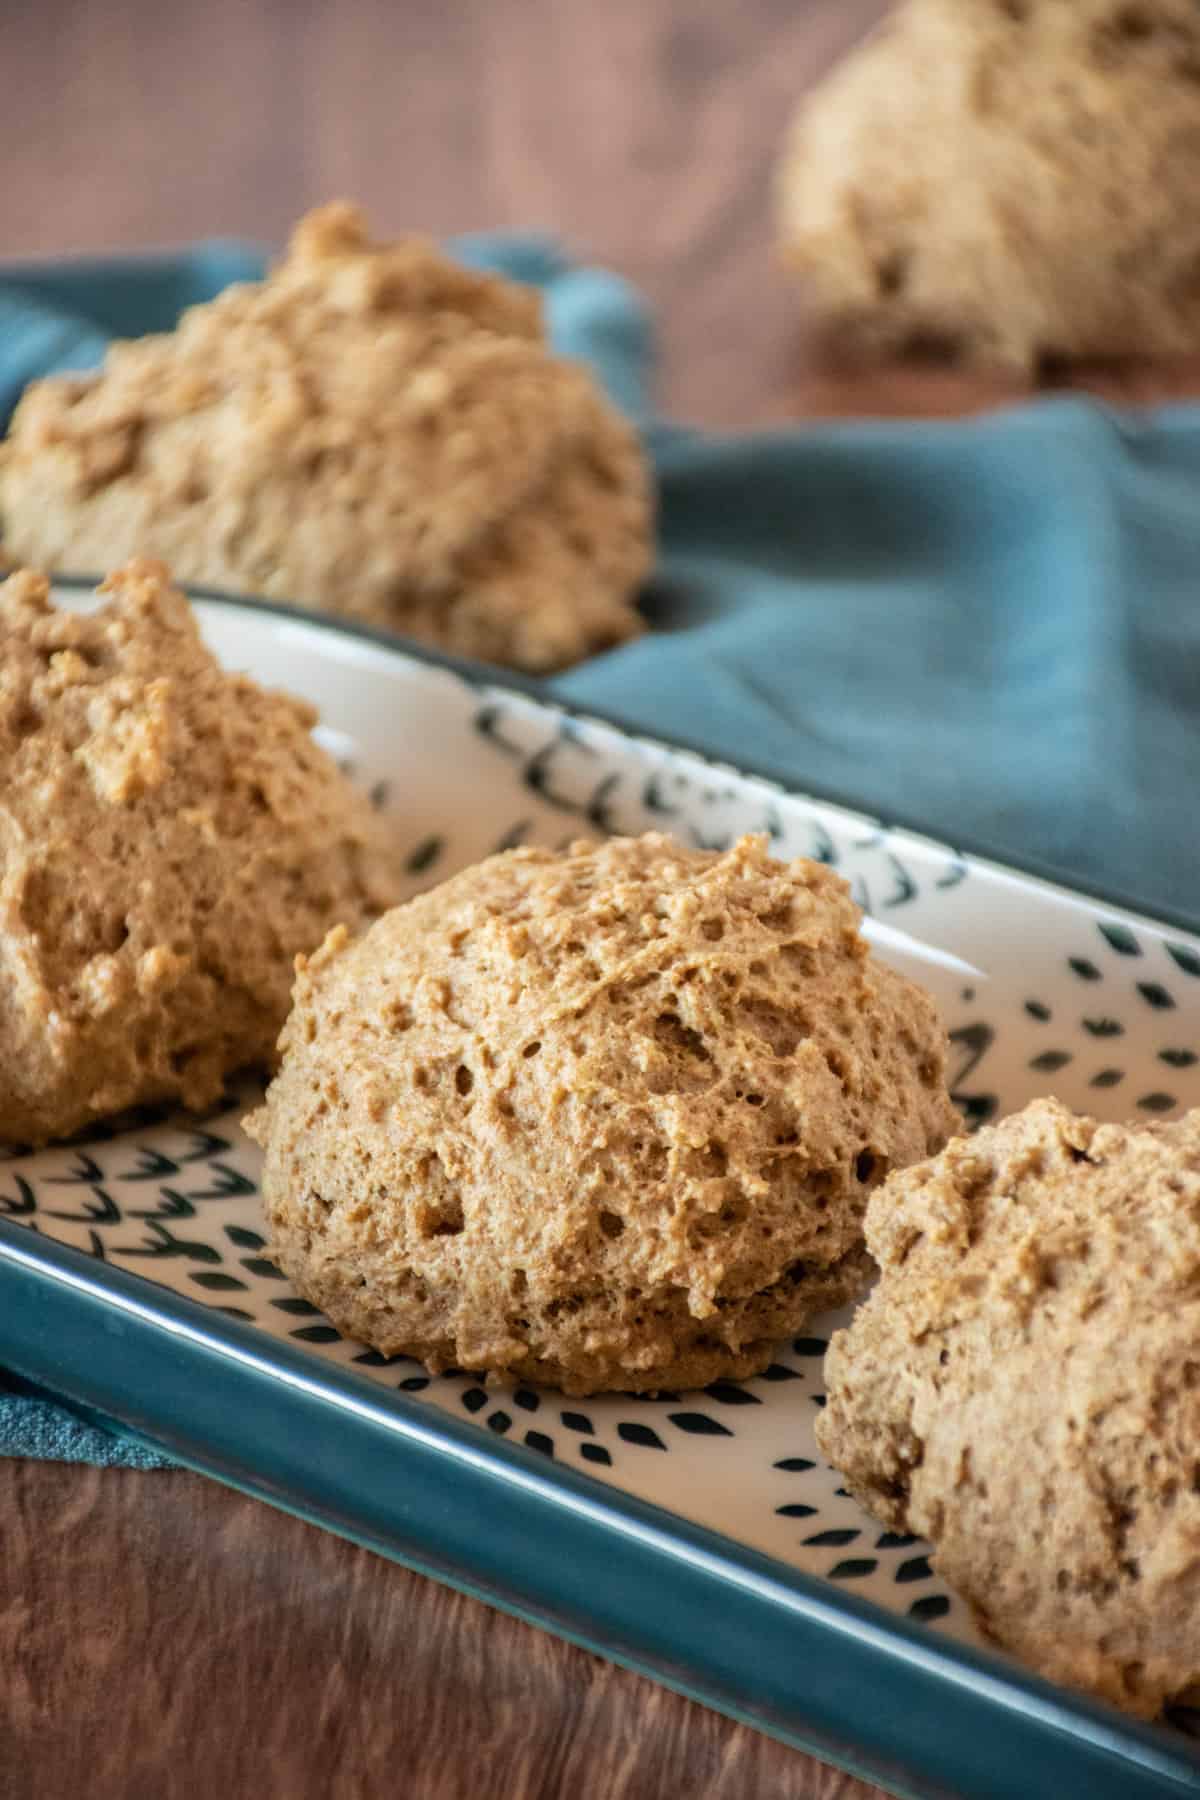
You'll love how quickly these come together. They're great for last minute when you realize you forgot the biscuits!
We use whole wheat flour to improve the fiber content of the biscuits. If you want a gluten free option, try my Buckwheat Biscuits. These are great smeared with a bit of jam, like Blueberry Thyme Jam, or Strawberry Jam.
[feast_advanced_jump_to]Heart Health Benefits of Whole Wheat Drop Biscuits
Drop biscuits are usually simple recipes, made with refined flour, butter, milk, salt, and sugar. So we made some substitutions for healthy biscuits that taste great.
We start with whole wheat flour. It's nutty tasting and hearty. And since it includes the entire wheat grain, it has all the fiber, vitamins and minerals, and healthy fats that naturally occur in wheat.
Instead of buttermilk, we make our own version using unsweetened soy milk and lemon juice. Soy foods can help lower cholesterol and lower your risk of atherosclerosis, among many other benefits (1, 2, 3, 4).
We also are using a little olive oil instead of butter. Butter is high in saturated fat, which can elevate cholesterol levels when eating in high amounts. Olive oil, on the other hand, is low in saturated fat, and the majority of its fat content is monounsaturated fat. Monounsaturated fats can promote heart health by lowering blood cholesterol levels when it's used to replace high saturated fat foods.
Finally, we make these biscuits without sugar, and lower the salt content. Most of us tend to smear biscuits with buttery spreads or other toppings, so we saved the sugar and salt for that. If you plan to eat your biscuits plain, it's ok to add a little of those things to your liking.
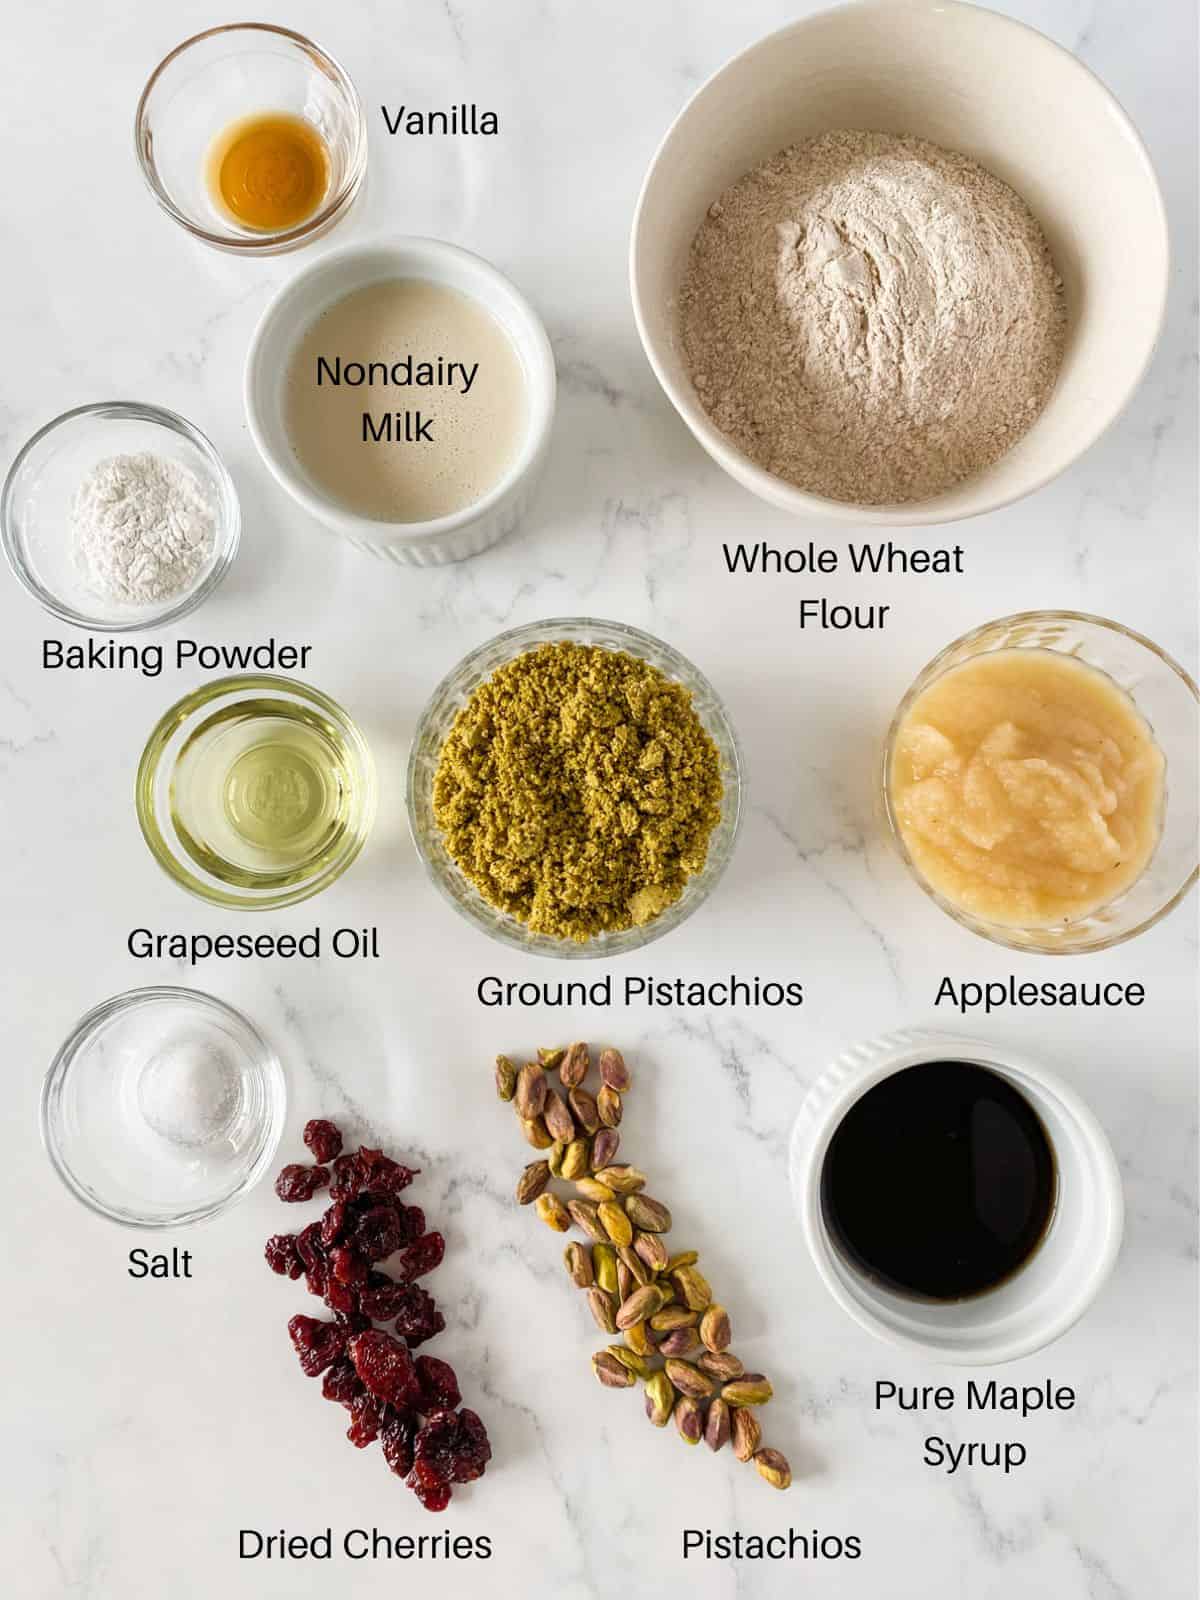
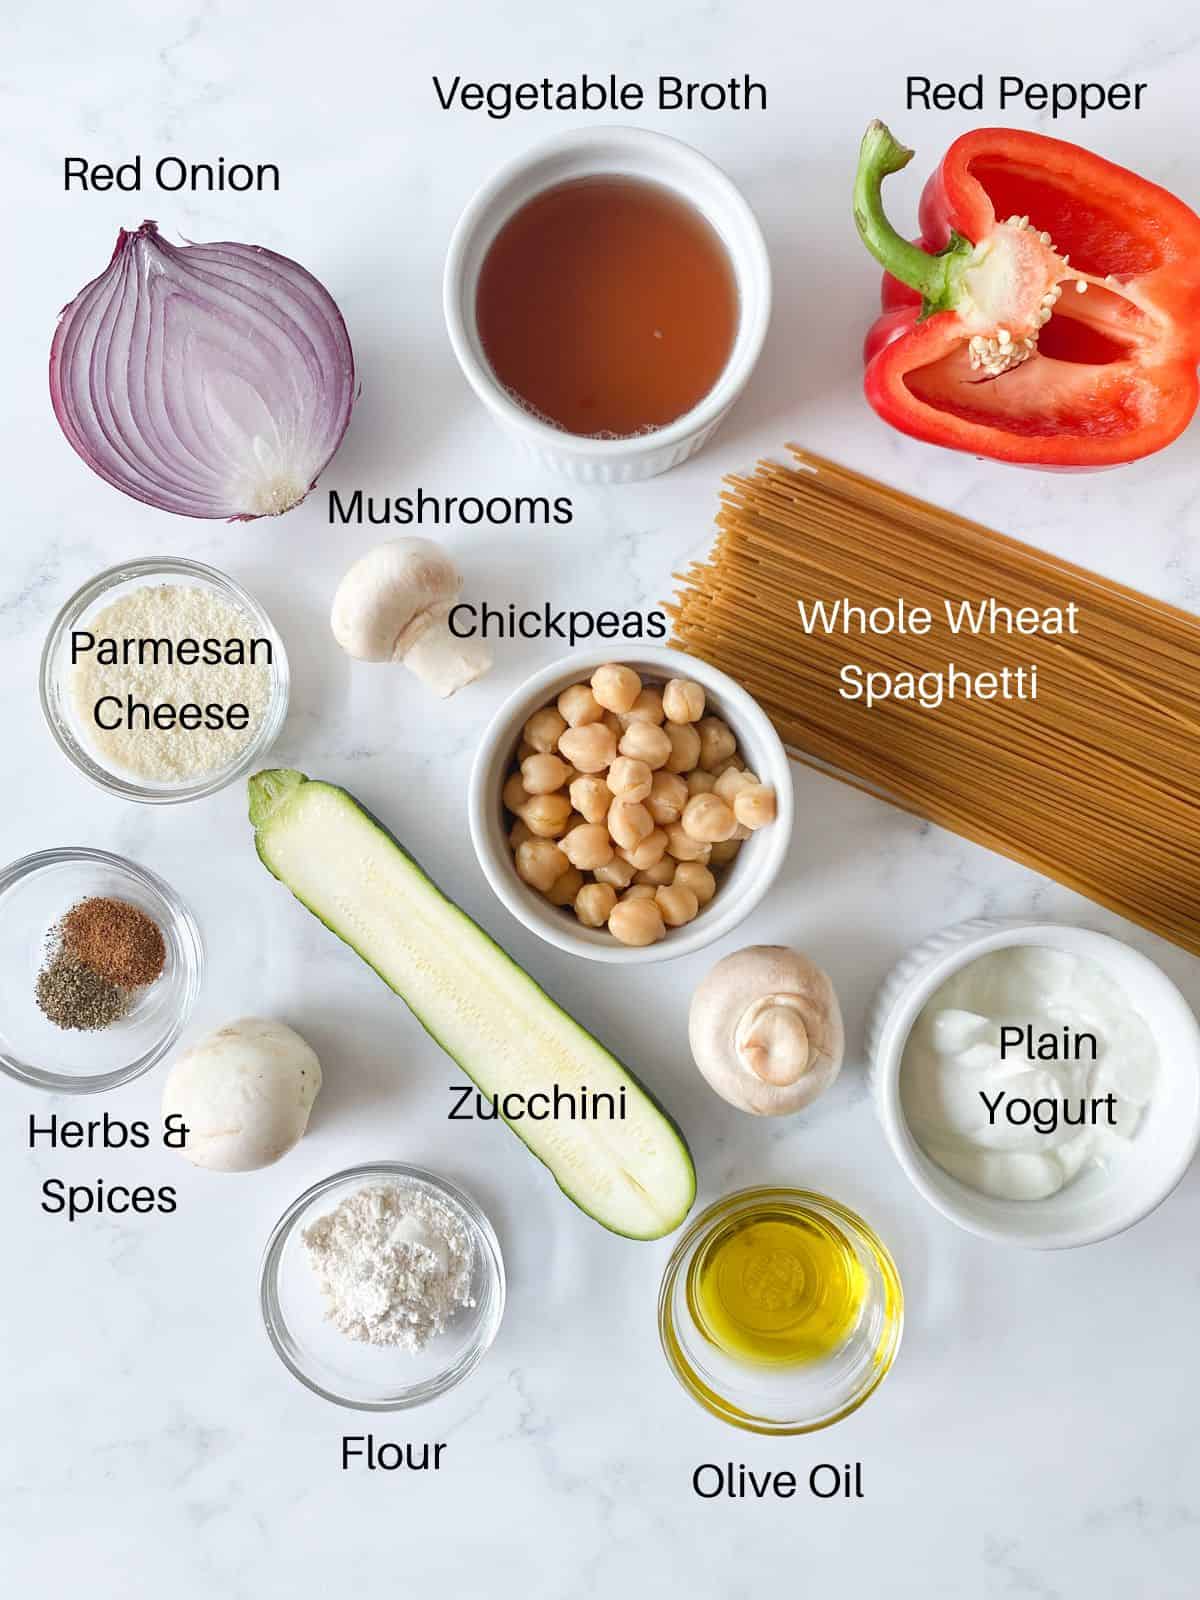
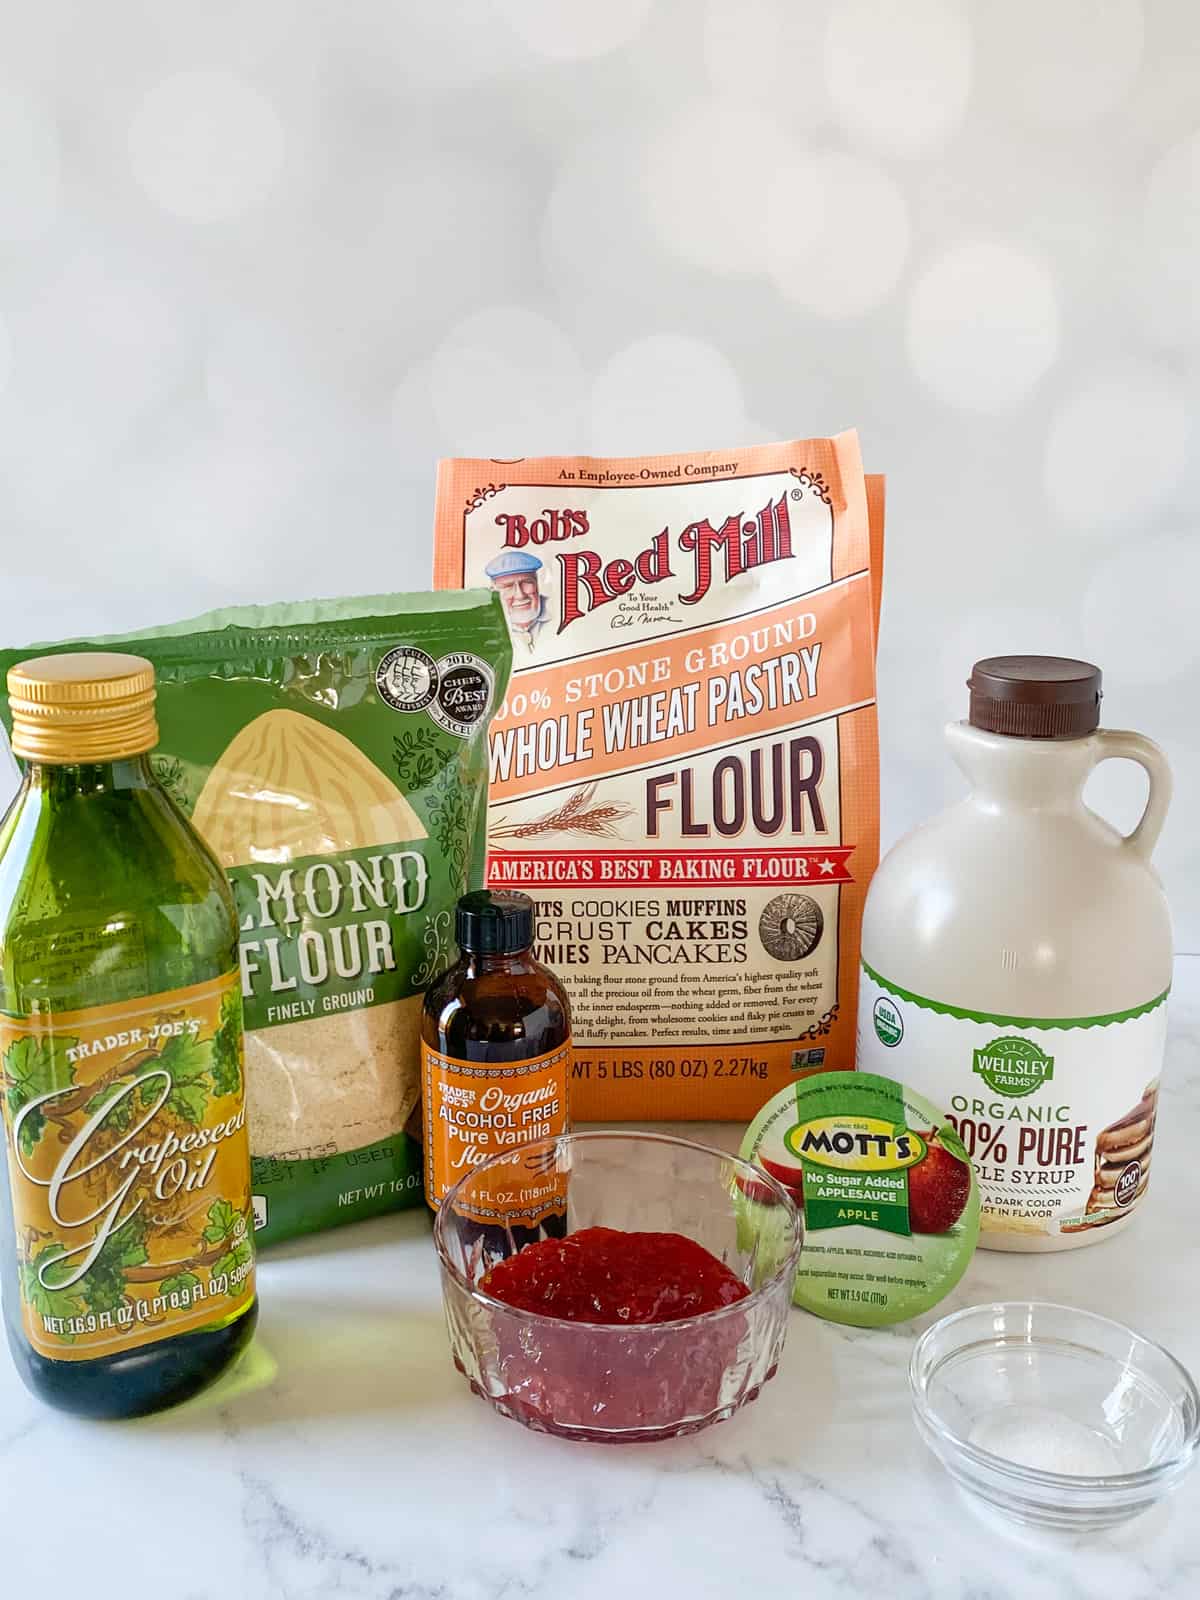
Ingredients
We love a 5 ingredient biscuit! Whole wheat drop biscuits use simple ingredients so you can make them any day.
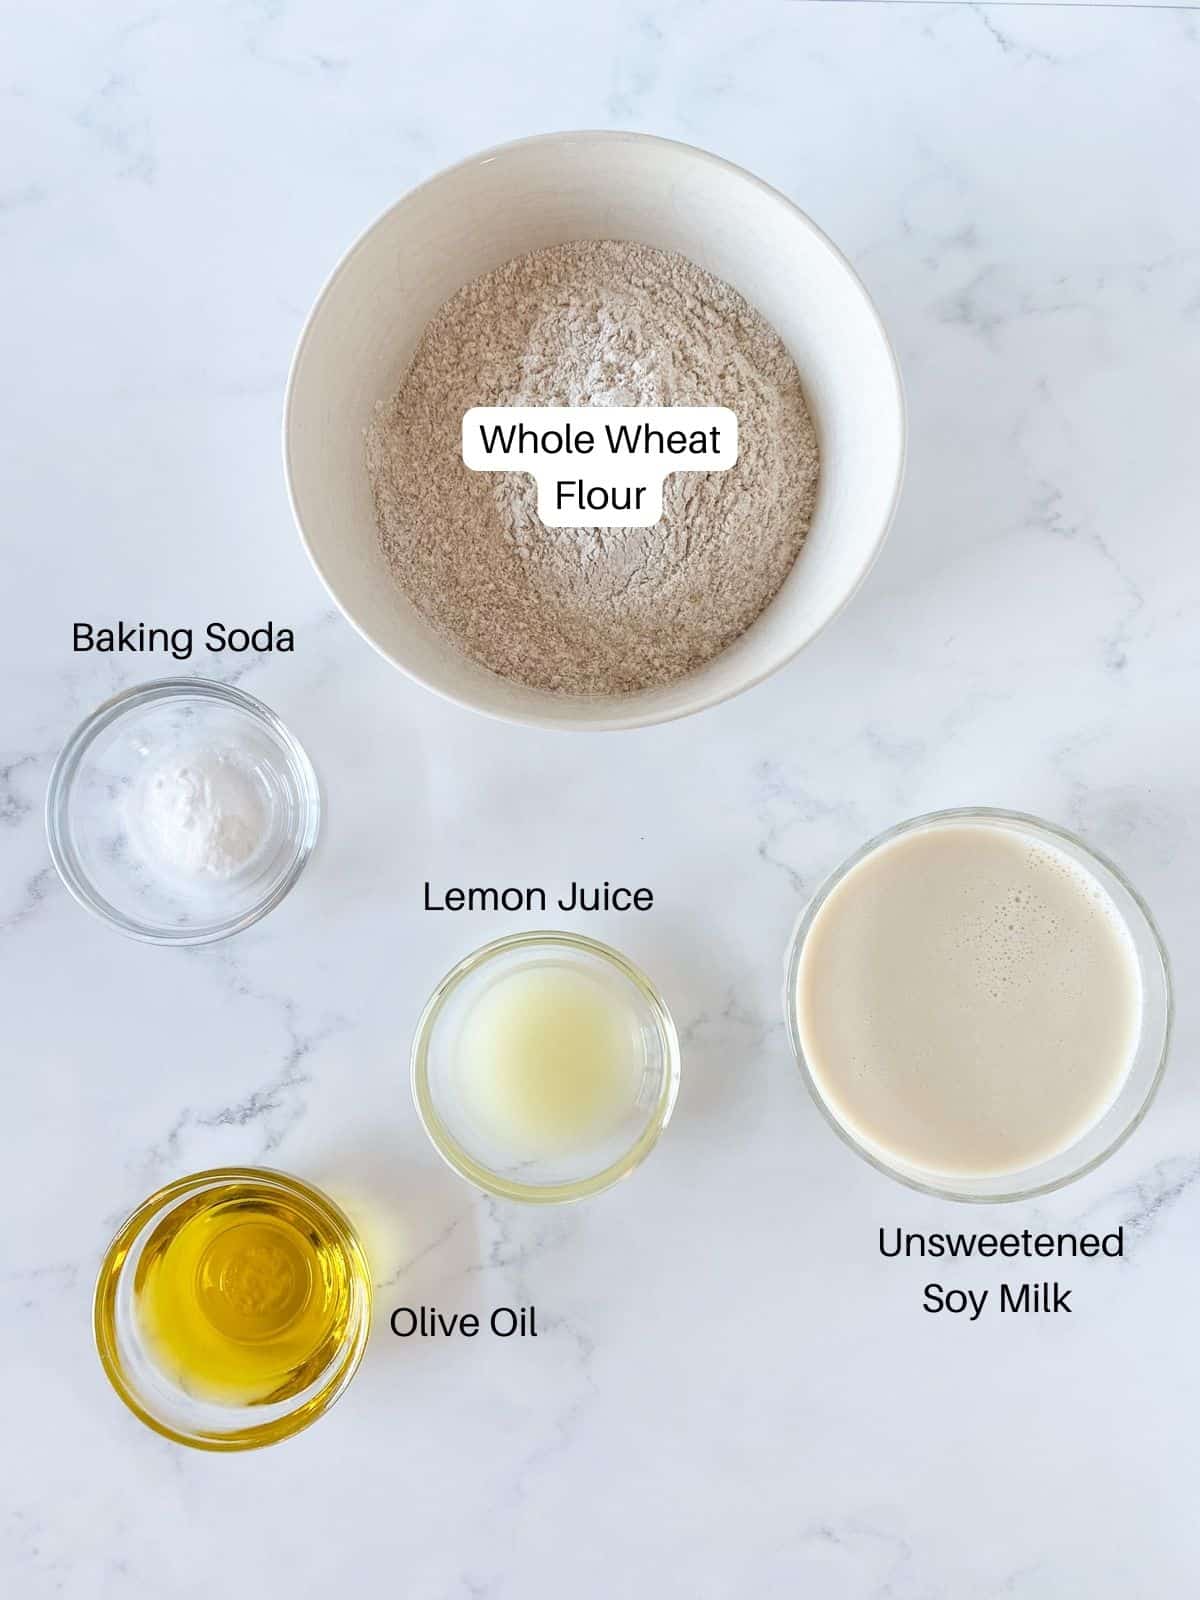
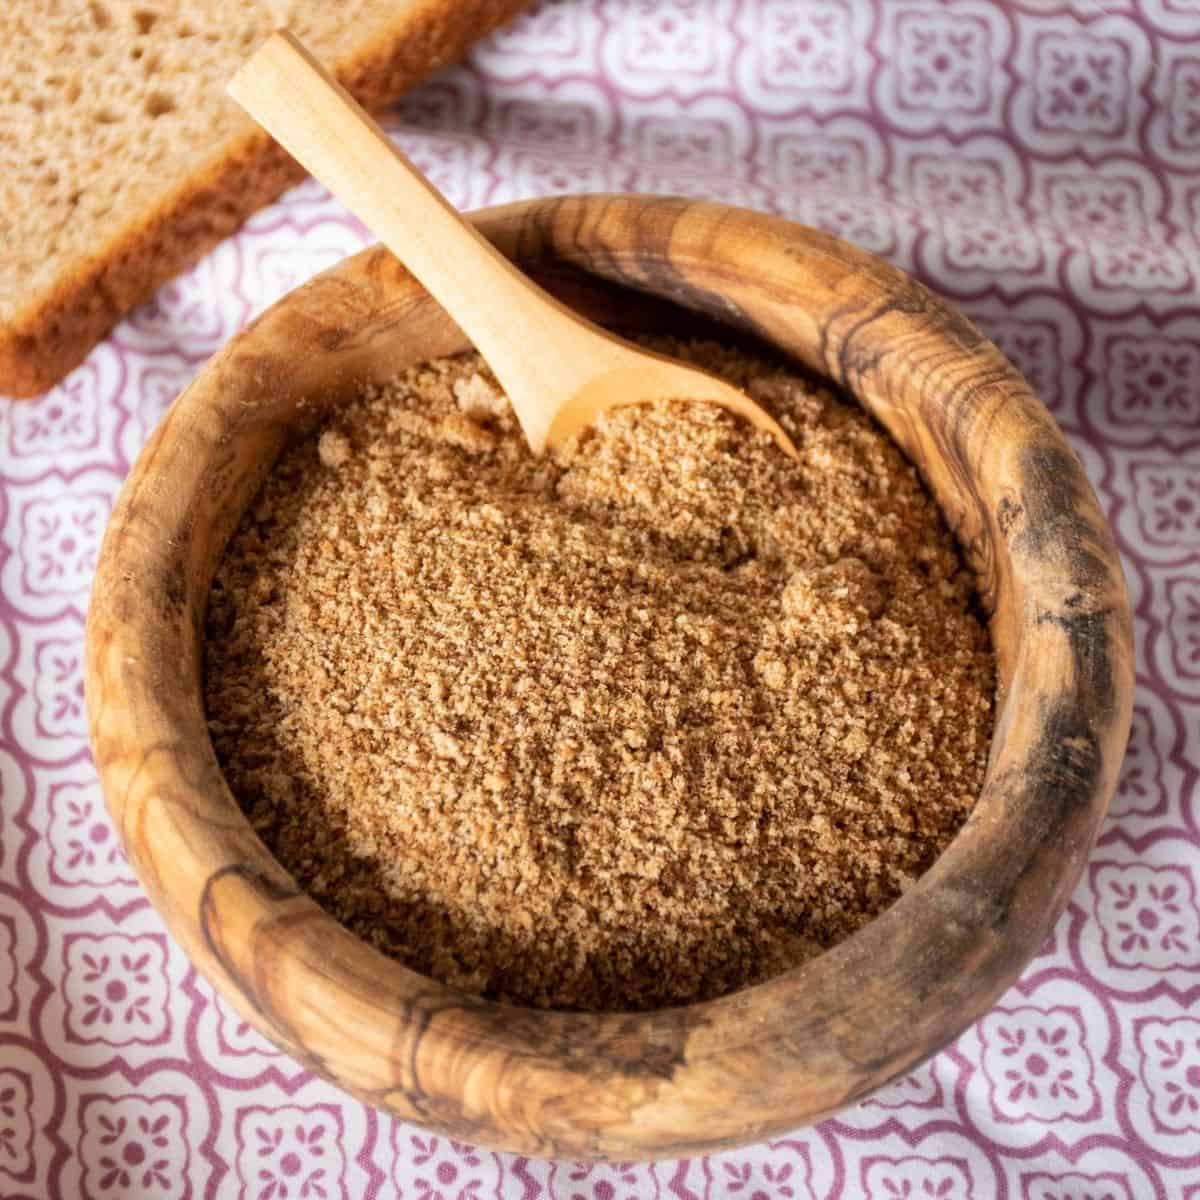
- Whole wheat flour
- Unsweetened soy milk
- Olive oil
- Lemon juice
- Baking soda
- Salt (optional)
See recipe card for quantities.
Instructions
Here's how to make whole wheat drop biscuits, in pictures!
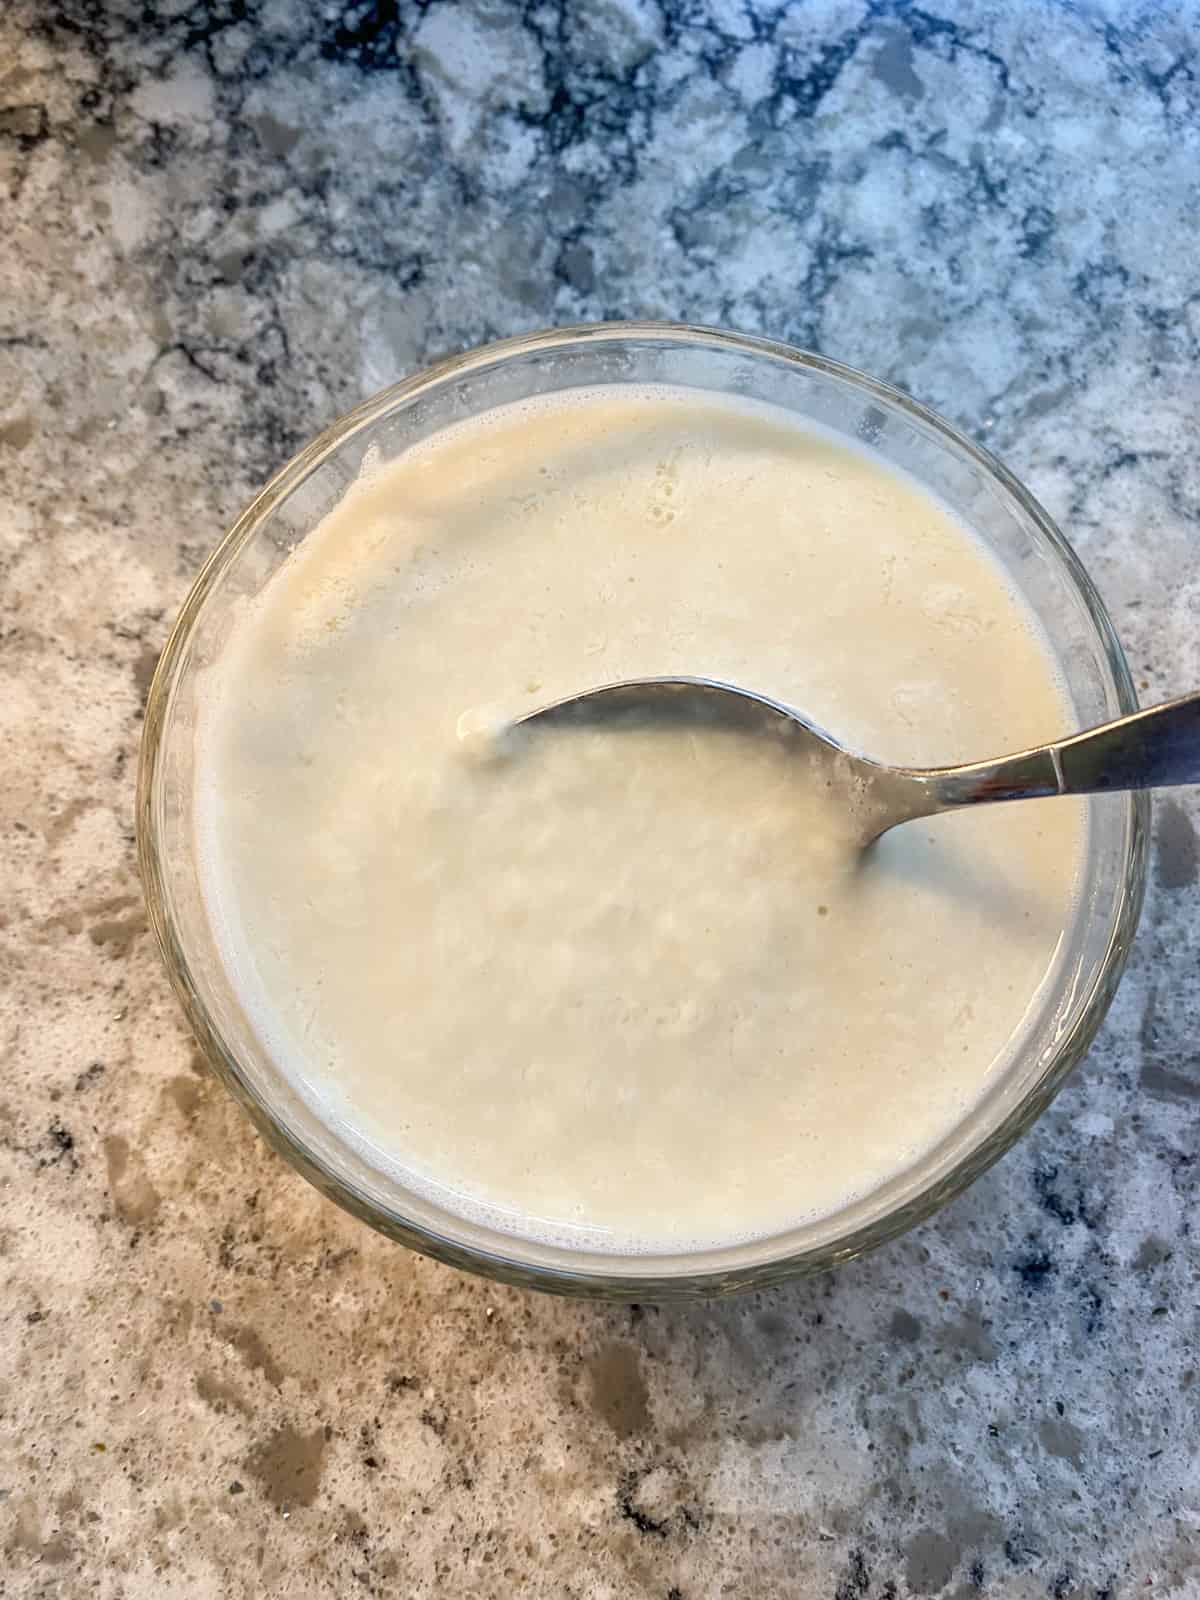
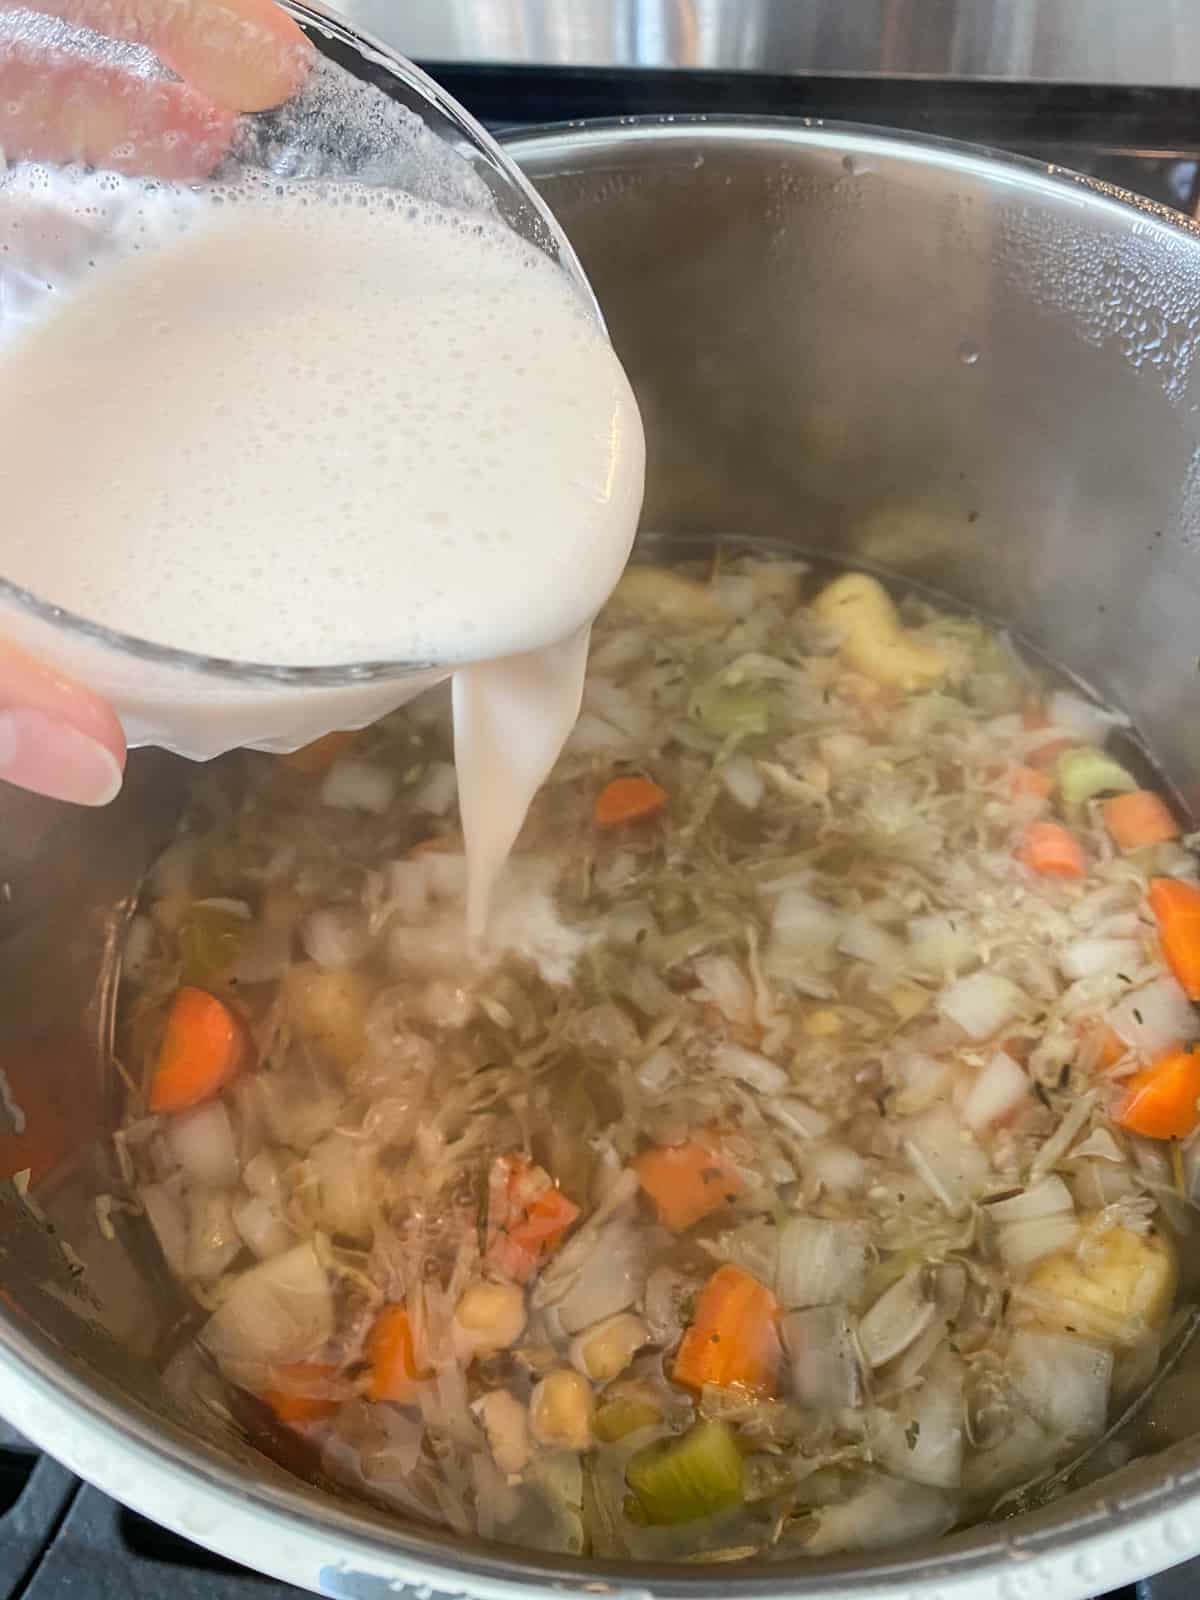
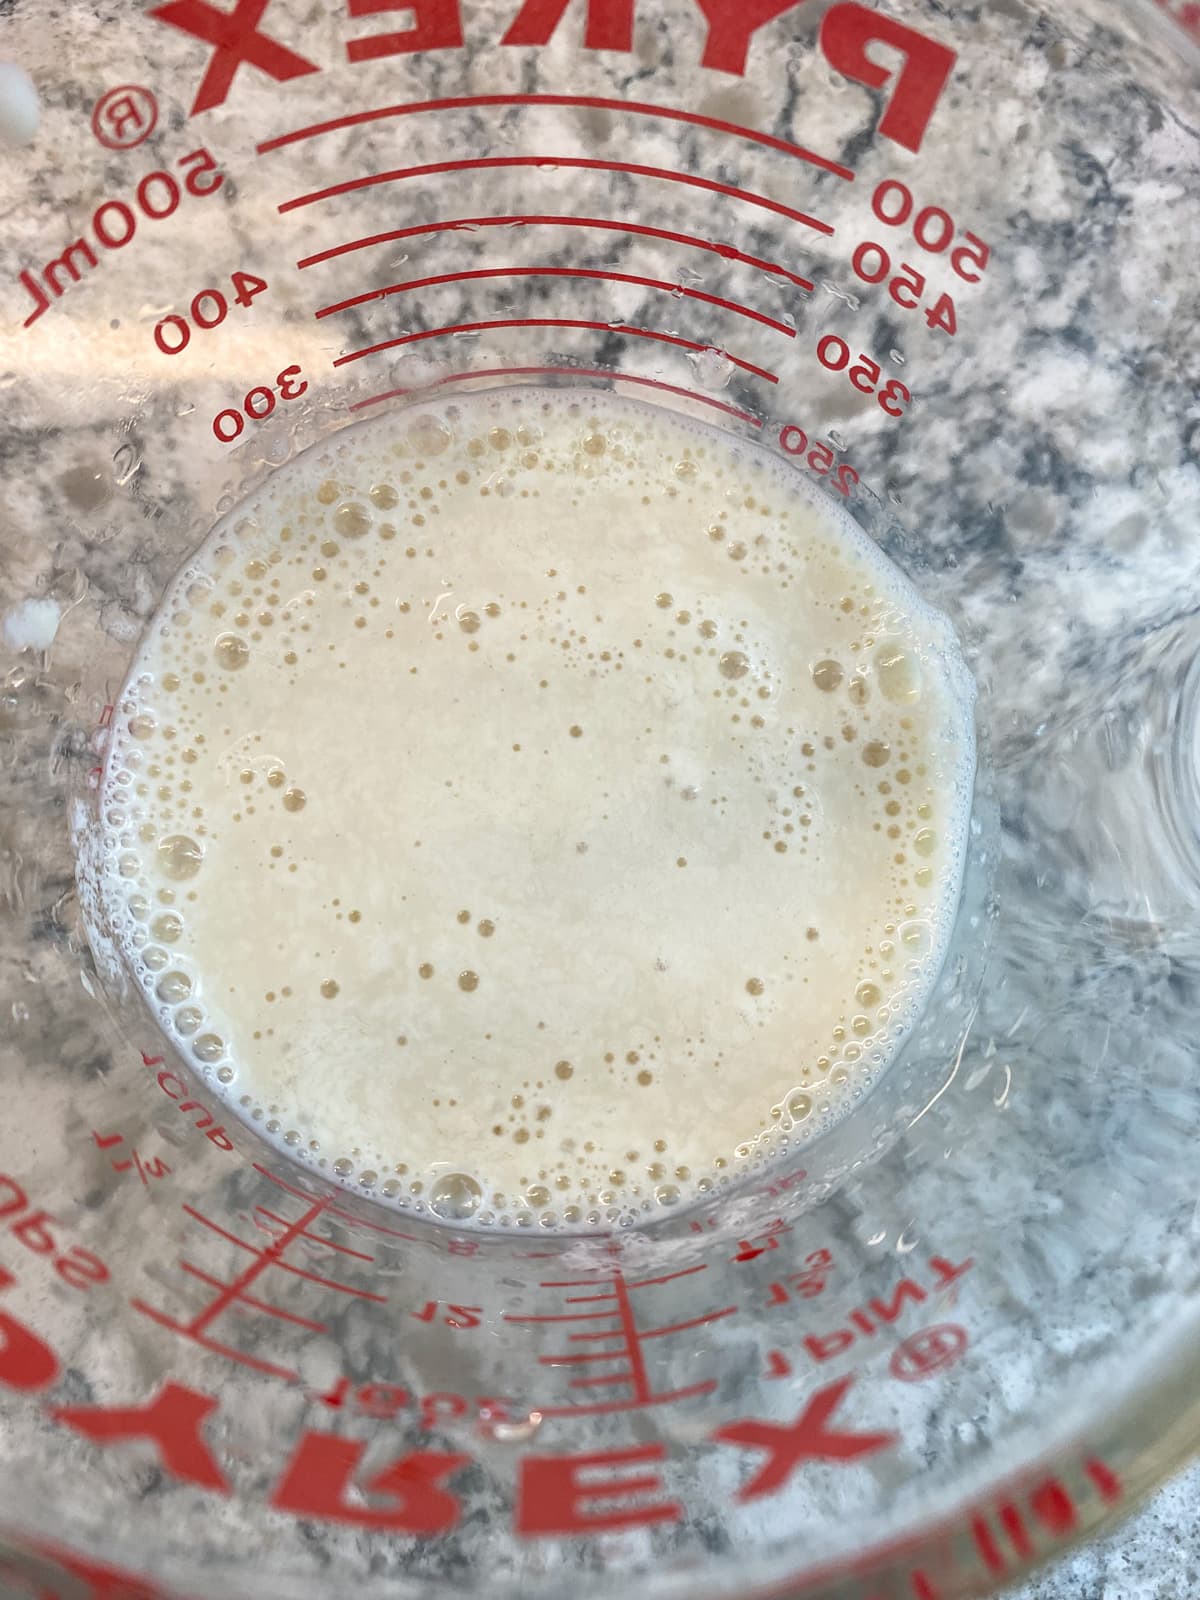
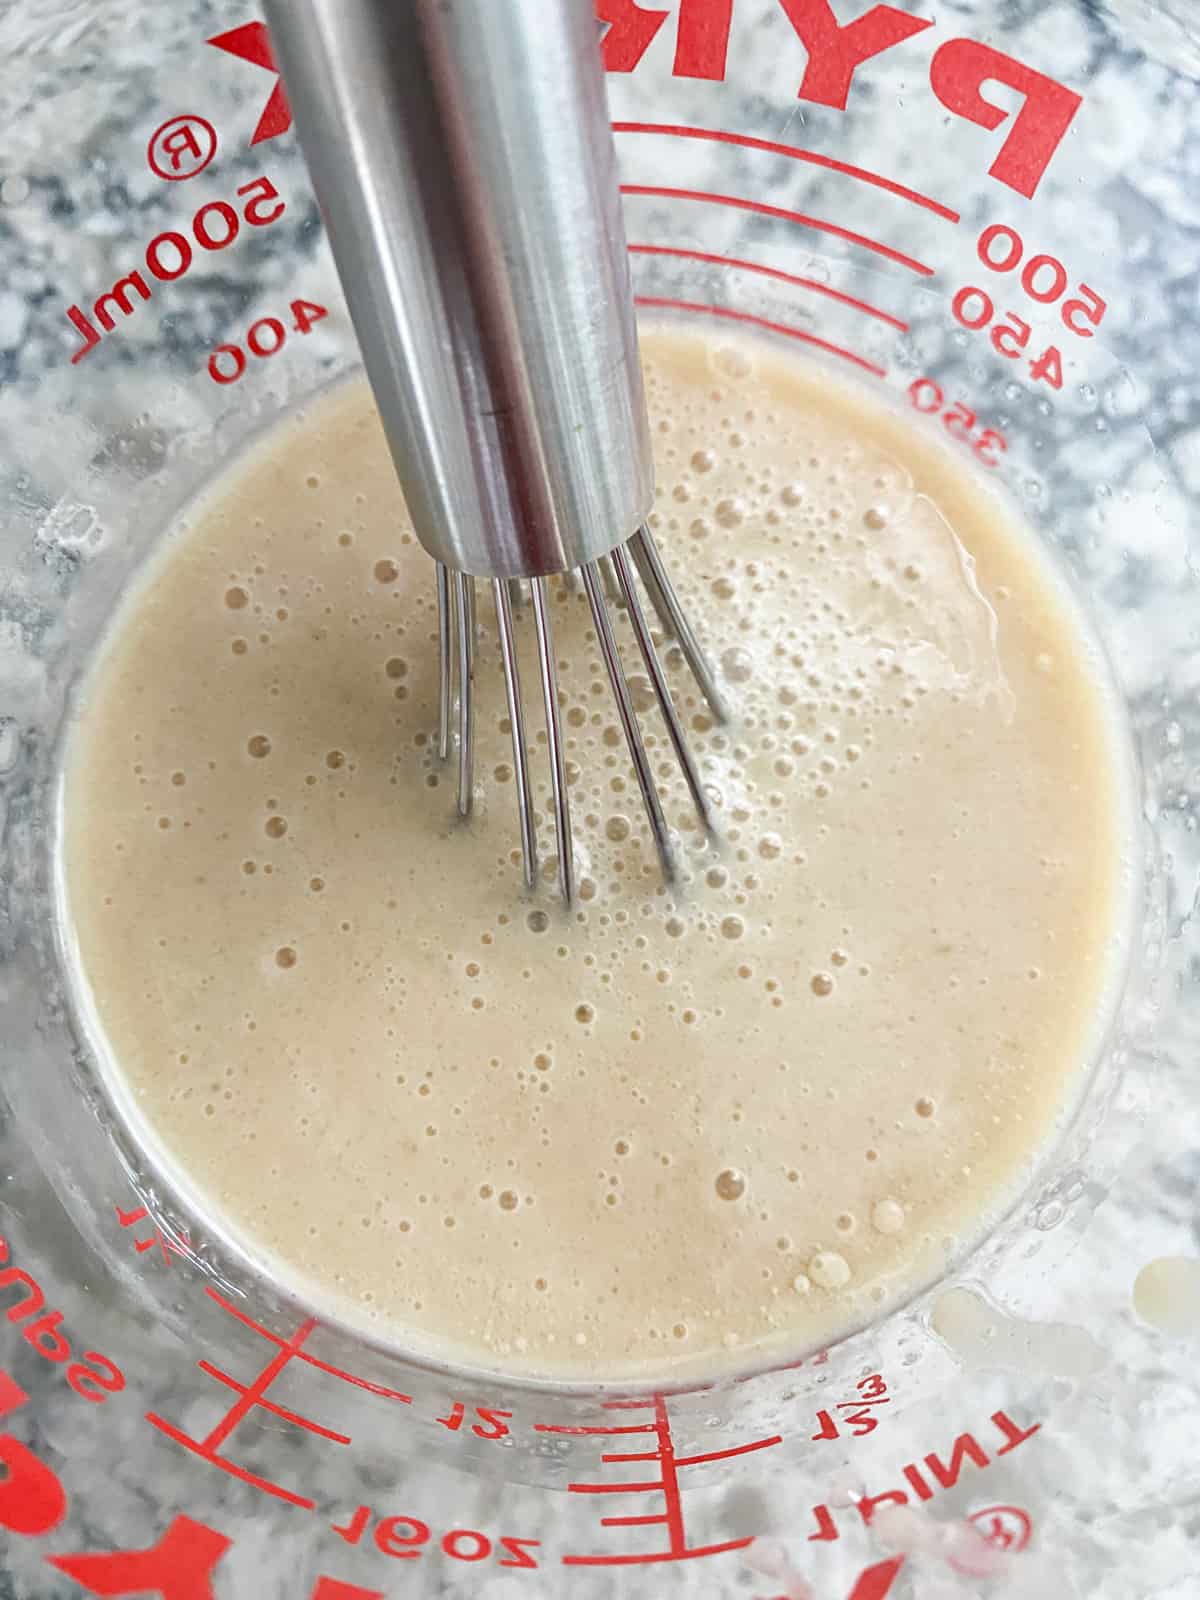
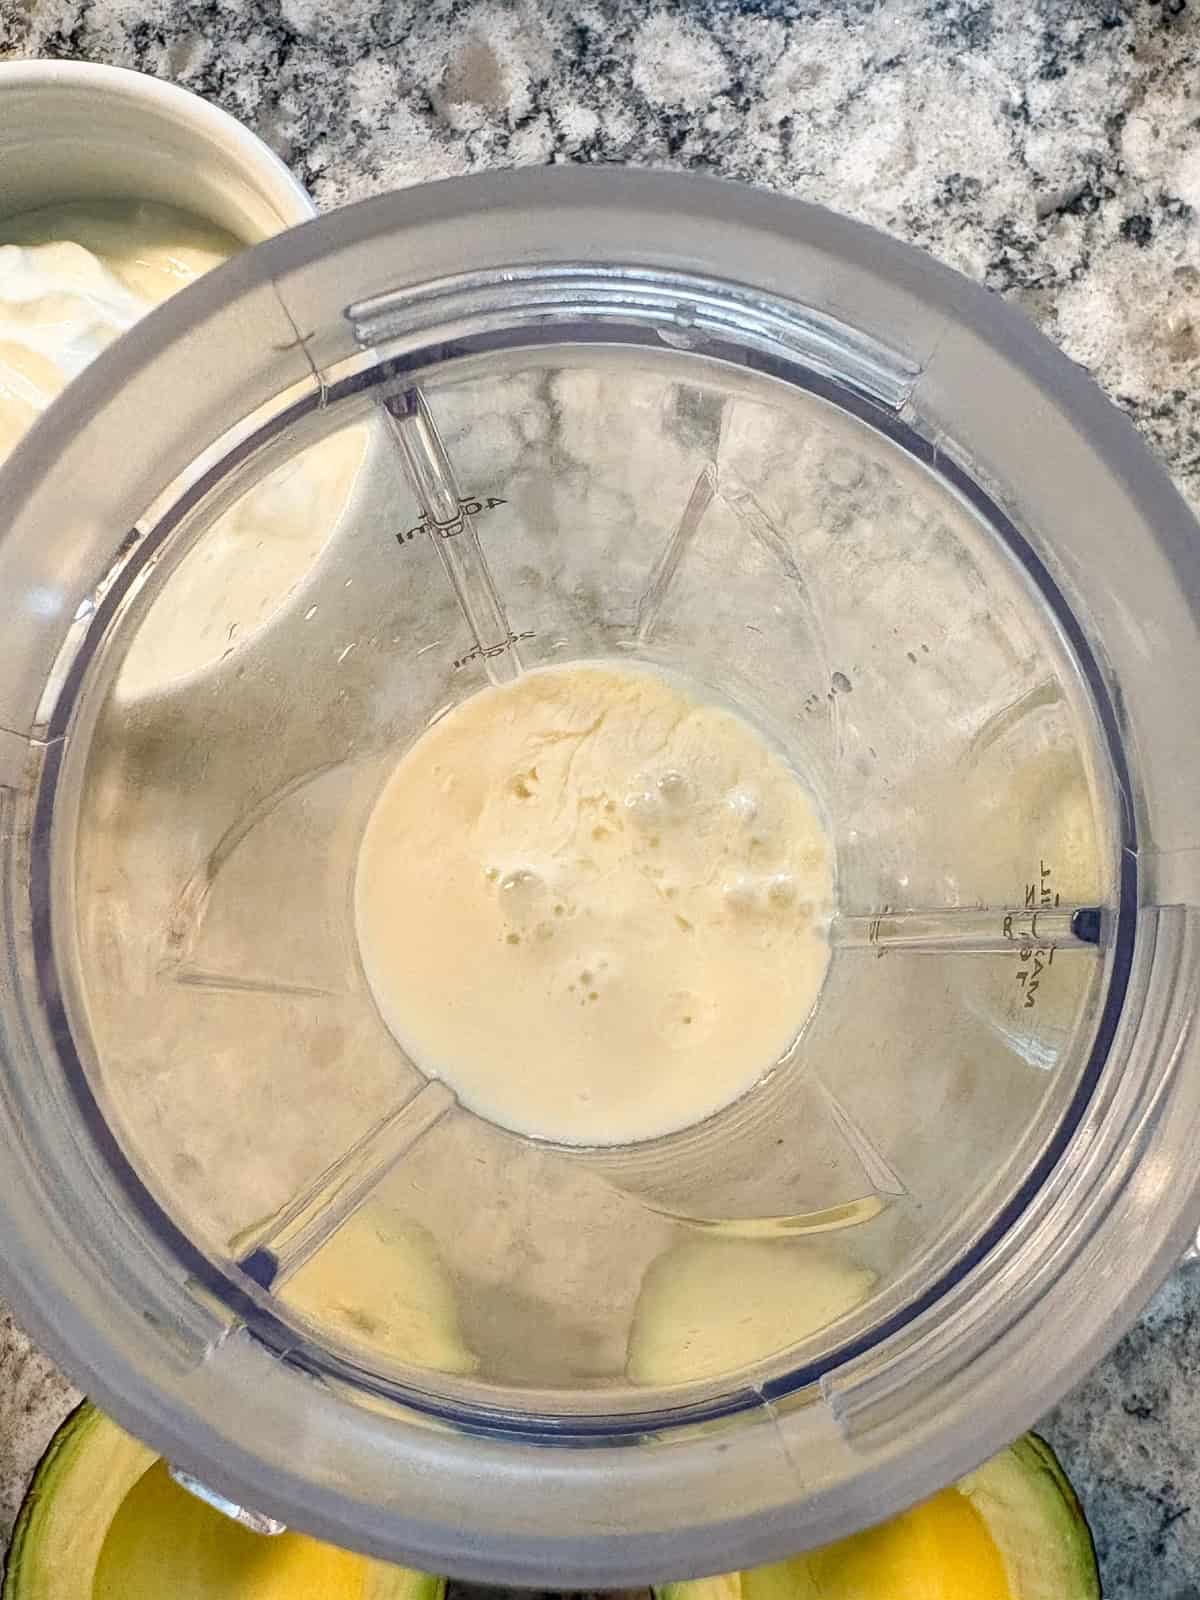
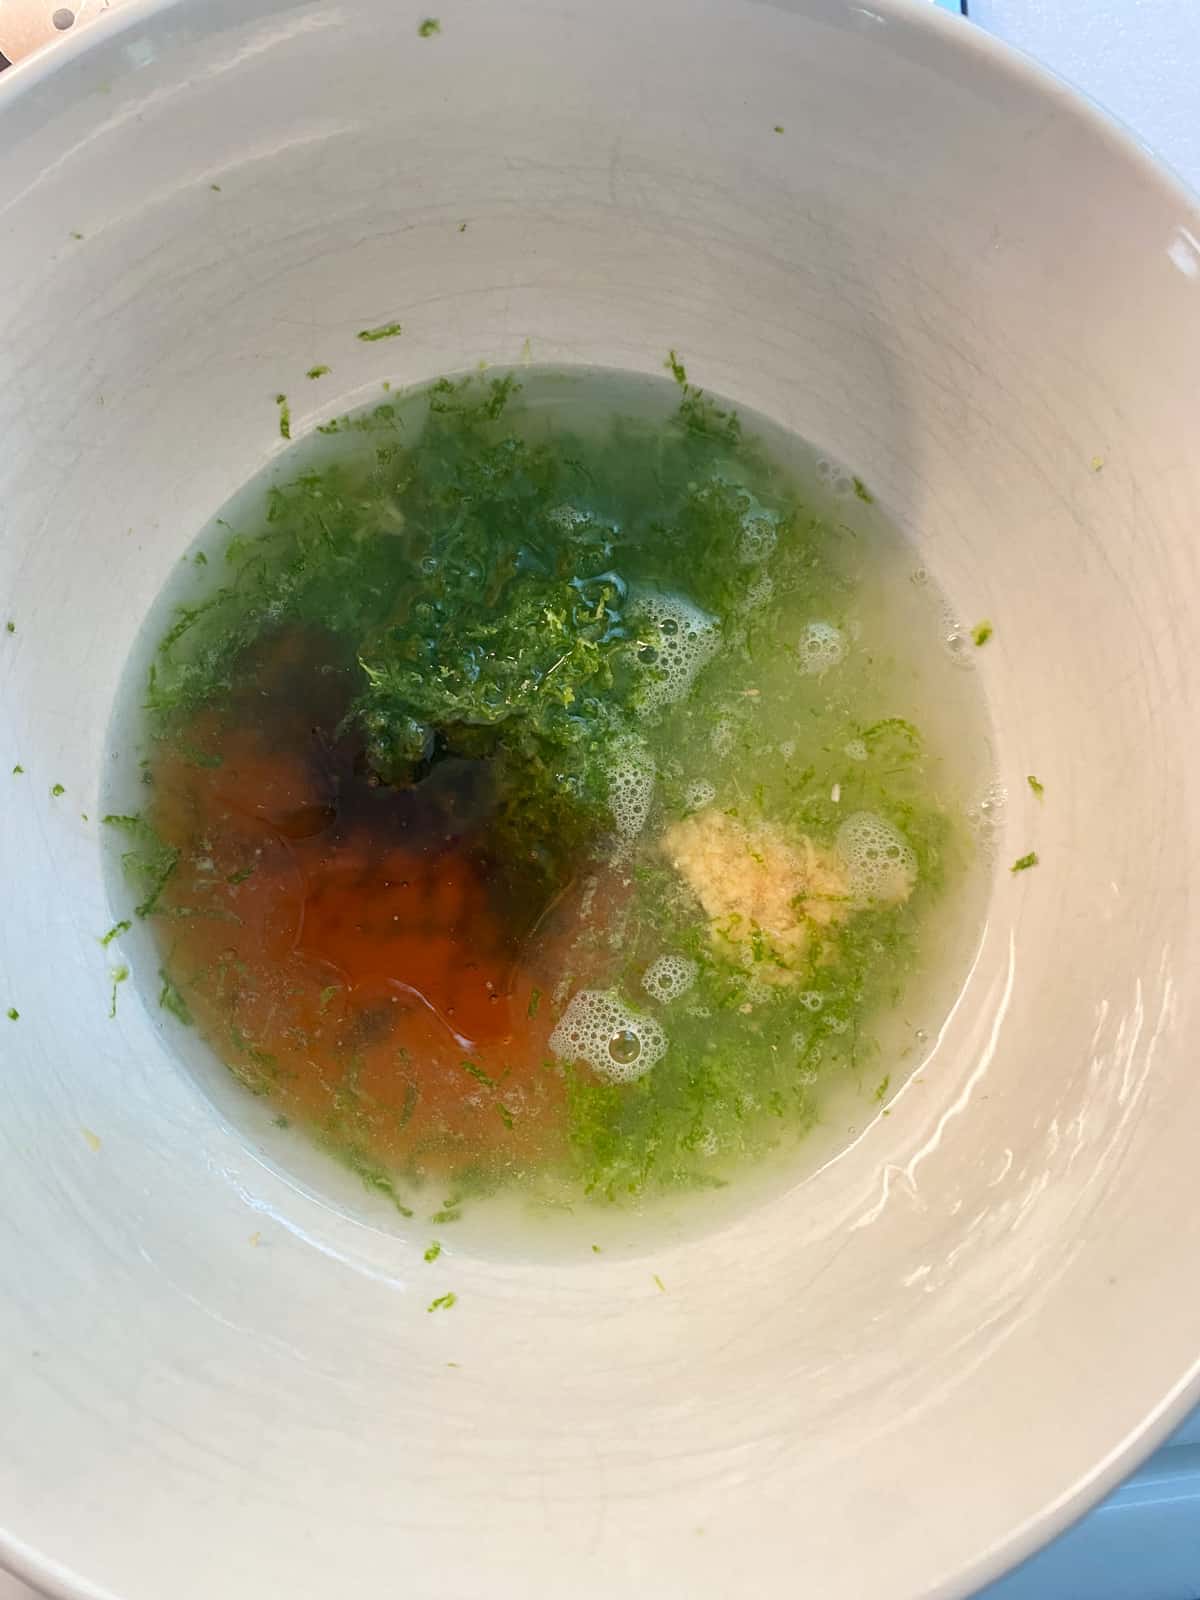
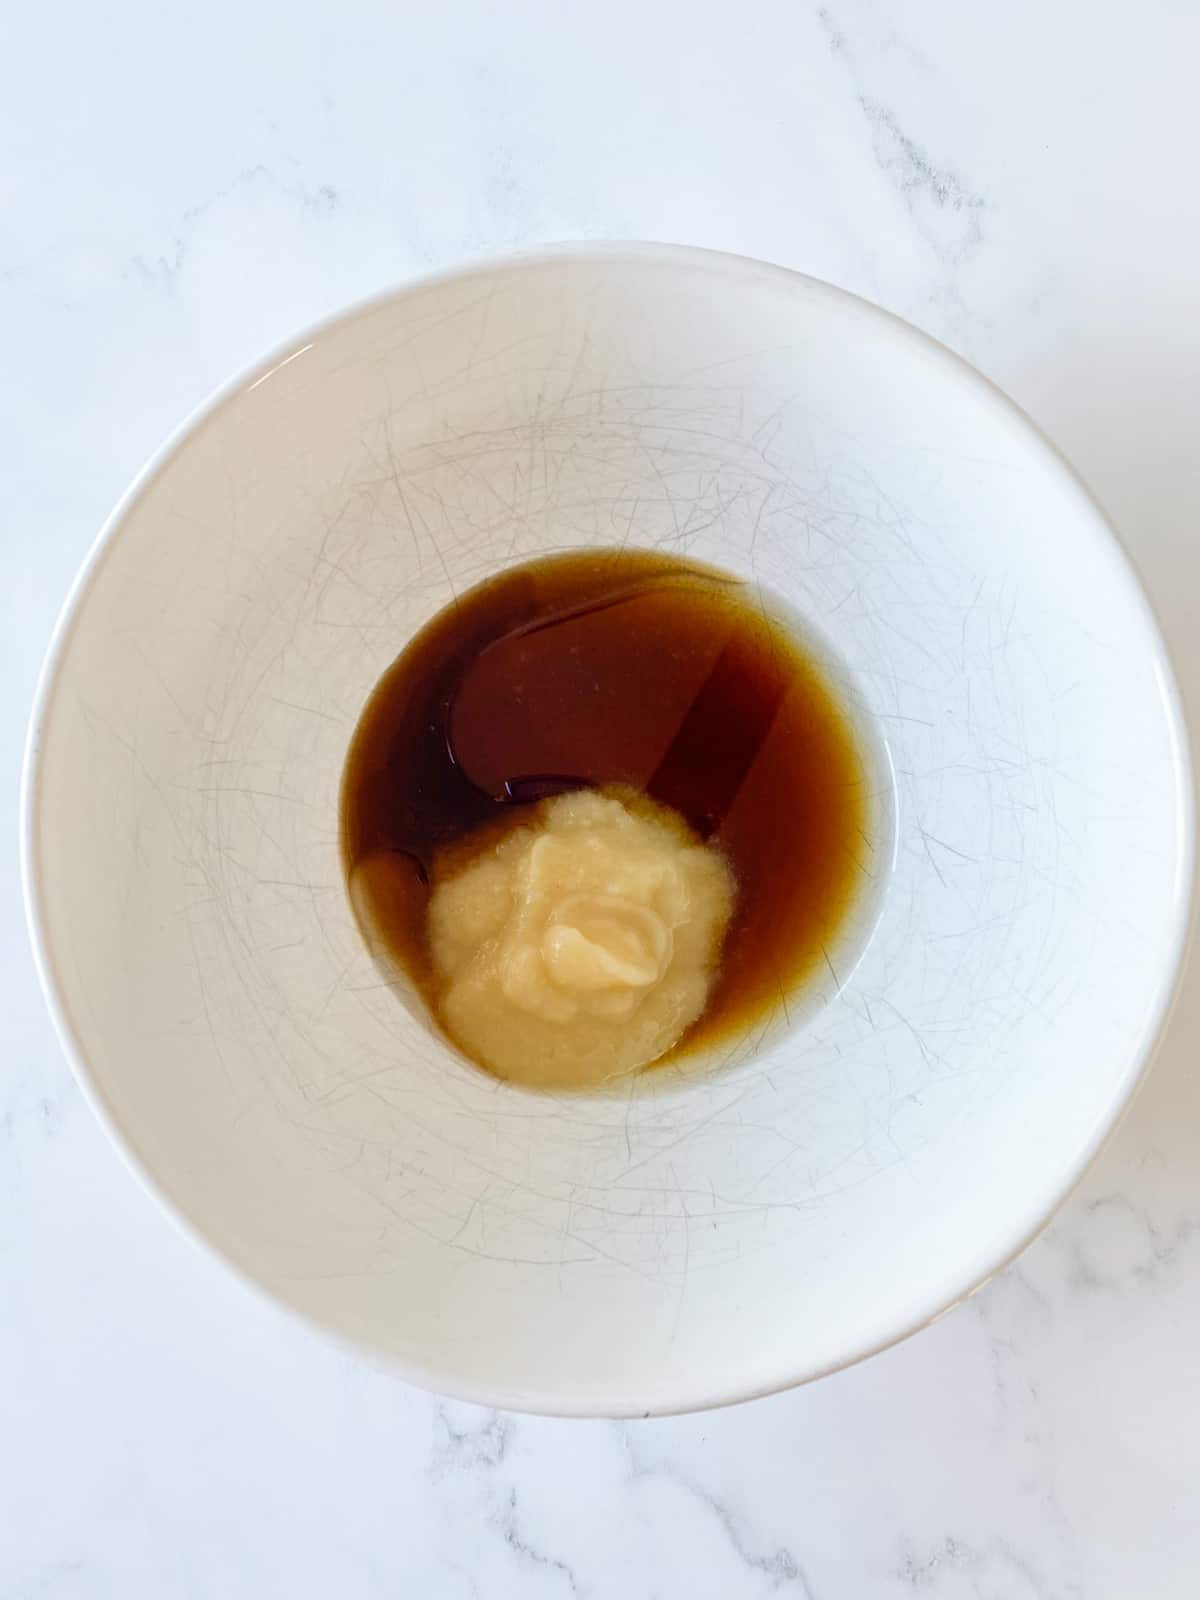
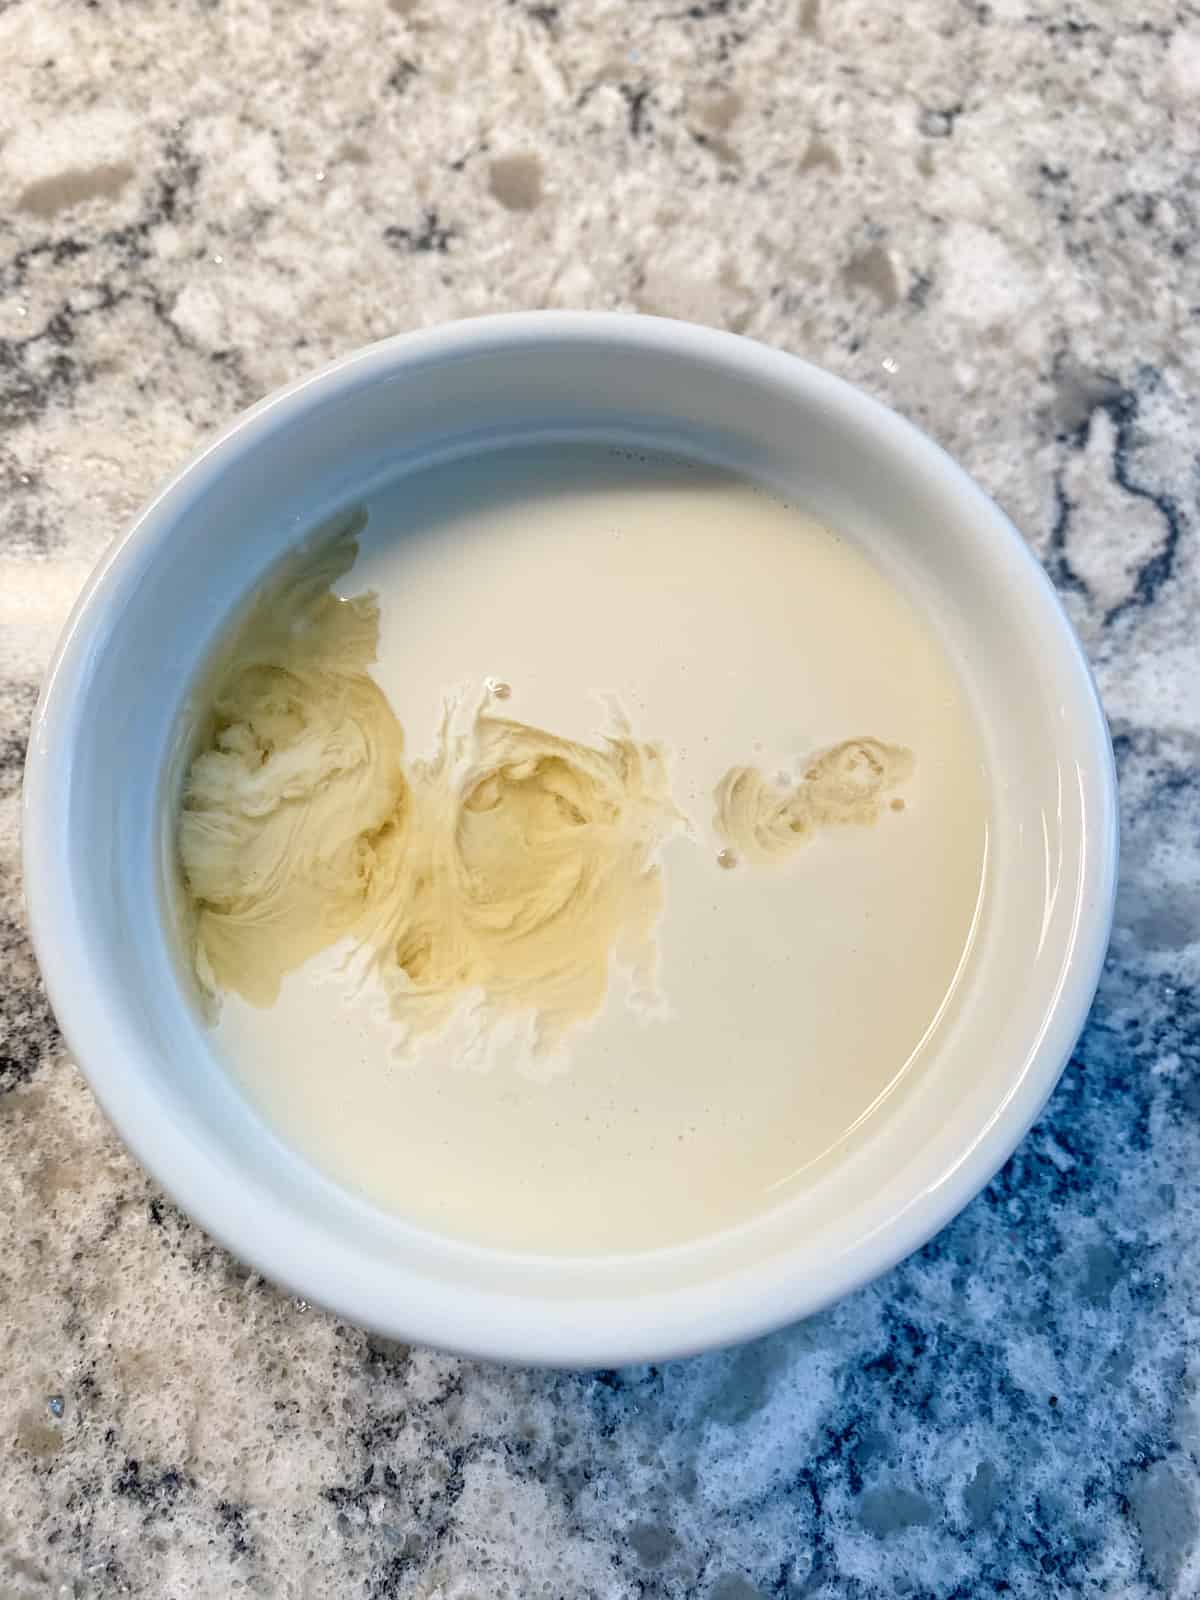
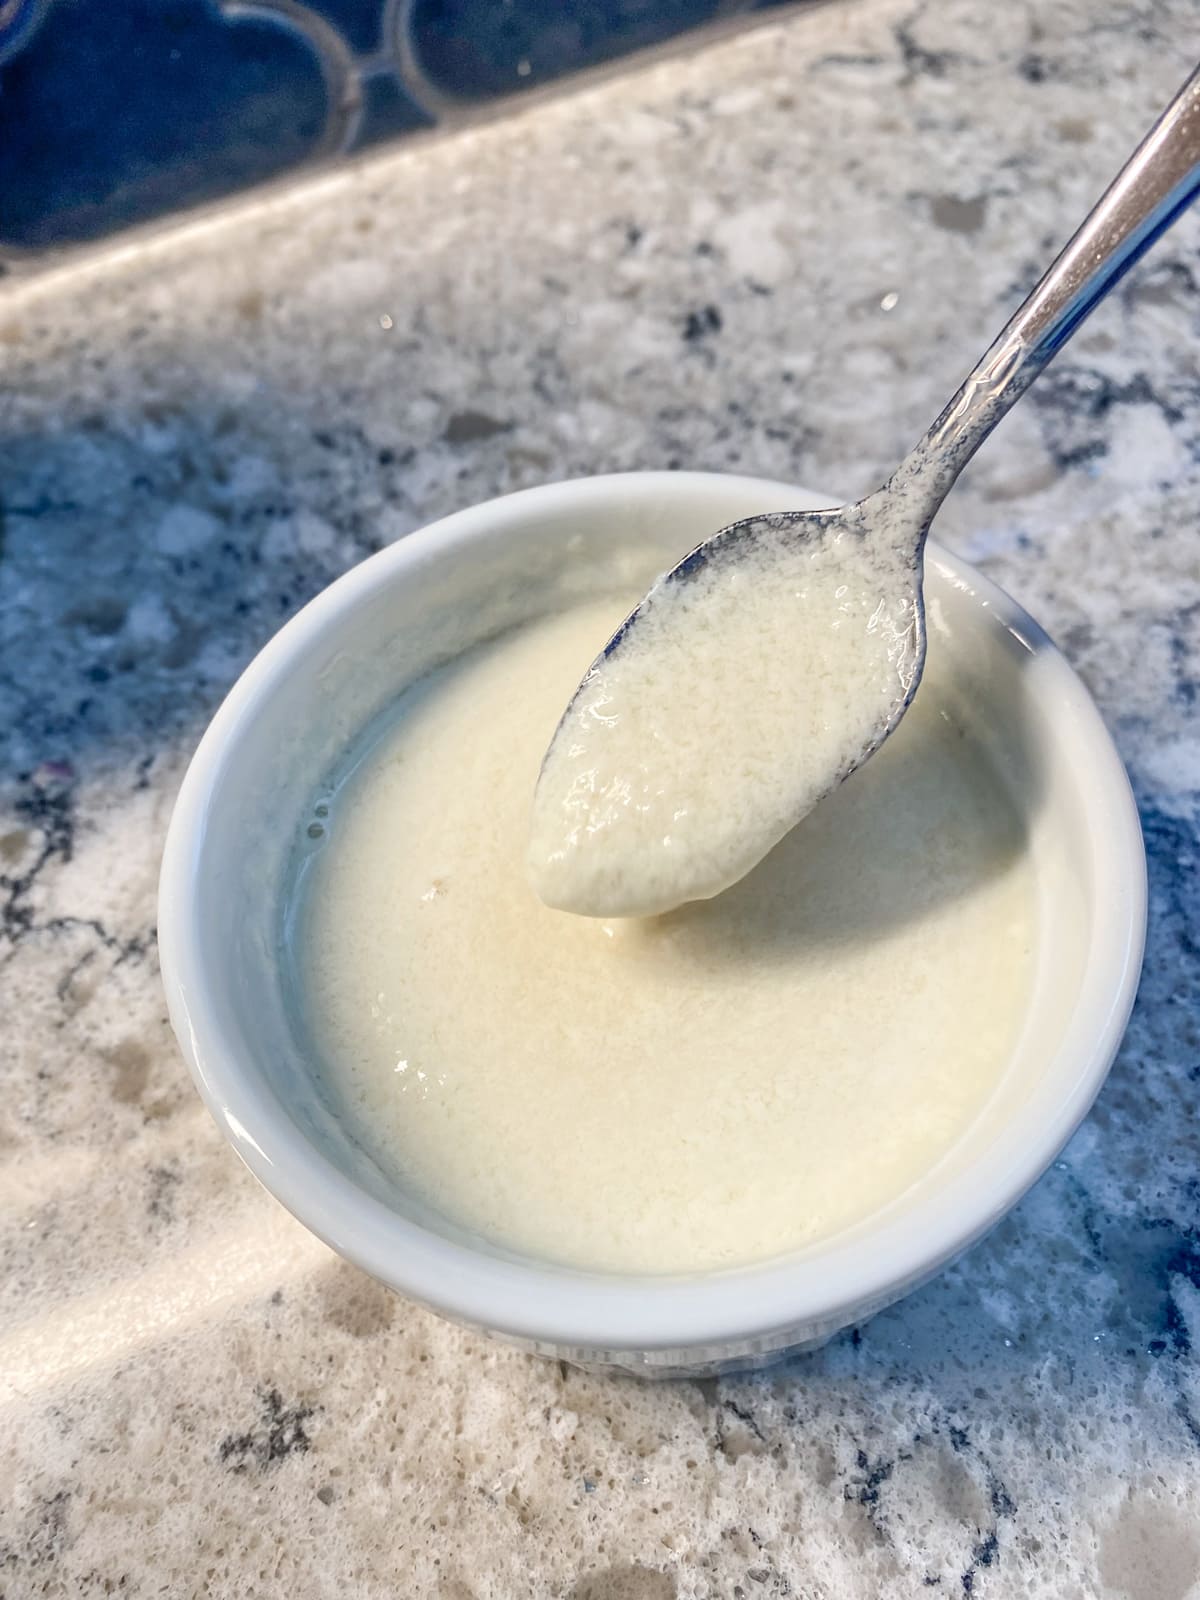
Stir the lemon juice into the soy milk, and set aside for a few minutes to allow it to curdle.
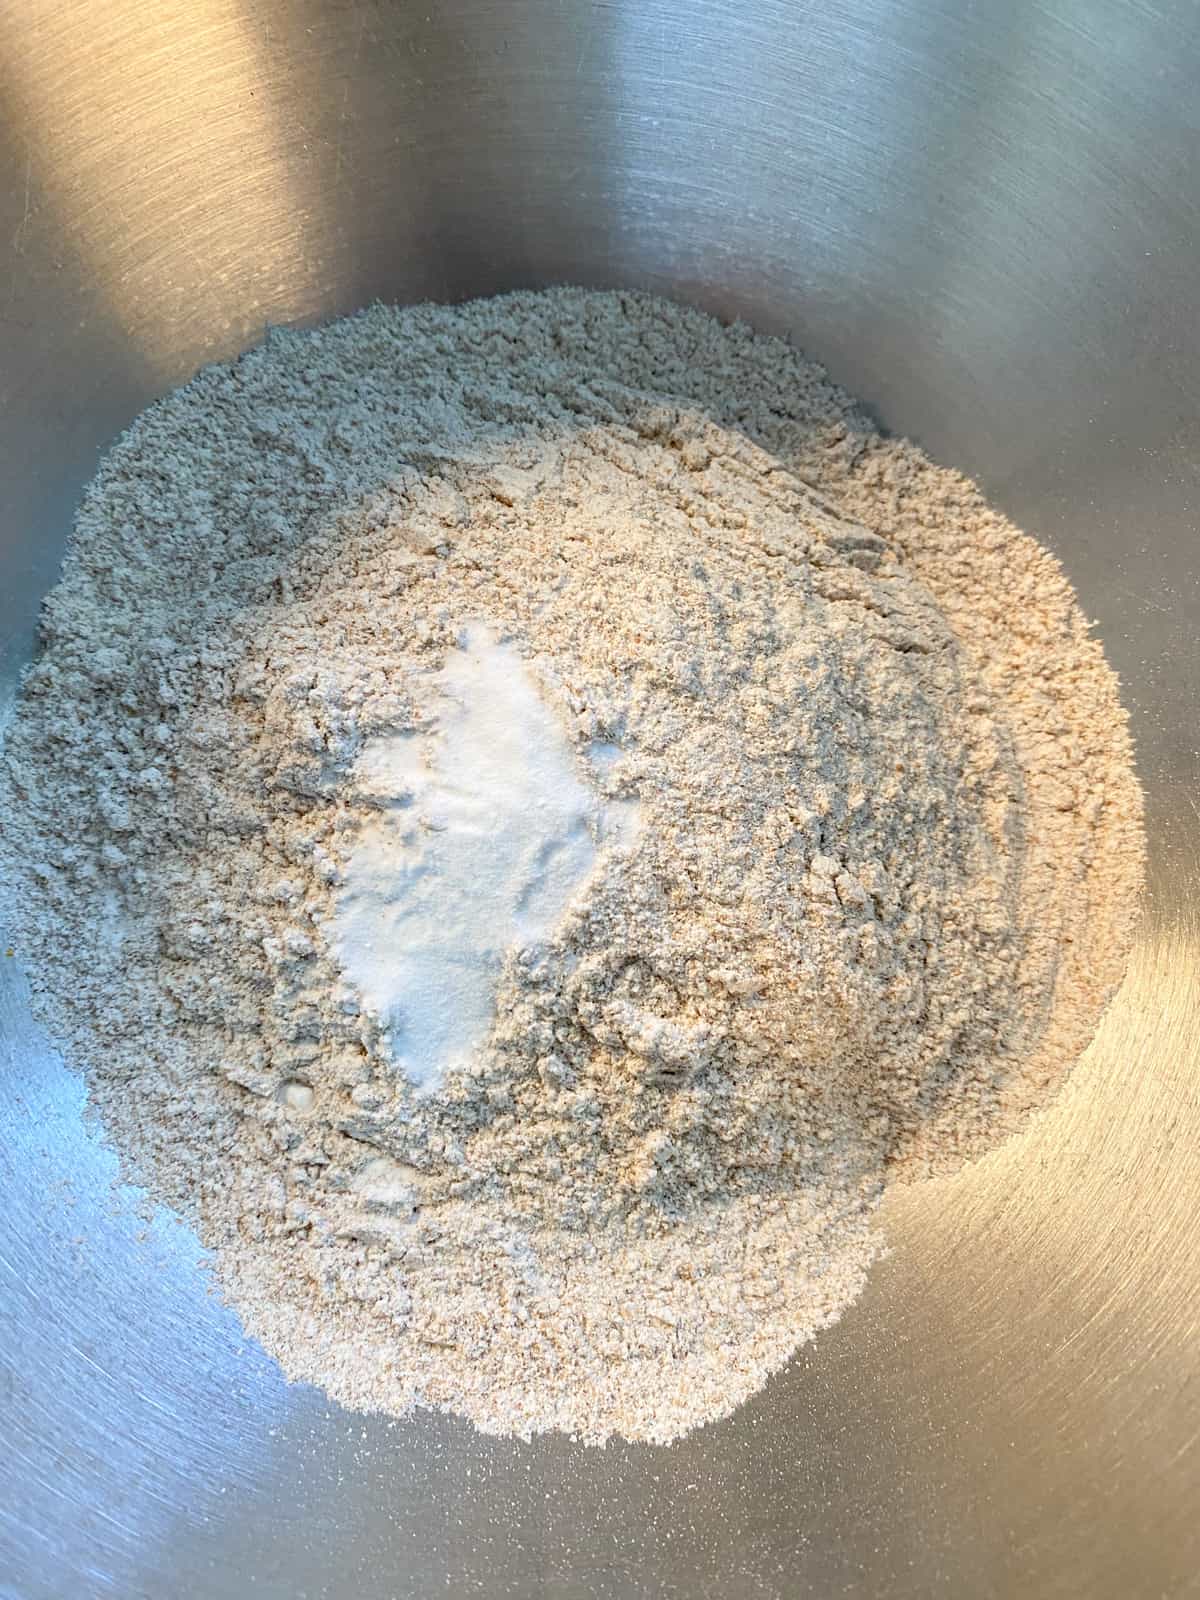
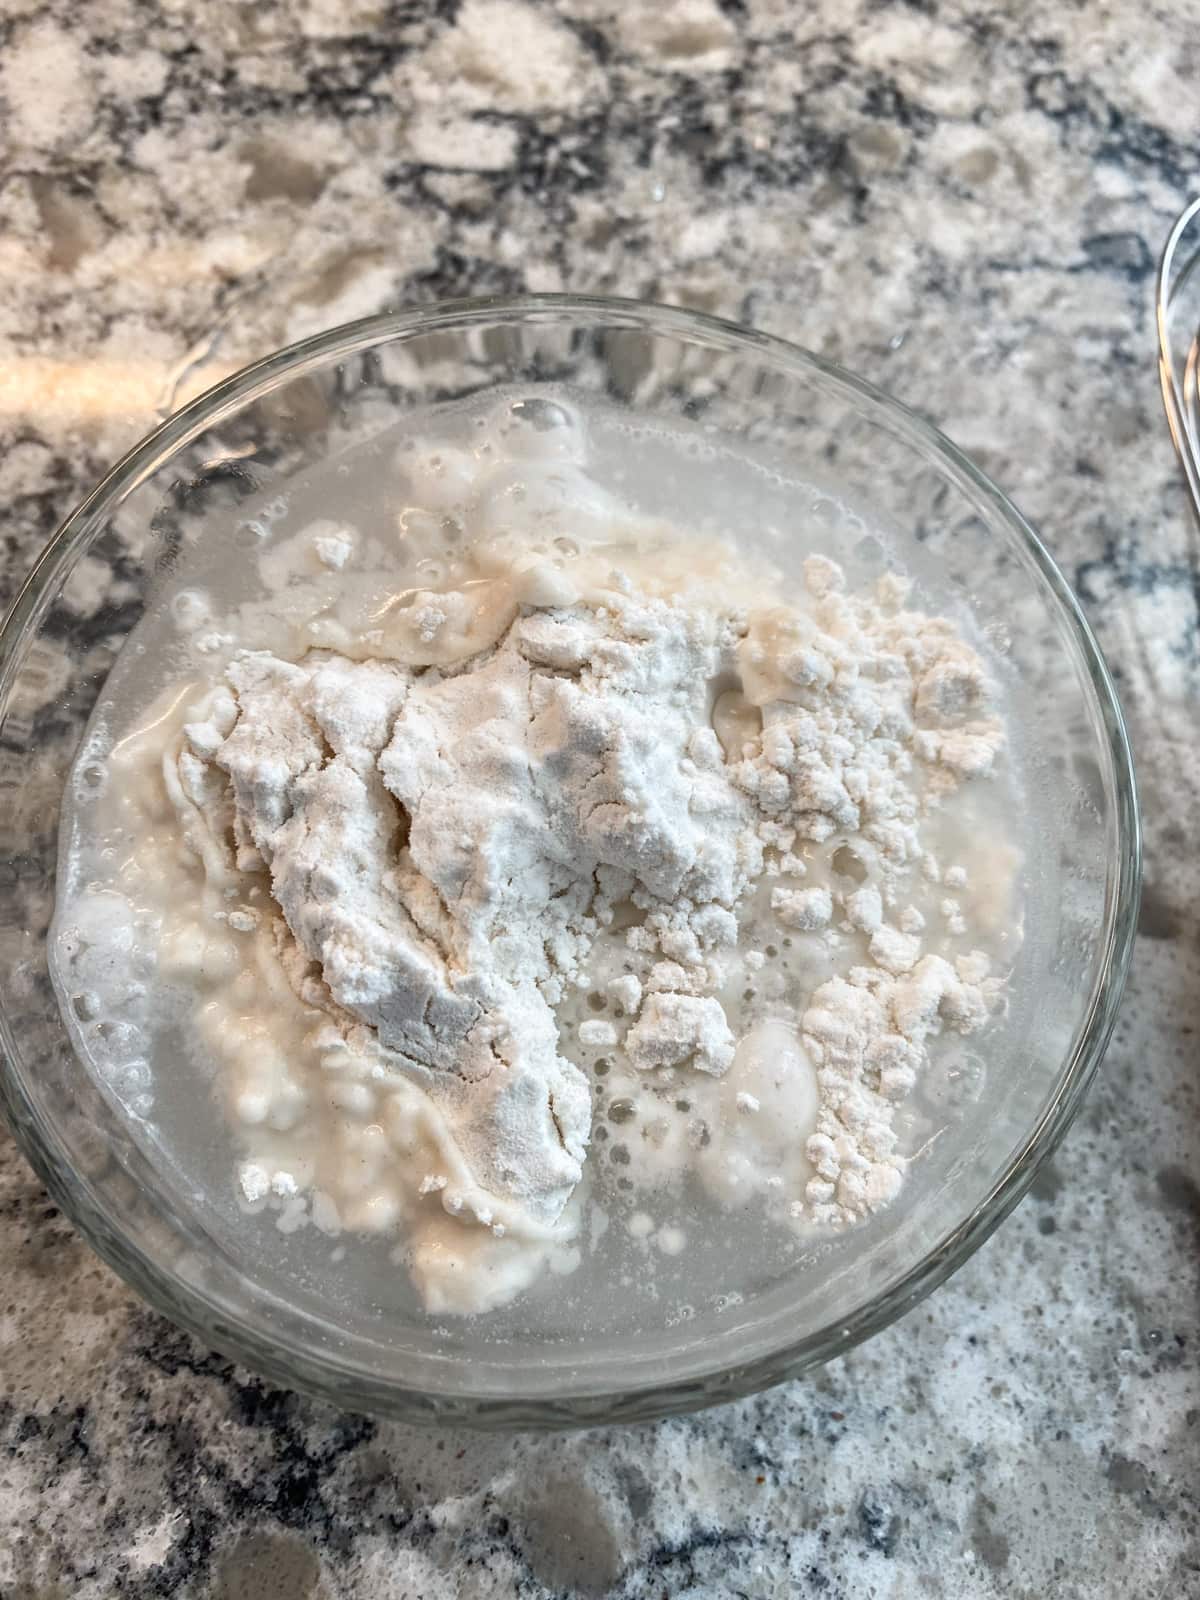
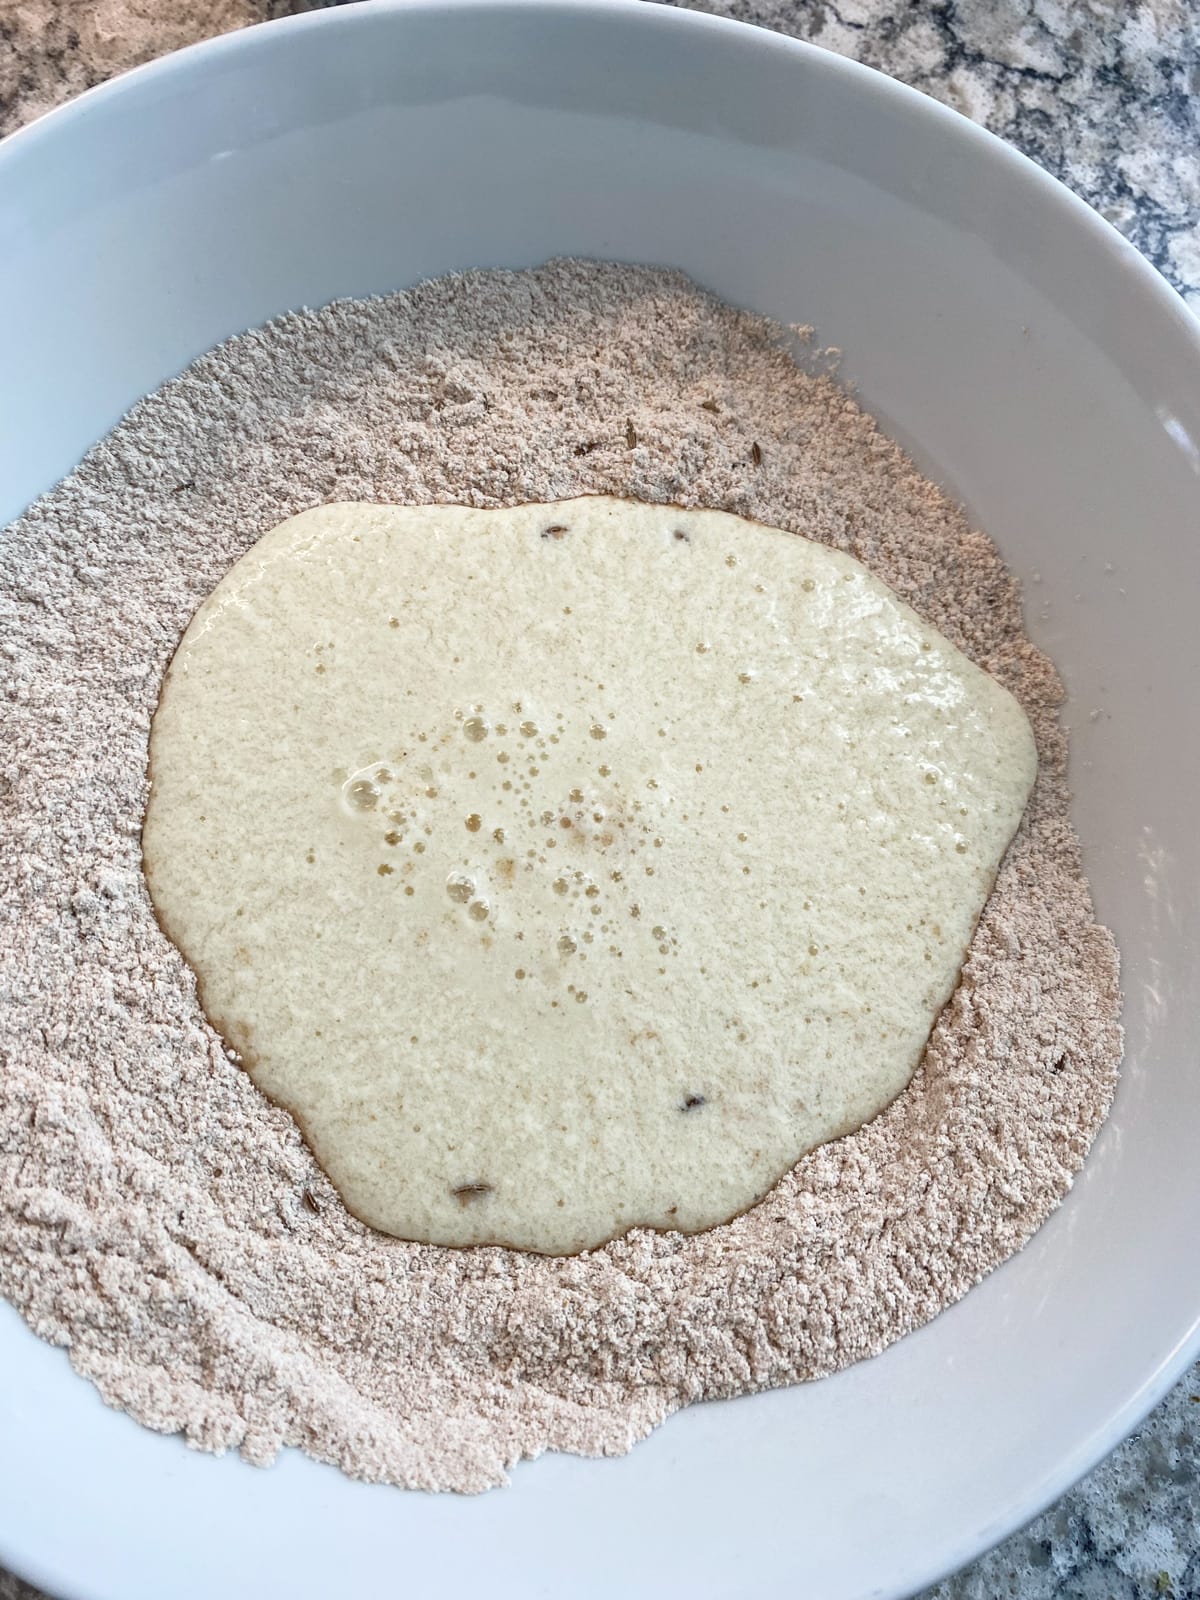
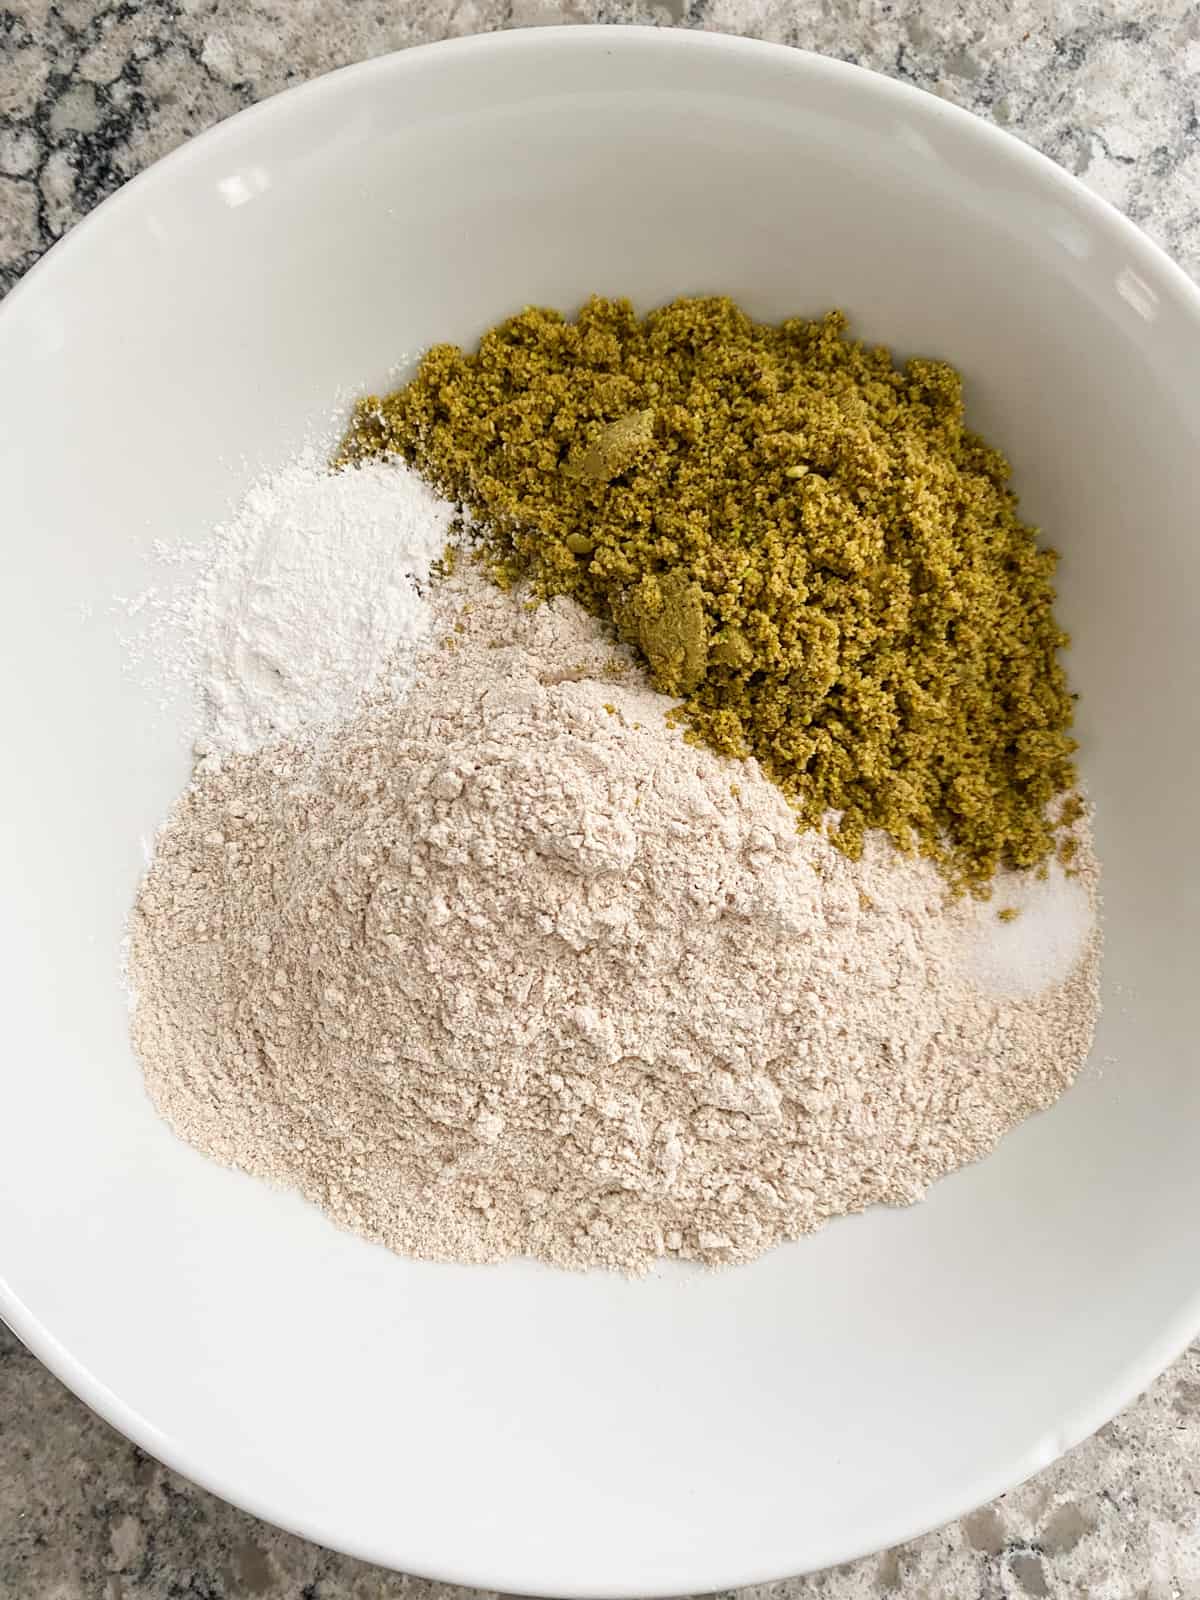
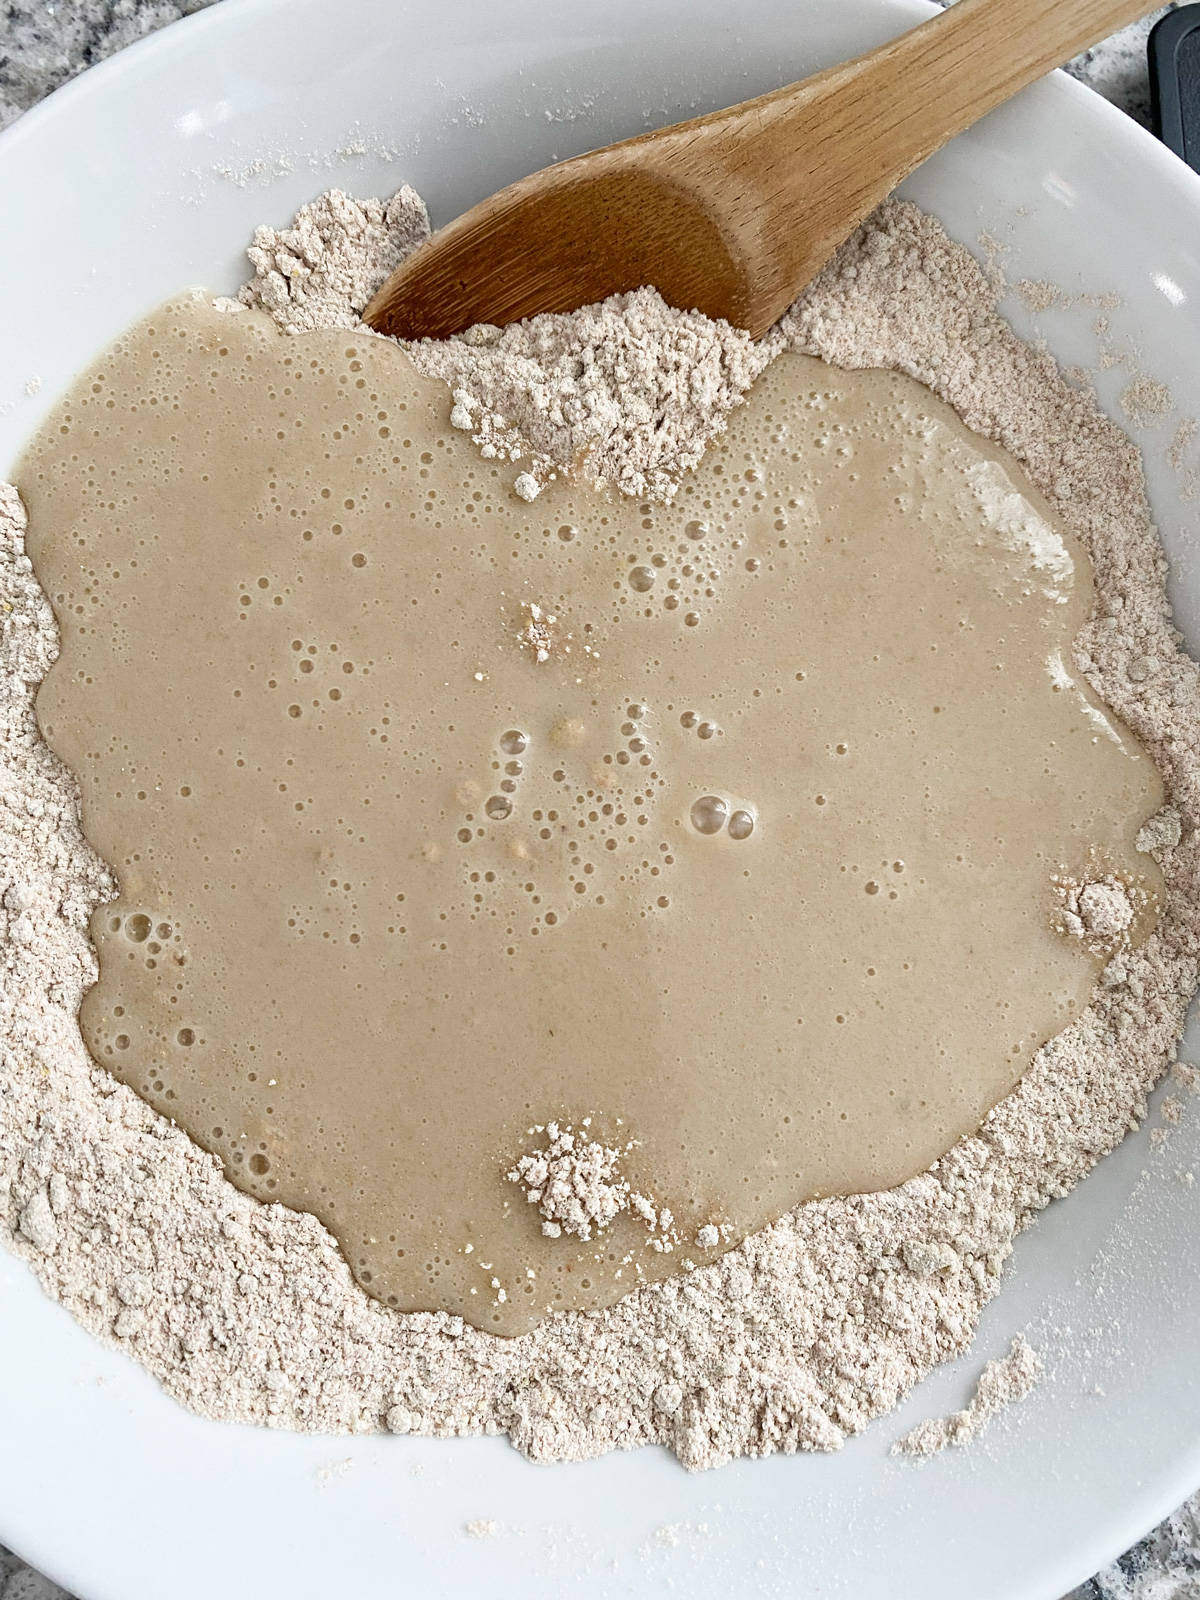
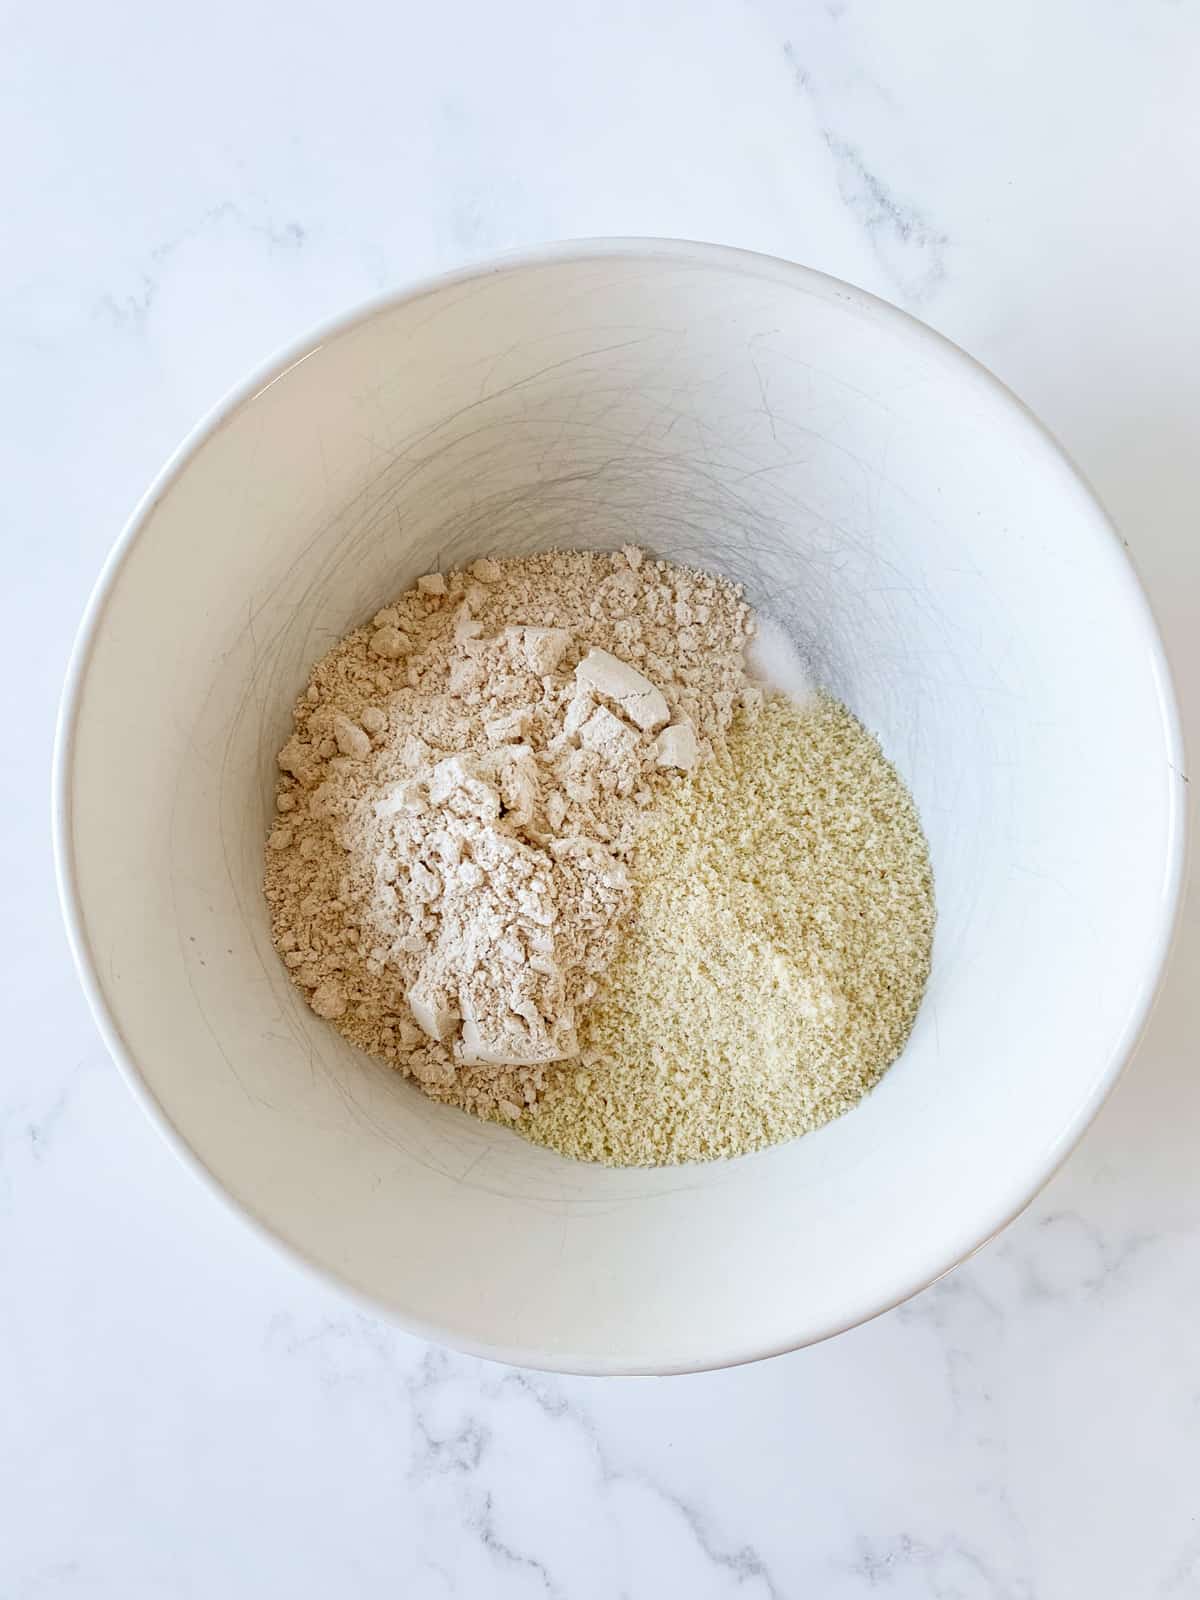
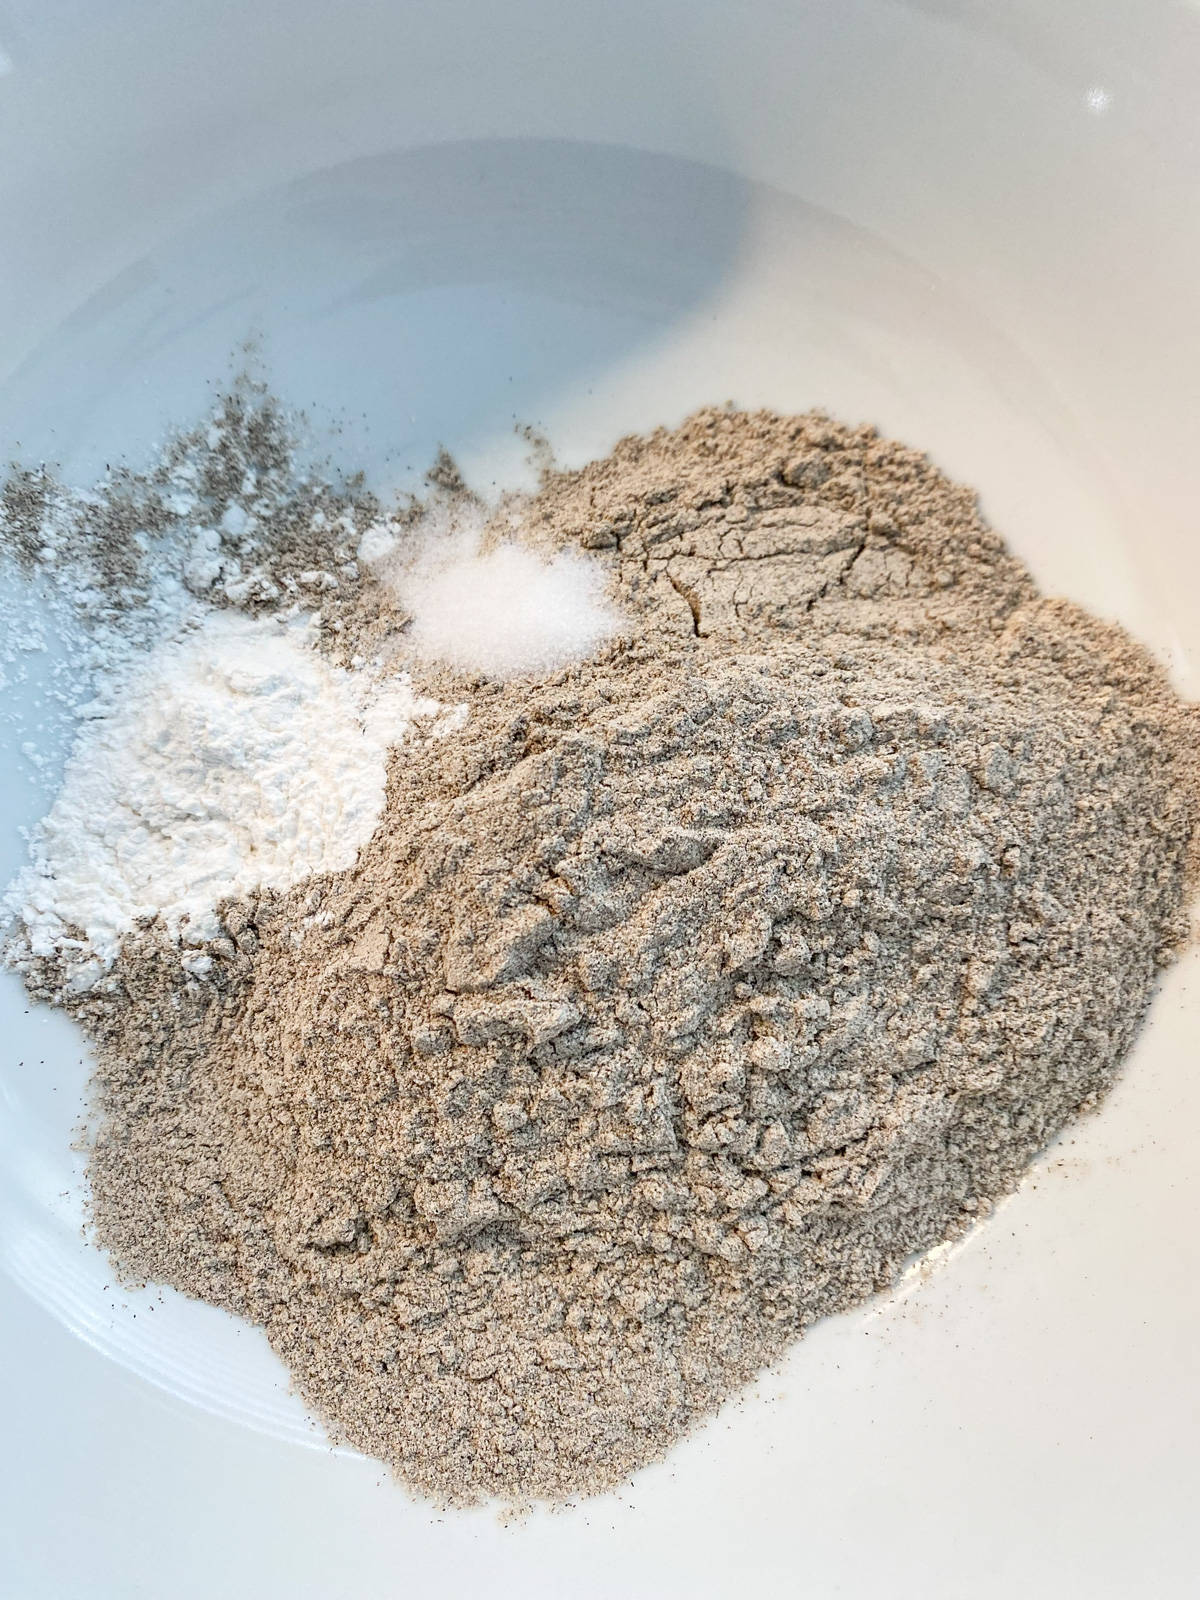
Mix the dry ingredients together.
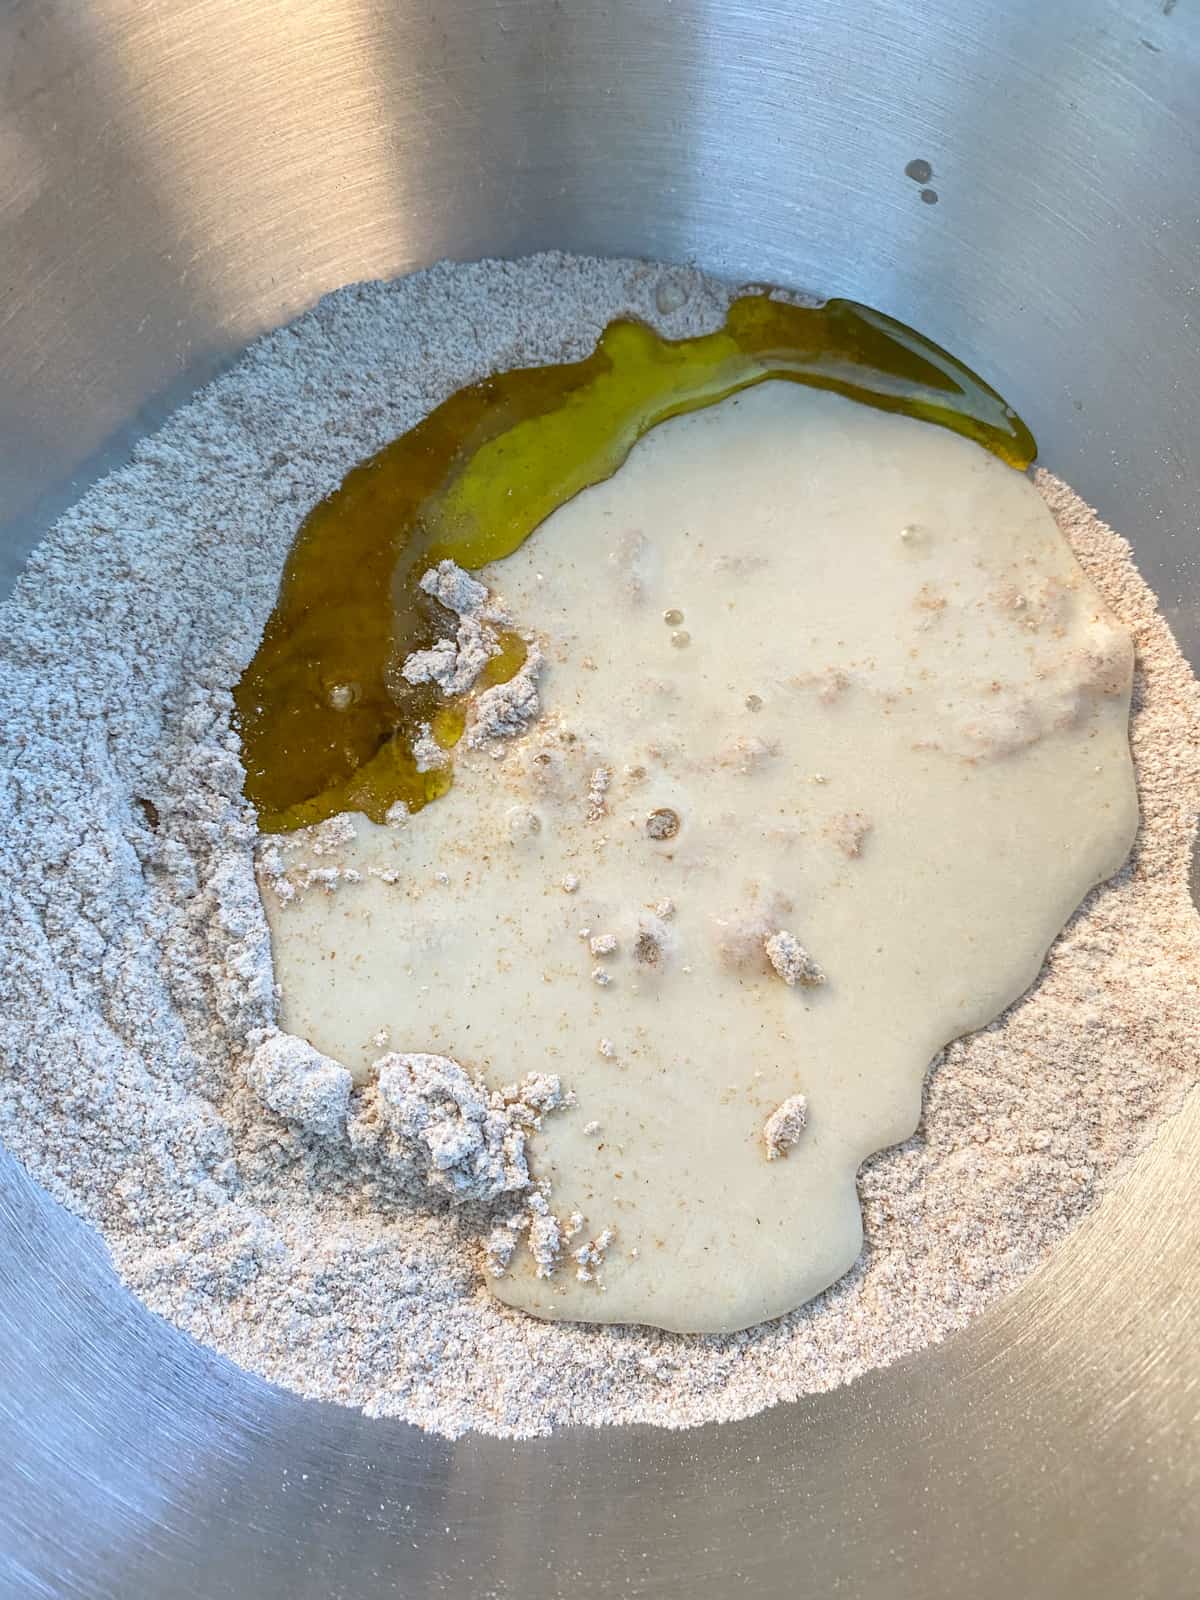
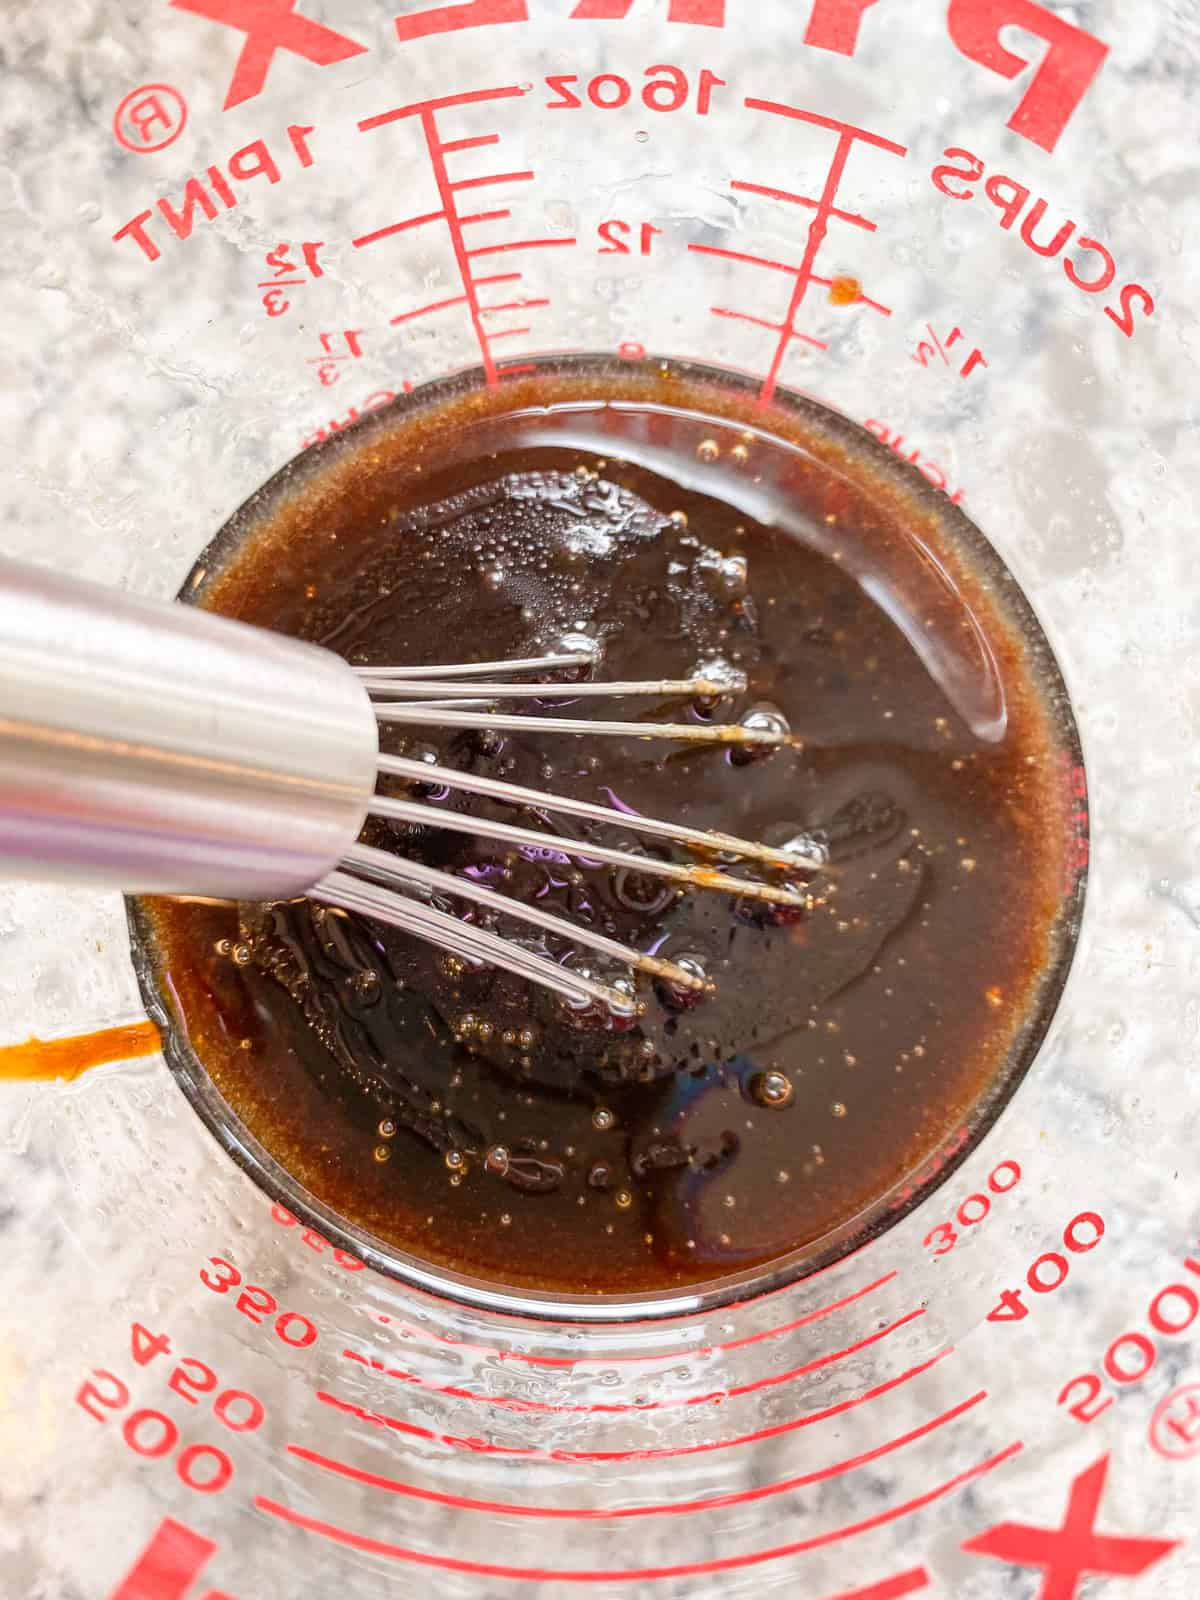
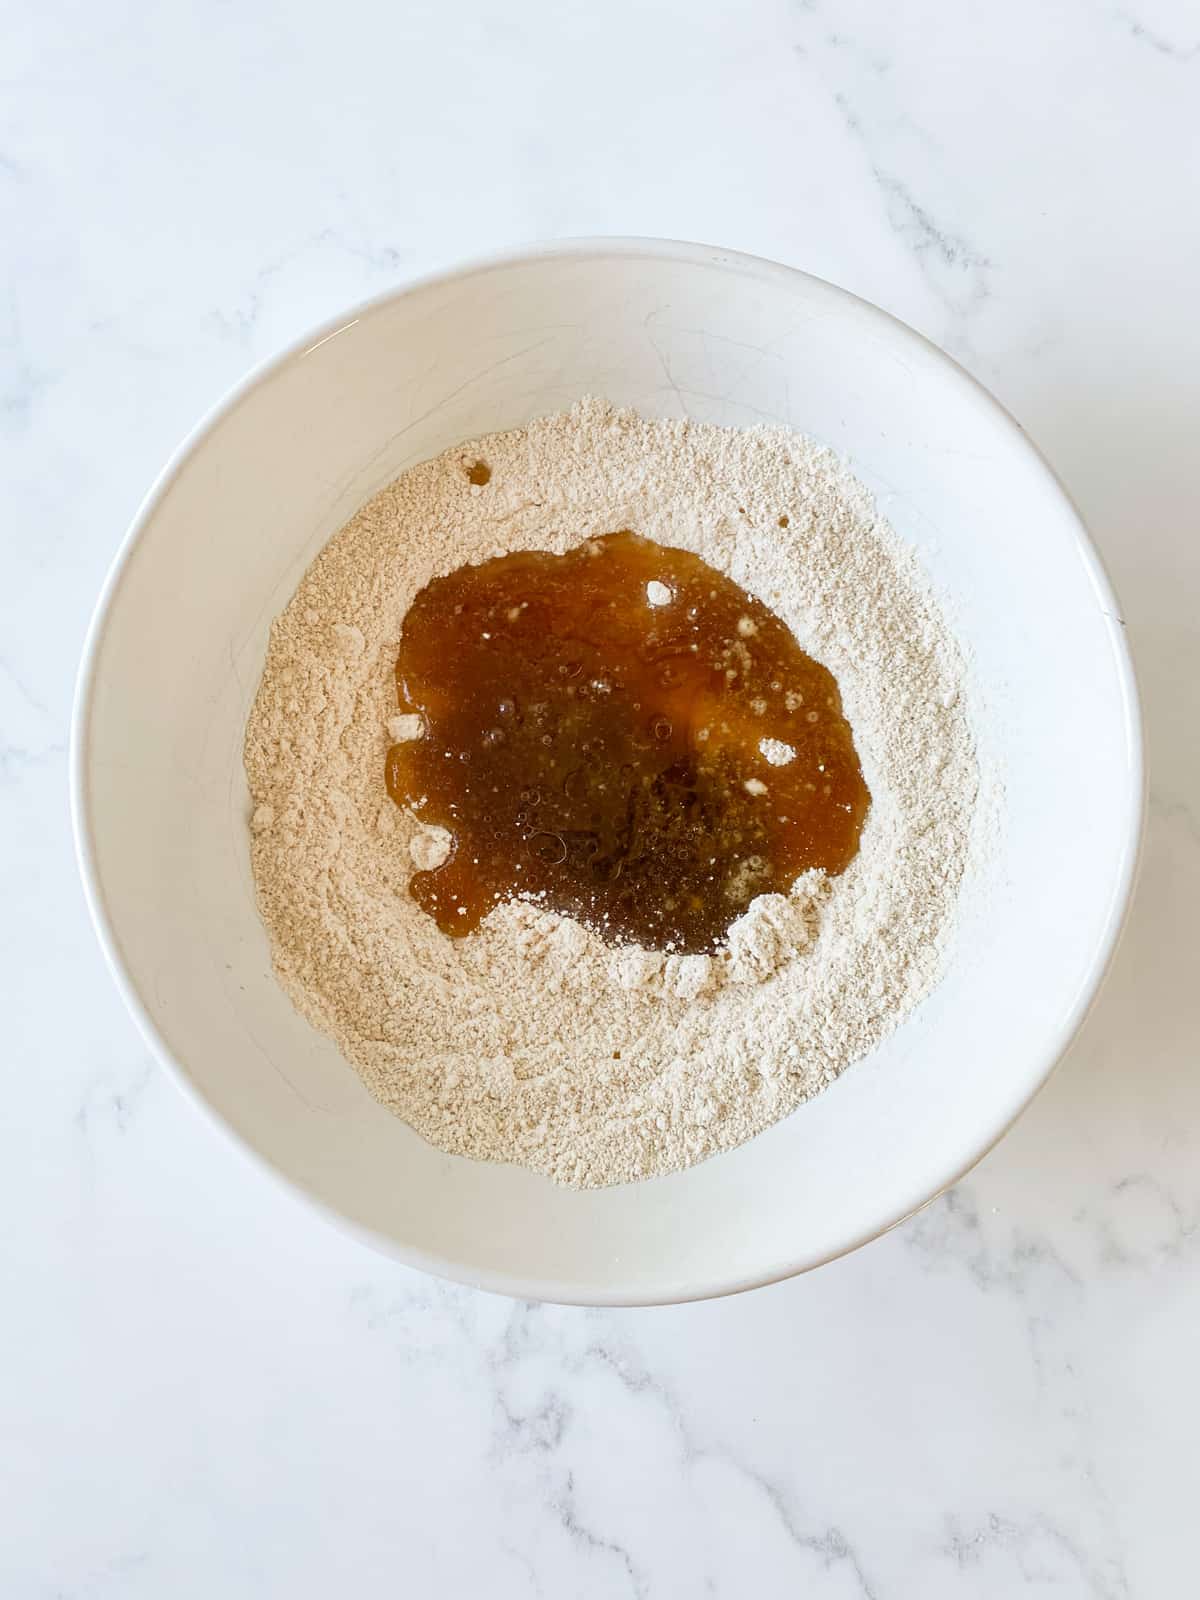
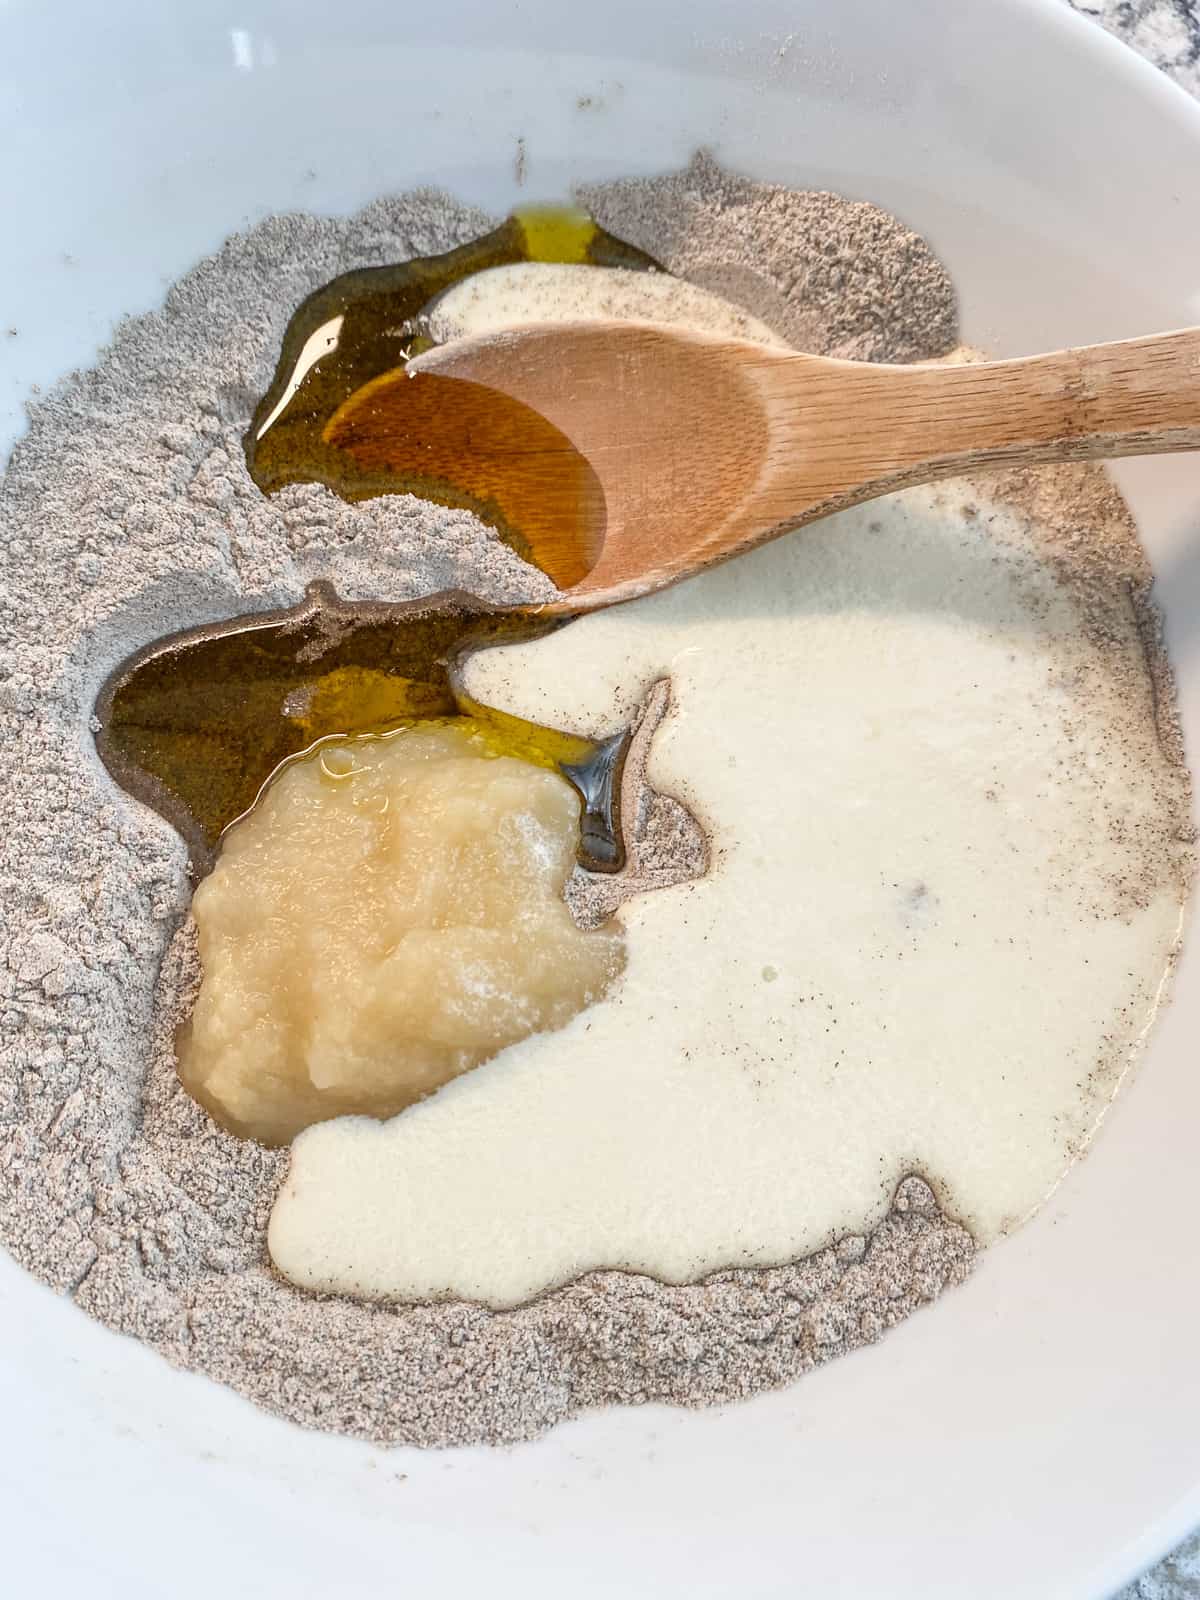
Pour the curdled milk mixture and olive oil into the dry ingredients.
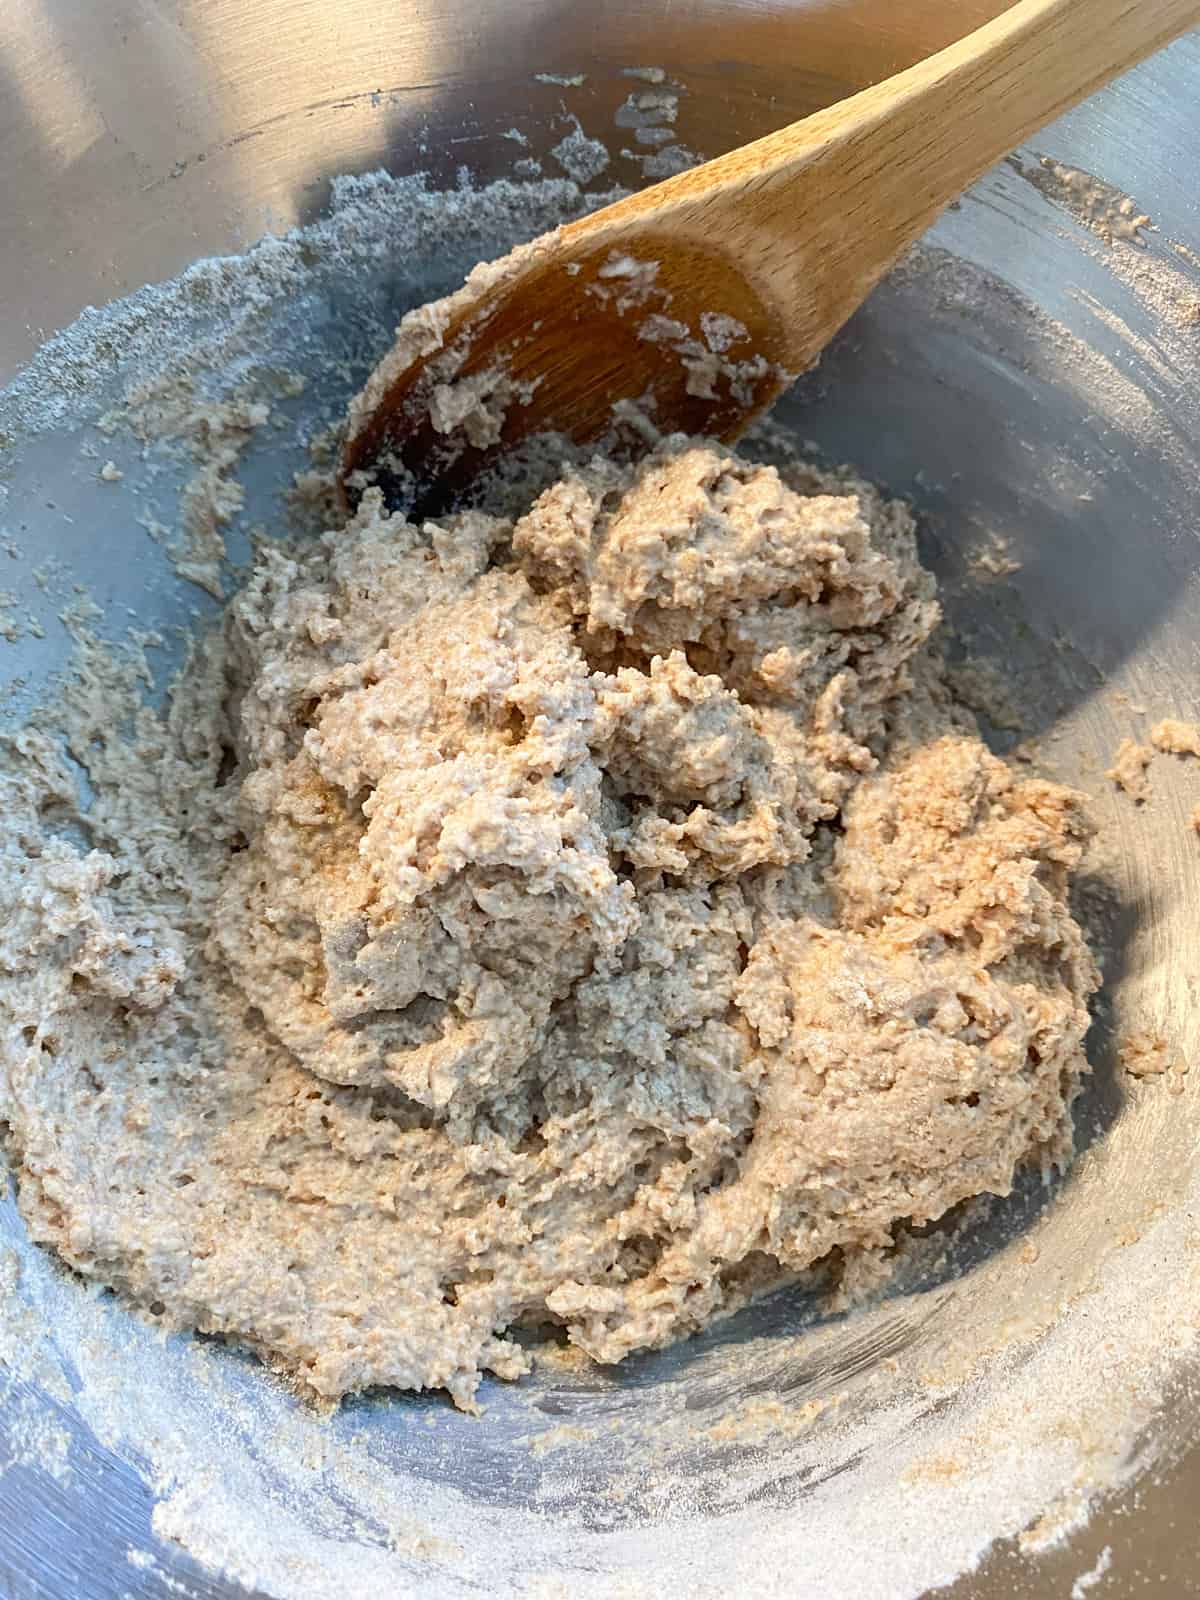
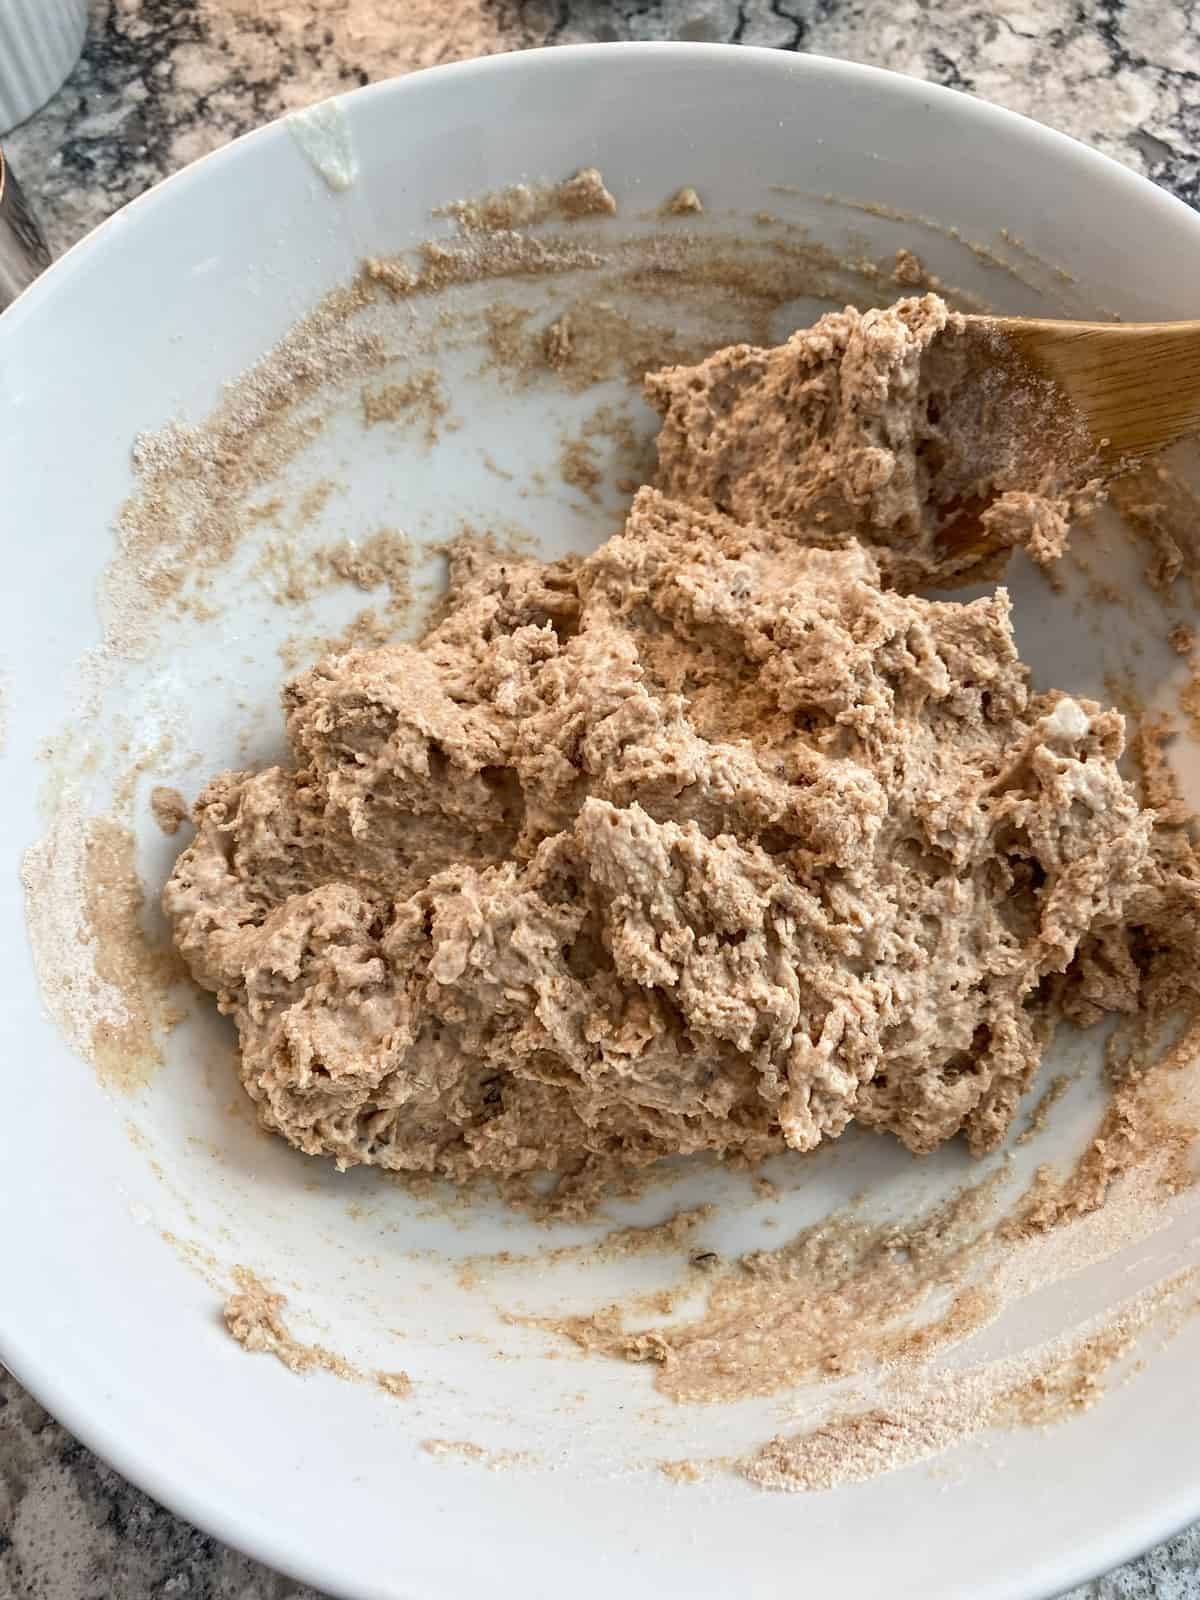
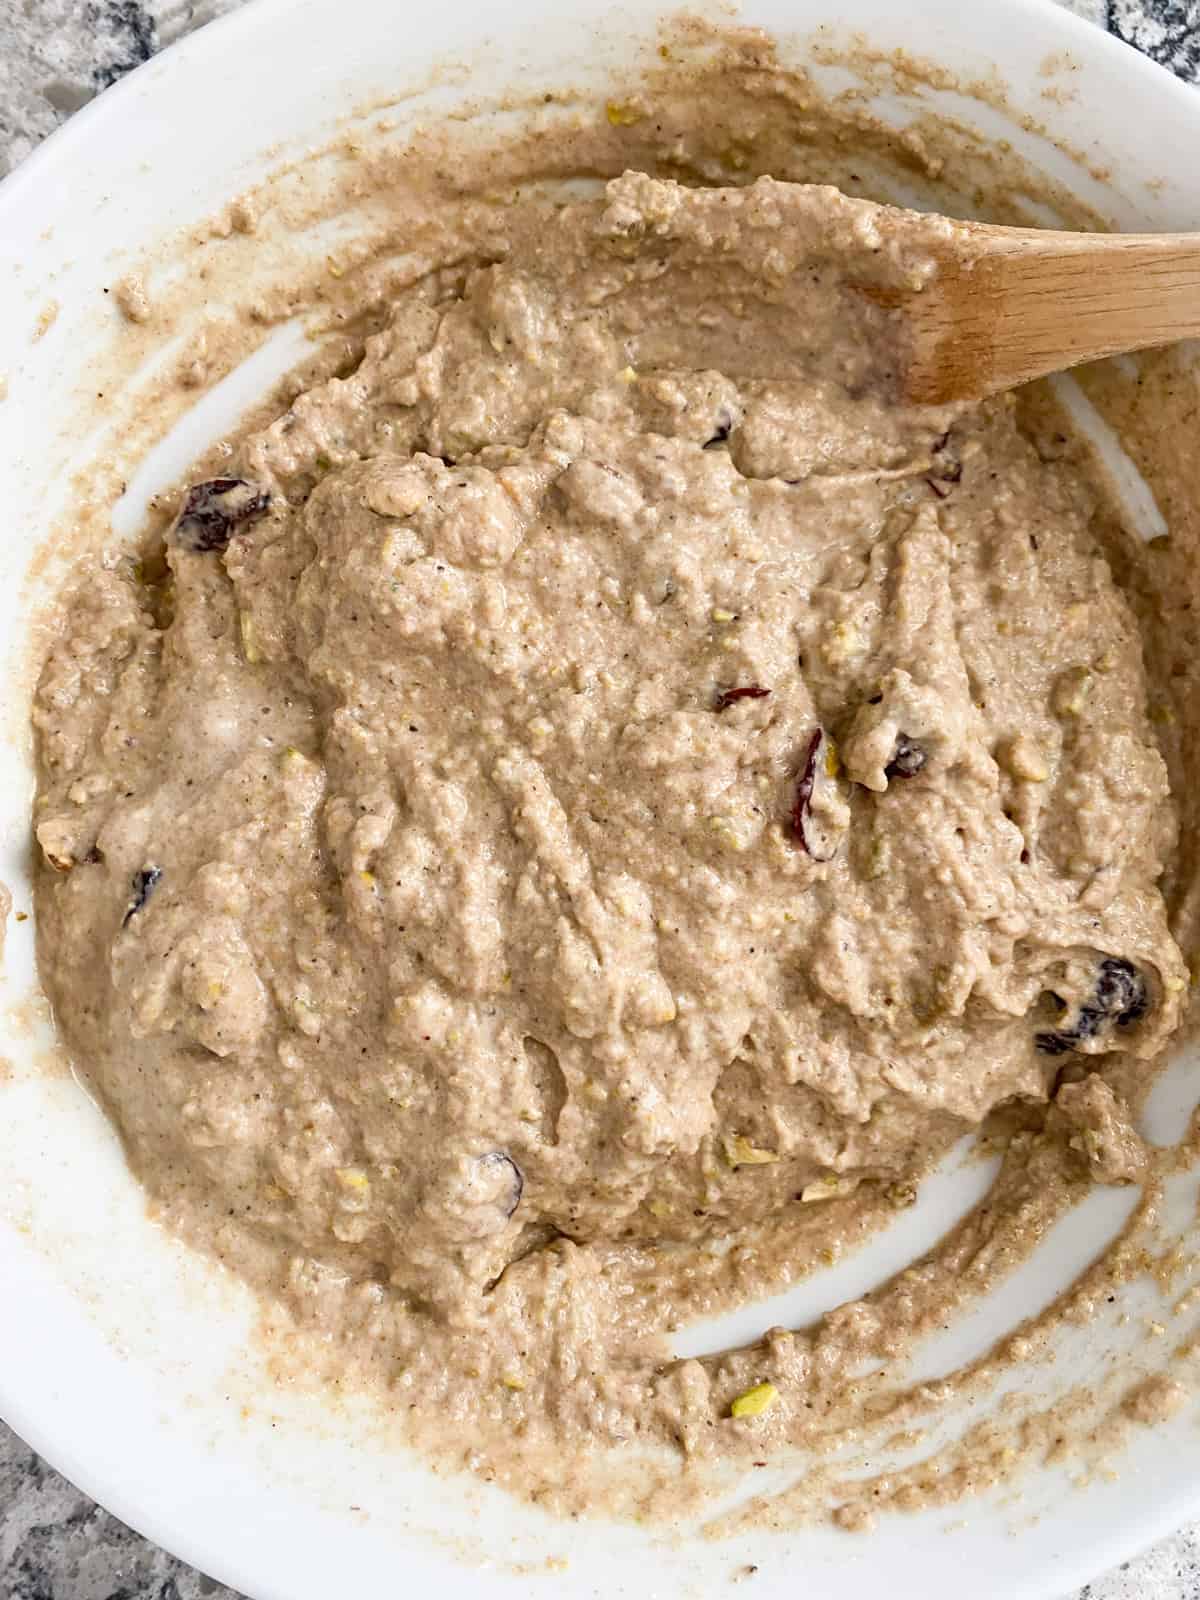
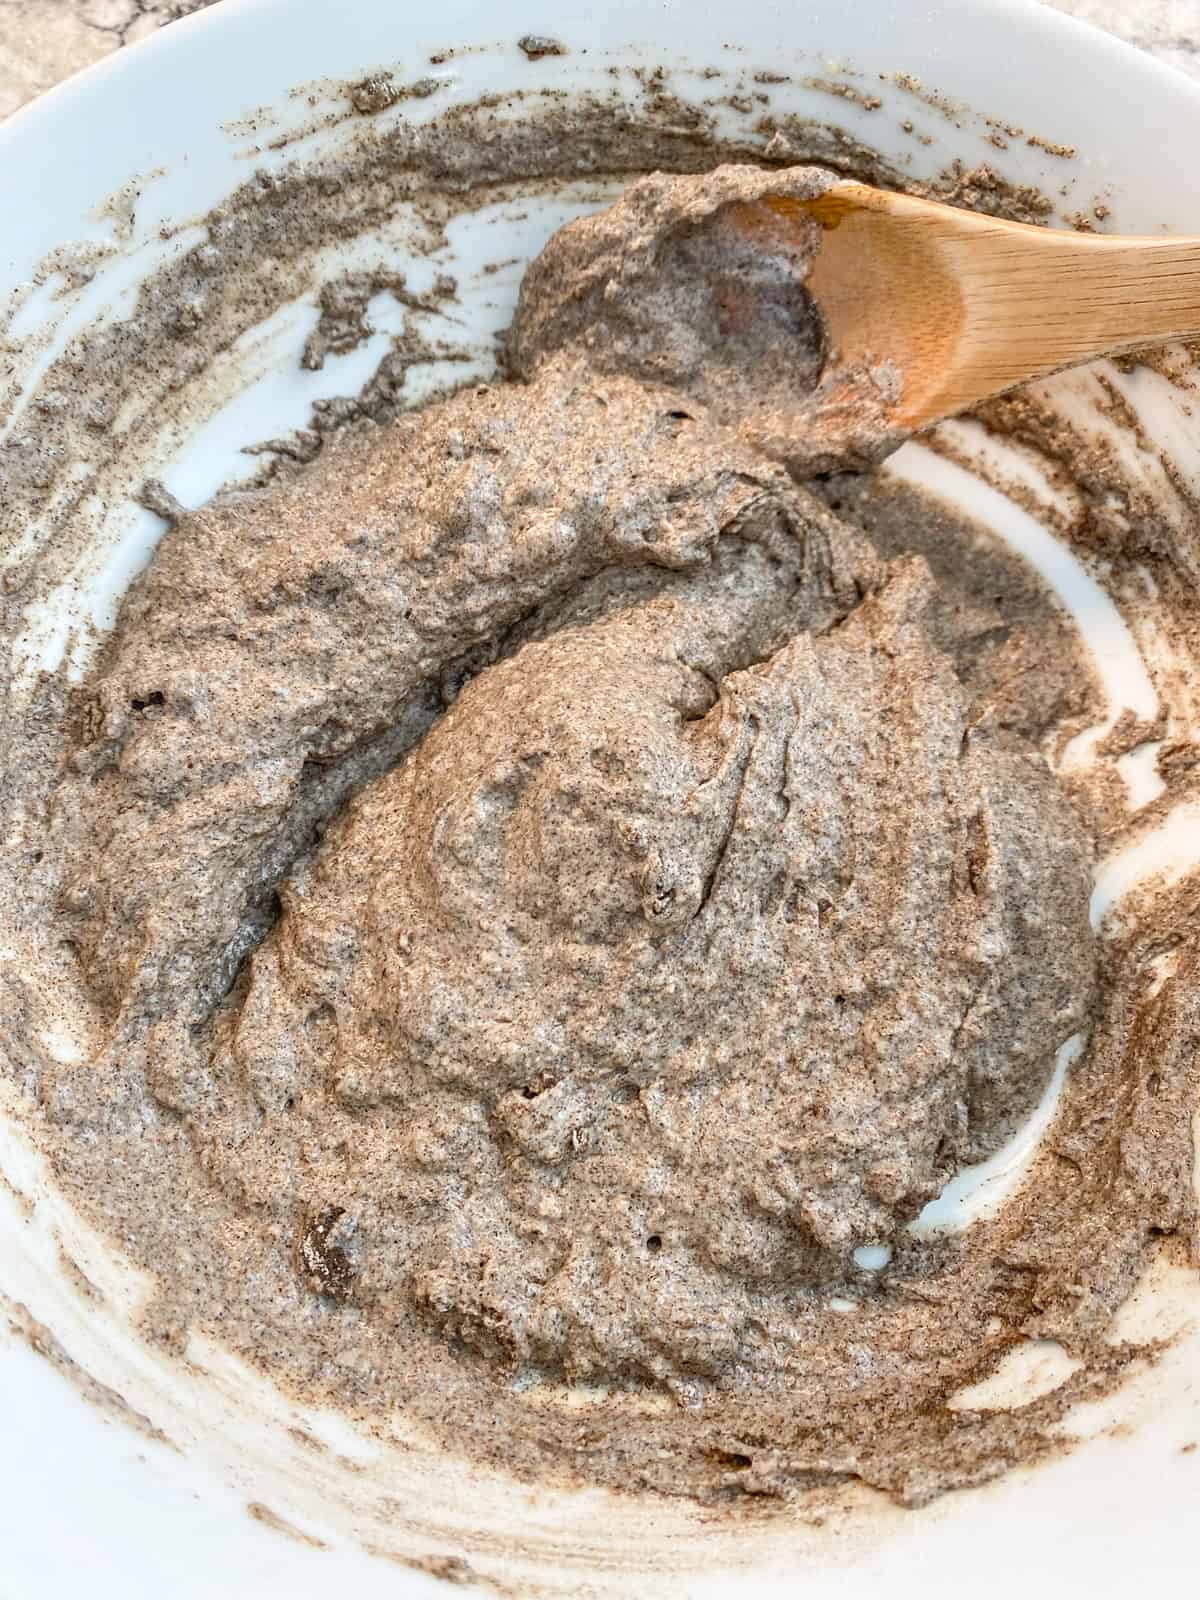
Mix into a batter.
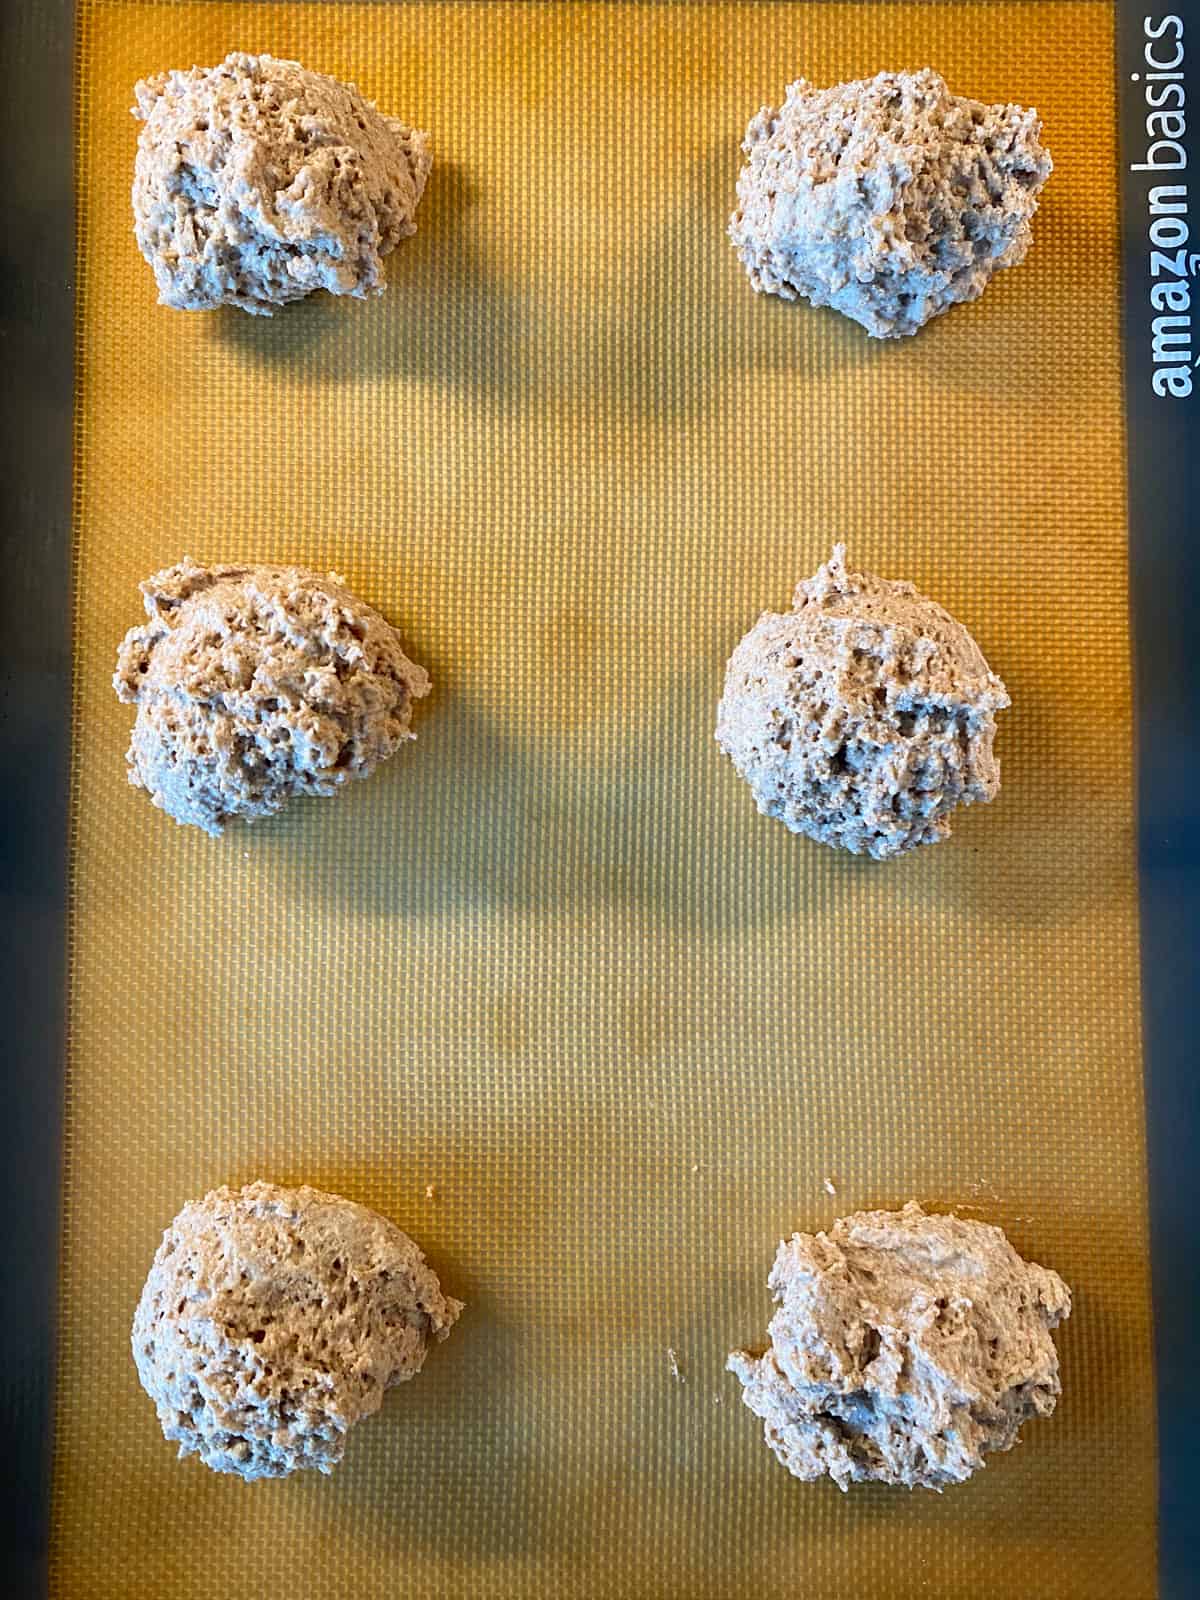
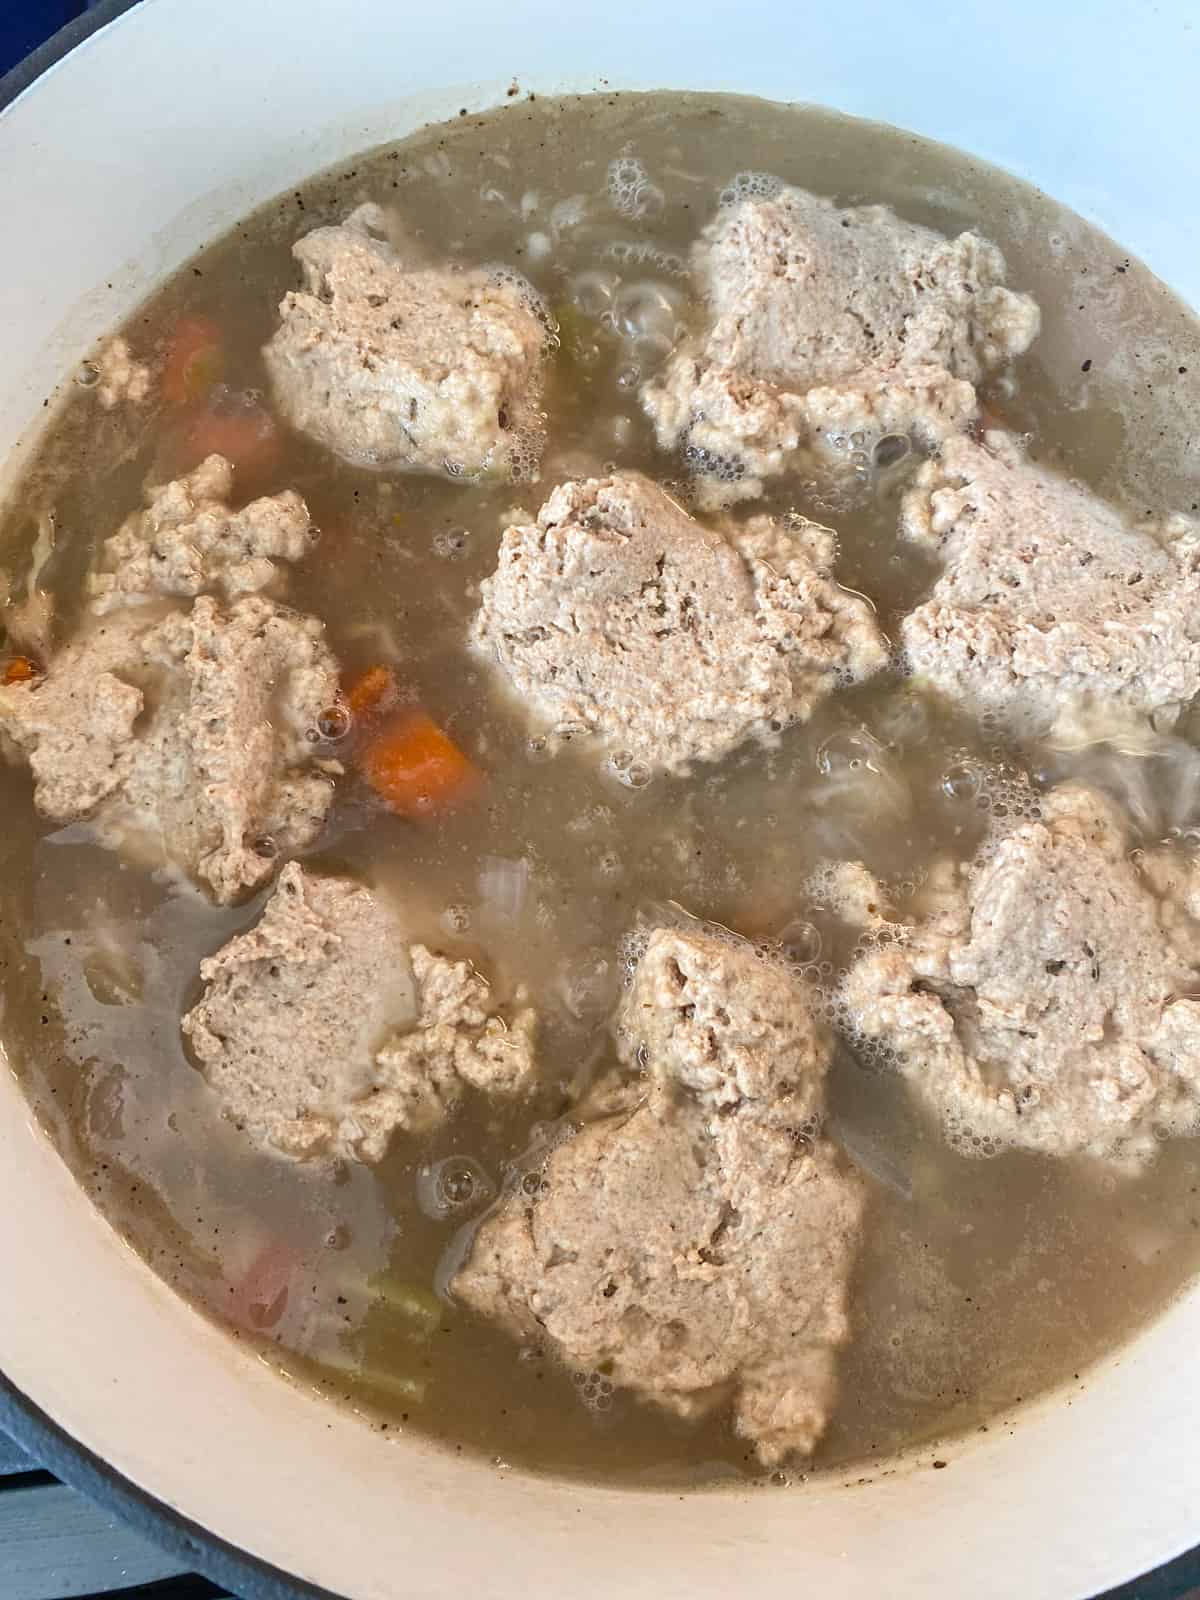
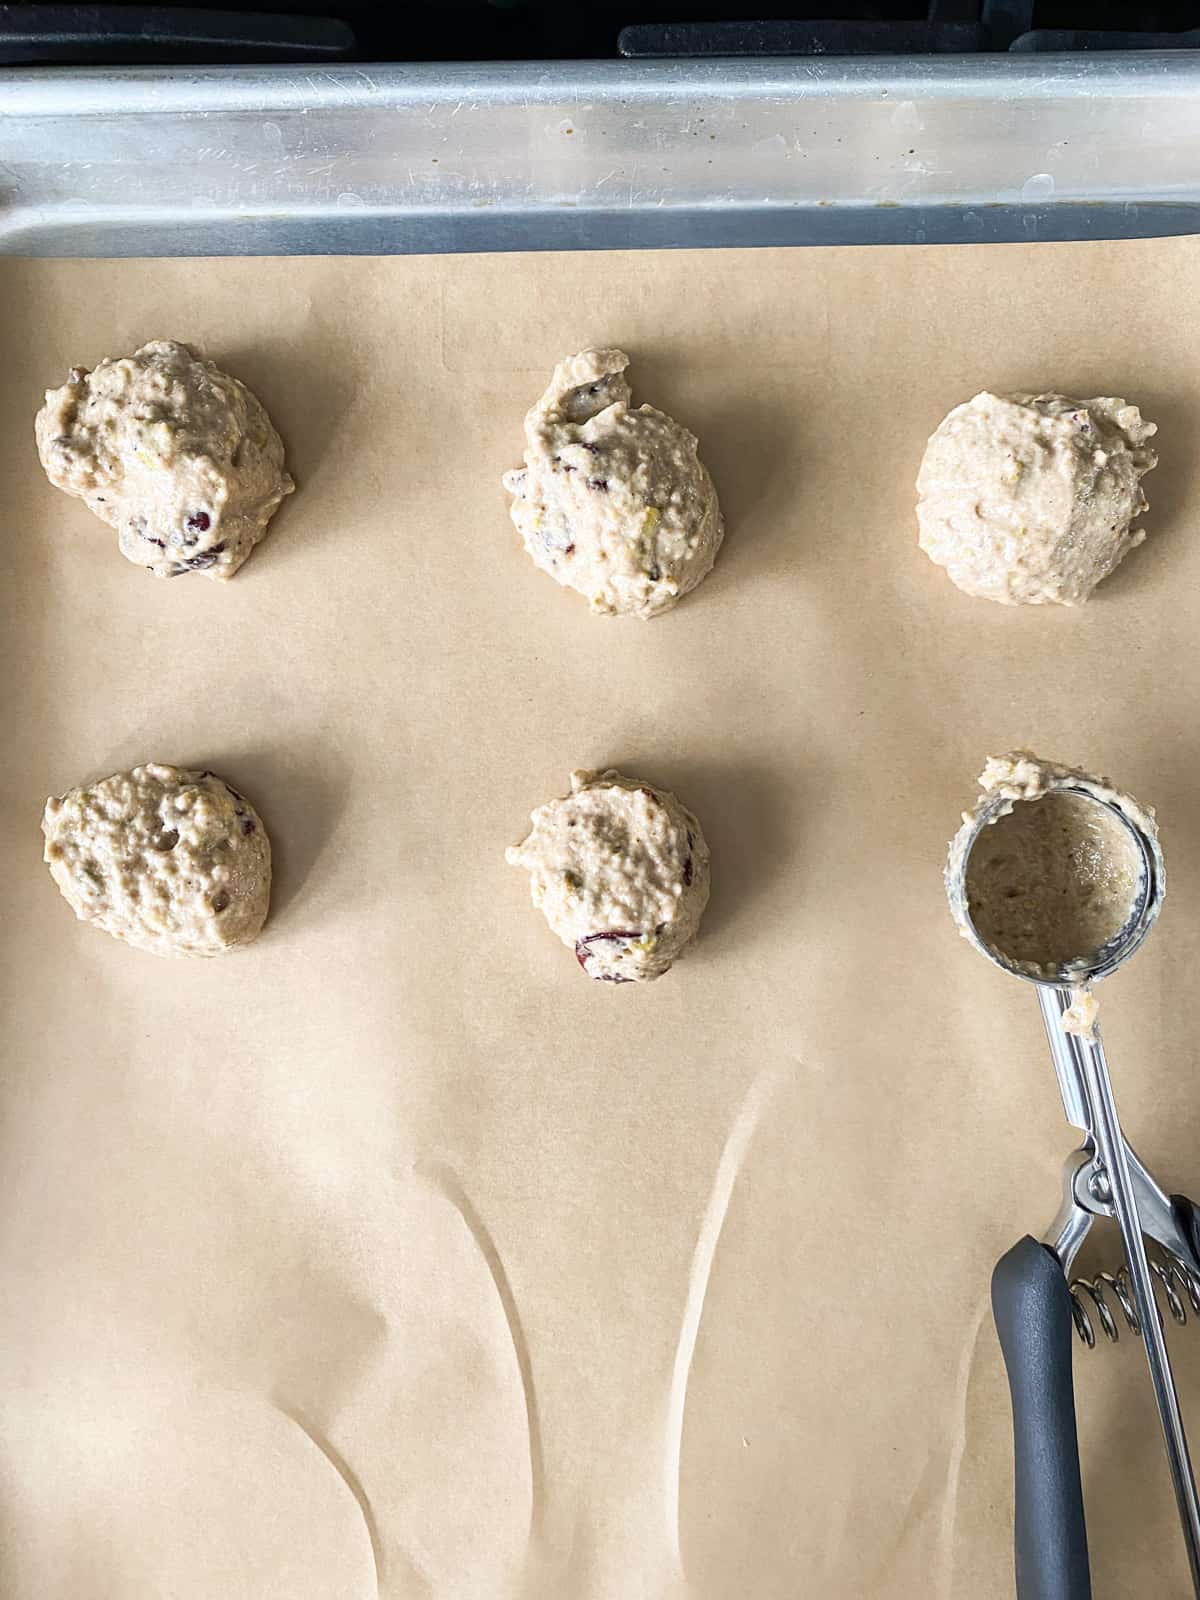
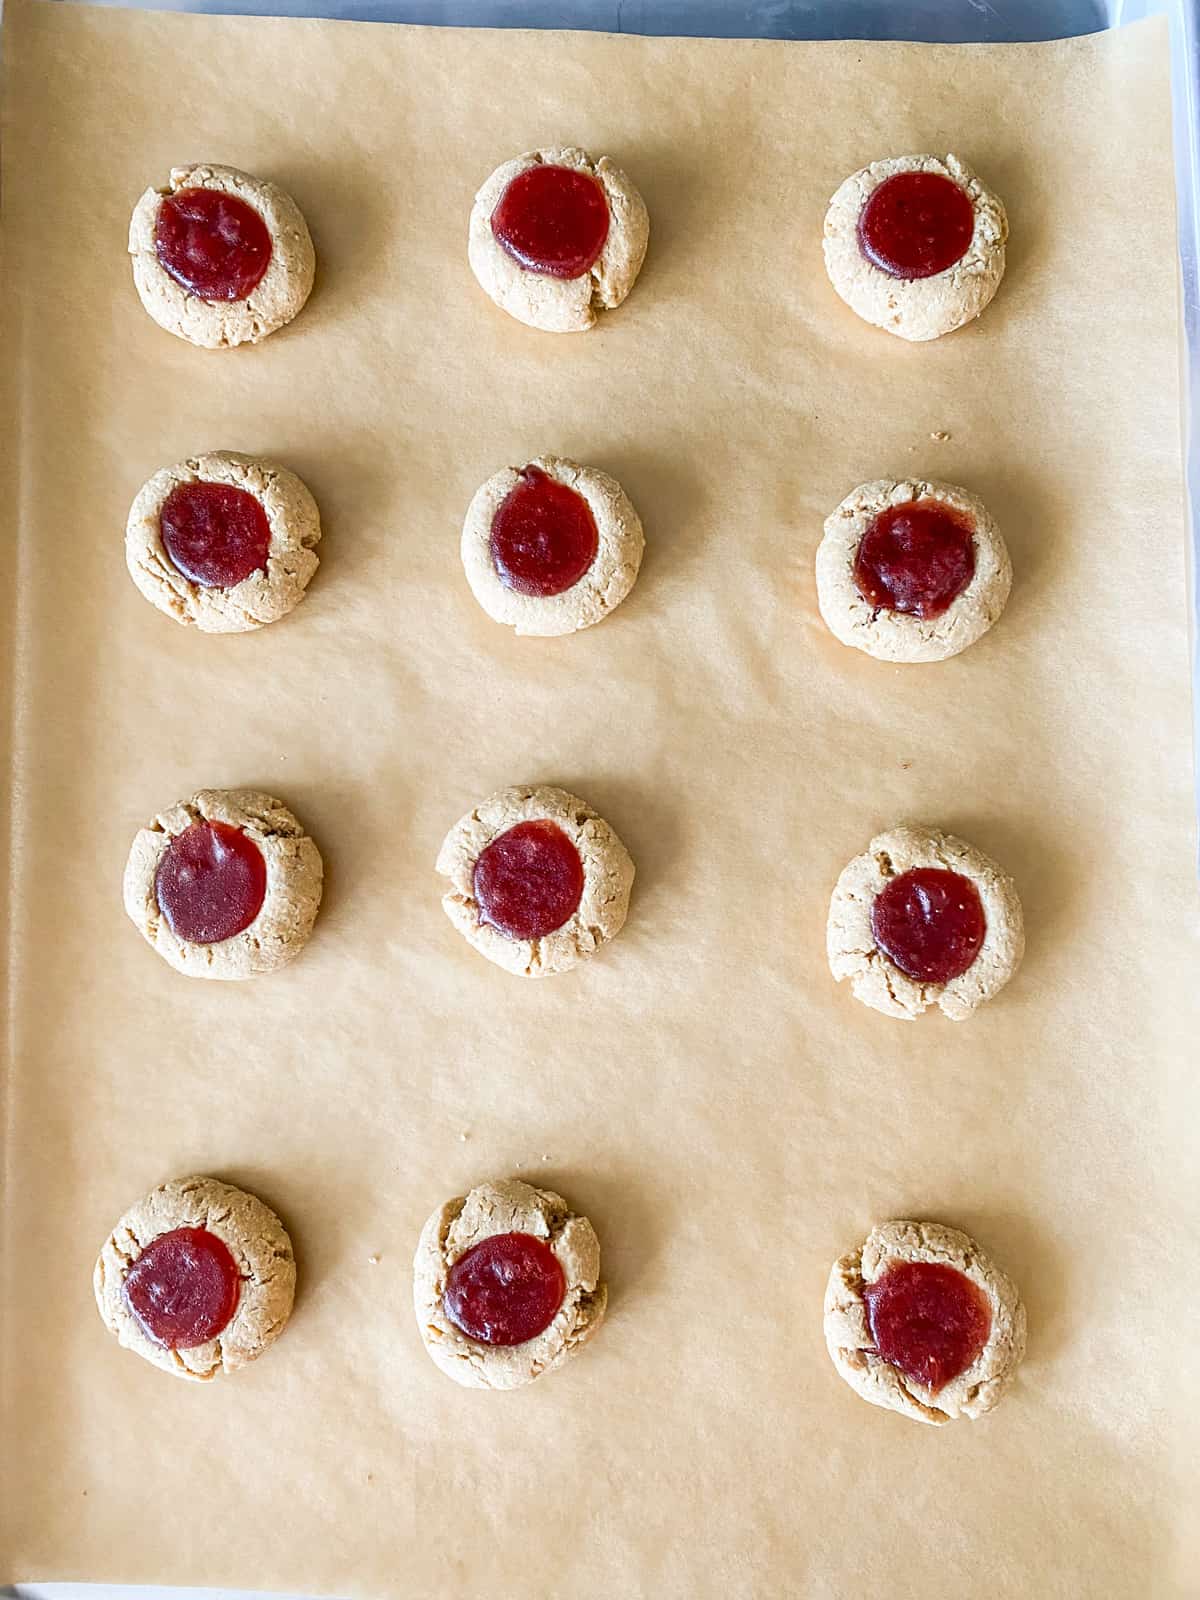
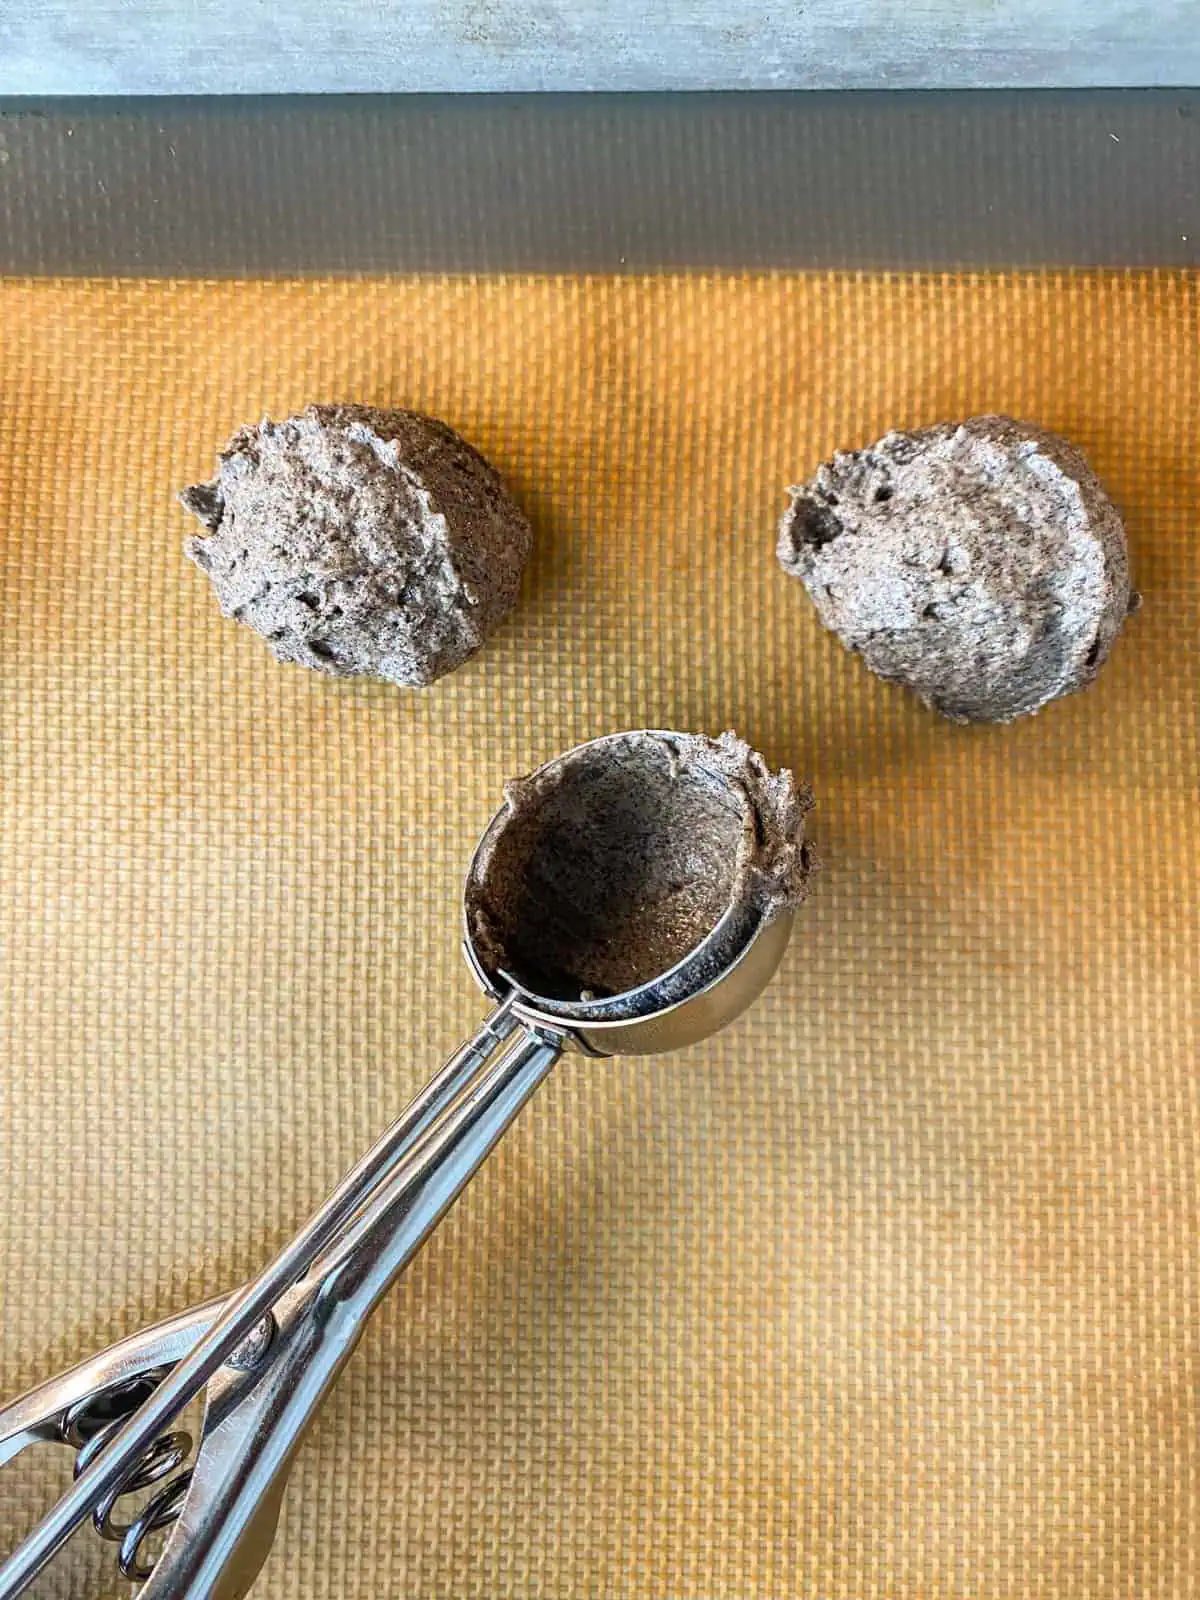
Use a large scoop or spoon to portion the batter into 6 biscuits.

Bake for 15 minutes.
Hint: Only mix the batter until just combined, to allow for the fluffiest biscuits possible.
Substitutions
I don't recommend making too many substitutions to this recipe, but here are a few:
- Milk - use a dairy substitute with close to 8 grams of protein per cup, or cow's milk, or buttermilk (omit the lemon juice if you use buttermilk)
- Flour - try a 50-50 mix of all purpose and whole wheat flour if you're just dipping your toes into the world of whole wheat
- Lemon juice - use apple cider vinegar, rice vinegar, or distilled vinegar instead
Variations
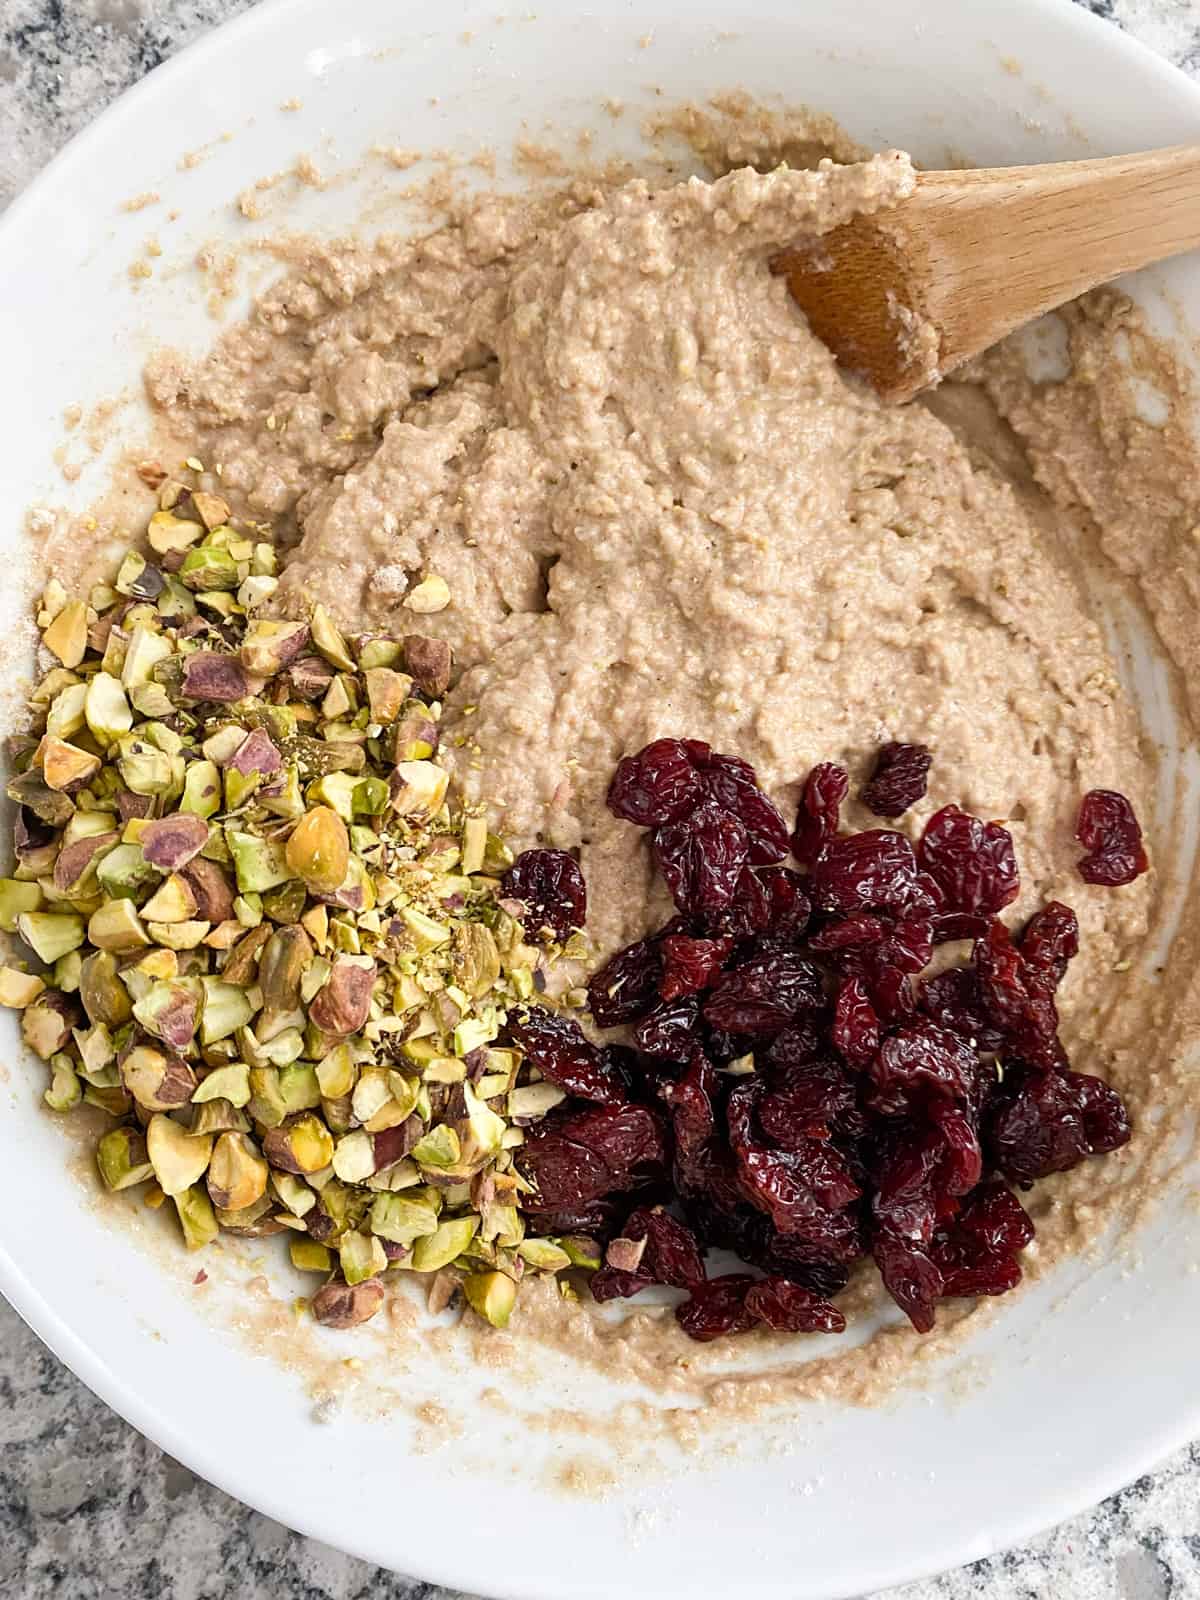
We can create variations of these whole wheat drop biscuits without sugar by adding herbs and spices!
- Garlic - add one teaspoon of garlic powder to the batter (you may like a little extra salt if you do this)
- Herb biscuits - add 2 teaspoons of Italian seasoning or an herb mix you like
- Cheddar biscuits - mix ½ cup of shredded sharp cheddar cheese into the batter (note that this will increase the sodium, saturated fat, and cholesterol content in the biscuits)
See this gluten free biscuit version!
Equipment
You won't need any specialized equipment for these healthy biscuits.
Of course you need measuring cups and spoons, including a liquid measure*. You need a mixing bowl* and spoon, a baking sheet*, and either parchment paper* or a silicone baking mat*. You might also like a properly sized scoop - I use a ¼ cup scoop*. A ¼ cup measuring cup can easily be used too, or just portion the batter into 6 and scoop with a spoon.
*Affiliate links
Storage
Store the completely cooled biscuits in an airtight container at room temperature for up to 3 days.
They can be stored in the refrigerator for longer, but this may dry out the biscuits.
Pro tip
Don't overbake the biscuits! This will lead to dry biscuits. Bake them only until they spring back when gently pressed on the top.
FAQ
These biscuits can certainly be eaten if you have diabetes. Each biscuit contains about 22 grams of carbohydrates and about 3.5 grams of fiber, so it's important to account for this if you administer insulin or otherwise do carb counting.
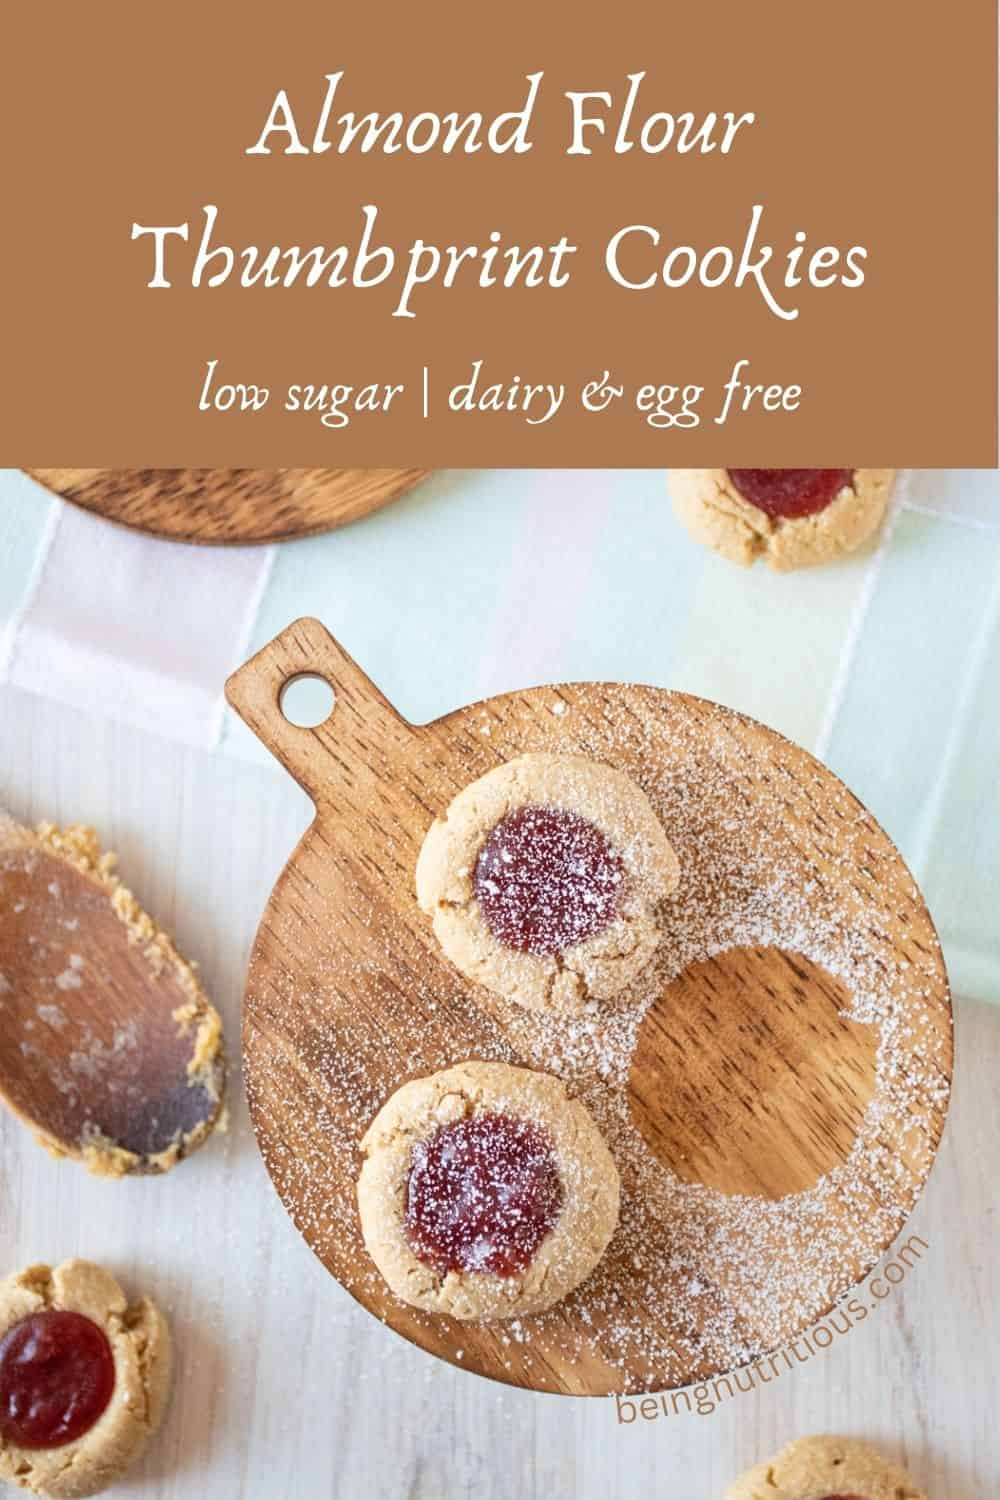
Related
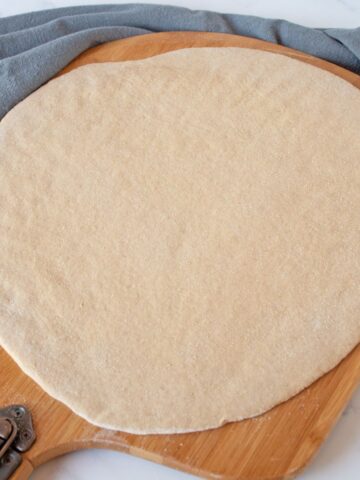
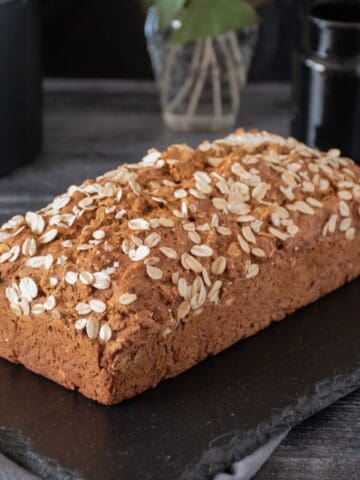
Looking for other heart healthy bread (and bread-like) recipes? Try these:


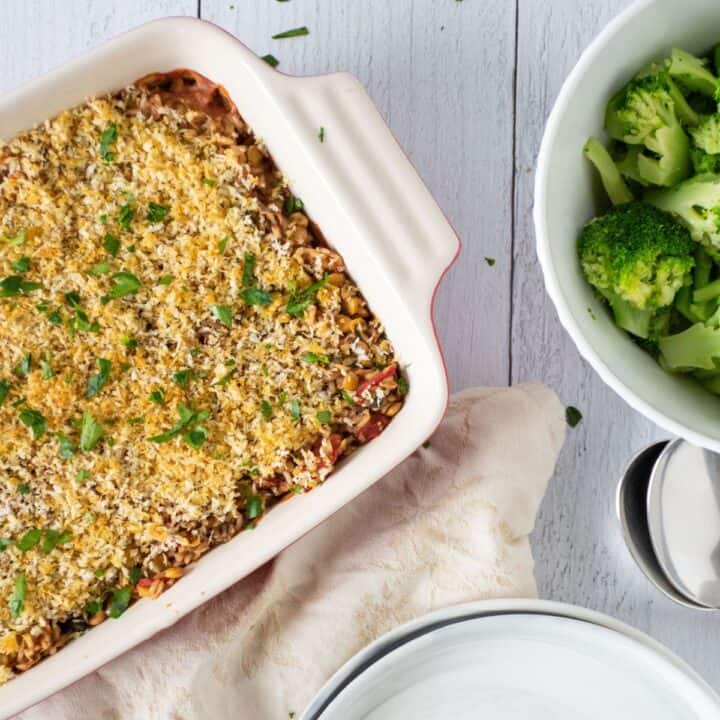
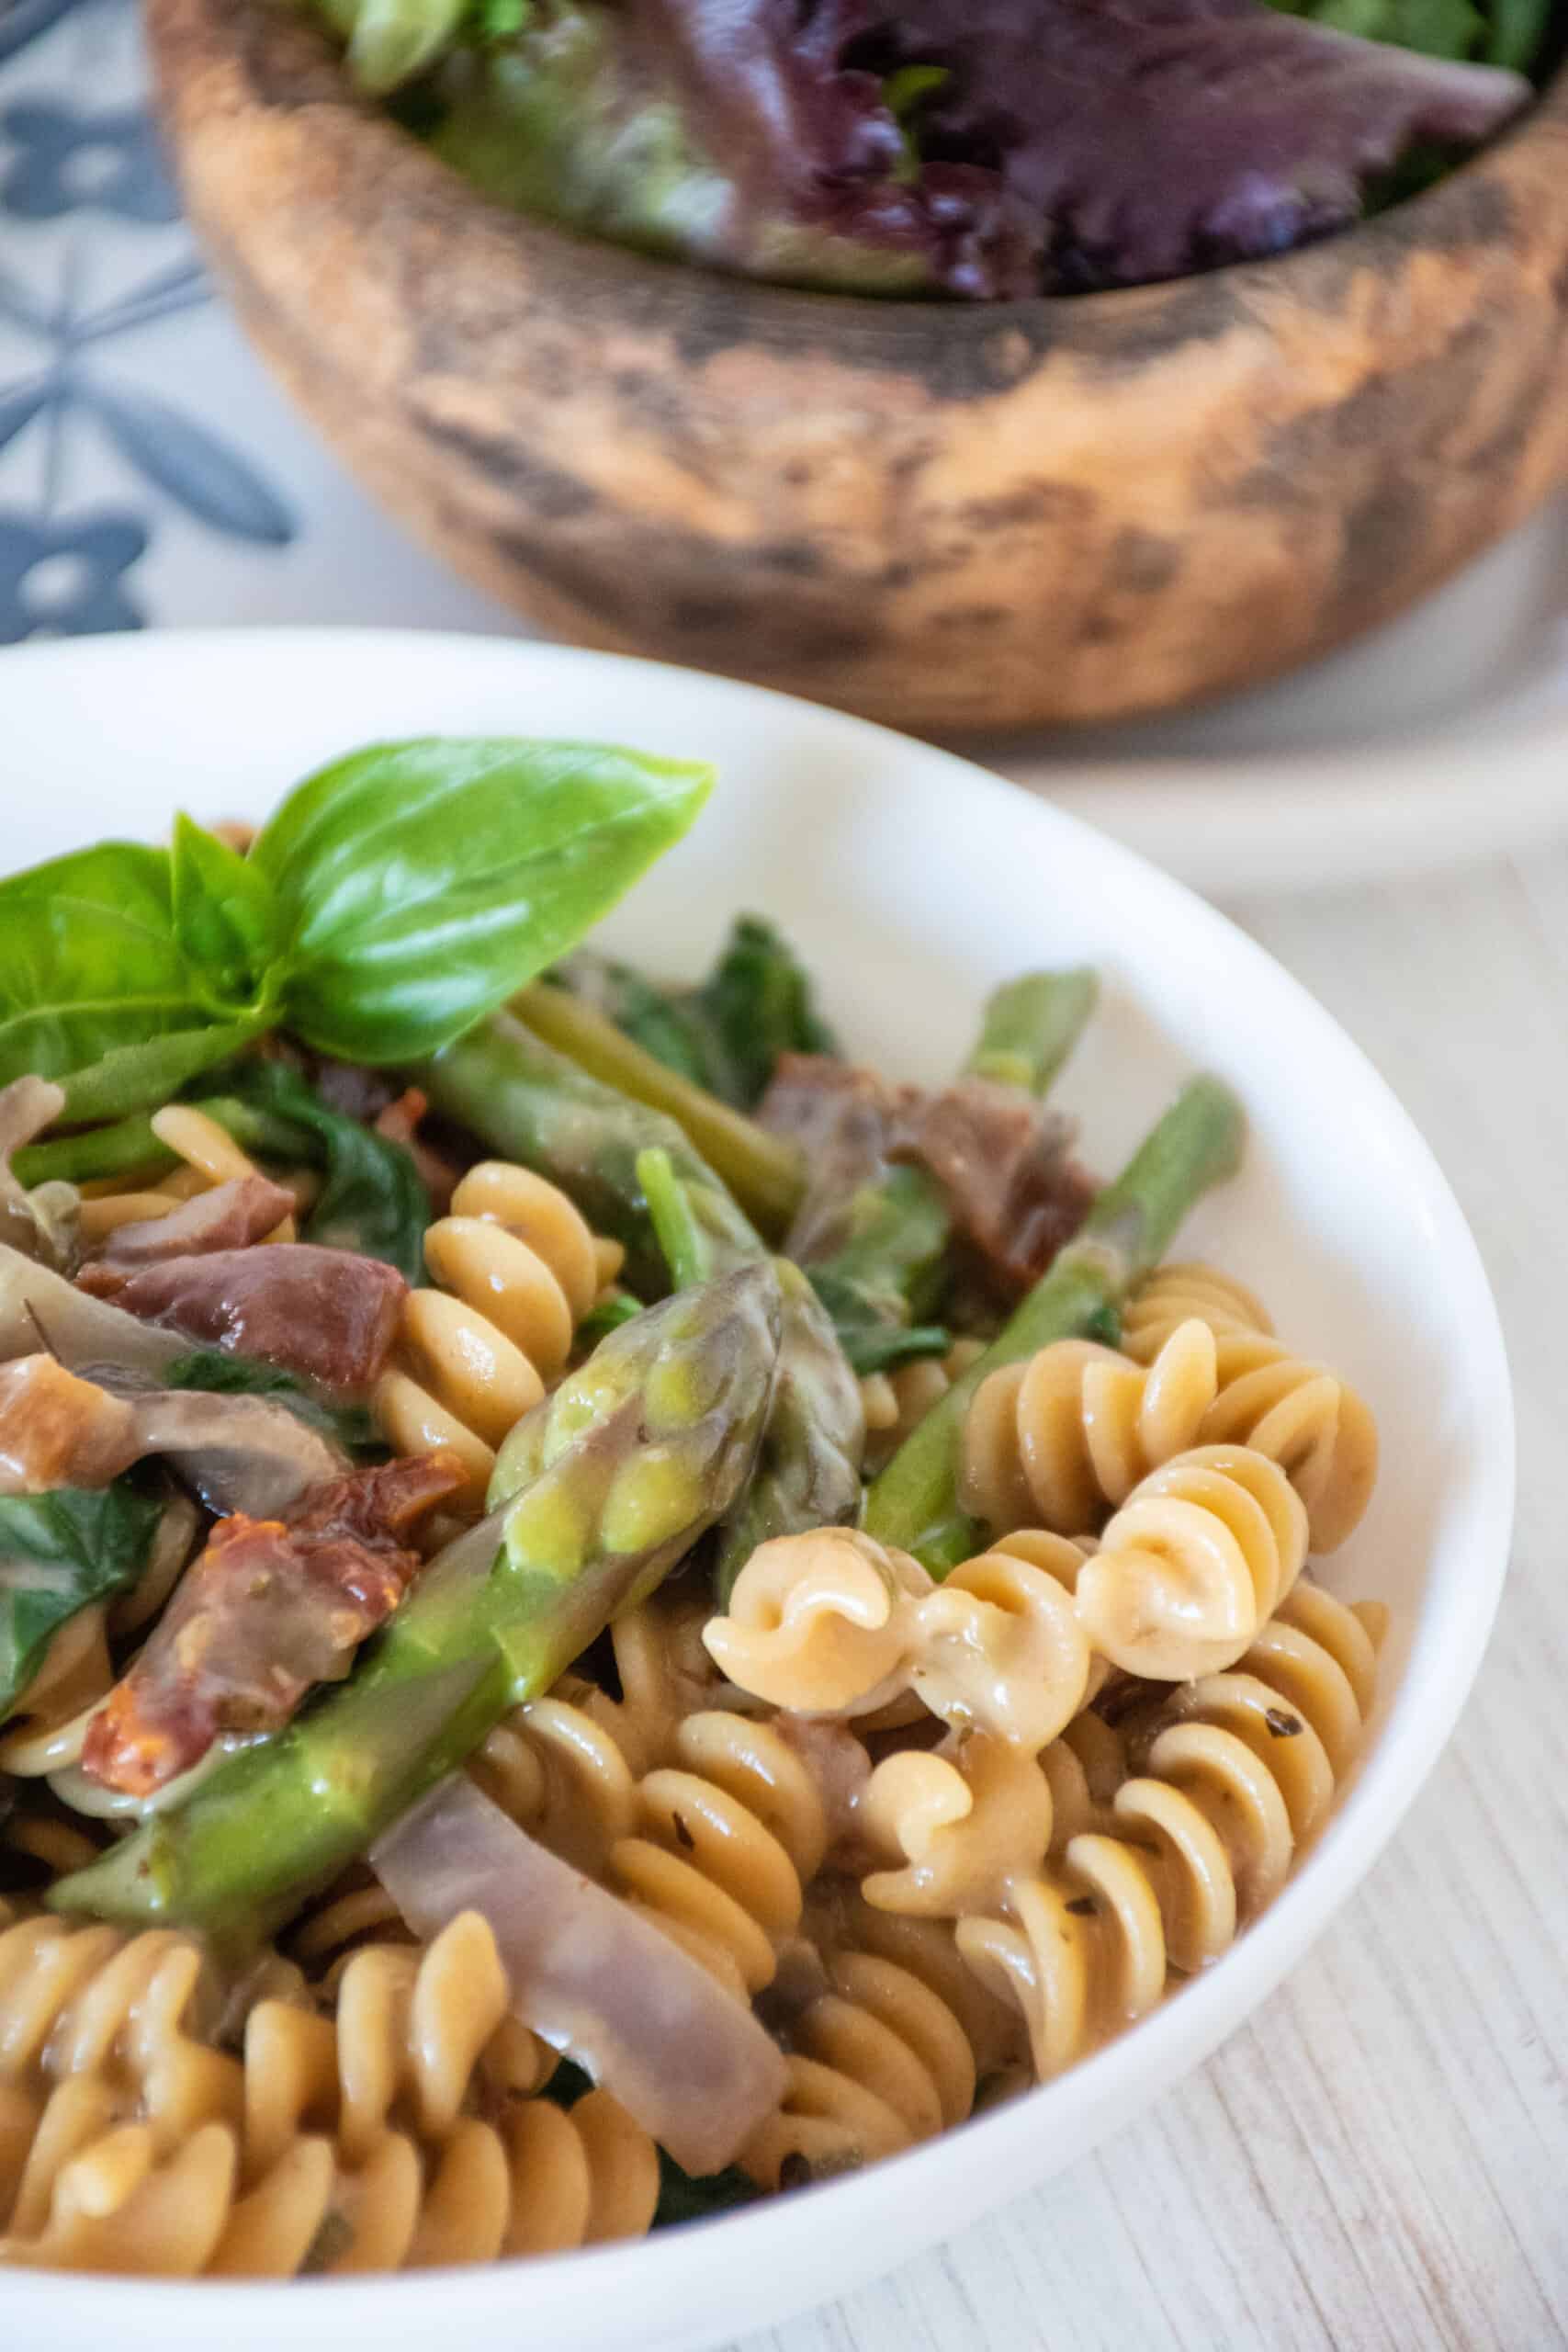
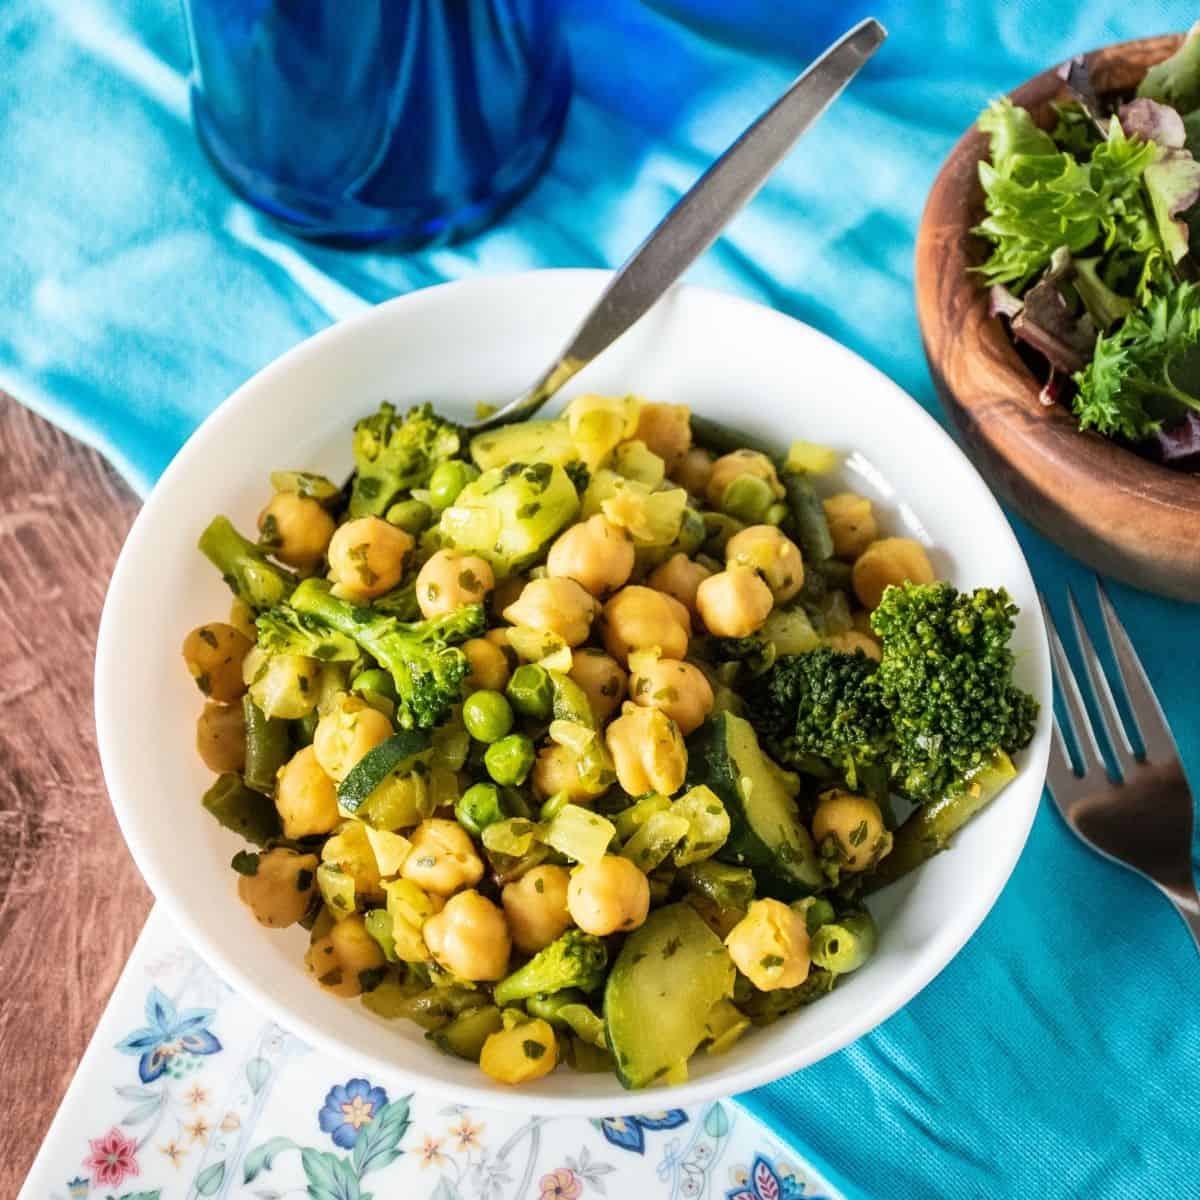
Pairing
These are my favorite dishes to serve with whole wheat drop biscuits:


📖 Recipe
Whole Wheat Drop Biscuits
Ingredients
- ¾ cup Unsweetened Soy Milk
- 1 tablespoon Lemon Juice
- 1 ½ cup Whole Wheat Flour
- ½ teaspoon Baking Soda
- optional ¼ teaspoon Salt
- 2 tablespoon Olive Oil
Instructions
- Preheat oven to 425° F.
- Mix the soy milk with the lemon juice in a small bowl, and set aside for a few minutes.
- In a medium mixing bowl, combine the flour, baking soda, and salt, if using.
- Pour the curdled soy milk and olive oil into the mixing bowl, and stir to combine.
- Scoop 6 portions of the batter onto a baking sheet lined with parchment paper or a silicone baking mat.
- Bake for 15 minutes.
- Remove from the baking sheet and cool on a wire rack.
Notes
Nutrition
*Nutrition information is an estimate, and will change based on the brand and individual ingredients and amounts you use. This is provided for your convenience only.
Food safety
Safety is our top priority in the kitchen! Always keep these tips in mind.
- Wash hands before touching food, and after touching raw meat, your hair, face, pets, etc.
- Make sure all needed utensils are clean
- Never leave cooking food unattended
- Wash hands again before removing biscuits from the baking sheet to a wire rack or serving dish
- Always have good ventilation when using a gas stove